Try This: Sandcarve Wood for Recognition
Discover how to sandcarve a wood recognition piece.

Sandcarving is a great method to create a wood recognition piece. Wood projects can come in the form of plaques and awards. In addition, try adding color to a wood recognition piece for the extra pop. Photoresist film provides incredible detail while achieving depth. Sandcarving wood reveals a beautiful wood grain adding to the overall design.
The sandcarving process etches the design quickly on wood, and the photoresist film provides detail and allows for a paint-fill application as well as easy cleanup.
Materials Needed:
- Wood plaque
- 5 mil photoresist film (used here: SR3000 with RZ2 adhesive)
- Sandcarving machine
- Krylon Clear Coat (or similar product)
- Belton Molotow and Montana spray paints (or similar product)
- Cover paper and low-tack tape
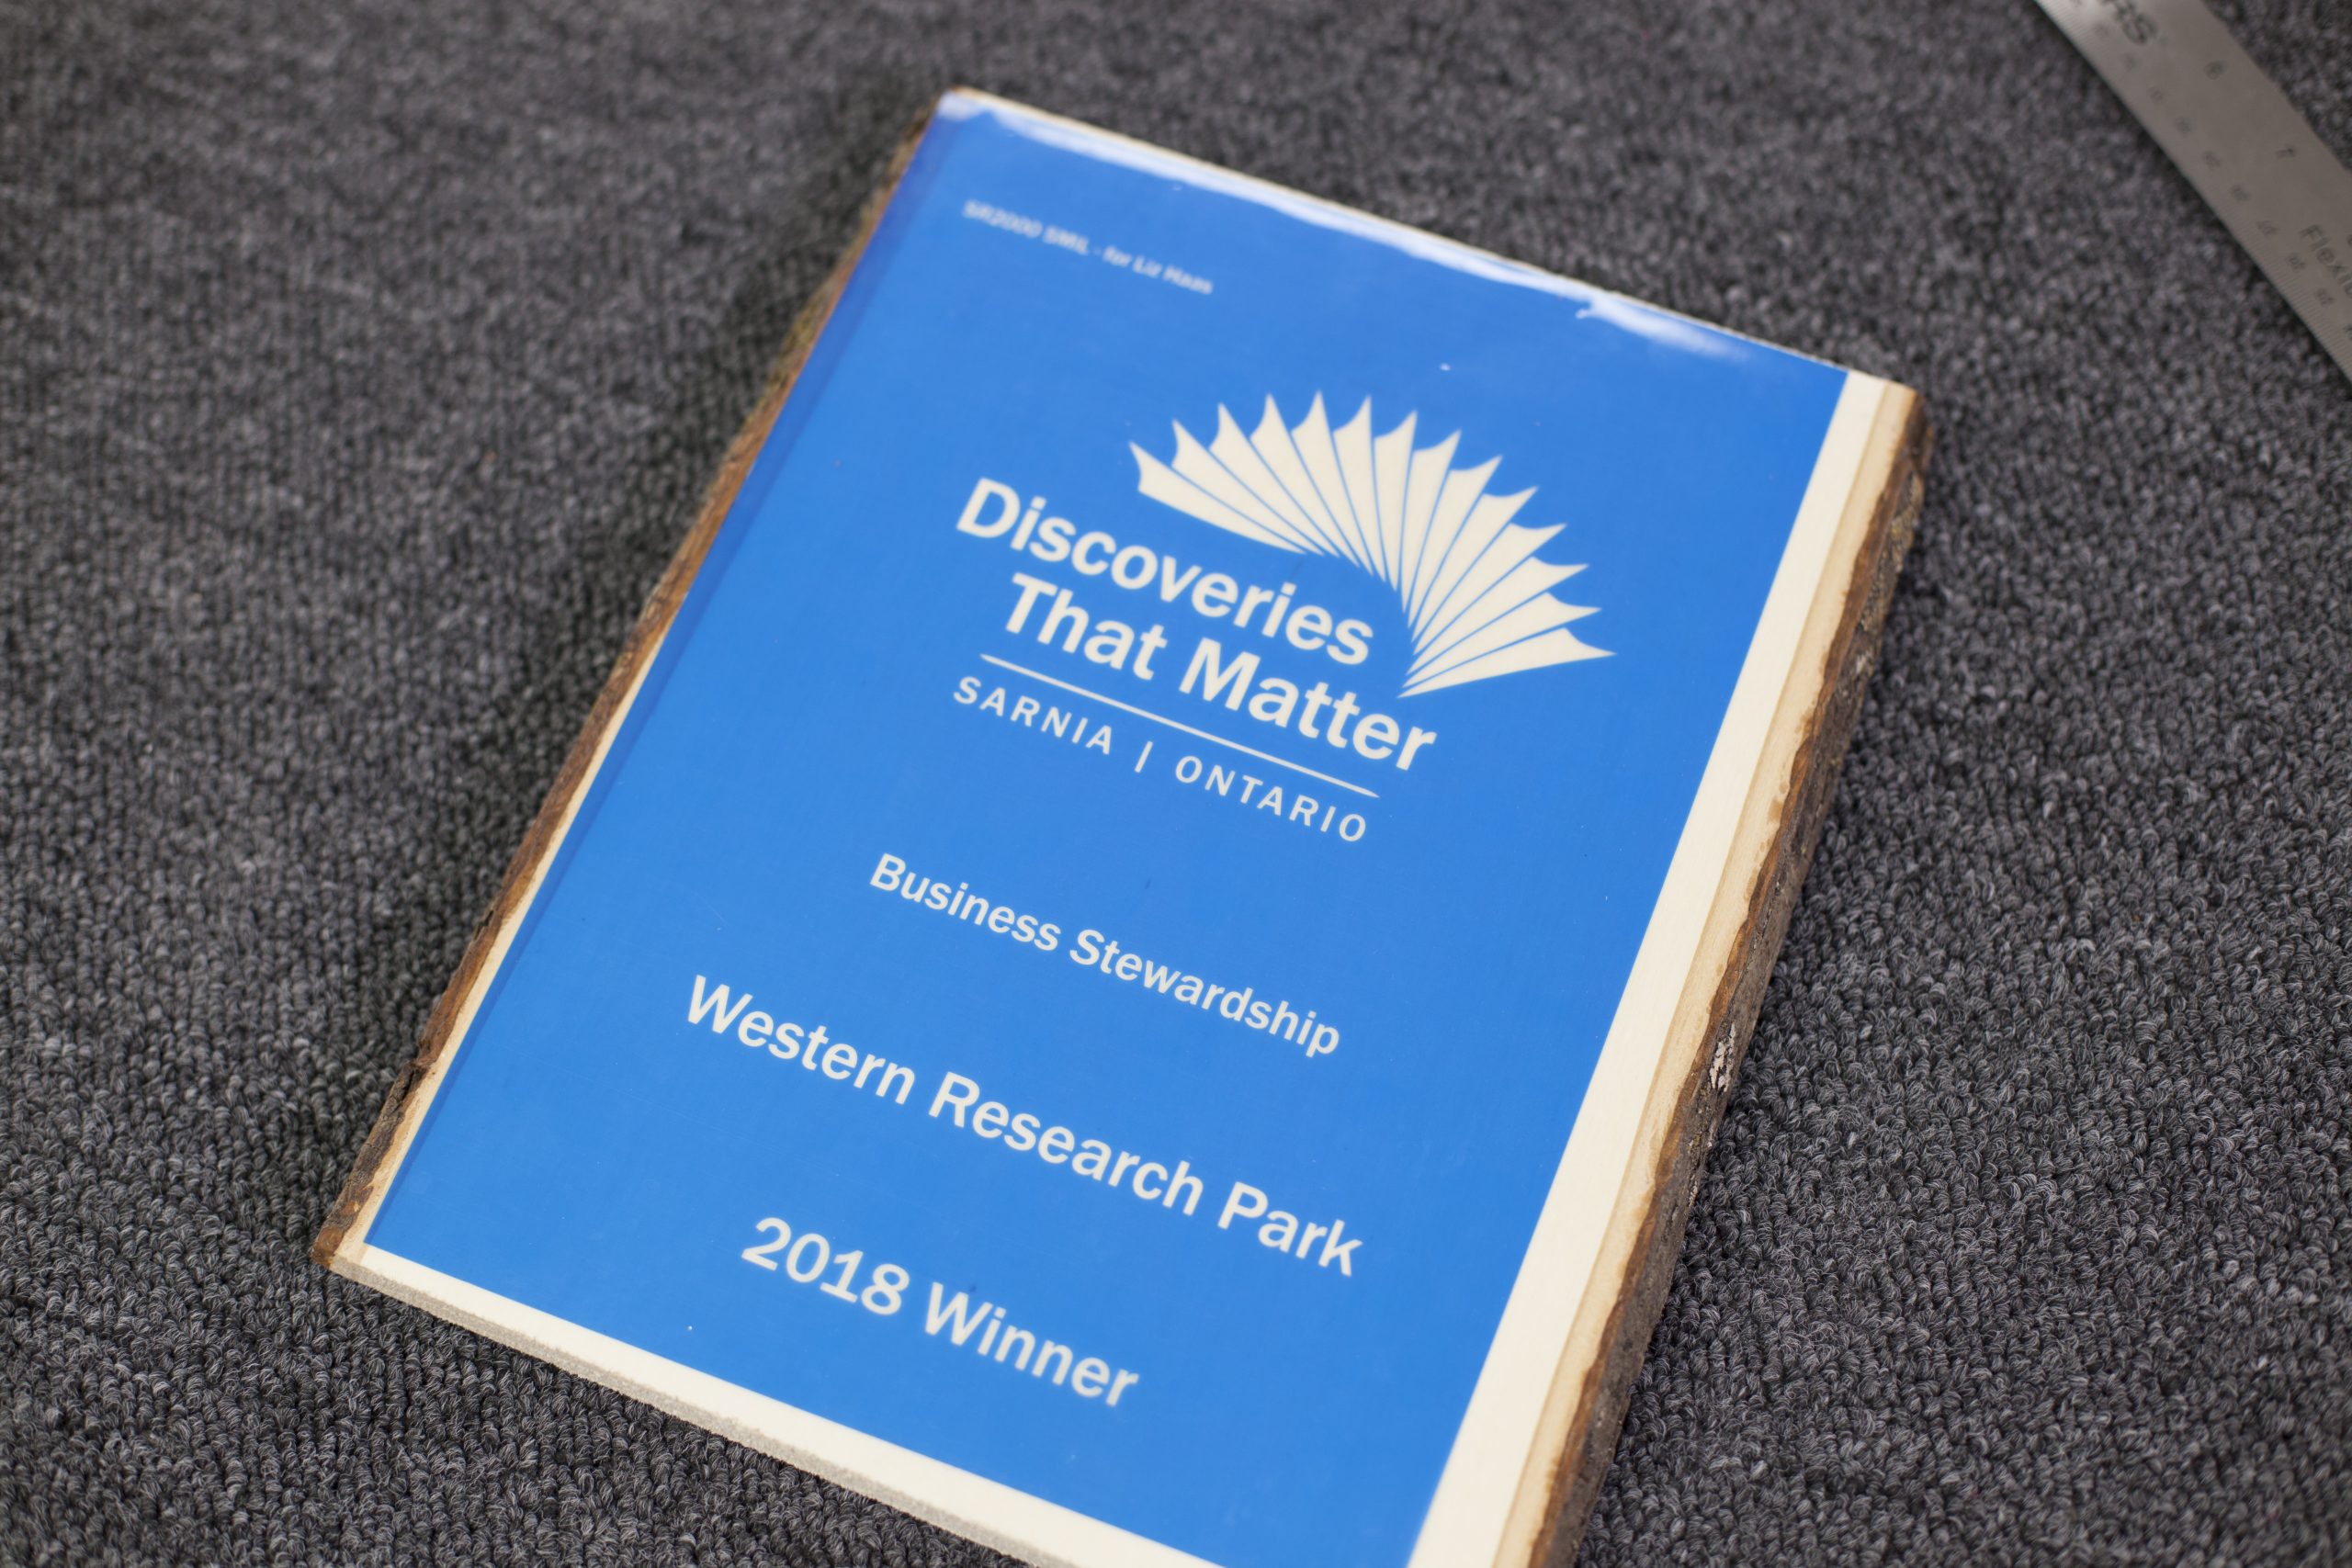
Step One: Design
Begin with a wood plaque and create a layout for the piece. Consider adding a multi-color paint-fill if the logo design allows. This is the beauty of sandcarving wood – you have many options to create the finished piece by adding one-color or a multiple color paint-fill.
In the layout demonstrated here, the logo has two colors with text. The logo will be painted in a green-blue blend and the text in a dark brown. The color will enhance the logo and create a contrast.
Step Two: Apply the Mask
For this project, 5 mil SR3000 was used with a light layer of RZ2 adhesive. The 5-mil photoresist film allows depth in the wood surface, and the RZ2 adhesive adds extra tack for the photomask to adhere to the wood surface.
Apply the 5-mil photomask to the surface and squeegee well. Tape any exposed area with a vinyl tape. Remove clear liner.
Step Three: Sandcarving
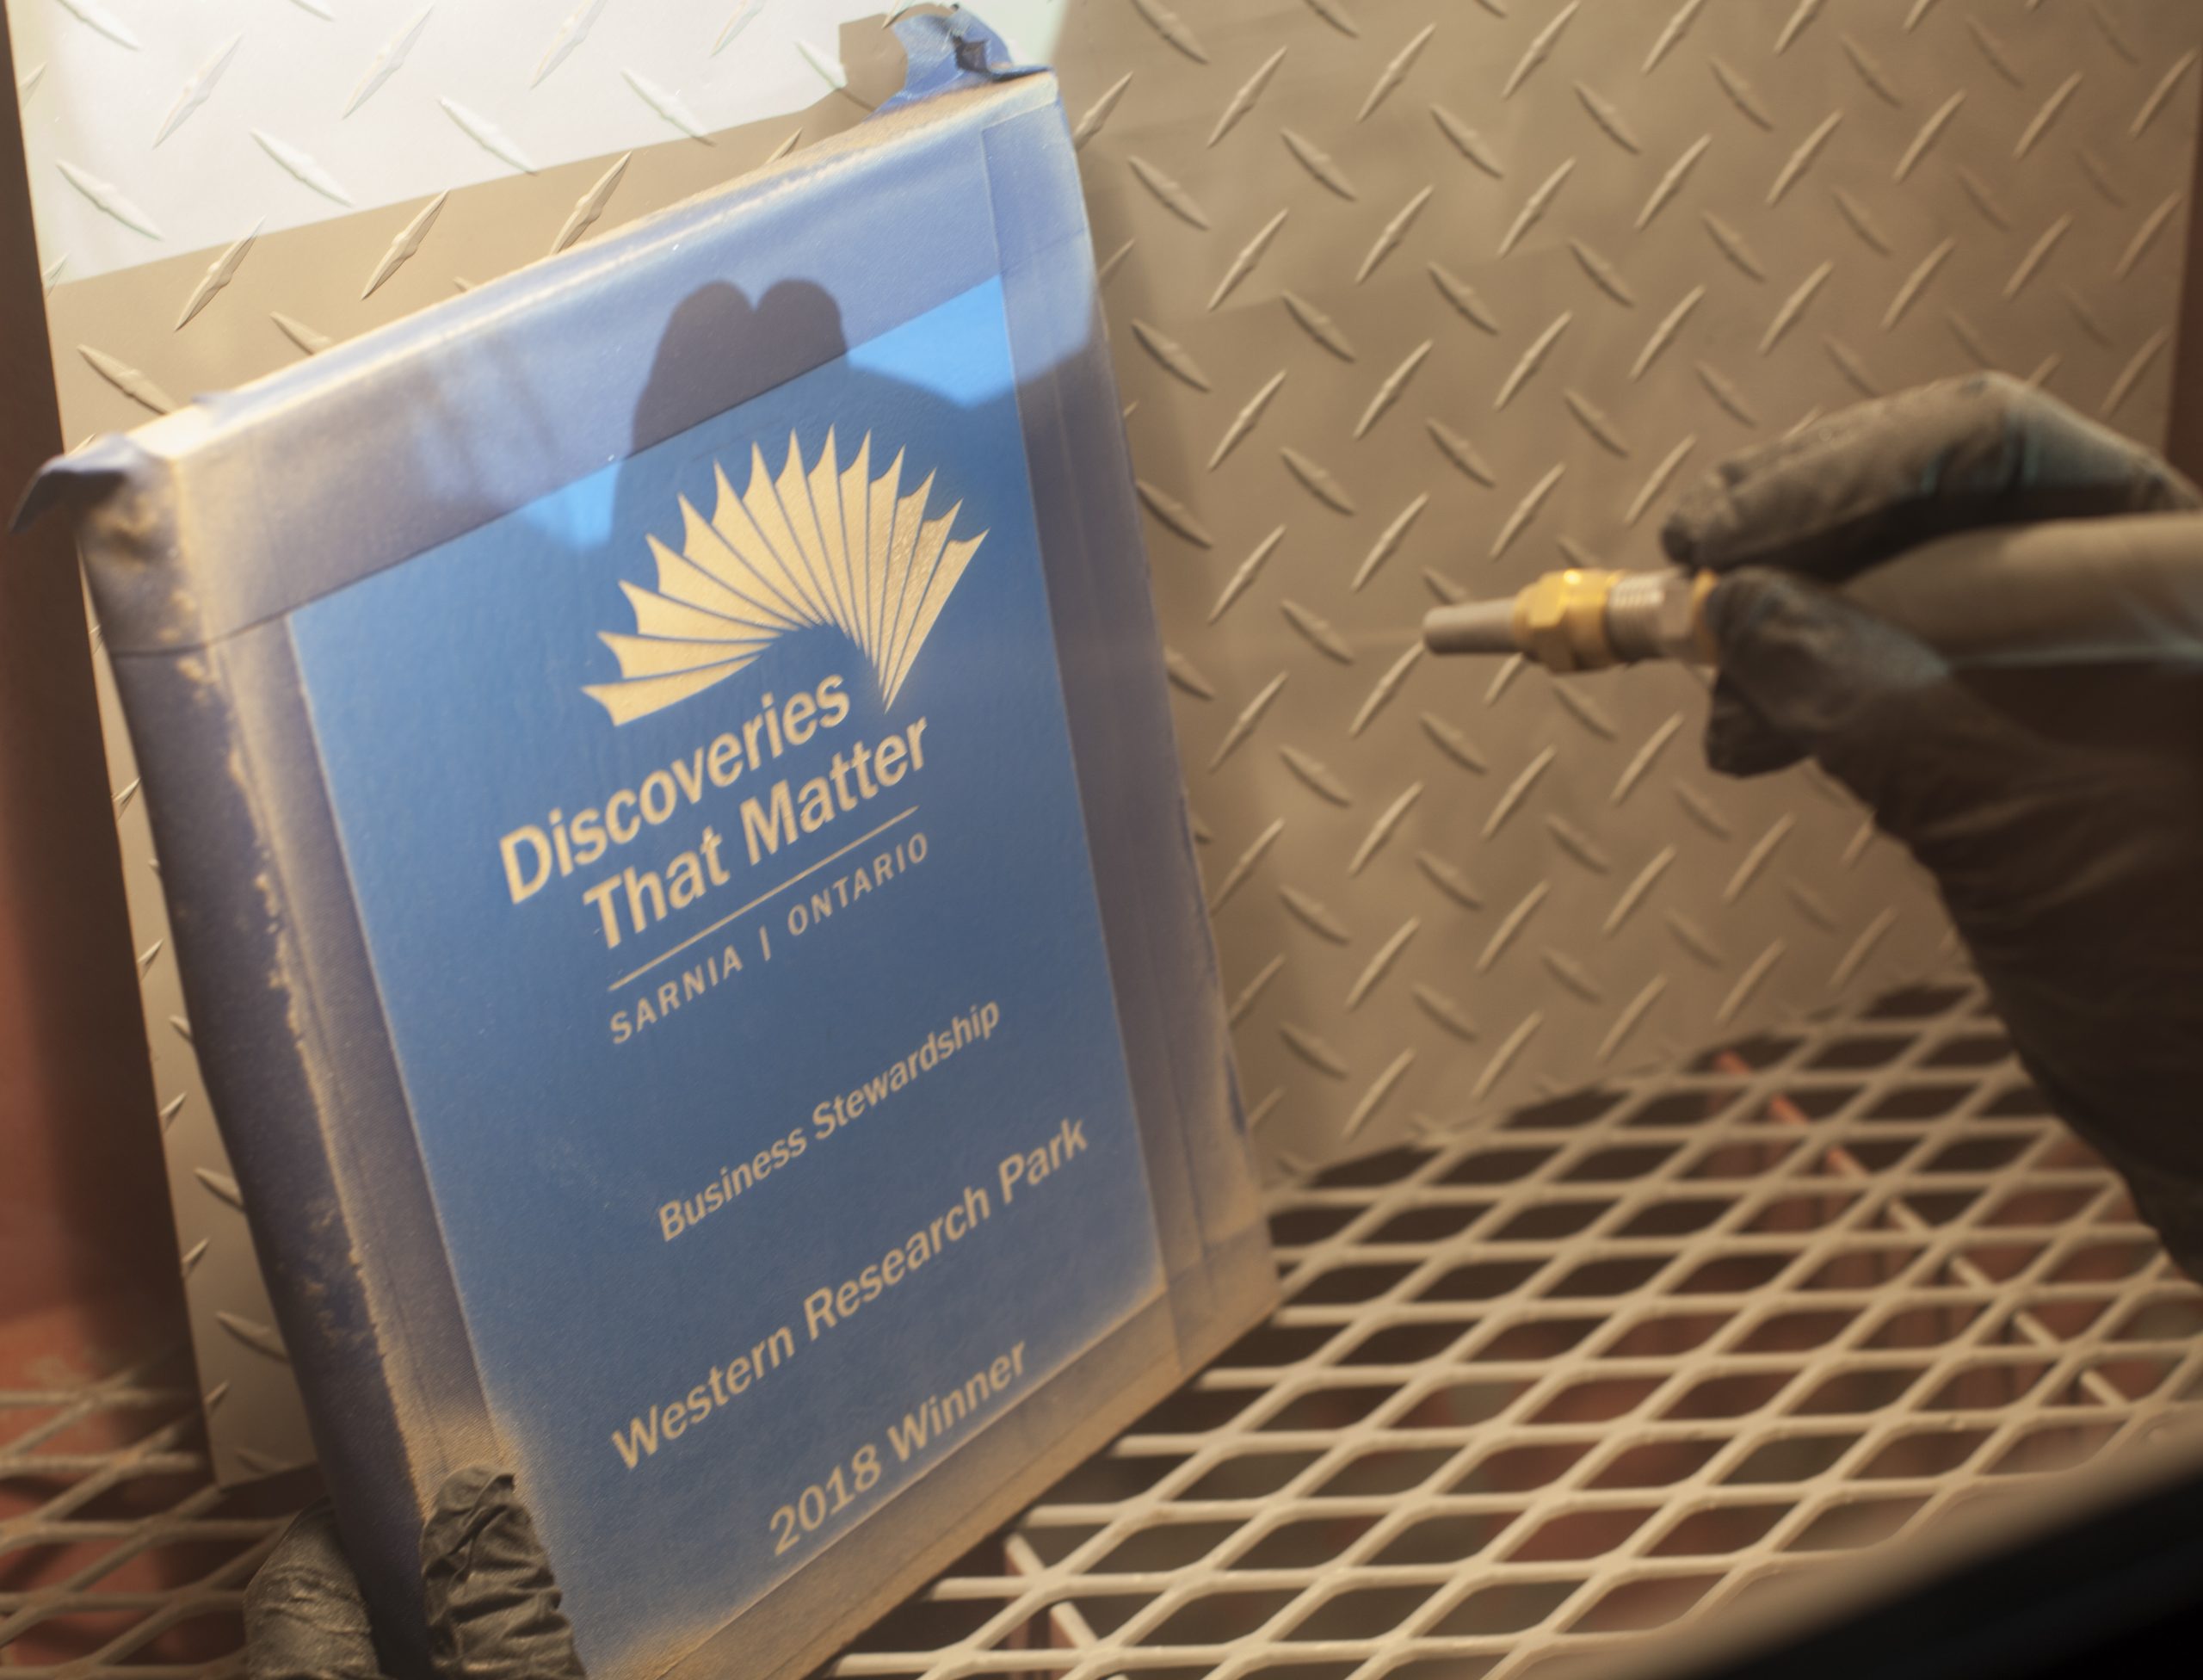
Sandcarve this item using aluminum oxide 150 or 120 grit between 35 – 40 psi. Sandcarve until desired depth is achieved.
Blow off any dust with an air gun. The air gun’s distance from mask is approximately 10-12 inches.
Step Four: Paint
Apply Krylon Clear Coat to the etched surface to reduce paint bleeding into the wood grain or porous materials. Allow clear coat to dry. This is an optional step.
Prepare to add a paint-fill. Belton Molotow and Montana spray paints were used in this project. It is important to shake the cans of paint for several minutes prior to use. Cover the logo with a non-stick paper such as cover paper and tape with a low tack tape. Paint the text with black paint. Apply the black paint in light coats, then let it dry.
Remove the cover paper from the logo area and apply more cover paper to the text area; secure with a low tack tape. Begin to apply two colors of paint to create a blend effect. If you are new to blending two colors, practice on a piece of cardboard. This helps you pinpoint the nozzle at the targeted area and gives you a feel on the amount of paint that is distributed from the nozzle. 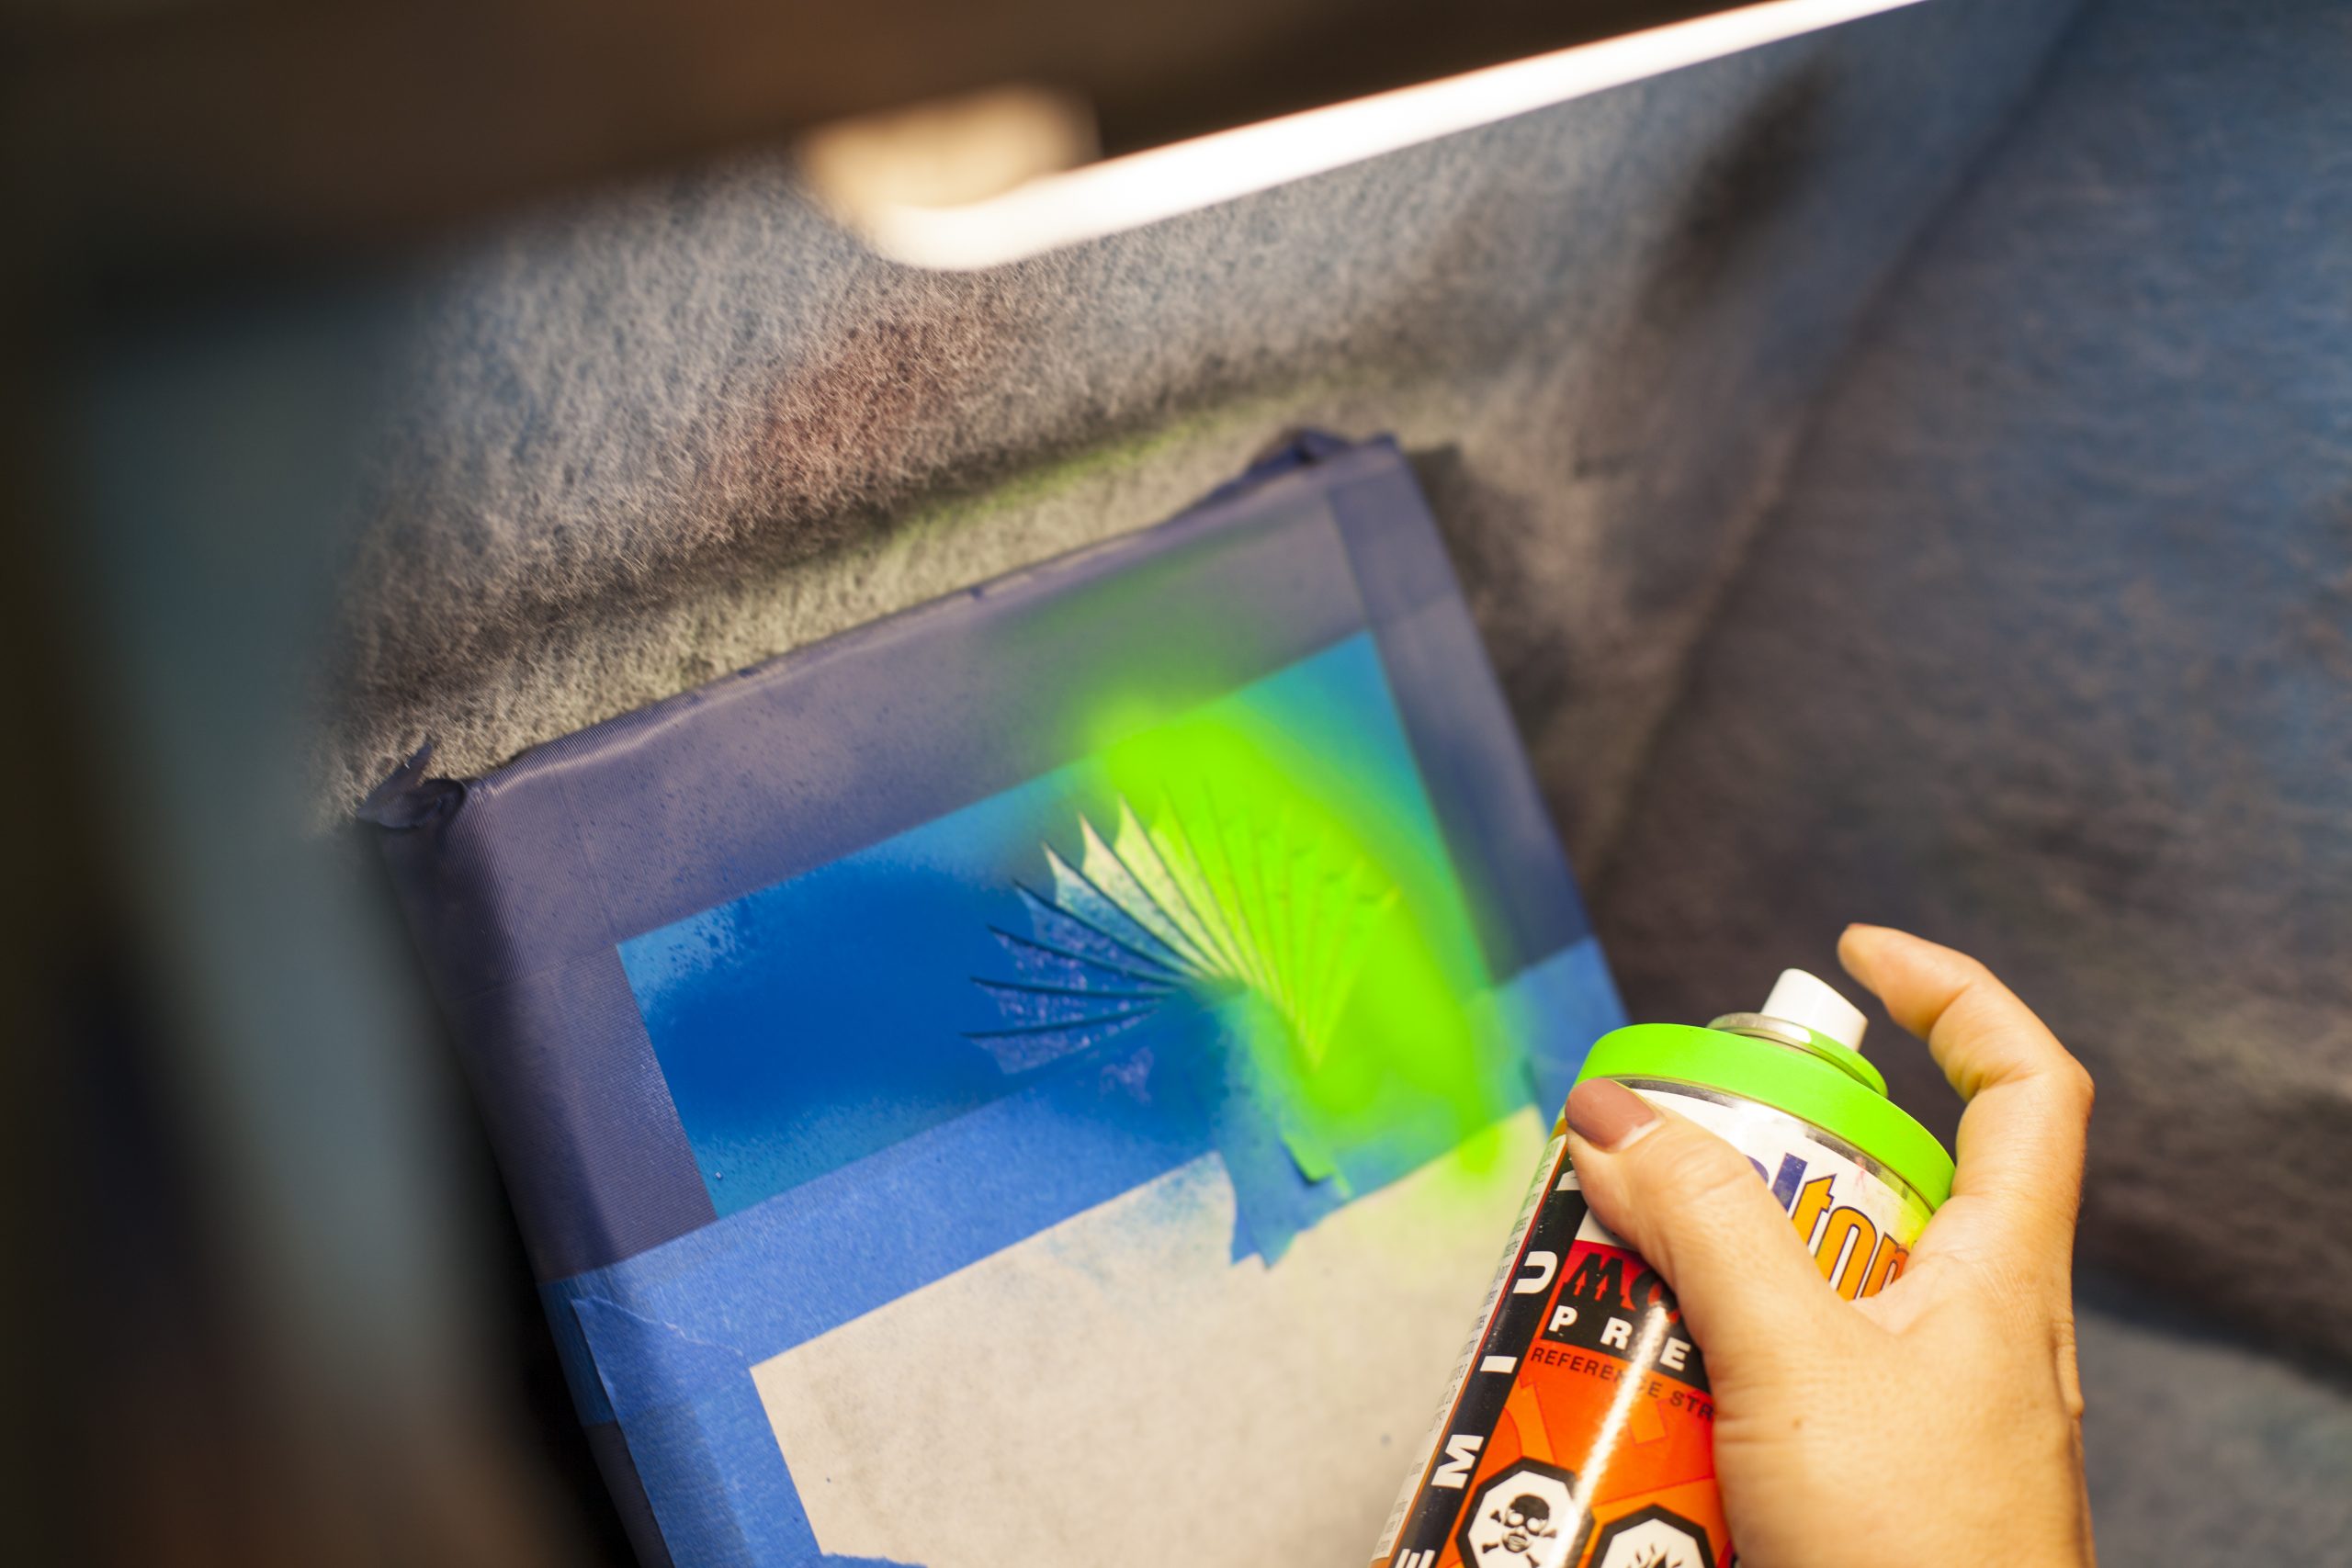
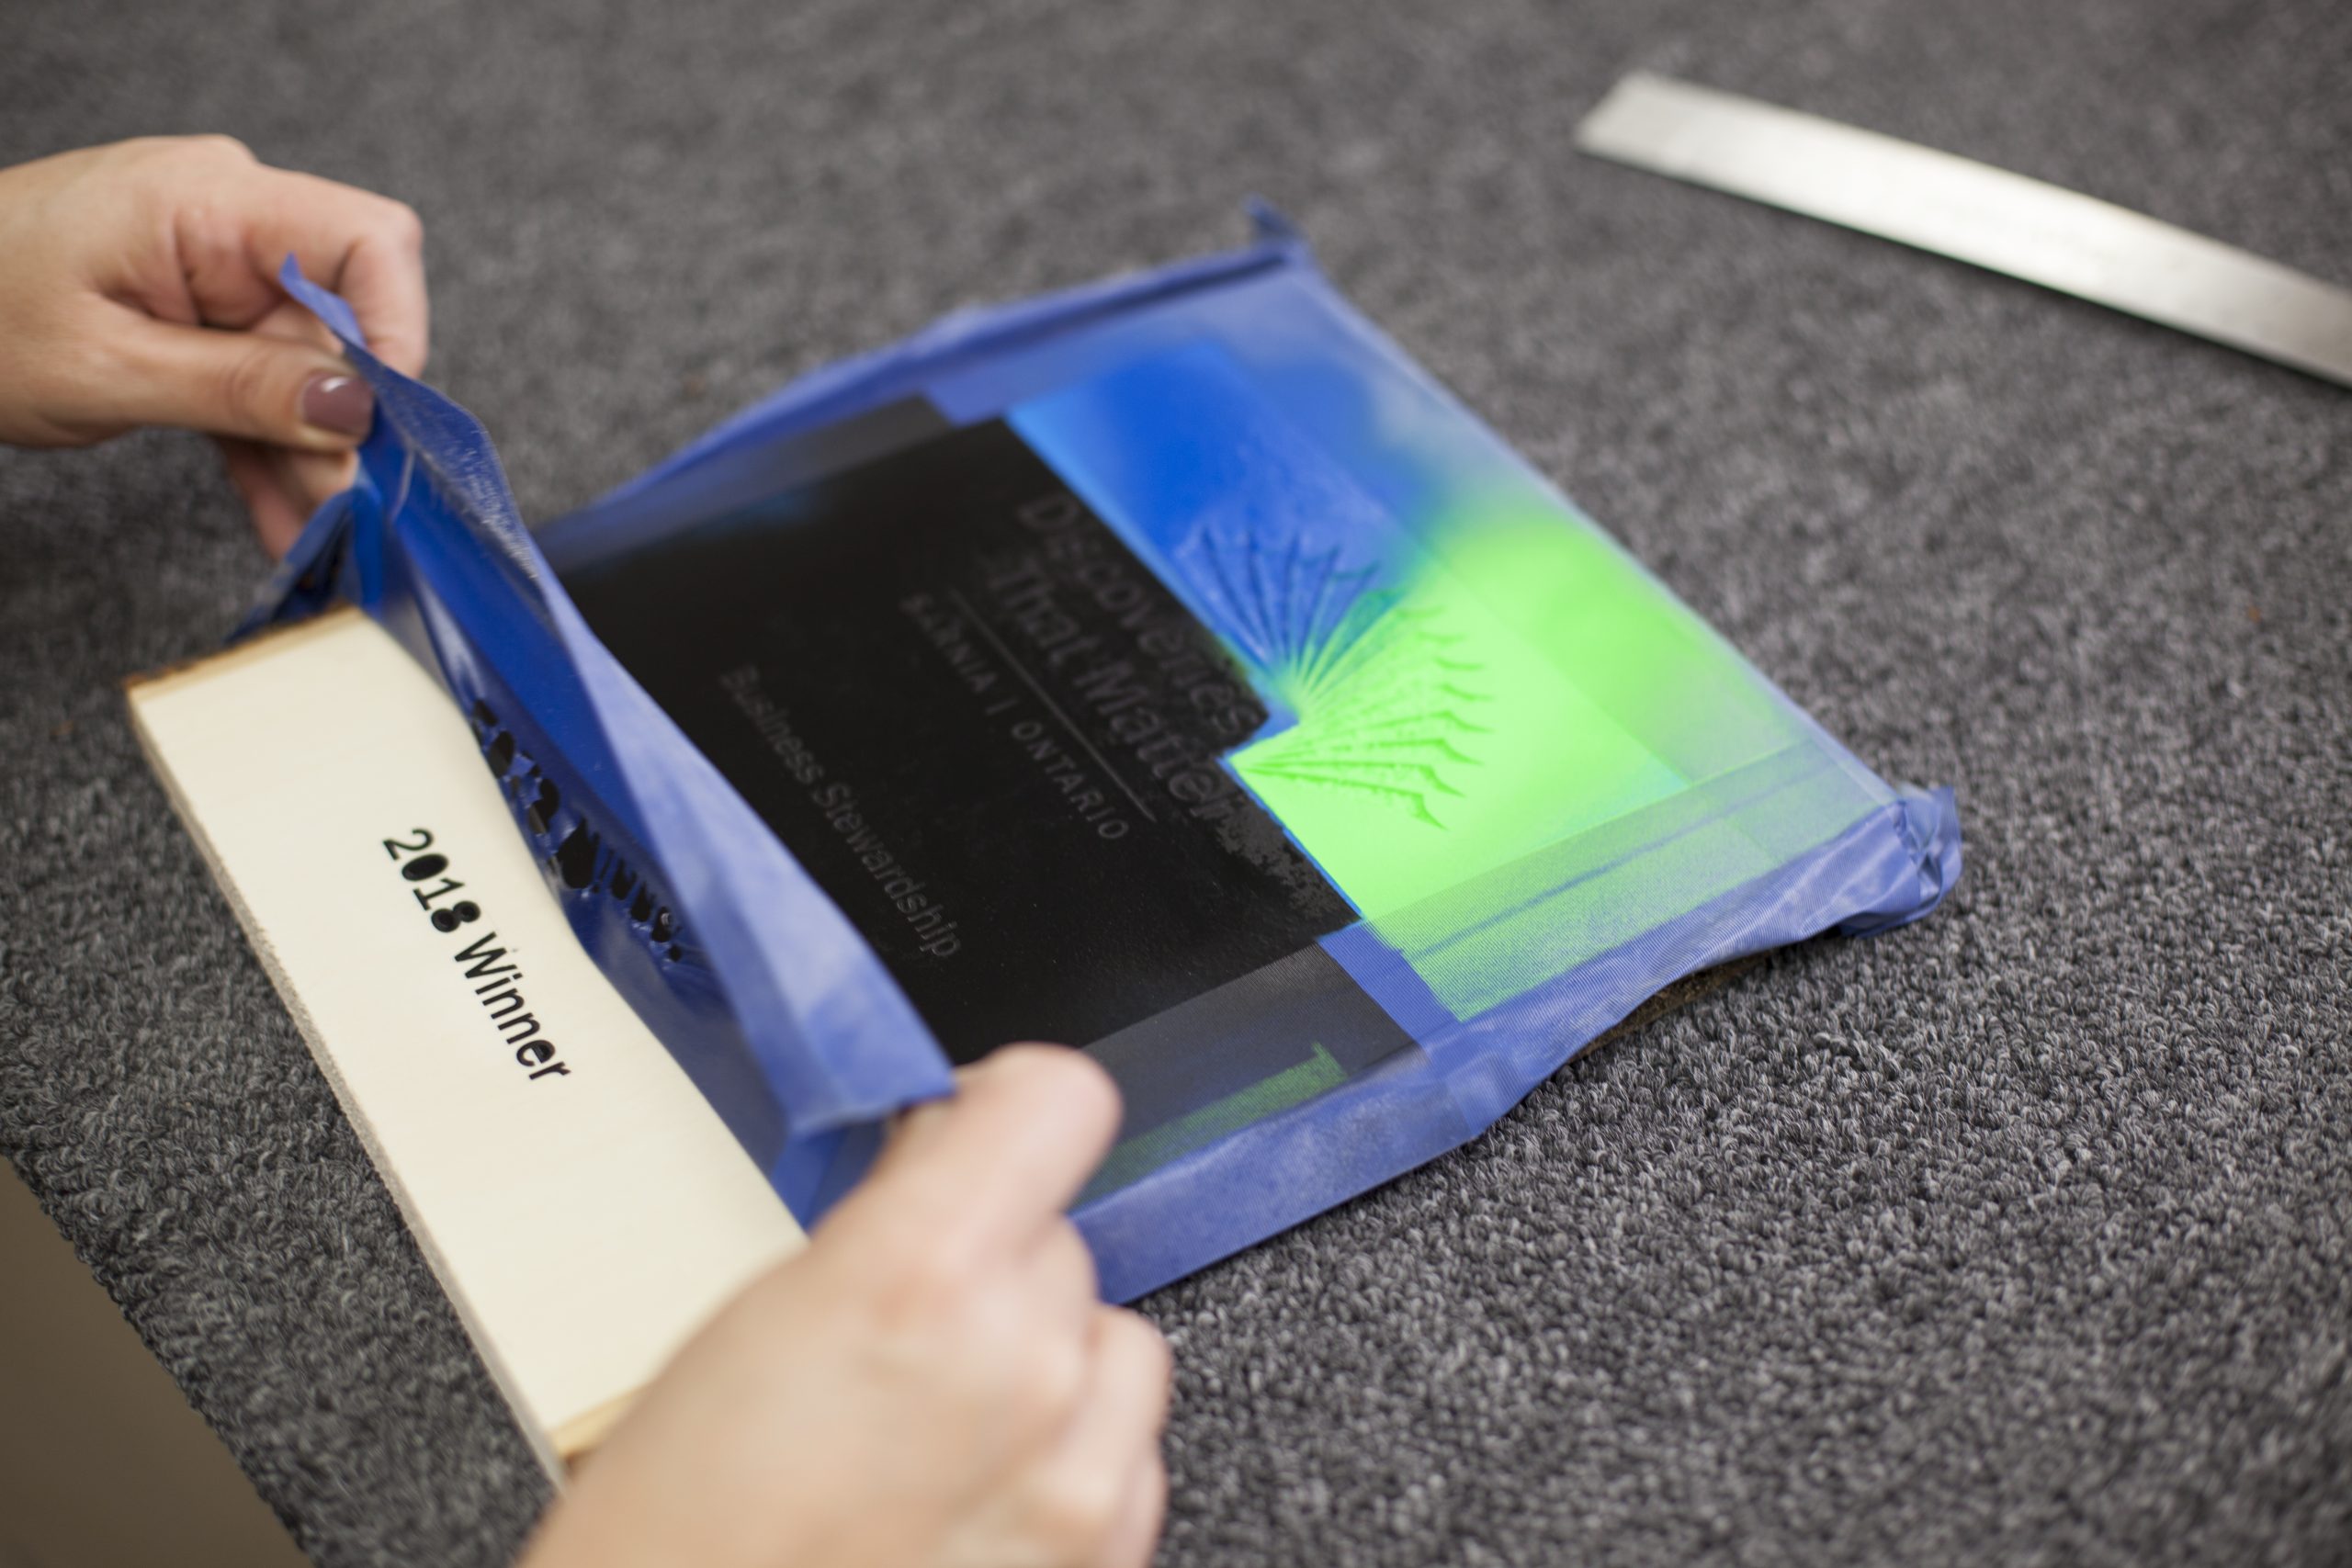
On this logo, the blue color was sprayed from the left into the center. The green color was sprayed from the right to the center. Spray light coats and always inspect the piece for complete coverage. Note: do not over-paint – it may result in the paint lifting up when the photomask is removed.
The multi-color spray paints are a great method to enhance a design. Try adding just a little color to a wood award or plaque to create a unique piece.