Try This: Sandcarve on a Wine Glass
Learn how to create a simple, yet unique design on glass.
Photoresist film allows detailed images in glass and it is the perfect sandcarving film to turn a design into a creative piece using abrasive to shade or light frost the image. SR3000 Self-Stick is just one film currently available to use for shading an image in glass. Following is a tutorial on how to create a simple, yet unique design on glass.
Materials used:
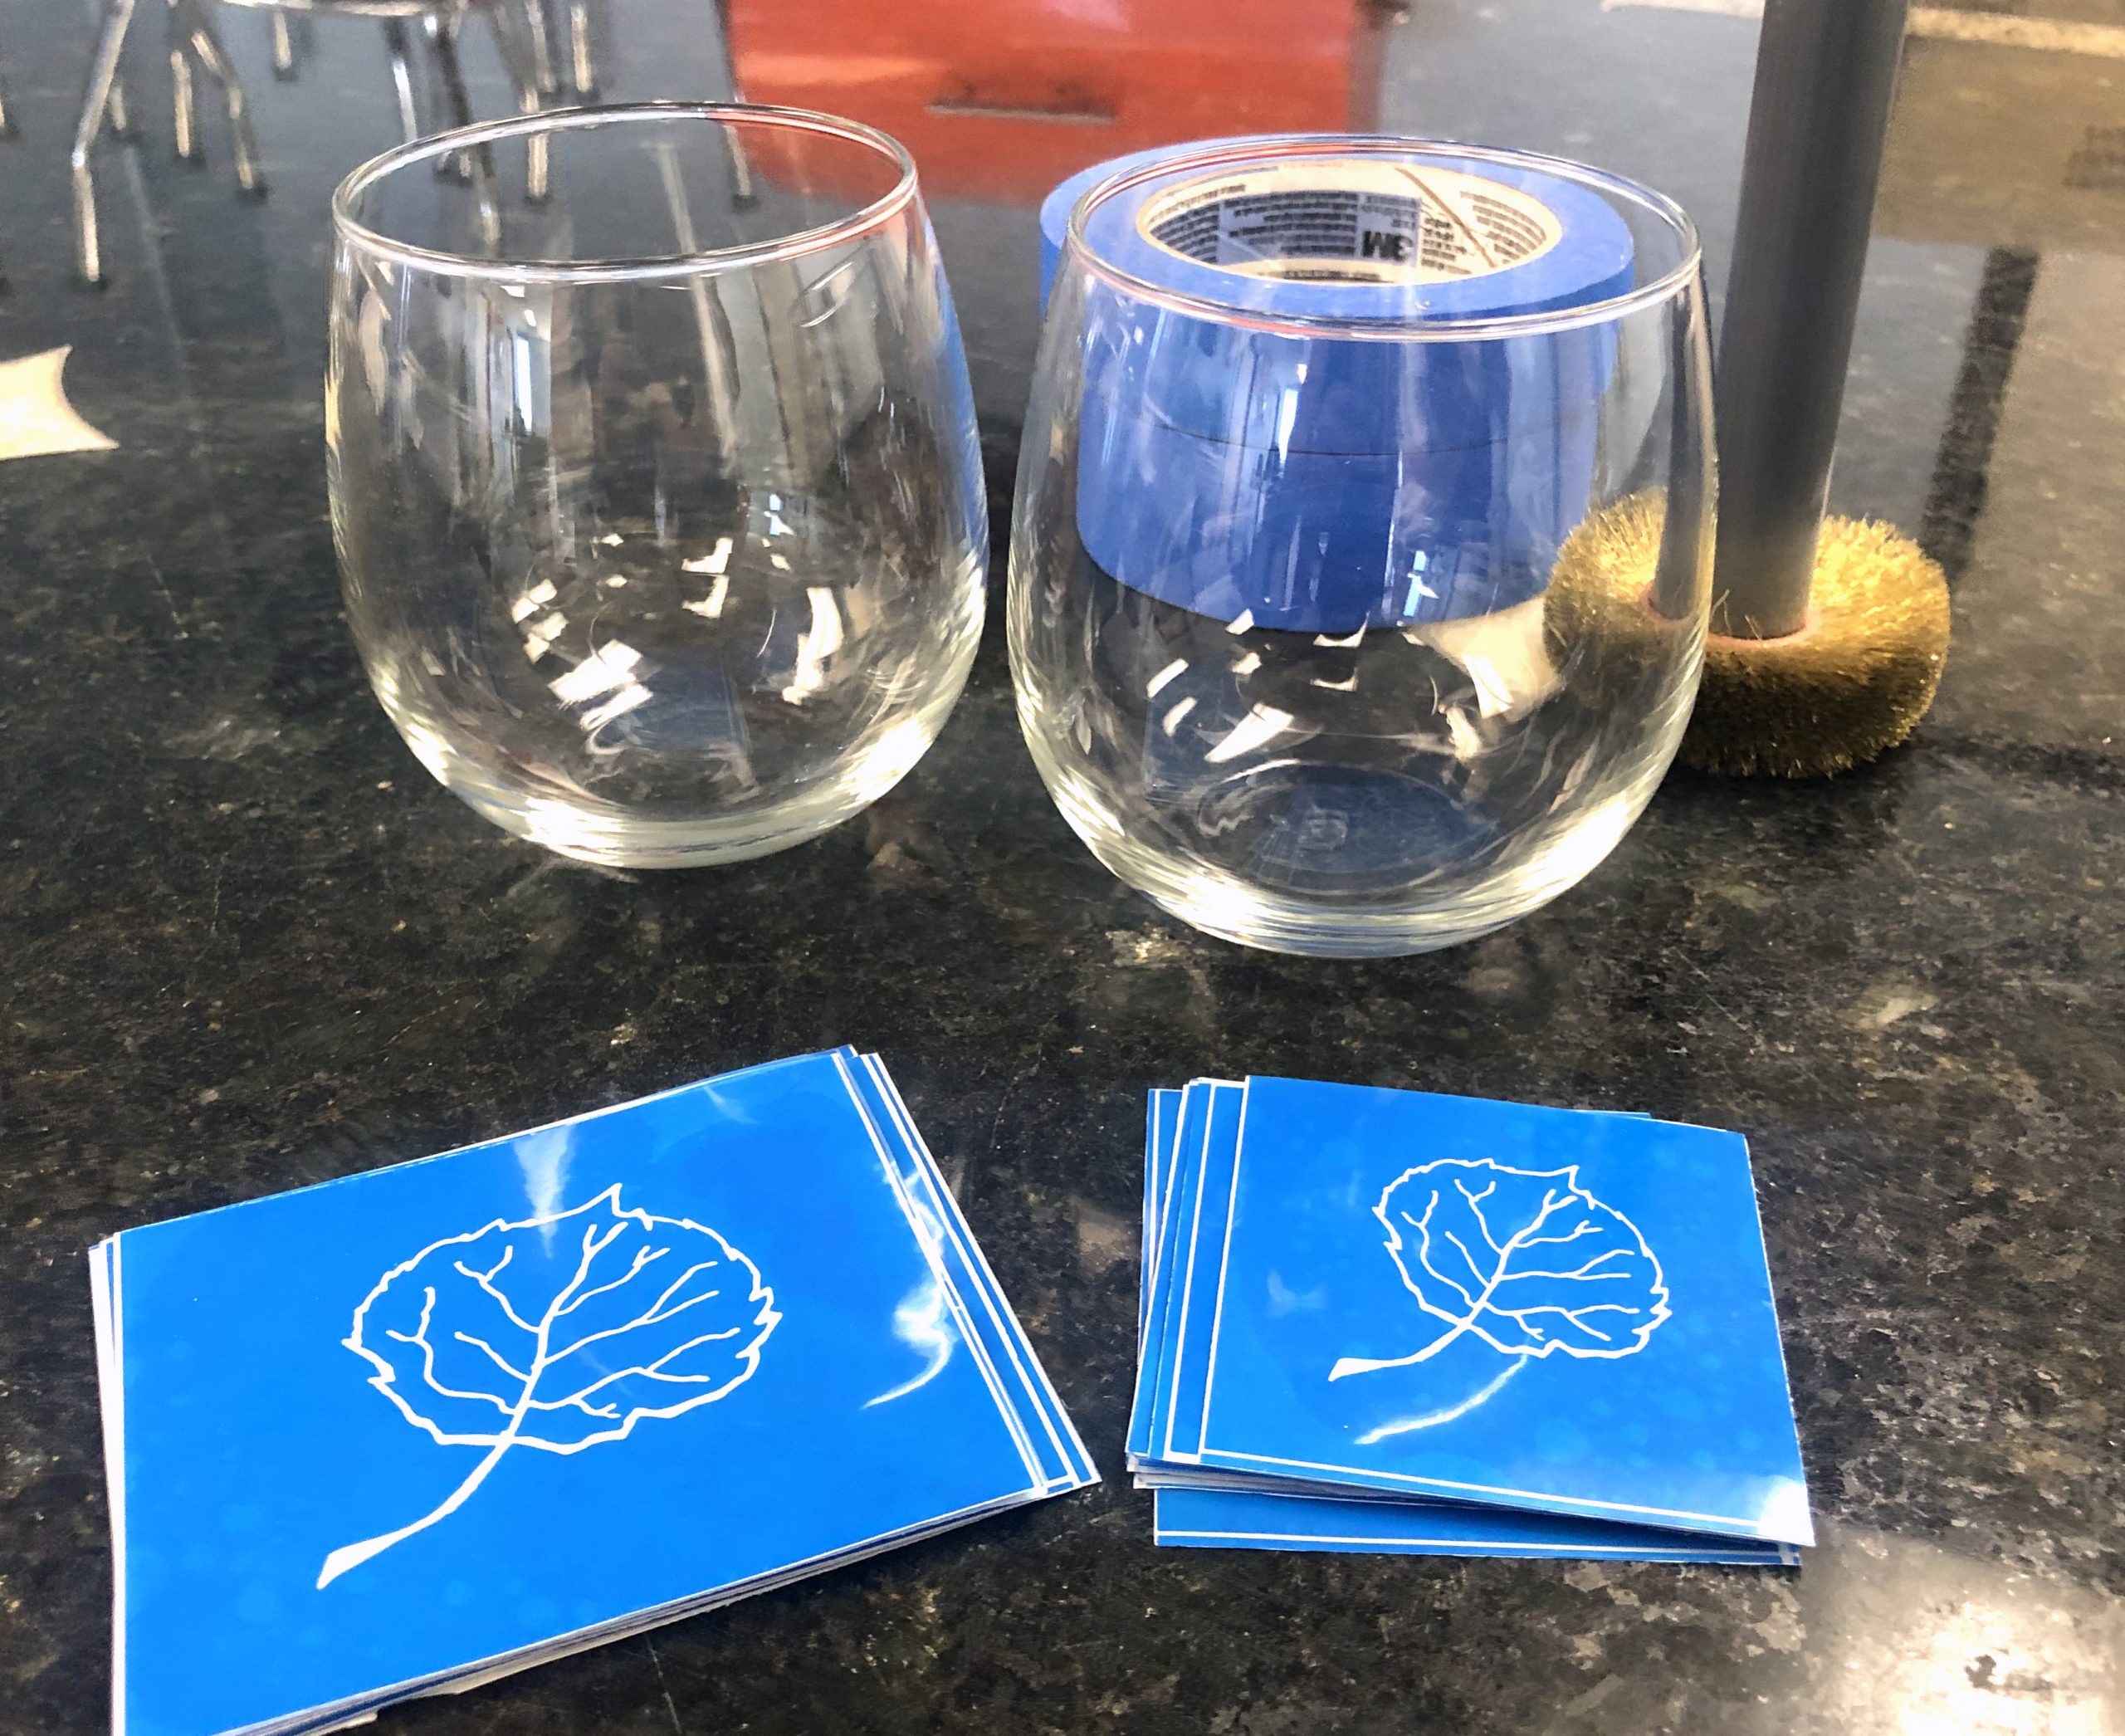
- Wine glass
- SR3000 3-mil Self-Stick stencil
- Wire wheel brush
- Painter’s tape
- 2034VXA sandcarving system (note: the blasting settings listed in step five may change if using a different machine)
- Aluminum oxide 150 grit (silicon carbide 150 grit can also be used)
Step One:
(All images courtesy Liz Haas)
Create your image in the film (if using something different, consult proper settings and applications for that film as they may differ). In the artwork for this example, the vein and stem will be black because it will be blasted first.
Step Two:

Place one or two leaves on the glass. For curved surfaces, remove the clear liner prior to applying the stencils. By removing the clear liner, the photoresist stencil becomes flexible on a curved surface.
Step Three:
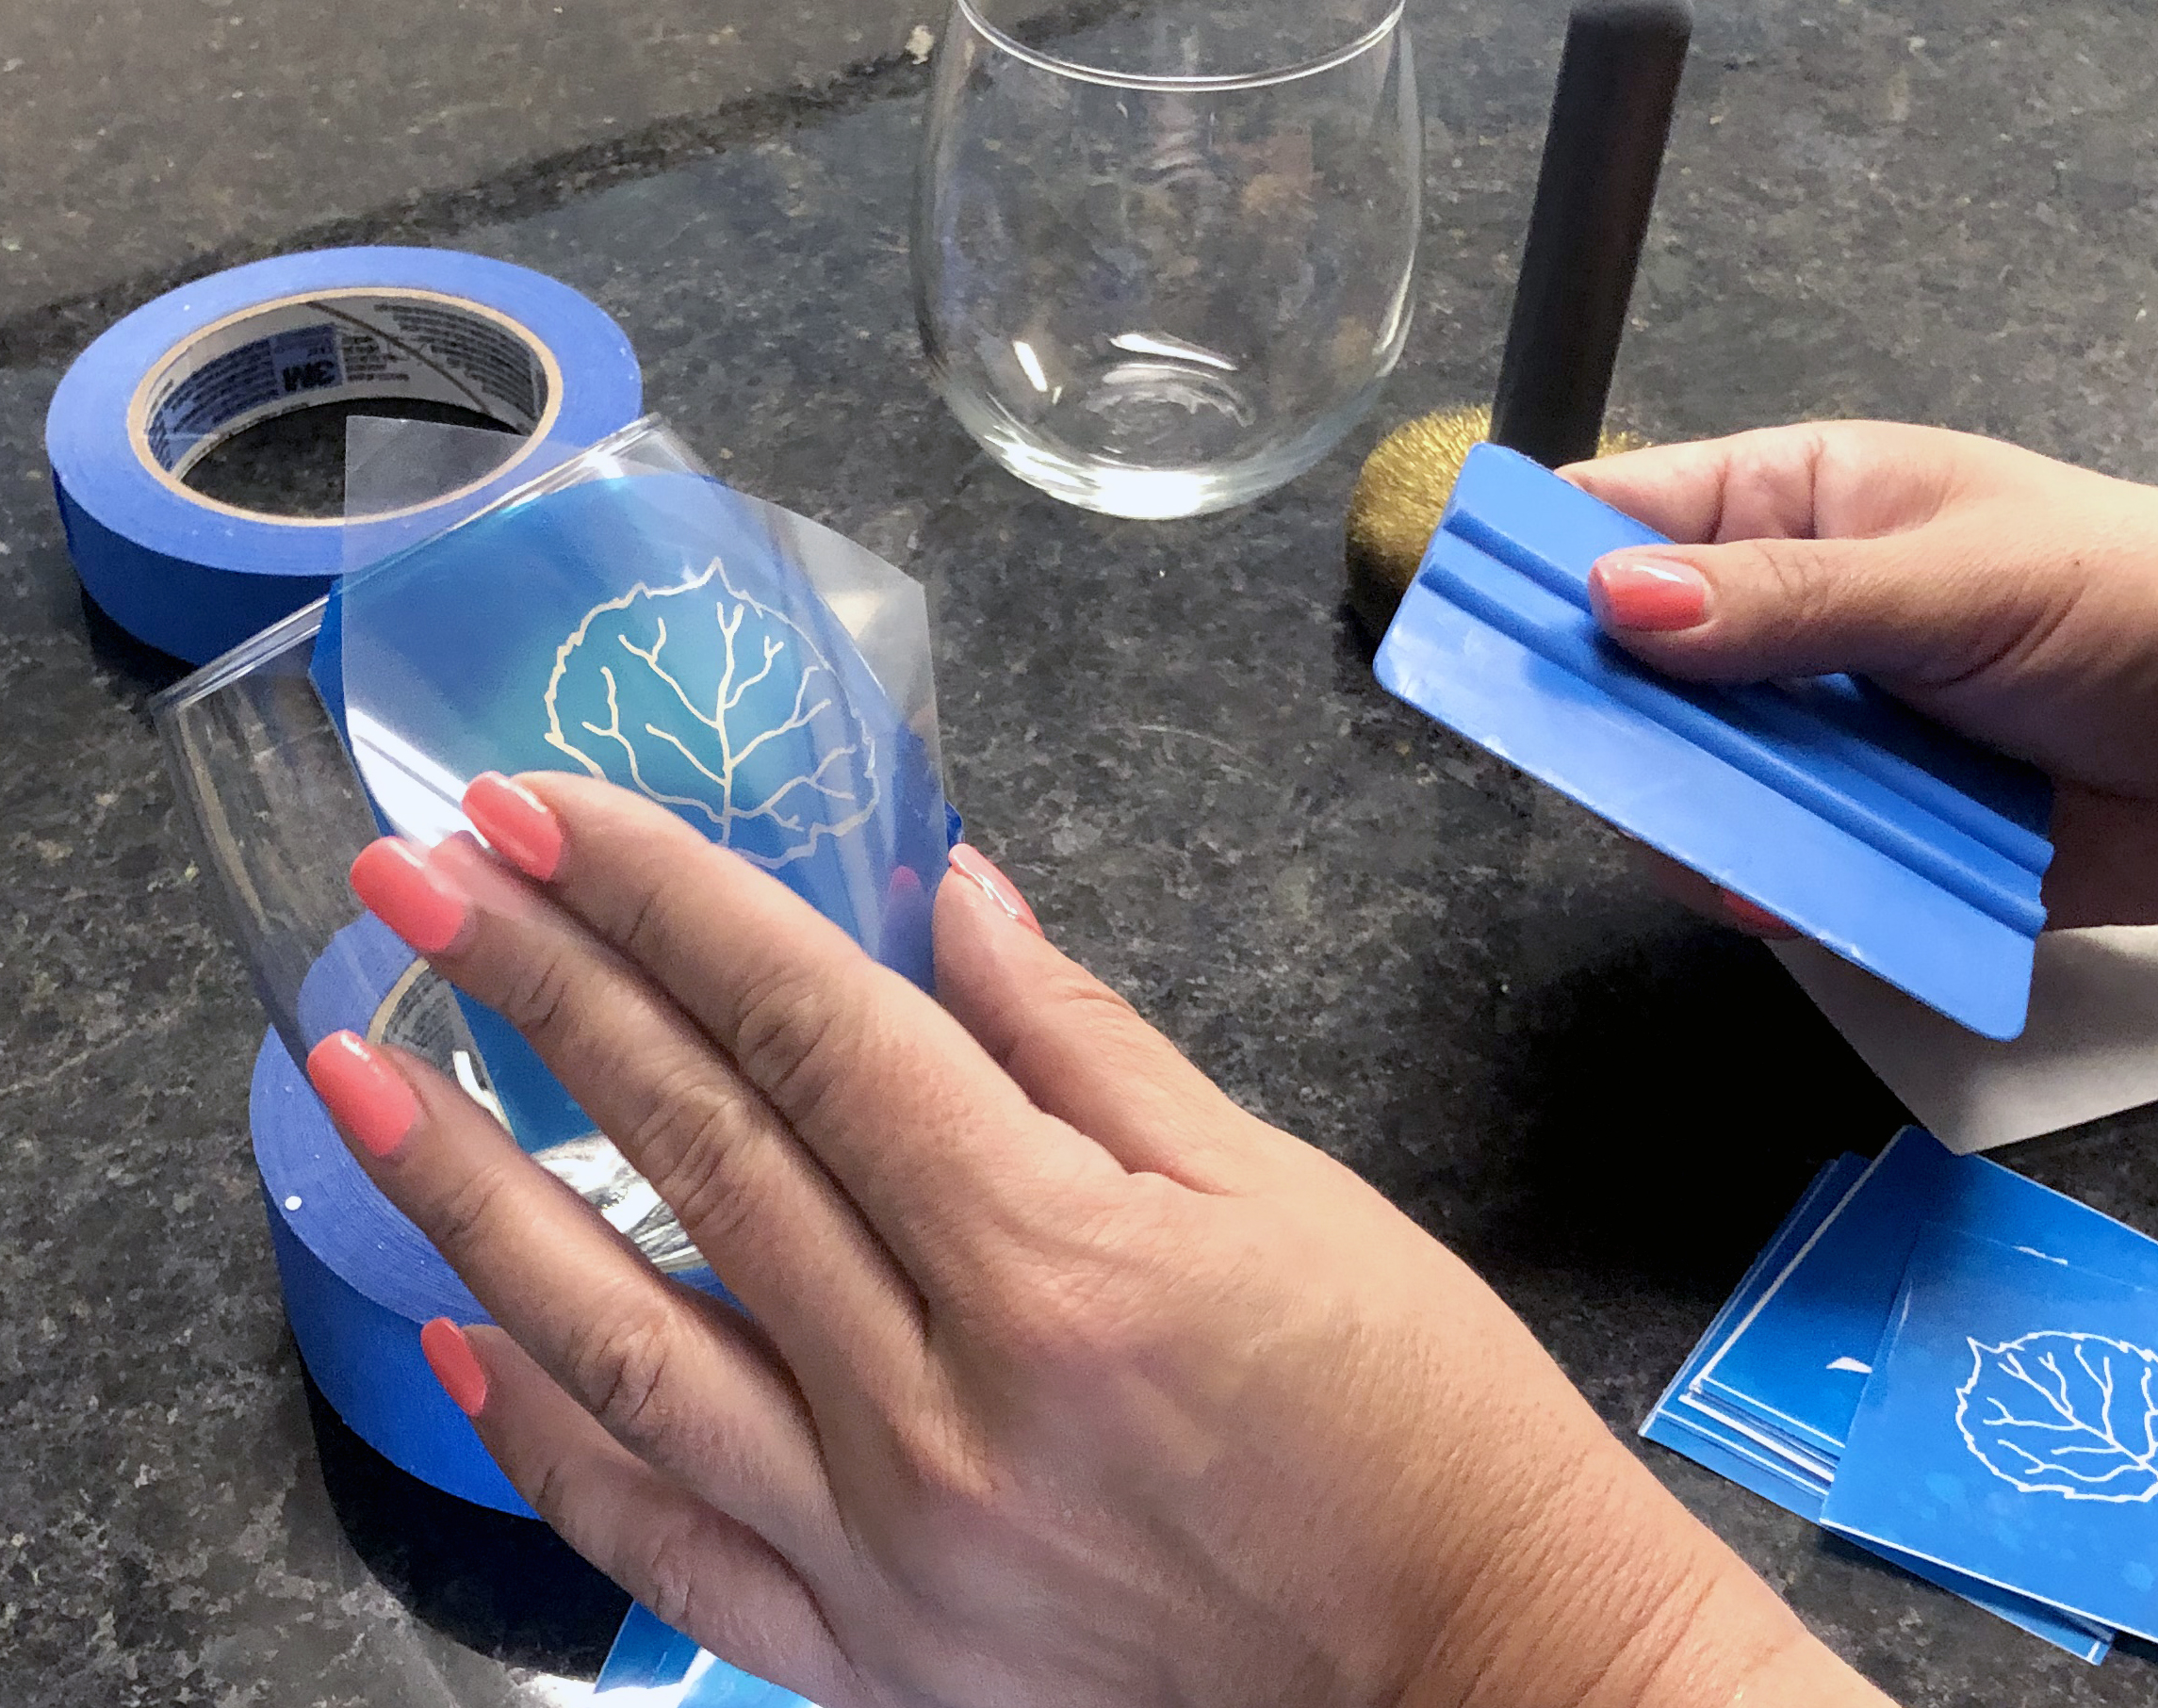
Secure the photoresist film to glass. Use your fingers to press the photoresist film down onto the glass or place the clear liner over the stencil and use a squeegee.
Step Four: This is optional – use a wire wheel brush on the photoresist stencil and apply tape to the exposed area. The wire wheel brush releases any air bubbles.
Step Five:
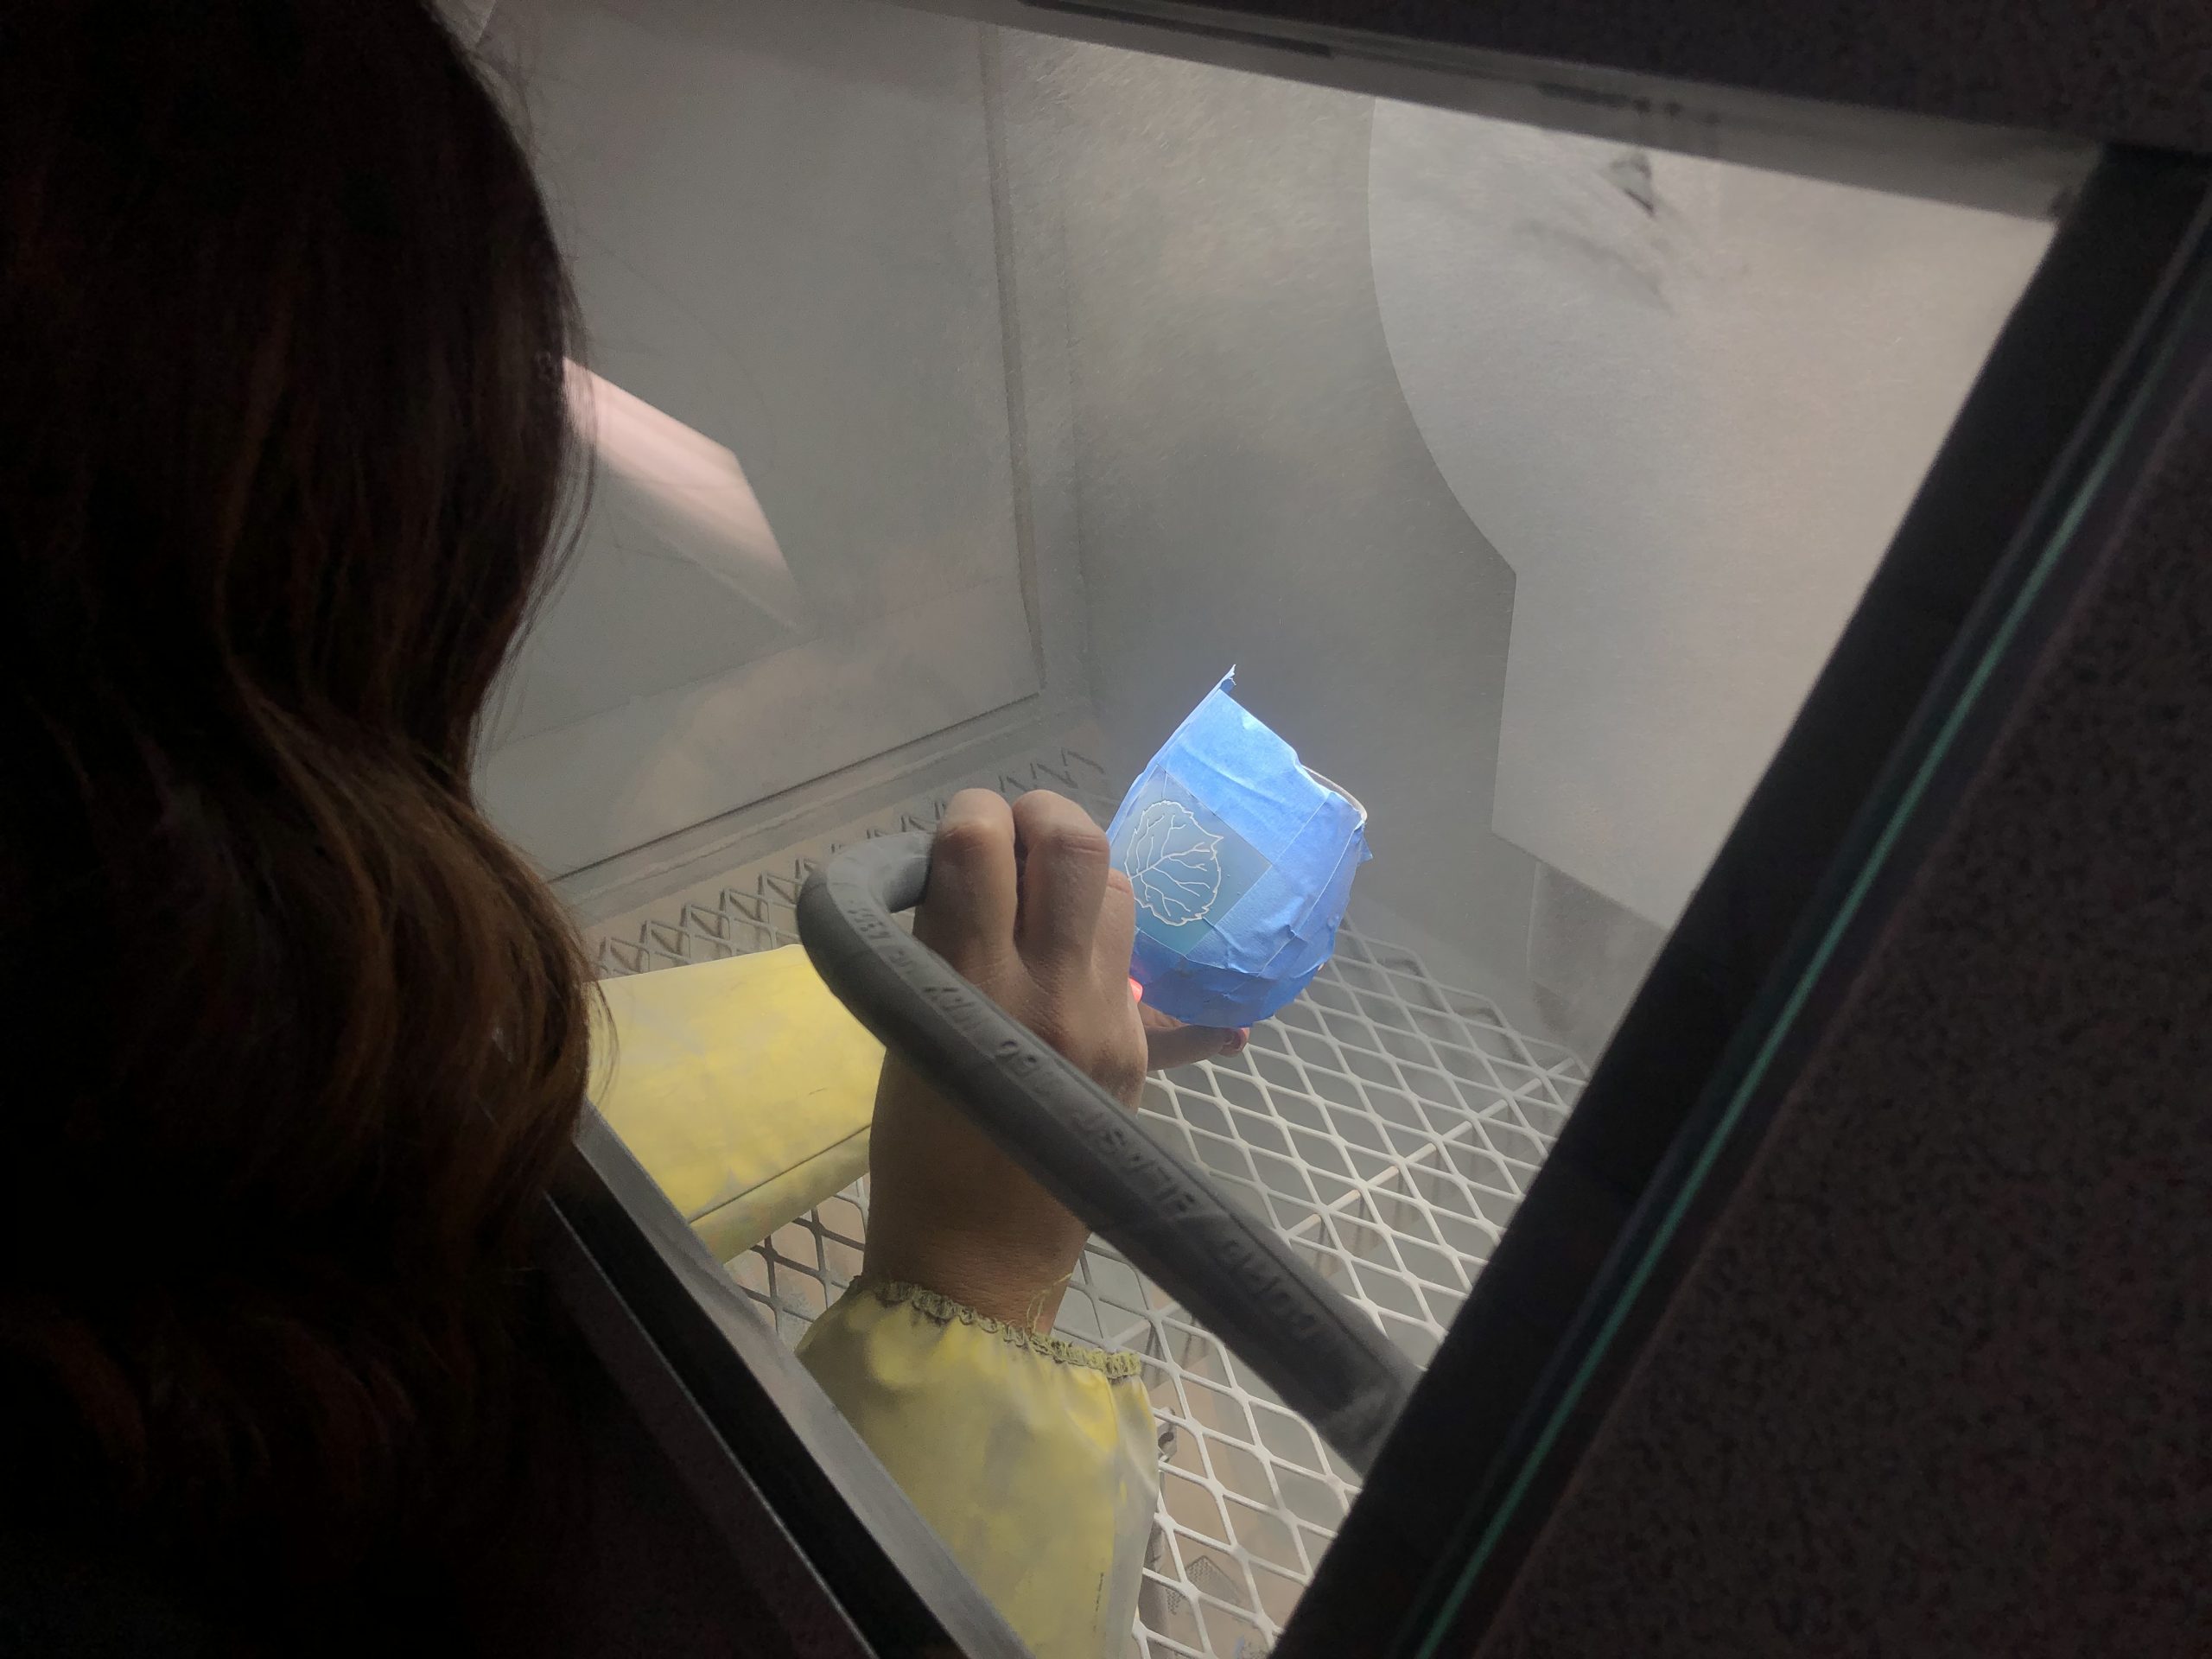
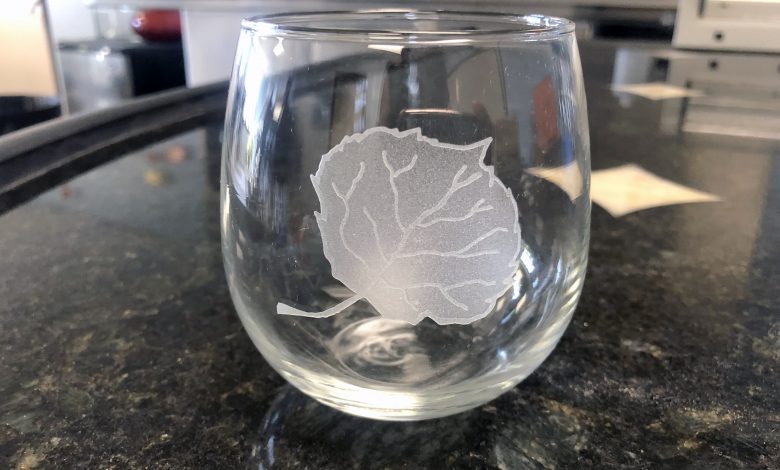
Sandcarve the leaf using 150 grit aluminum oxide or silicon carbide at 30 psi. Blast the outline, vein, and stem of the leaf with some depth. Once the outline is sandcarved, use a picker to peel up the reminder of photoresist in the design.
Reduce the blasting pressure to 20 psi. Hold the nozzle to the glass at a greater distance and sweep over the leaf. The abrasive should lightly etch, causing a shade of the leaf. There will be two different depths in one image. The outline, vein, and stem should be deeper than the shaded leaf, resulting in a unique look.
Step Six: Remove the photoresist stencil and clean the item with glass cleaner.