Try This: Sandcarve a Beer Mug
Break into the world of micro-breweries or tack on this project just in time for St. Paddy's Day.
Sandcarving glassware is a wonderful way to take the quality of the design to the next level. It adds depth that you are unable to achieve with a laser engraver and is the perfect technique for special, customized glassware.
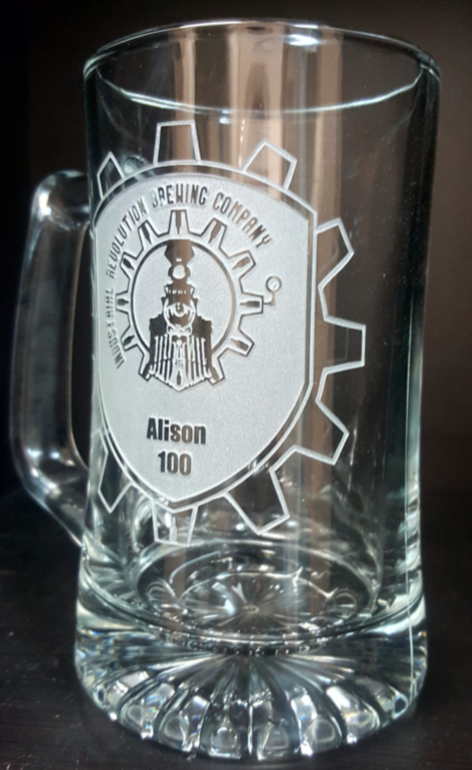
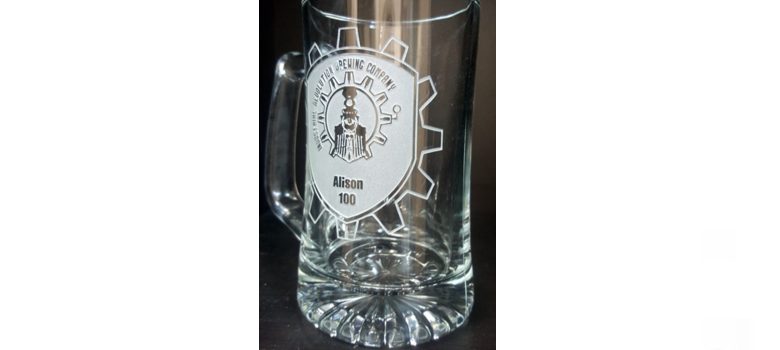
In this how-to article, we sandcarve a beer mug for mug club program at a brewery. With all the microbreweries in Colorado, many are interested in adding mug club programs to honor their most valuable customers. For something like a mug club mug, each mug will be personalized with the person’s name and ready for use at their local brewery.
Anytime that you want to add personalization and efficiency to your sandcarving, using a laser to create the pattern is a great time-saver. This tutorial walks you through creating a sandcarved mug and using a laser engraver to create the pattern.
Materials Needed:
- Sandcarving machine
- Masking tape
- Laser tape (used here is from IKONICS Imaging)
- Laser engraving machine with rotary attachment (used here is a 60-watt Epilog Helix)
- Settings (for this example): Speed 25%; Power 50%; 600 DPI
Step 1: Prepare the surface of your mug for the laser tape. Clean the surface of your mug with denatured alcohol to remove dust and anything else stuck to it. Once you have a clean surface, apply the laser mask to the area where you would like to place your pattern. Apply the laser mask as free of air bubbles as possible. A squeegee tool is recommended for smooth application of the laser mask.
Images courtesy Braden Todd
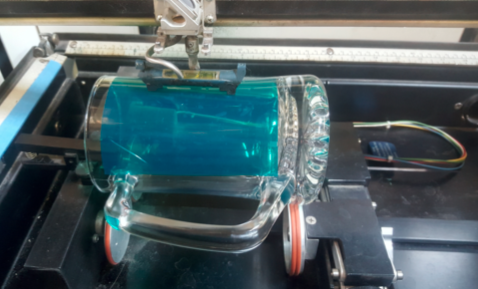
Step 2: Once you have the laser masked mug, set up your laser engraver. Your laser engraver must have a rotary attachment that rotates the mug as the laser mask is engraved. Ours allows us to remove a section of our drive wheel, which then allows the handle of the mug to clear the wheels and not affect rotation. First, adjust the wheel on the rotary and clamp the mug into place. Next, level the mug and focus the laser to the top of the mug.
Step 3: Set up the file in the computer. Make sure the image that you want to blast is sized and oriented properly in your computer file. You also need to make sure that the artwork is black and white in the RGB color palette. The laser settings vary depending on your artwork and machine power.
Step 4: For the artwork in this example, there are some fine details in the logo, so we followed the above settings. The desired result with the laser mask is that the laser raster engraves through the mask where you want to sandblast and leaves the mask everywhere else. The other perk to using a laser is that you can make sure a run of mugs all has the artwork at the same height because the laser’s X,Y axis was set the same for them all.
Step 5: Use masking tape to mask off any other areas of the mug that are not covered by the laser mask. Make sure to push down any bubbles that you have on the laser mask pattern and make sure the tape is pressed down tight as well. Any bubbles or weak areas are potential areas where sand can hit the mug when you are blasting and cause over-blast.

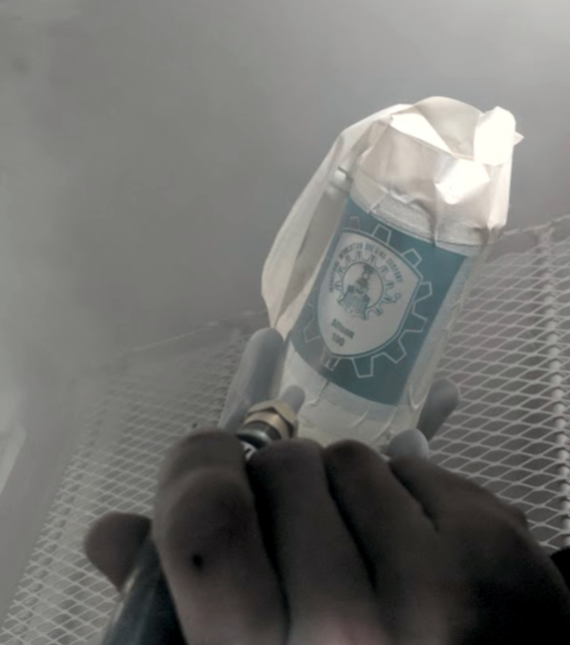
Step 6: Now it is time to sandblast! I like to turn on the blast cabinet and set my pressure before putting my items in the cabinet. Once the cabinet has pressurized, I set my pressure to about 40 psi for these mugs. I can use higher pressure, but this pattern has some details that can be lost quickly.
Step 7: When you get your glass, double check for any tape that has lifted off and look for any air bubbles that are close to your engraving. If there are air bubbles, they can result in a blow off.
Step 8: Do not rush the blasting process – go over the area evenly and at the same speed to have a smooth and level result. Ensure that your sand is hitting your design at 90 degrees. If not, you will see that your carving has an angle to it, which increases the risk of a blow off. I like to start at the bottom of my design and make small circles that overlap each other the whole way through the design, while slowly rotating my piece with my left hand. The faster you make your circles and rotate the mug, the longer you have to blast because the sand isn’t carving the glass as efficiently as it would if you were going slowly.
Step 9: As you carve the design, you will see a shadow that starts to form on the edges of your engraving – this helps you gauge when you have achieved your desired depth. If you go too deep, the edges that form can get sharp.
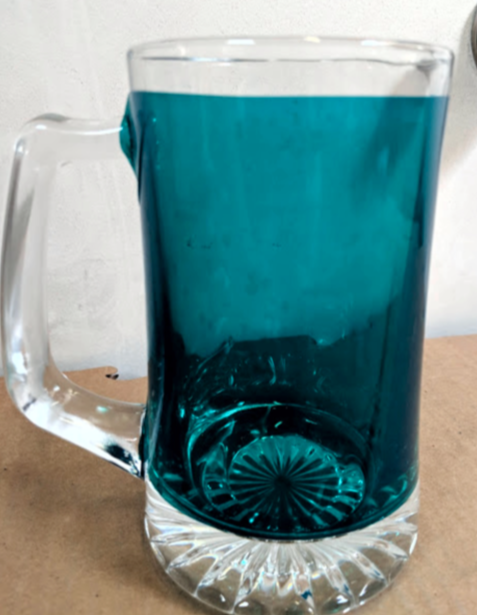
Step 10: Once you are done with the sandblasting, let the mug soak in warm water for 10-20 minutes. Soaking helps make the process of removing the laser mask much easier. Once you remove the laser mask and masking tape, rinse and dry the mug, and remove any residual laser mask using denatured alcohol.