Try This: Printable Flex Heat Transferring with a Cutting Plotter
Learn how to complete a customized T-shirt with cracking-free capability using this heat transfer product.
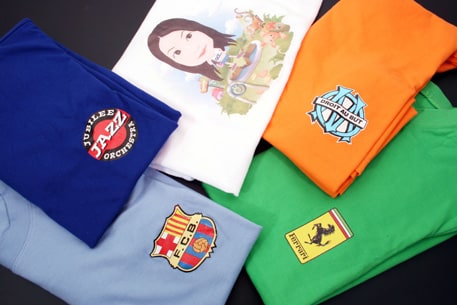
Flex is excellent for textile heat transferring as it is highly flexible and tender with exceptional elongation and perfectly adheres to the textile with cracking-free capability. This tutorial shows you how to heat transfer an image on any type of Flex material to a T-shirt. A cutting plotter, an eco-solvent printer, a heat press machine, and some Flex is all you need to complete a customized T-shirt full of fun and creativity.
Parameters:
Speed: 60
Force: 75
Offset: 0.275
Quality: Normal
Heat transfer temperature: 130 C (approximately 266 F). Note: the machine in this example uses 130 C, but each brand will have different effects, usually between 120-150 C (248-302 F) is a safe bet.
Heat transfer time: 15 seconds
Step one: Create the image
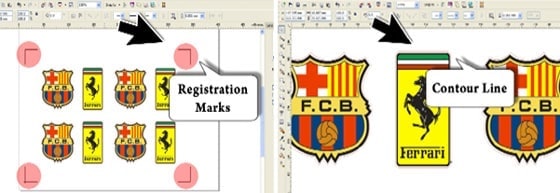
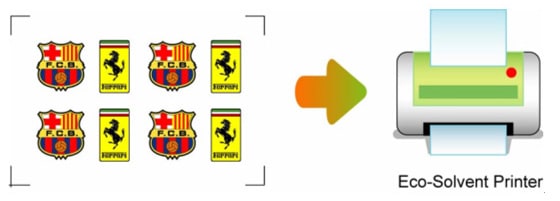
Images courtesy GCC
Create an image with a contour line and registration marks in CorelDRAW or Illustrator and print it out on a heat transfer printable Flex by an eco-solvent printer.
Step two: Cut the image
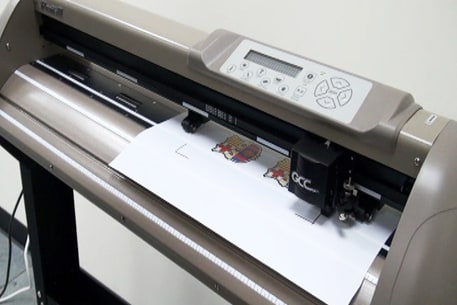
Cut your image using a cutting plotter.
Step three: Prepare the Flex
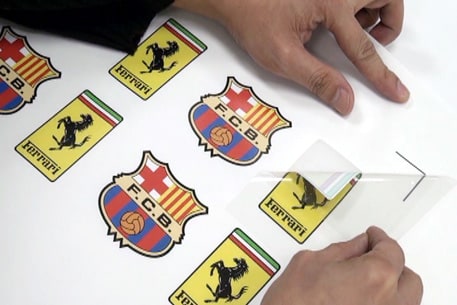
Firmly fix the printable Flex on the heat transfer backing and remove the backing.
Step four: Complete the transfer
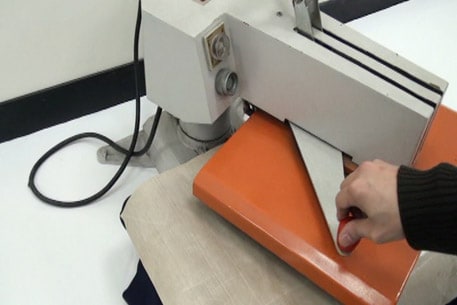
Place a Teflon sheet over the T-shirt and press the heat transfer backing with the printed image on the T-shirt using a heat press machine at 150 C for 15 seconds.
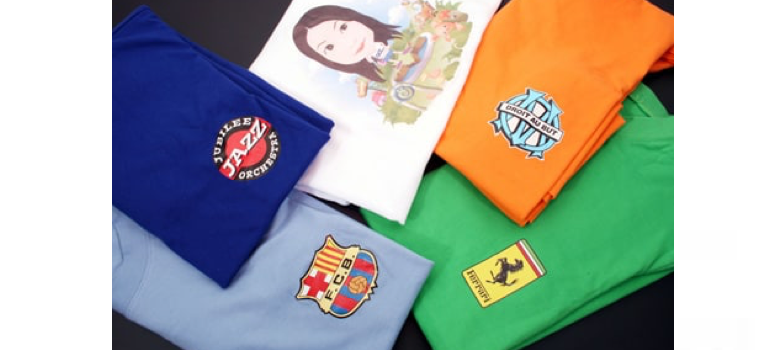
Now you have a customized T-shirt.