Try This: Photo Mosaic On AlumaJet
Create a striking, full-color photo mosaic on real metal using AlumaJet.
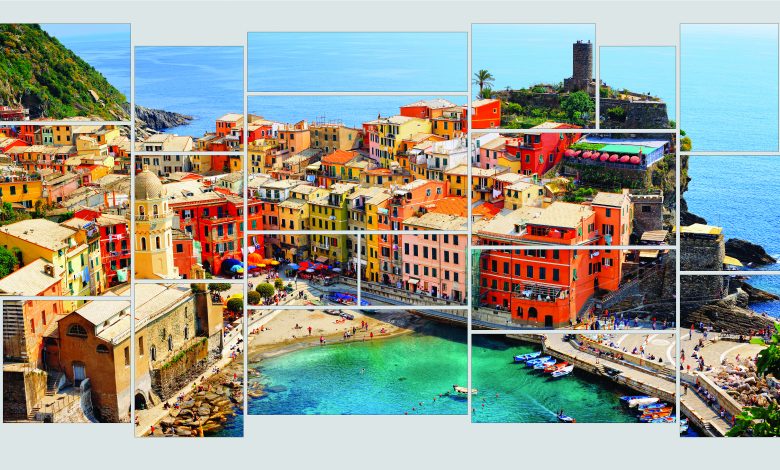
You can create a striking, full-color photo mosaic on real metal using AlumaJet. AlumaJet inkjet printable aluminum allows you to print full-color, photographic-quality images directly on to metal with an off-the-shelf inkjet printer. In this project, we used an image of Cinque Terre, Italy, to create a photo mosaic.
Step one: pick your artwork
You’ll need a high-resolution image to start with. We used someone’s vacation photo from their honeymoon. The better the quality, the better the end result, especially if you are creating a large mosaic (ours was 18″ X 24″).
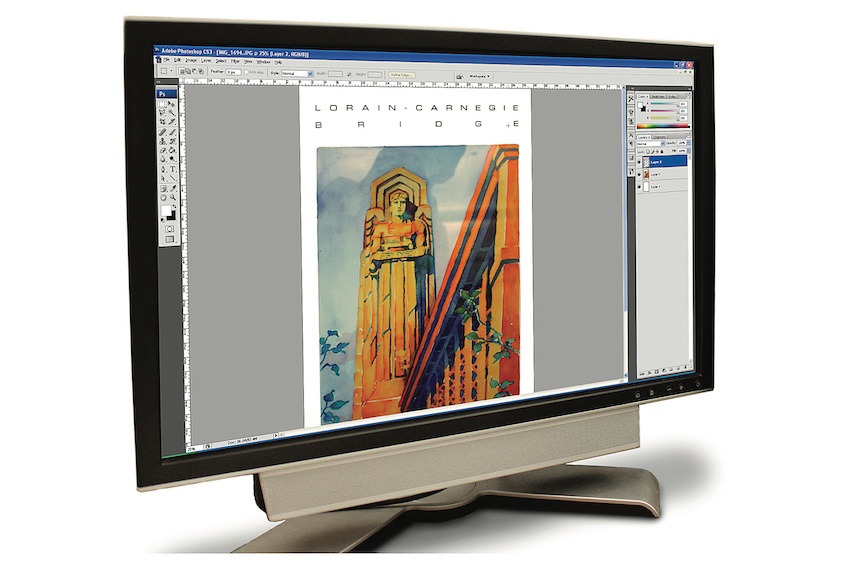
Design your print using the appropriate software. (All images courtesy AlumaJet/Horizons)
Step two: print your AlumaJet
Printing on AlumaJet is just like printing on paper. Many standard inkjet printers work with AlumaJet. We used the Epson 3880. After printing, we allowed the piece to dry and then protected it with a cold laminate.
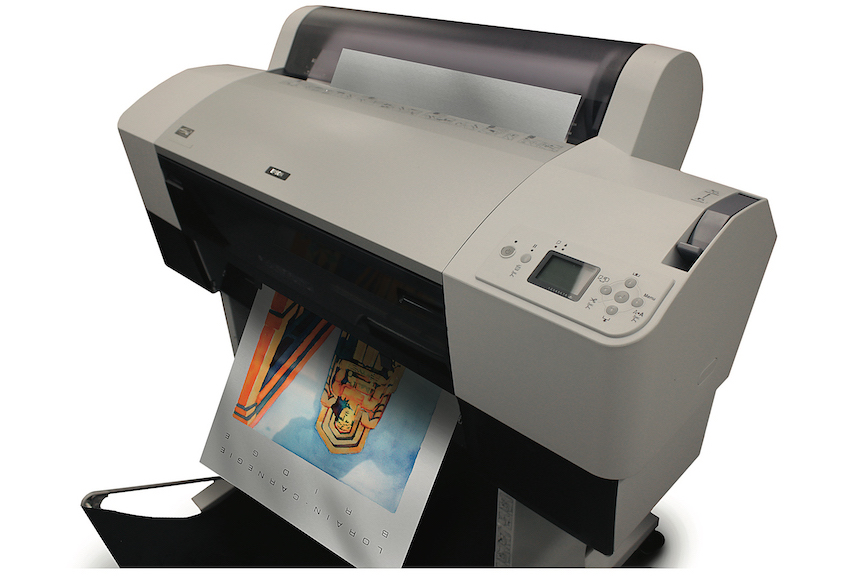
Load and print AlumaJet with an inkjet printer.
Step three: cutting up your AlumaJet into pieces
Using a standard AccuCutter shear, we cut up the artwork into about 20 pieces of various sizes.
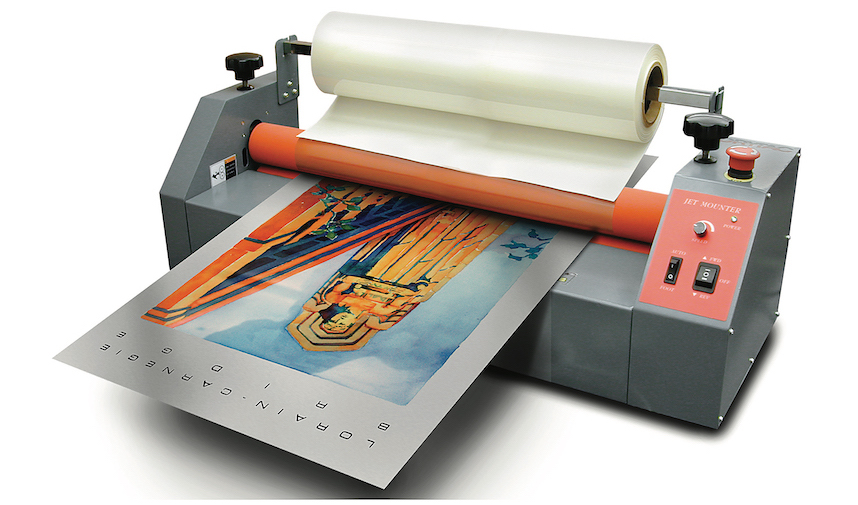
To protect the sheet, either use cold lamination or a spray coating.
Step four: mounting your pieces
We wanted the background of the mosaic to be metal, so we used a large piece of AlumaJet as the backer. Using hobby glue and foam board, we mounted the individual pieces about one-half inch and one inch off the backer with a one-eighth inch border to provide separation.
The result turned a vacation photo into a high-end-looking piece of artwork.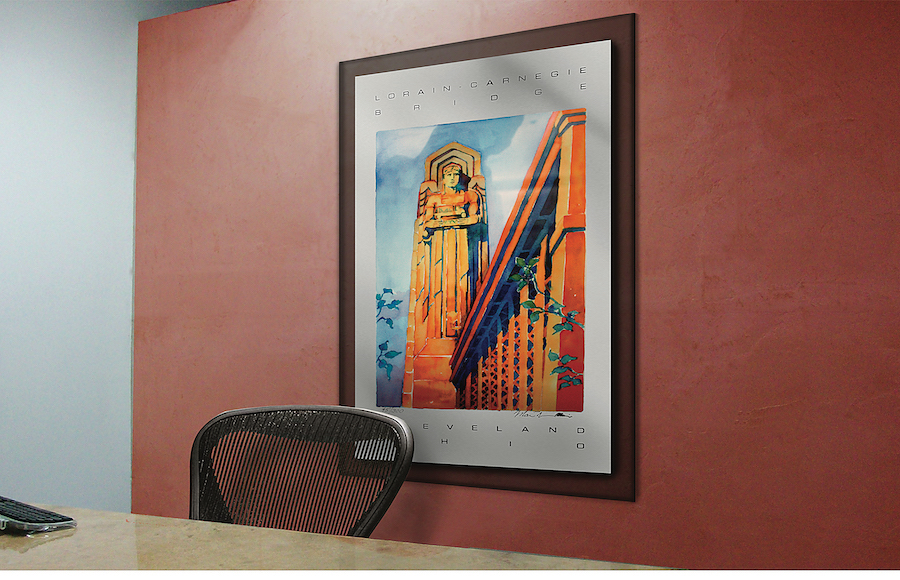
Cut and mount your AlumaJet sheet.