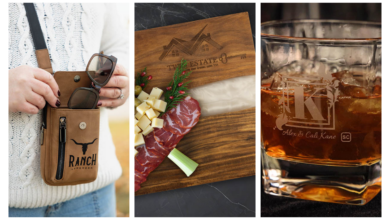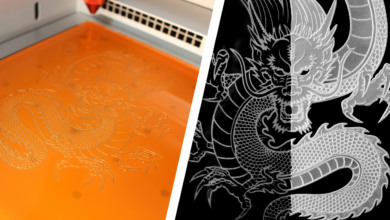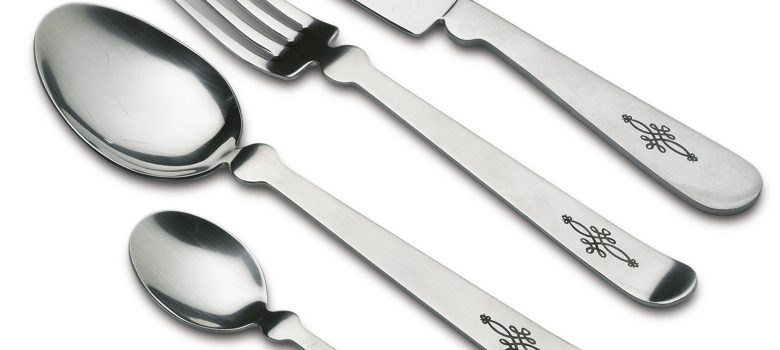
Cutlery is continuously a best seller for shops equipped with laser technology – so how can you take it to the next level and double your sales? The laser marking process of annealing keeps the surface of the material intact, which means the quality of the knife is upheld through continuous use and washing. Expanding your line of products that last a lifetime means higher profit and a wider range of clients such as high-end restaurants and the heirloom gifts market. Follow this tutorial and see who you can attract…
Materials Needed:
- Stainless-steel cutlery
- Laser machine (Used here: Trotec Speedy 360 flexx, 30-watt fiber laser with 2.85-inch lens)
- LEGO bricks or other toy building bricks (to use as a jig for positioning the items in the laser)
- Vacuum table laser processing table
Note: If you don’t use LEGO bricks for positioning the material in the machine, make sure that the surface is as flat as possible (parallel to the table).
Settings Used:
Printer driver settings:
- Process mode: standard
- Resolution: 1,000 dpi
- Cut line: non
- Halftone: color
Laser parameters:
- Color: black
- Process: Engraving FLP
- Power: 90 percent
- Speed: 3 percent
- ppi/Hz: 30,000
- Passes: 1
- Air Assist: on
- Z-offset: +2 mm
Step One: Design
Start by importing a pre-made template or creating your own design. Then, send the job to the laser with the printer driver settings mentioned above.
Step Two: Laser marking
The next step is to determine and set the laser parameters (recommendation above). These vary depending on your laser machine and its available laser power.
Tip: We have used LEGO bricks as jigs since they are a practical solution if you have to compensate different heights or define exact positions of the workpieces. This is especially useful when the production of a template does not make sense.
Step Three: Post-processing
Thanks to the annealing process, no post-processing is necessary. Your cutlery is dishwasher-proof while the designs remain intact.
-Josh Stephens, Trotec Laser
