Try This: Laser Engrave a Tumbler with Logo
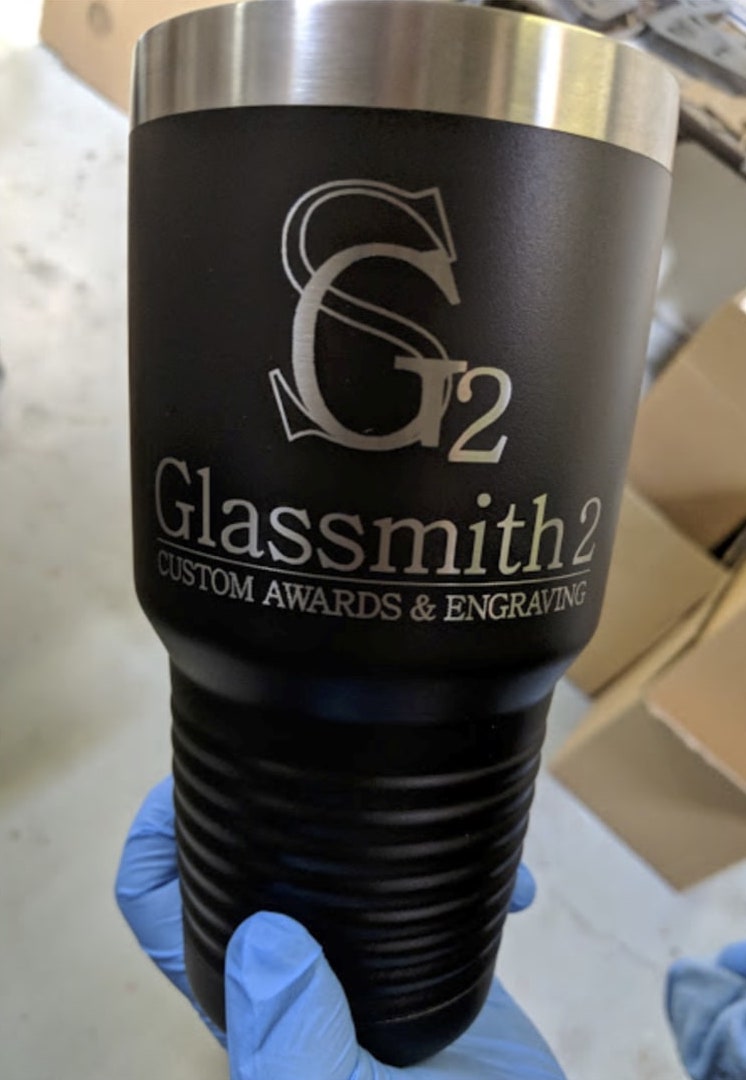
In this tutorial, Braden Todd of Glassmith2 walks you through the process to laser engrave a logo on a powder-coated stainless-steel tumbler.
Tumblers are a popular item right now, with many businesses using them as promotional products with their logo laser engraved on them. This how-to article walks you through the process to laser engrave a logo on a powder-coated stainless-steel tumbler.
Materials Needed:
- Laser engraving machine with rotary attachment (used here is a 60-watt Epilog Helix)
Laser Setup Steps:
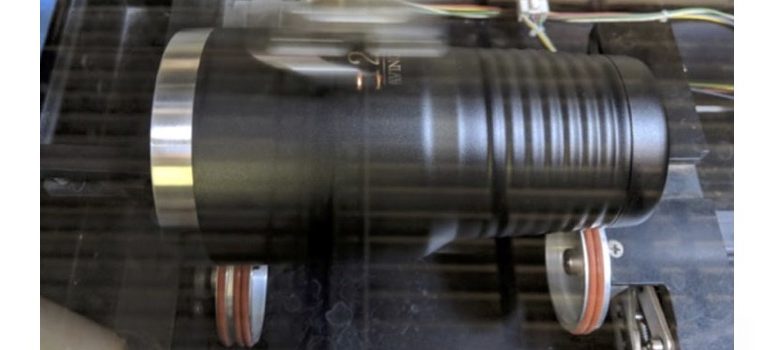
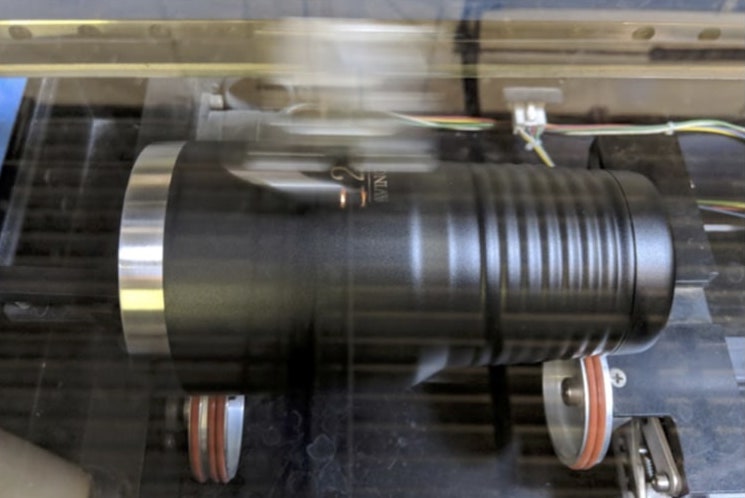
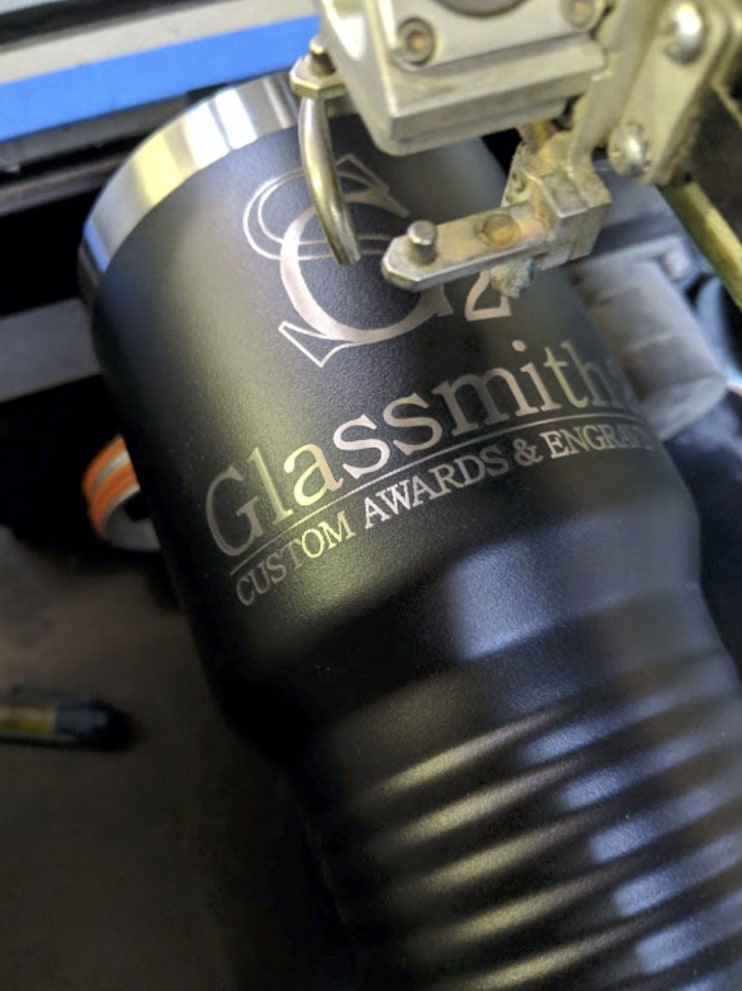
- The first thing that you need to have for your laser engraver is a rotary attachment. The rotary attachment holds the tumbler and allows it to rotate as it is being engraved. If you have a clamp on your rotary setup, I recommend using it for tumblers. The clamp holds the tumbler in place and makes sure it rotates properly. Incorrect rotation leads to a distorted engraving of the logos and wasted product, time, and money.
- Once you have your tumbler placed in the rotary attachment, level the tumbler and focus the laser to the surface of the tumbler. If the tumbler is not level, you will get a distorted image when engraving. After these steps are complete, set the X-axis of the laser to center position of where you would like your logo to appear on the tumbler.
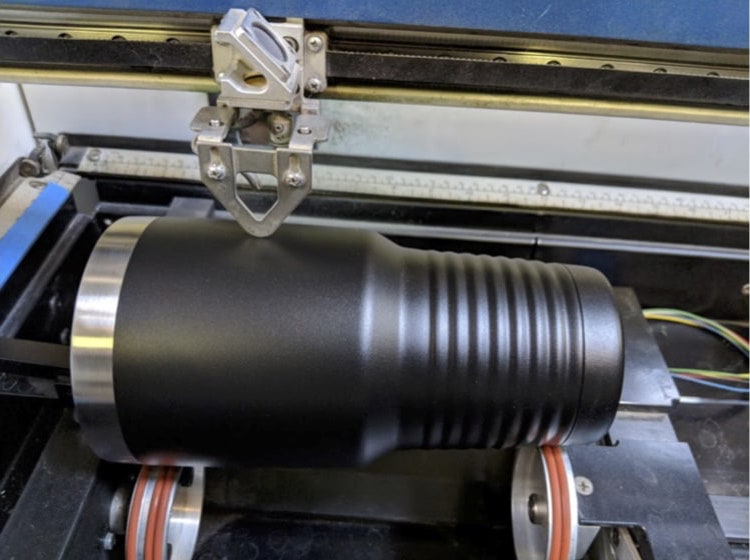
Images courtesy Braden Todd
Graphic Setup Steps:
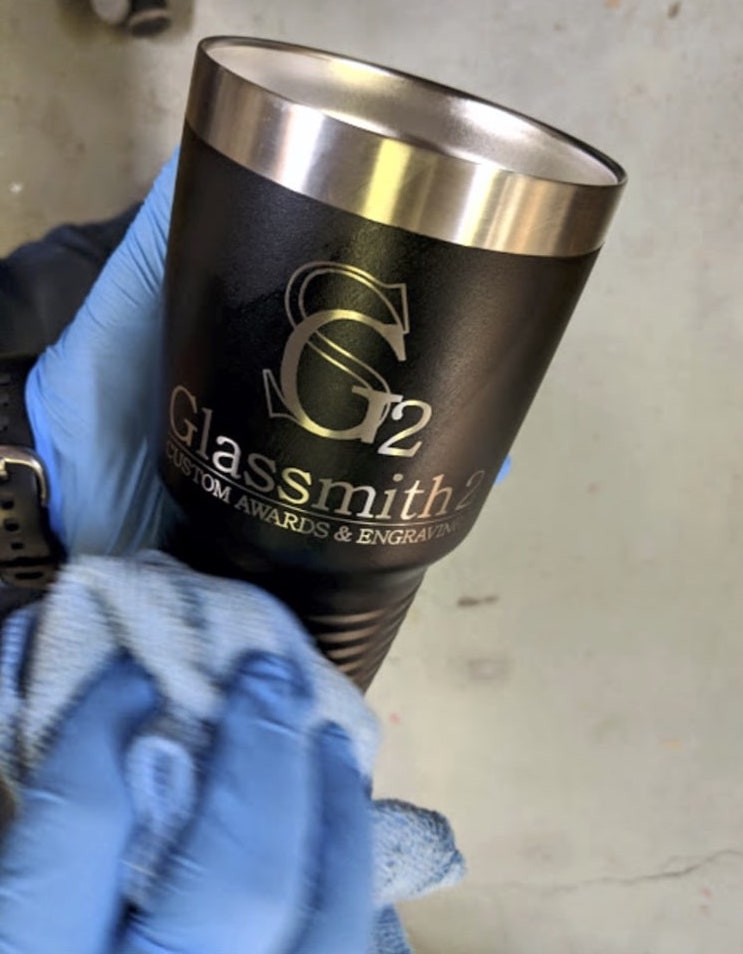
- Once you have the tumbler set up properly in the laser, send your artwork to the laser. Before you send your image, make sure it is properly sized and oriented in your computer file. Usually this means rotating it 90 degrees on the computer screen. Make sure that the artwork is black and white in the RGB color palette. Any CMYK fills or outlines that are present in the artwork will not translate to a solid engraving, so convert any colors to RGB if needed.
- One of the difficulties with powder-coated tumblers is that the laser settings vary depending on the thickness of the powder coating, which can vary between style, brand, and even color. Under-power won’t burn through all the coating, while over-power can blast away fine details of the logo. For a 60-watt laser, I recommend starting with 50% speed and 80% power at 300 DPI. It’s always a good idea to have at least one extra for testing since these settings may not work perfectly for every tumbler and/or laser.
- Now that you have your tumbler set up correctly in the laser and the artwork sent to the laser, you are ready to engrave. Double check your setup, make sure all fans/filters are turned on, and hit go.
Cleanup Steps:
Once the laser is finished engraving, remove the tumbler from the laser. You will most likely need to clean some residual powder coating from the surface of the tumbler. Solvents or degreasers work well for cleaning tumblers, such as ZEP. To clean, spray a small amount of the cleaning solution on the engraving, wait 20-30 seconds, and wipe away. Always wear gloves during this step and wipe completely clean. Since these will be used for drinking, we also recommend another thorough cleaning to remove any leftover ZEP from the outer surface of the tumbler.
That’s it! Package and repeat… and repeat… and repeat…