Try This: Laser Cut Paper Silhouettes
Follow this tutorial, and you'll be well on your way to crafting your own paper silhouette artwork.
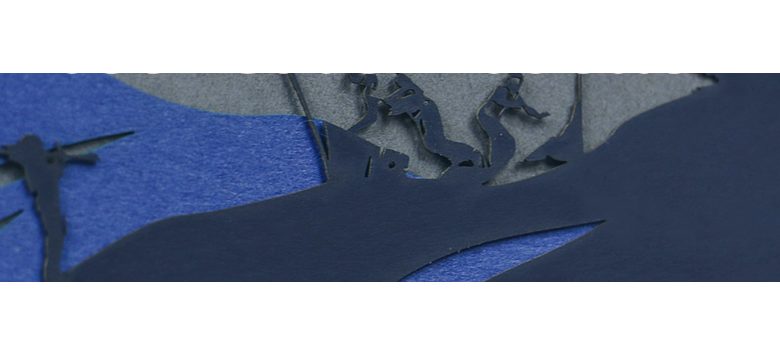
Searching for a unique gift or decoration idea? This tutorial teaches you how to create your own paper silhouette artwork.
Required materials:
- 1 sheet laser paper orange-red
- 1 sheet laser paper slate gray and self-adhesive
- 1 sheet laser paper blue and self-adhesive
- 1 sheet laser paper dark blue and self-adhesive
- 1 sheet laser paper black and self-adhesive
- Covering material
Machine used:
- Speedy 360
- 80 watt
- 1.5″ lens
- Honeycomb vacuum table
For this sample, you can use any laser machine from the Speedy laser engraver series, or an equivalent from another manufacturer.
Tip: For delicate and detailed cuts, we recommend using the 1.5″ lens.
Step One: Create Your Design
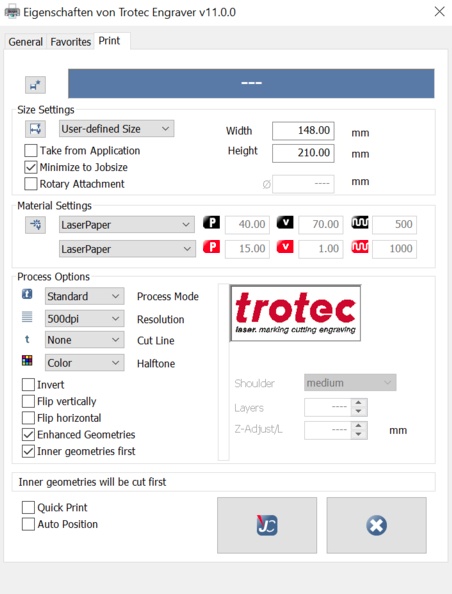
Images courtesy Trotec
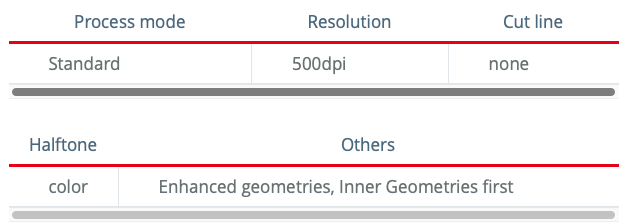
Import your own graphics and edit the silhouette design as needed. Then, send the graphics for each layer of your design to the laser (this design uses five) with the following criteria:
Step Two: Laser Process the Paper
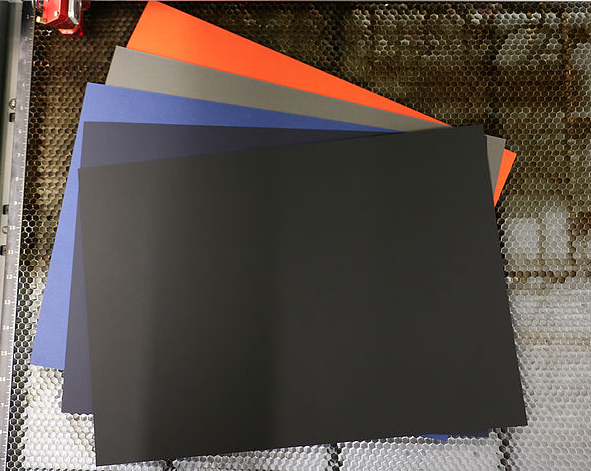
Laser cutting different types and colors of paper.
Organize your mix of colored paper sheets in their correct order, according to your design. Place them flat in your Trotec laser machine. Cover the remainder of the working surface to allow for a strong vacuum. Parameters may vary by laser machine model and beam strength.
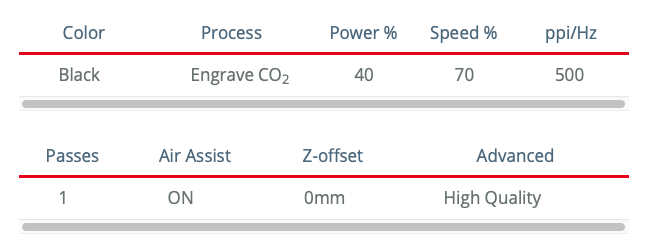
Laser Parameters: Engraving
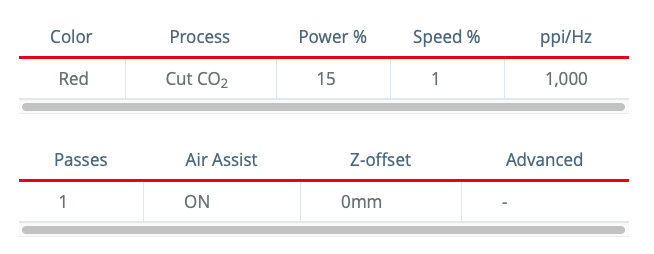
Laser Parameters: Cutting
Step Three: Assembly
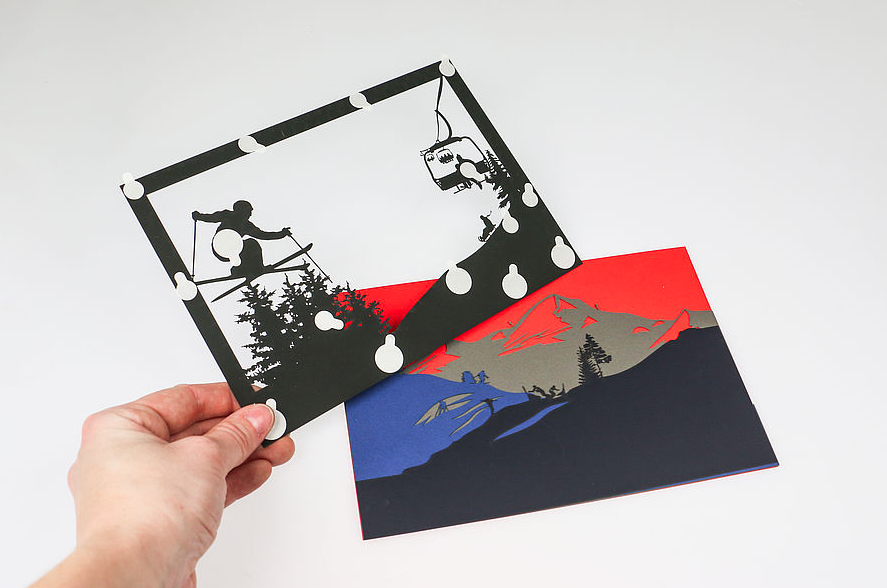
Stick the different paper layers together to finish your multi-layer silhouette.
Choose one color for the backing plate. Next, arrange the colored sheets in the correct order, in line with your design. If you are following our design, use the orange paper as the backing plate, and then place the remaining colors in the following order:
- Slate gray
- Blue
- Dark blue
- Black as finishing
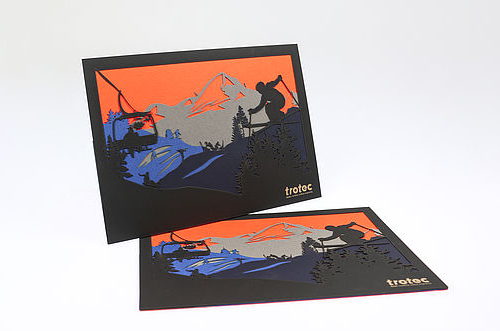
Inspiration for a laser cut silhouette.