Try This: Laser Cut Games and Puzzles
Learn how to create this fun craft to sell at toy shops, craft fairs, schools and more!

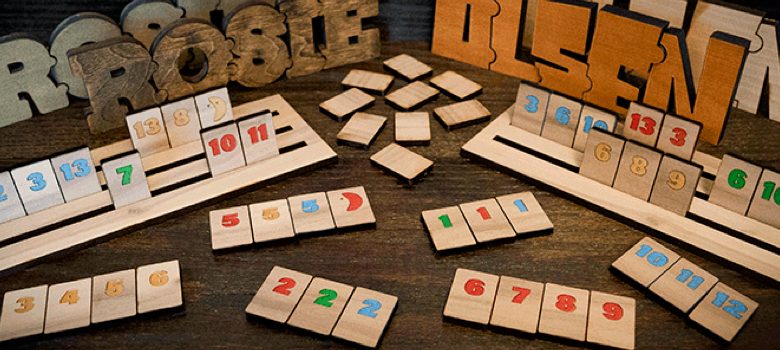
Using scrap wood we found around the office, we laser cut these cute interlocking name puzzles, as well as this colorful Rummikub game! Read on to learn how we did it.
Materials Needed
- Scrap wood (ours was .25″ thick)
- Masking tape
- Paint
- Laser system
We used a 120-watt Fusion M2 40:
- Wood Engrave: raster; speed: 70%; power: 100%; 600 DPI; Stucki Engraving
- Wood Cut: vector; speed: 6%; power: 100%; 20F
Step one: Creating your own name puzzle

All images courtesy Epilog
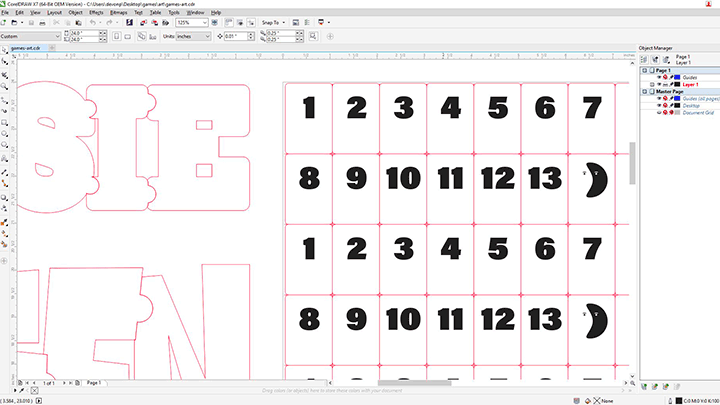
Open the artwork files and customize as necessary. You may need to readjust your page size, based on the size of the wood you have on hand.
Here is a quick overview of creating your own name puzzle:
- Start by selecting a wide font.
- Type in your name.
- Outline font or turn to curves.
- Ungroup or break curve apart.
- Create a hairline outline or 0.001″ (.0254 mm) outline around the letters.
- Move letters close together so they are touching.
- Manipulate the outlines to have joining parts. In the instance above, we added half circles.
Once finished, send the vector job to the laser and press GO.
Step two: Masking

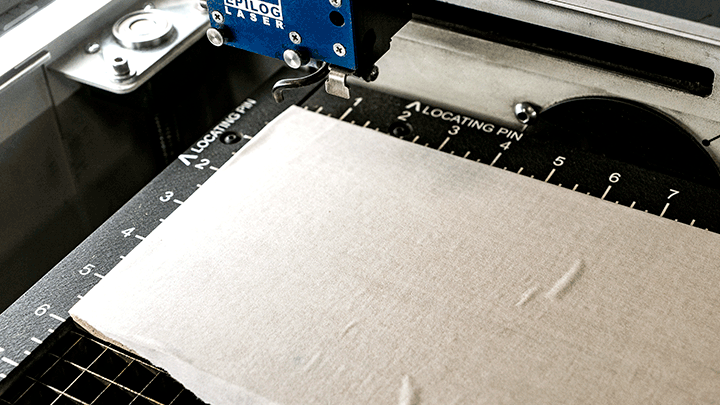
For the Rummikub set, we masked the wood prior to engraving. This helps reduce burning around the edges of the tiles and tile holders. It will also come in handy when color filling the numbers on the tiles.
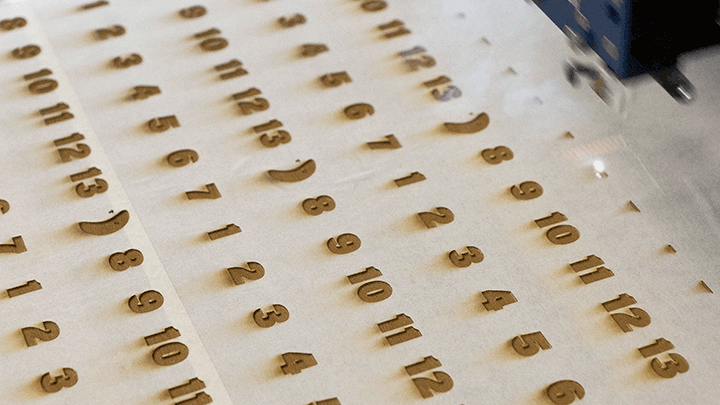
Step three: Time to engrave

Send the job to the laser and press GO. Before removing the masking tape, paint your tiles accordingly. Allow the paint to dry, remove the tape, and you’re ready to play Rummikub!
Where can you sell laser cut games and puzzles?
- Specialty toy shops
- Craft fairs
- Schools and libraries