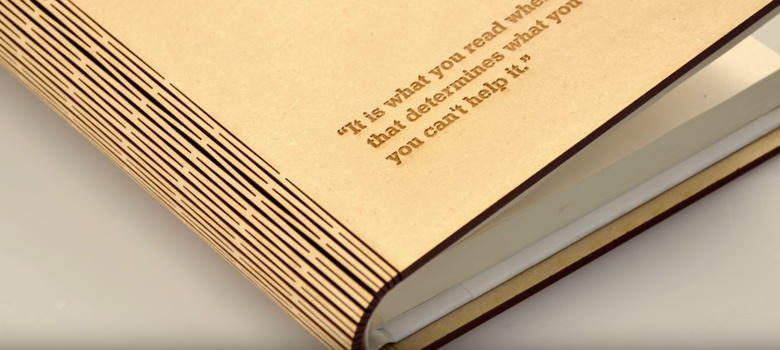
Notebooks and journals are unique items that can be customized on the front and back cover using a multitude of different decoration techniques – but what about the spine? Using your laser engraver, you can not only create a product that attracts even more interest but open up the possibilities for what can be used to make them.
Here we’ll walk you through the steps of creating the “living hinge” – a laser-cut pattern that allows hardwoods and other non-flexible materials to bend with ease. Using this technique, we created a personalized book cover that easily conforms to a variety of sizes. Depending on the thickness and composition of your material, you can modify the living hinge design to fit materials such as cardstock, veneers, plastics, and much more.
Materials Needed:
- 24 X 12 inch sheet of wood (type is up to you) with 1/8-inch thickness
- Living hinge design template
- Laser system
Recommended Settings:
Engraving:
- Speed: 100 percent
- Power: 100 percent
- dpi: 600
- Jarvis dithering
Cutting:
- Speed: 25 percent
- Power: 100 percent
- Frequency: 500
Note: Settings may vary depending on your individual laser and wattage.
Step One: Design
Open the file and modify the design as you would like.
Step Two: Engrave
Insert the sheet of wood into your laser and send over the file.
Once your laser is finished, wipe off the smoke and debris from the engraving, then adhere a book or notebook to the inside with temporary glue or by creating a paper pocket.
-Ben Sieber, Epilog Laser