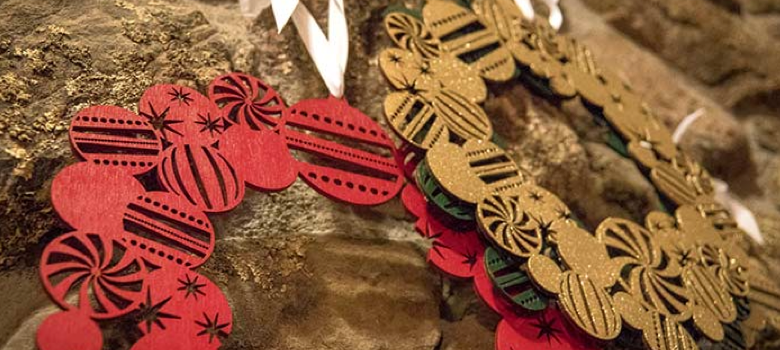
Try This: Laser Cut Christmas Wreaths
A festive addition to your storefront or home, or a great last-minute gift that will come in handy for the holiday season.
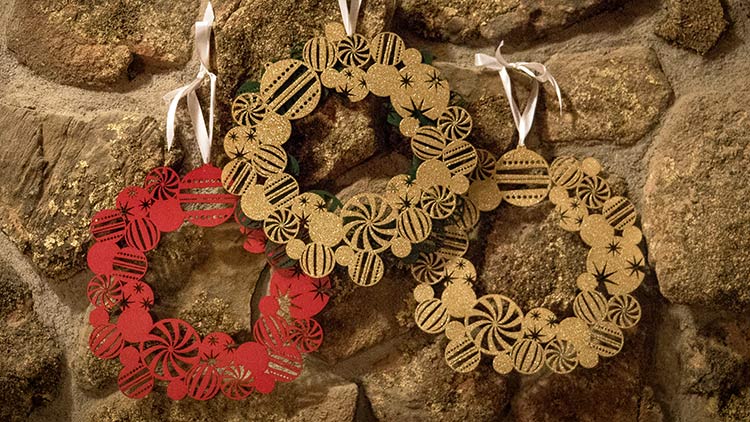
It’s amazing the types of holiday décor projects you can create with your laser! This tutorial includes instructions and materials that you’ll need for laser cutting your own Christmas wreaths. This laser cut Christmas wreath makes a festive addition to your storefront or home, or even a great last-minute hostess/host gift that will come in handy over the holiday season.
Materials Needed
- Wood Sheets (used here: 3 mm 1/8″ X 12″ X 12″ Premium Baltic Birch Plywood B/BB Grade)
- Glitter Spray Paint (used here: Krylon K03801A00 Glitter Blast, Golden Glow)
- Laser machine
We used a Fusion M2 40 120w with the following settings:
Vector; Speed: 10; Power 100%; 20F
Step 1: Prepare Artwork
Download the graphics we used and import it into your graphics software, or feel free to use graphics of your own. Make adjustments as necessary.
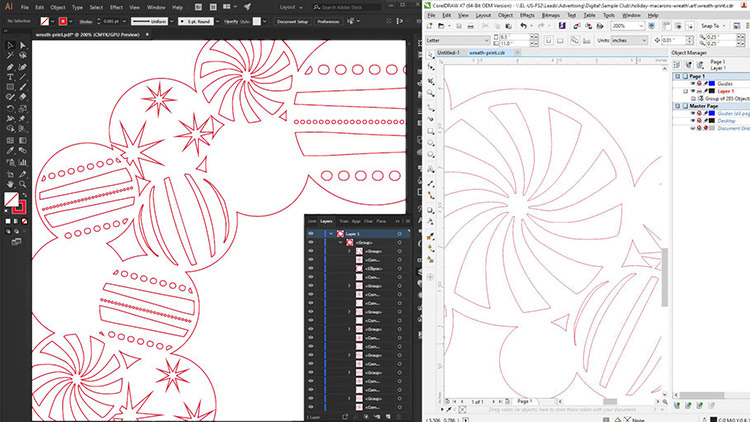
All images courtesy Devon Posey
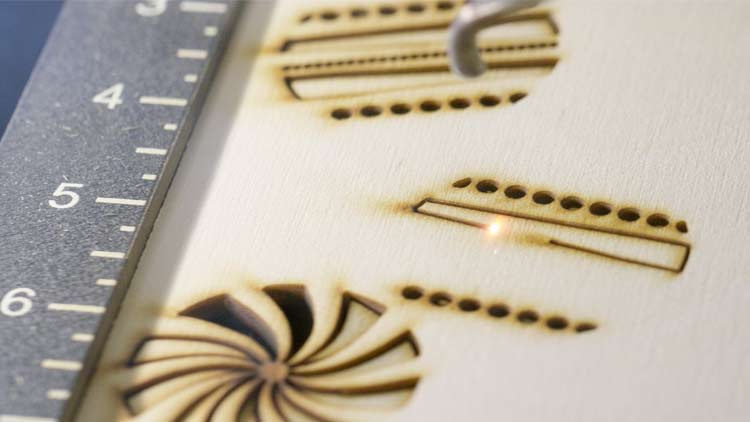
Step 2: Send to the Laser
Send the job to the laser with the correct parameters for your machine wattage. See the laser parameter section above for the specific settings we used, or consult your owner’s manual for your wattage machine.
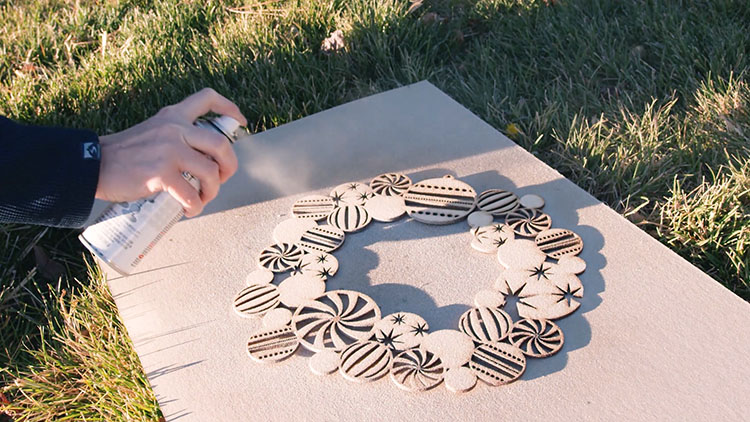
Step 3: Paint or Stain
Once finished in the machine, paint or stain the wreaths to your liking. With a wood stain, you can achieve a natural style, while a coat of paint can give you a modern festive look.
Step 4: Add Finishing Touches
Add ribbon to make the wreaths easy to hang up. Find the perfect spot for your new creations and put them up for everyone to enjoy!
Bonus Tip: Where can you sell laser cut Christmas wreaths?
- At holiday craft fairs
- School “Santa” Shops
- Online shops
- Specialty gift stores

