This tutorial guides you through how to create a custom appliqué for use on a plaque. Using CorelDRAW, the owl appliqué is used as one example of a shape that can be cut out with your laser to enhance a plaque.
Step One: Preparing to Create the Appliqué
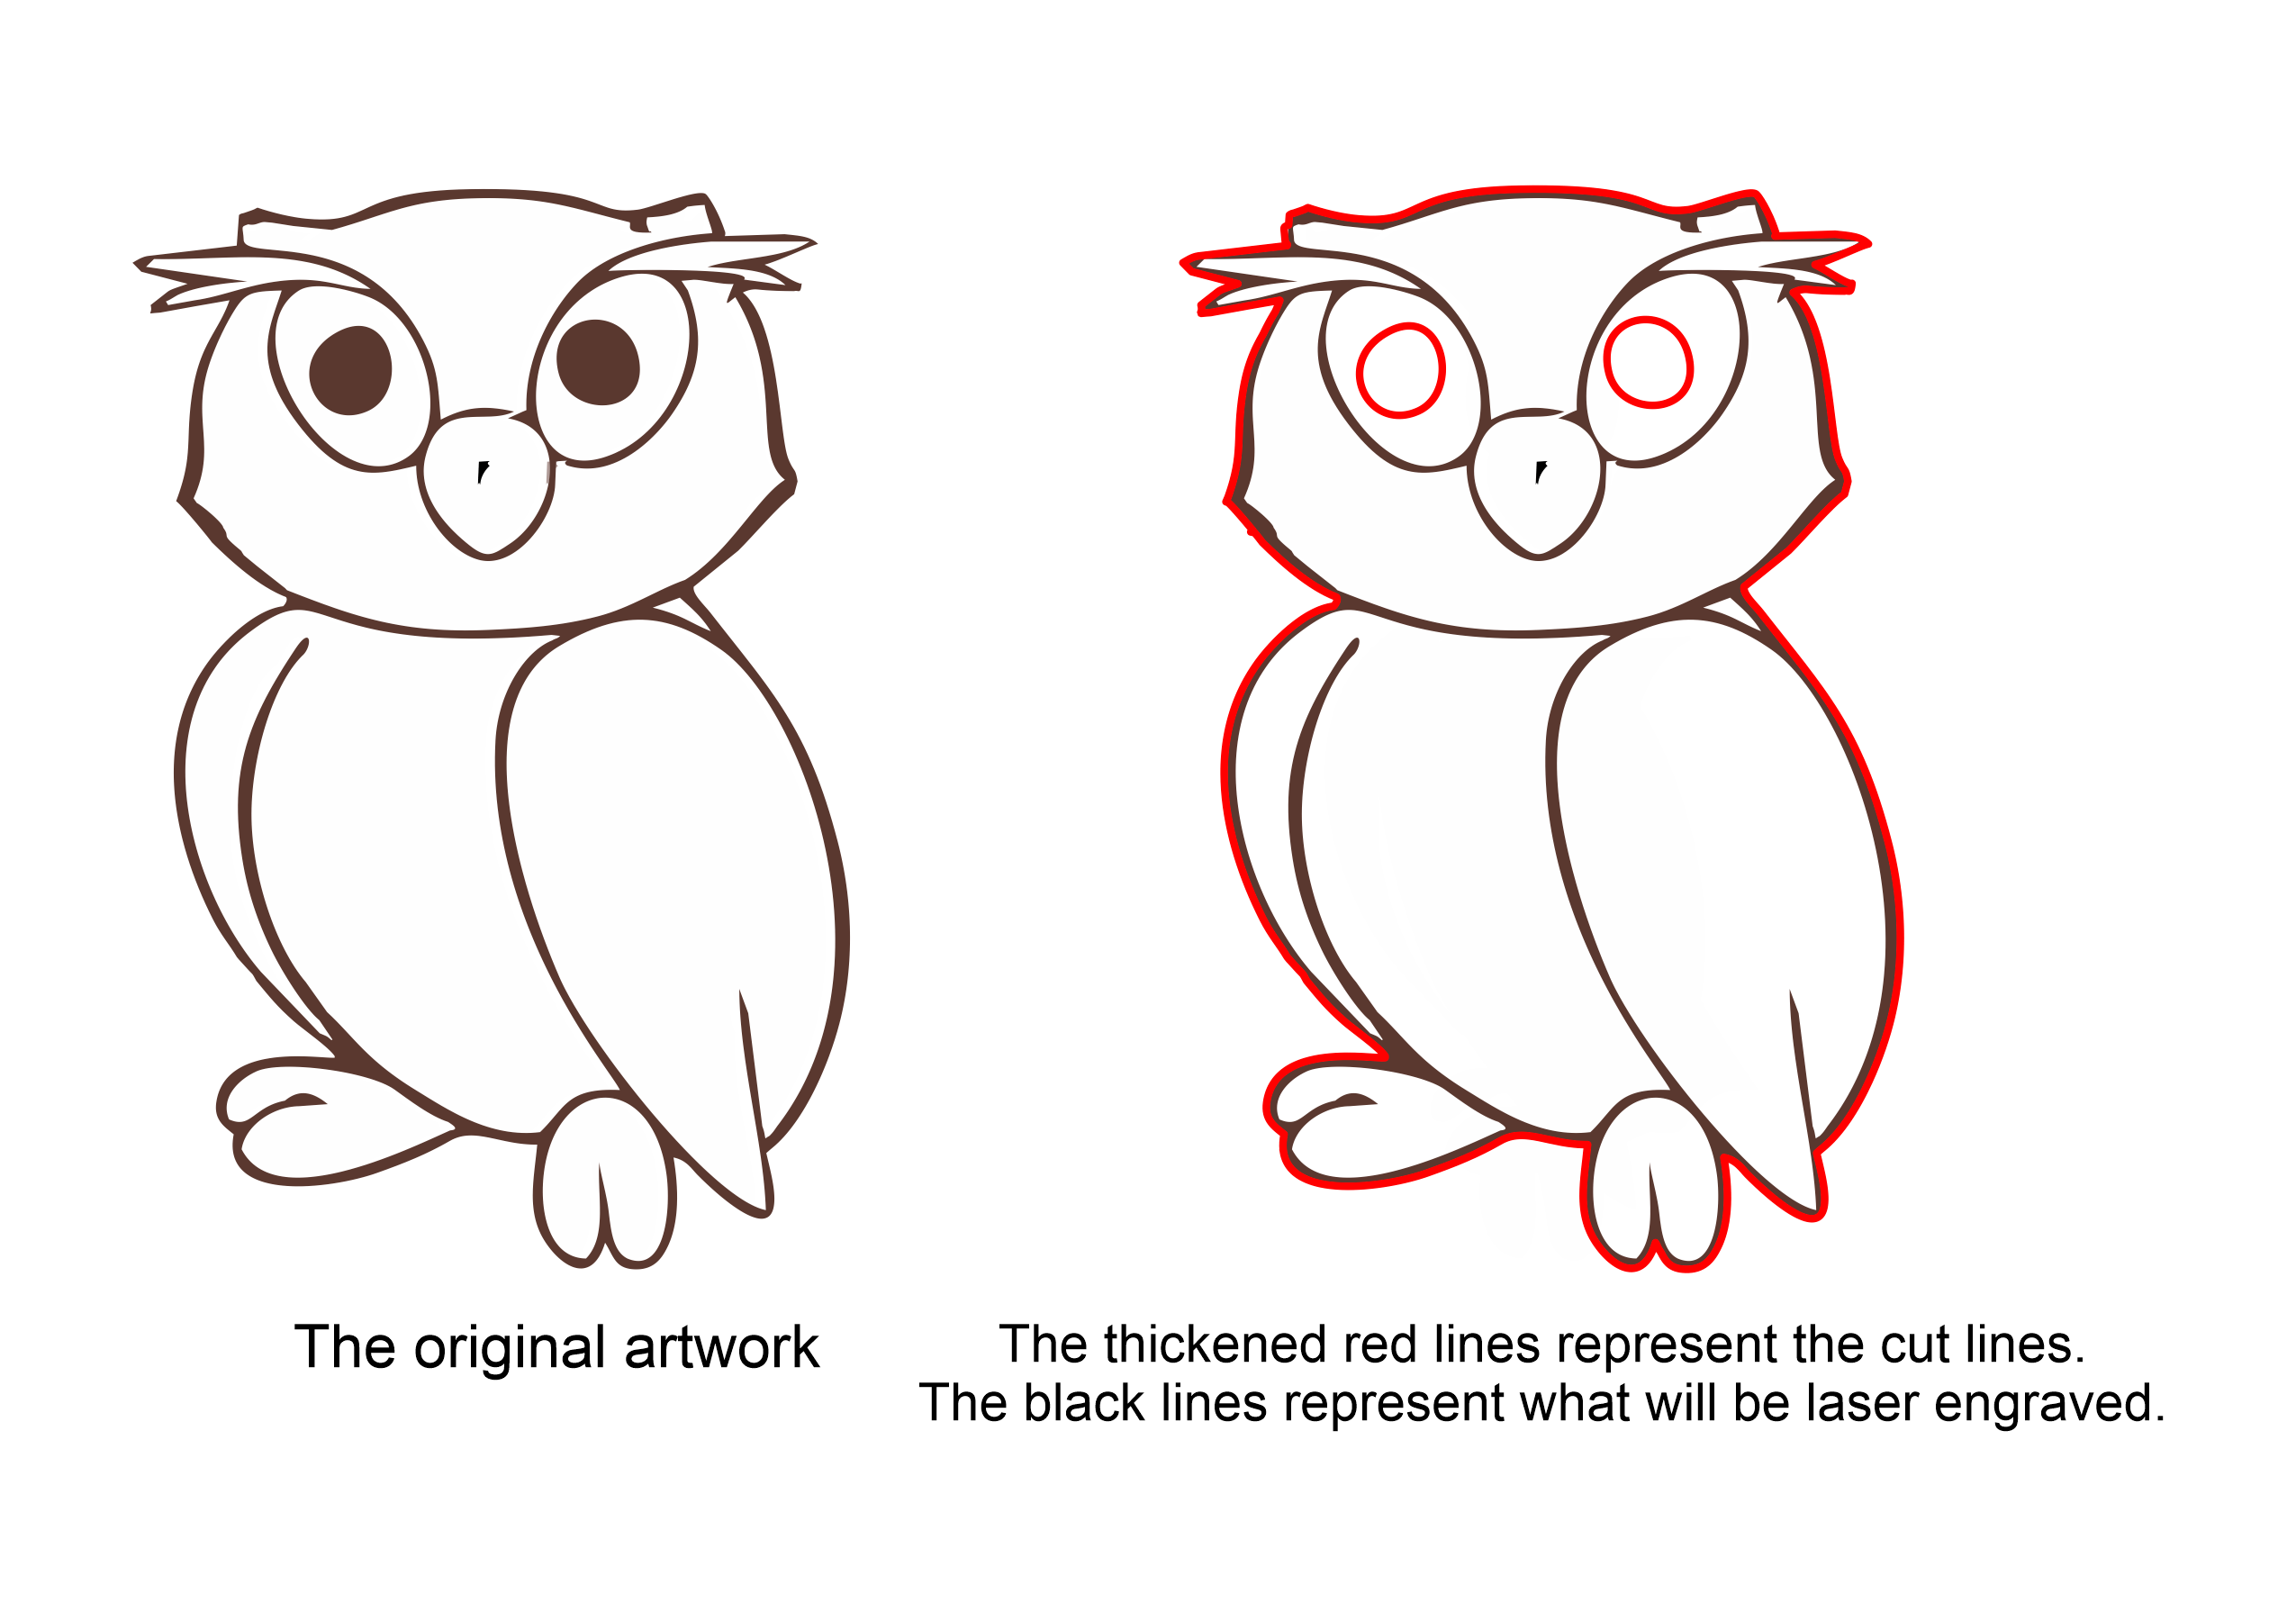
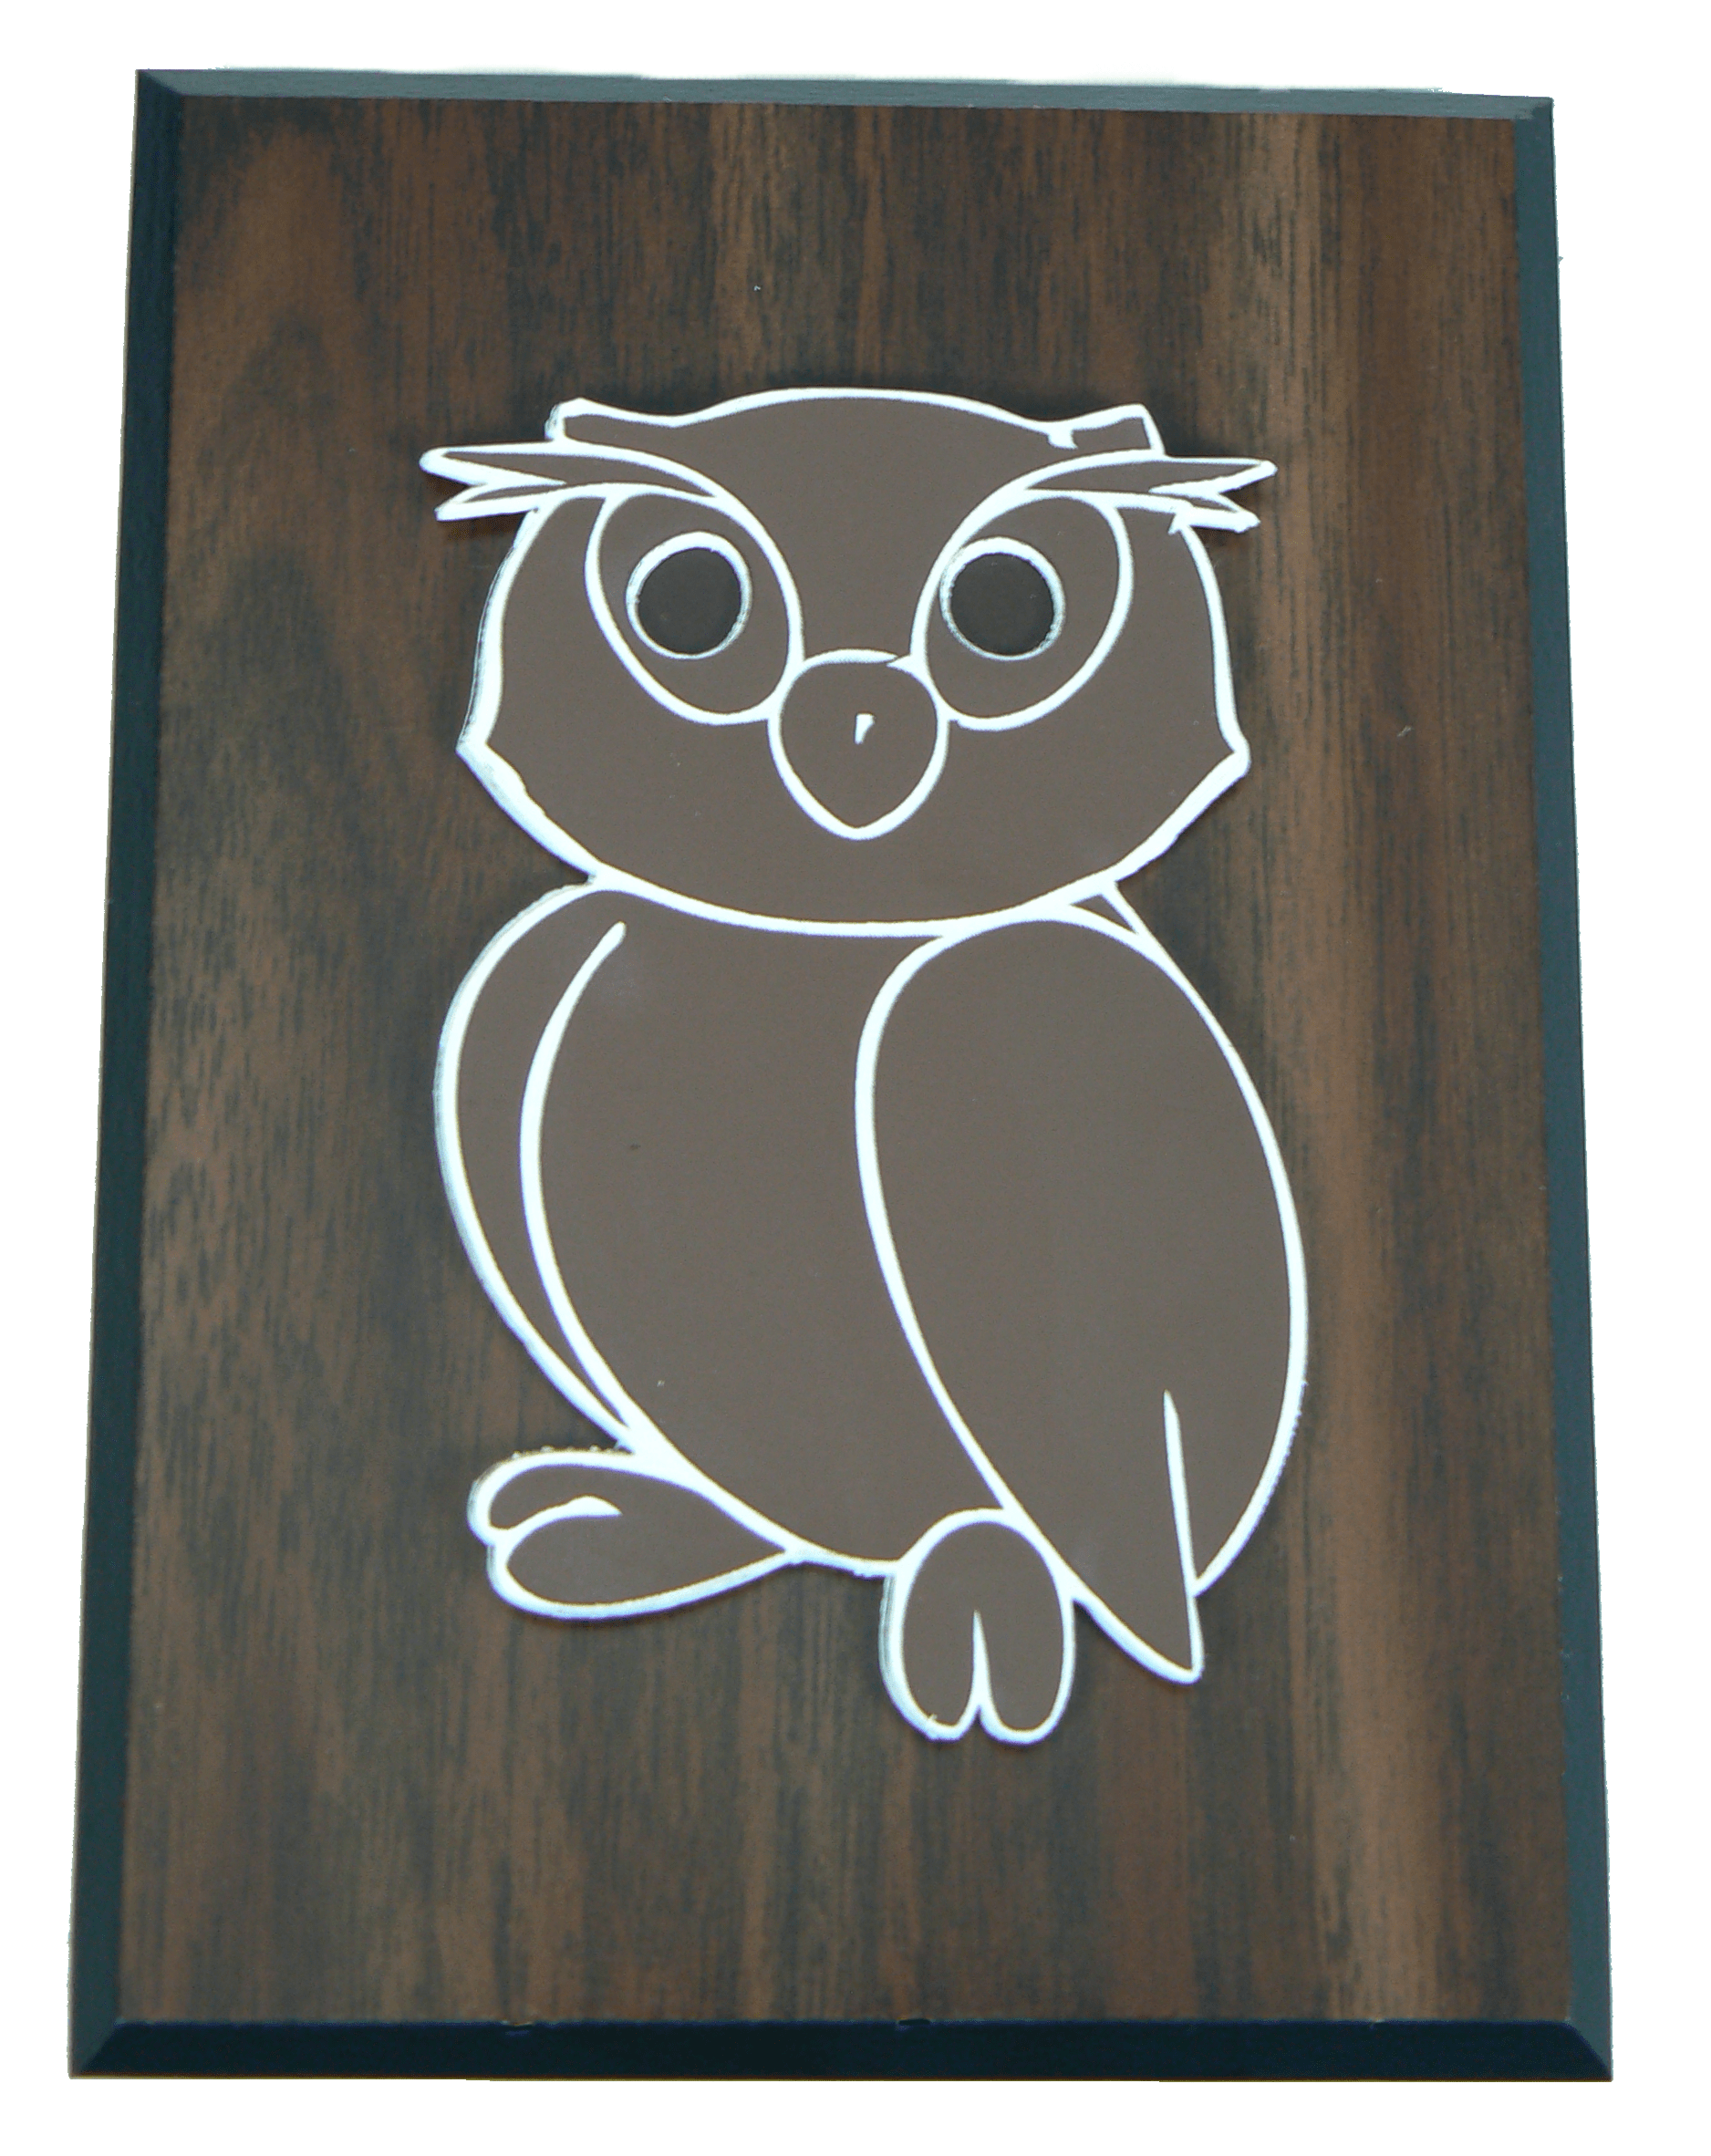
I want to engrave an owl for an appliqué for a plaque. I intend to cut out the shape of the body and the eyes. I will use a light wood on a dark plaque so the eyes appear dark and 3-D. I have vector artwork for the owl, which is black and white and ready to laser.
Step Two: Designing the Owl
How do you cut out the body shape and the eyes? You can trace the owl outline or use a CorelDRAW tool to complete the job in seconds – The Boundary tool.
Select the entire owl, and from the CorelDRAW menu, select Object>Shaping>Boundary, and you will get an outline of the owl. It may be difficult to see, so zoom in close the select the outline. Then, turn the two eyes to black outlines while turning the fill to white.

Images courtesy Bob Hagel
Step Three: Cutting Out the Owl
The laser won’t engrave the eye color; however, the eyes will be cut out. After the laser engraves the owl fill, it will then cut out all the outlines.
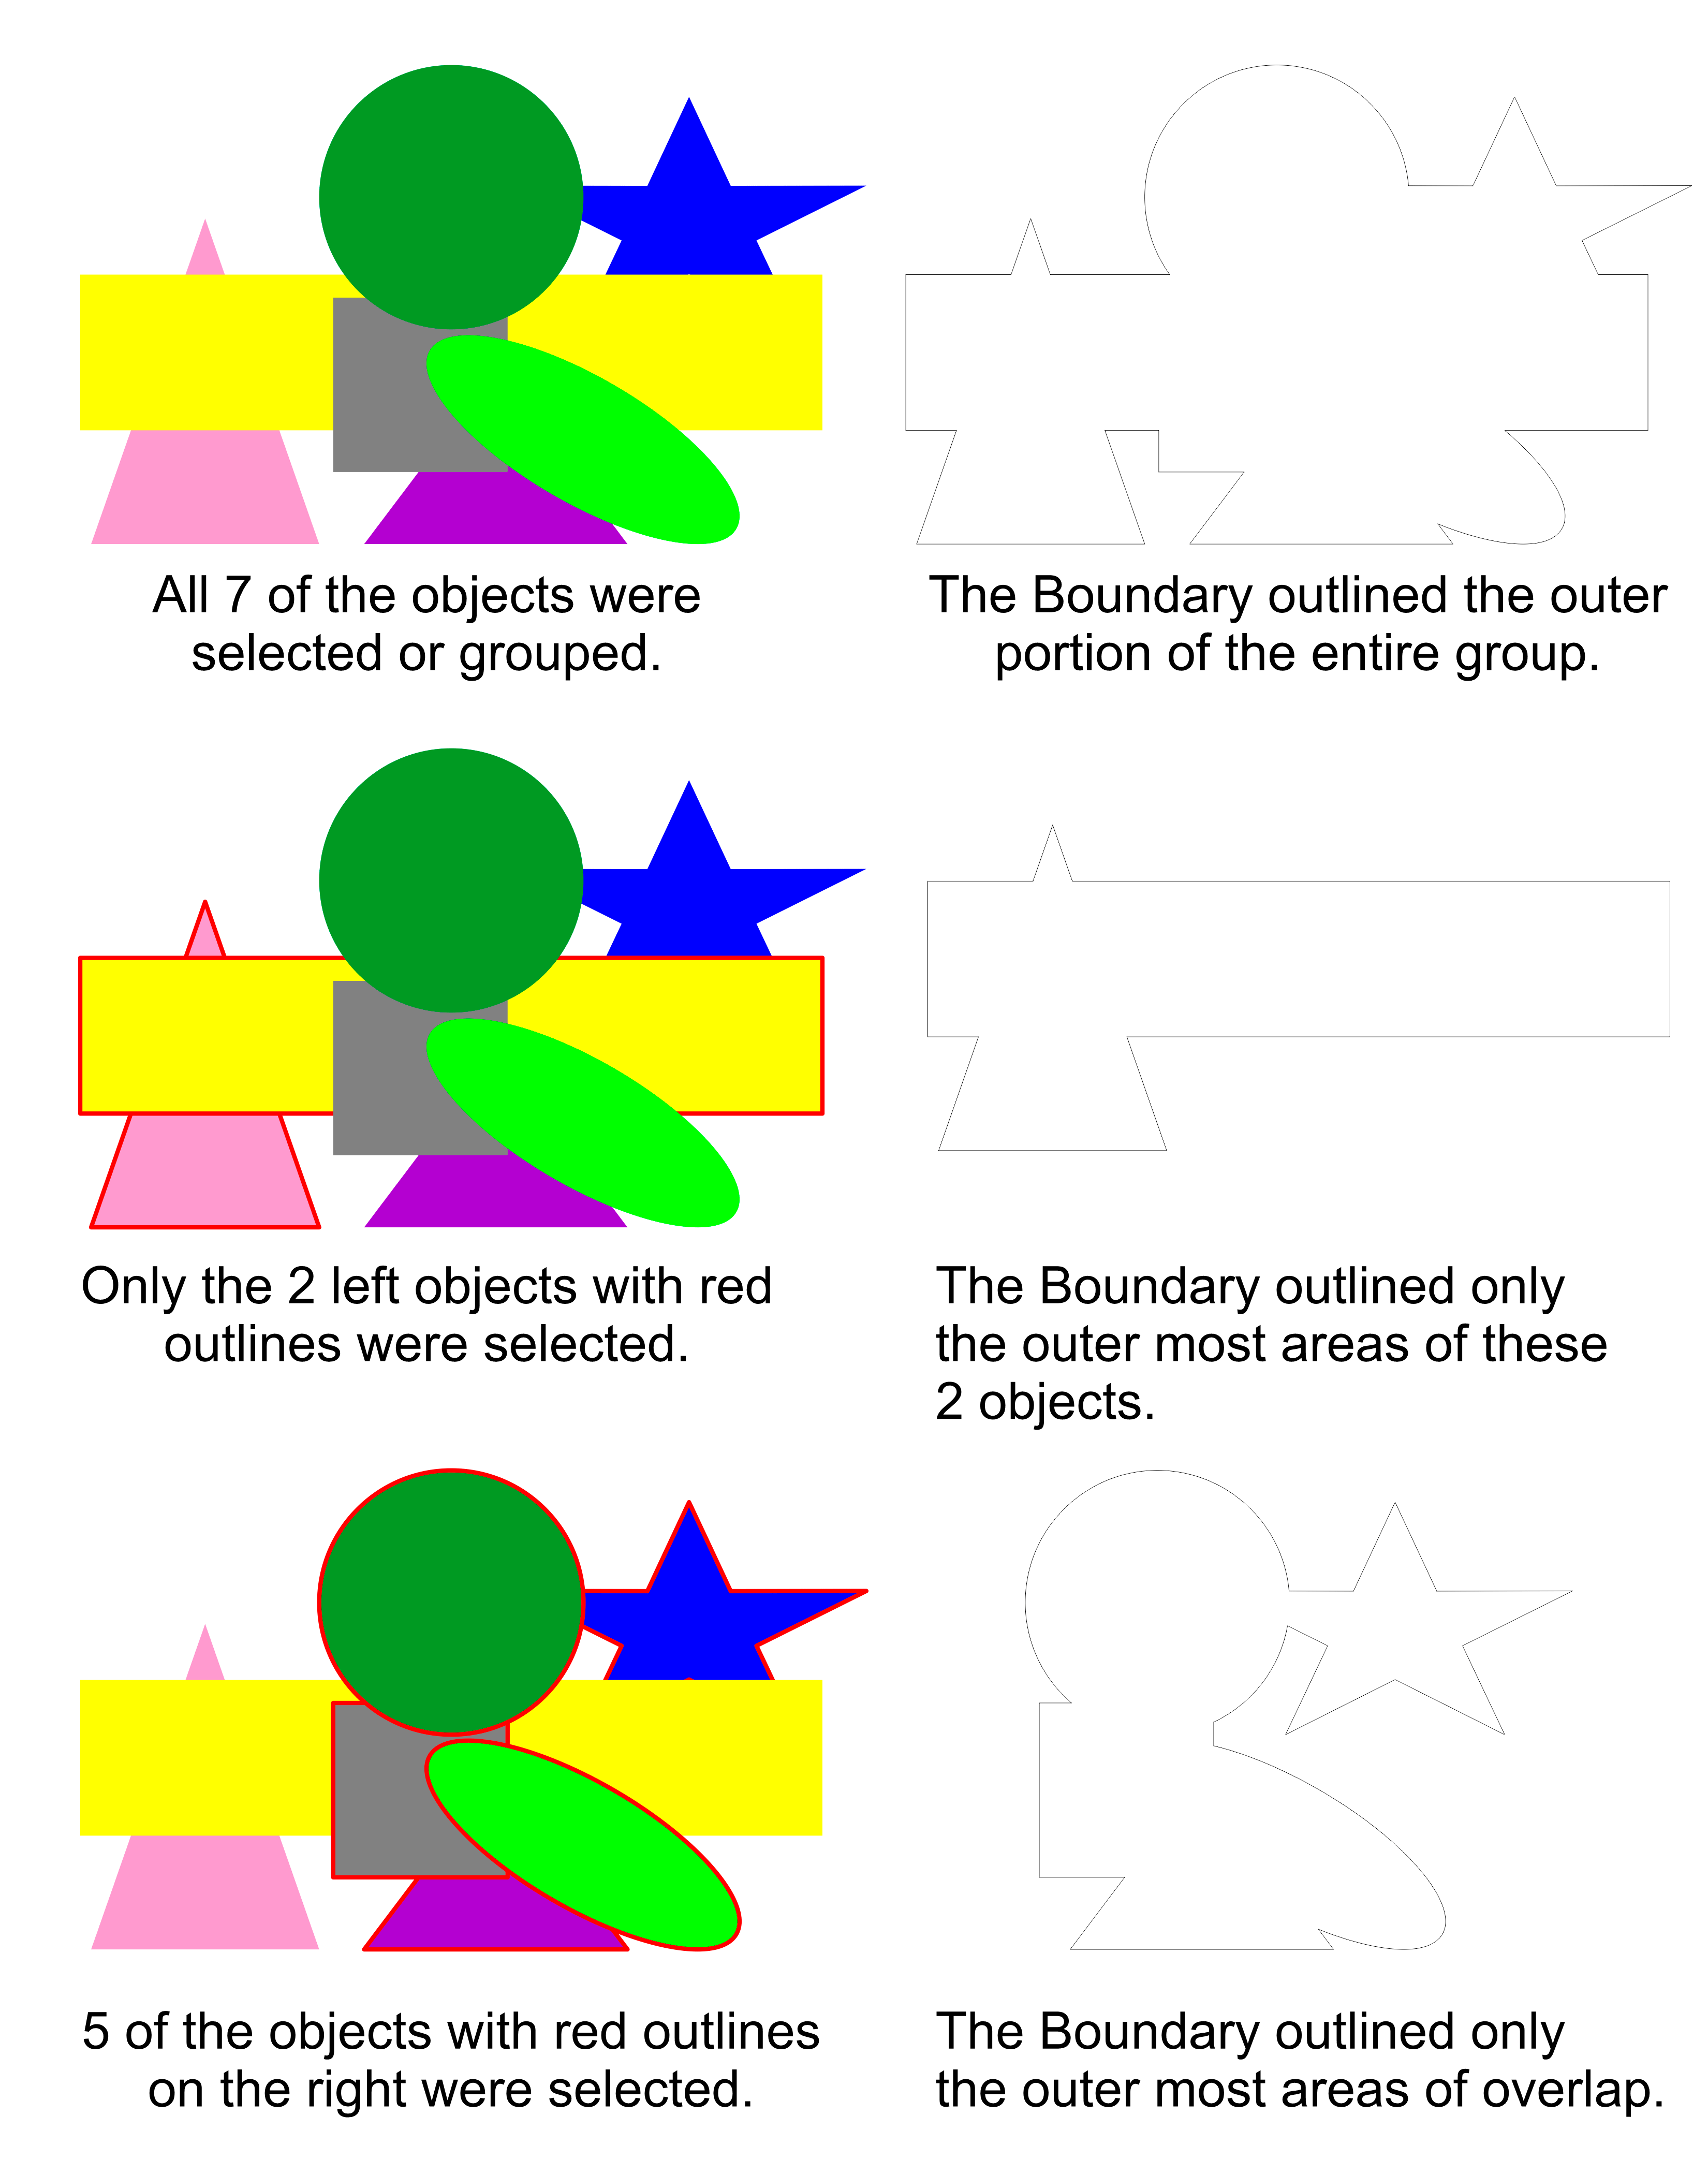
By selecting overlapping objects or objects that have been grouped together, you can then create a Boundary around them using the Boundary tool. Note the examples below.

You can select any overlapping objects in a larger group you would like to cut out. The Boundary tool allows you to easily make appliqués, custom-shaped plaques and plates, ornaments, and many other products.
