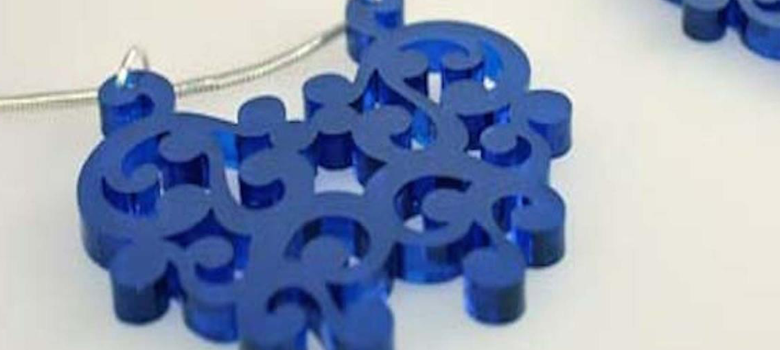
Using scrap acrylic from previously cut awards, you can create a custom gift selection near your register to trigger impulse buys. Follow these three easy steps to learn how you can start making more money with laser-cut acrylic jewelry…
Materials Needed:
- 3mm acrylics
- Eyelets
- Hooks
Tip: Dark colored or radiant acrylics look elegant. We used plexiglas/acrylite made by Evonik. Use a two-inch lens for a perfect cut.
Settings:
- Power: 100 percent
- Speed: 1 percent
- Frequency: 5000 Hz
- Air Assist: on
Step One: Cut jewelry
Create your own design or use a template. Send it to the laser with the recommended laser parameters (above). The parameters might vary depending on the machine used and the available laser power.
Step Two (optional): Cut and engrave jewelry stand
You can also create your own design or use a template for the design of the jewelry stand. Be careful – the stand has to be high enough to carry a necklace and has to have a stable pillar.
You will want to adjust the engraving parameters to the following:
- Power: 20 percent
- Speed: 50 percent
- 500 ppi
- Air Assist: on
Recommended cutting parameters:
- Power: 100 percent
- Speed: 0.5 percent
- Frequency: 1000 Hz
- Air Assist: on
Step Three: Assembly
Use eylets and hooks to attach the pieces on a necklace. There are special hooks for the earrings – you can find such material in craft shops, on online platforms like Amazon, or in special beading shops.
-Josh Stephens, Trotec Laser


