Try This: Laser a Lake Relief Map
Make a map of your area or a place you’d like to go using your laser engraver.
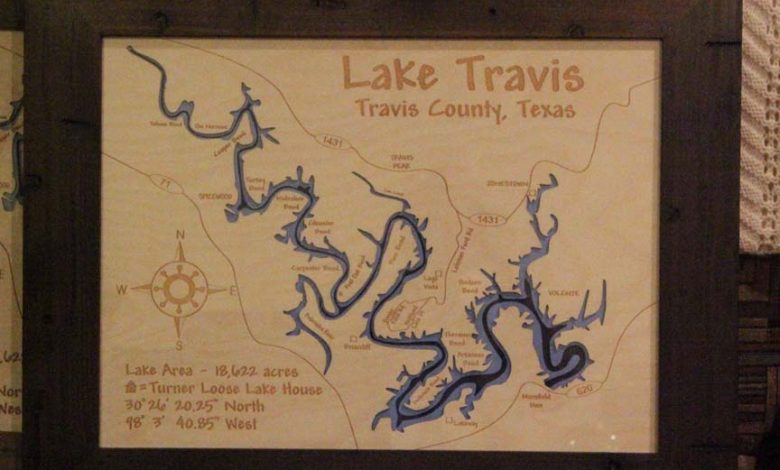
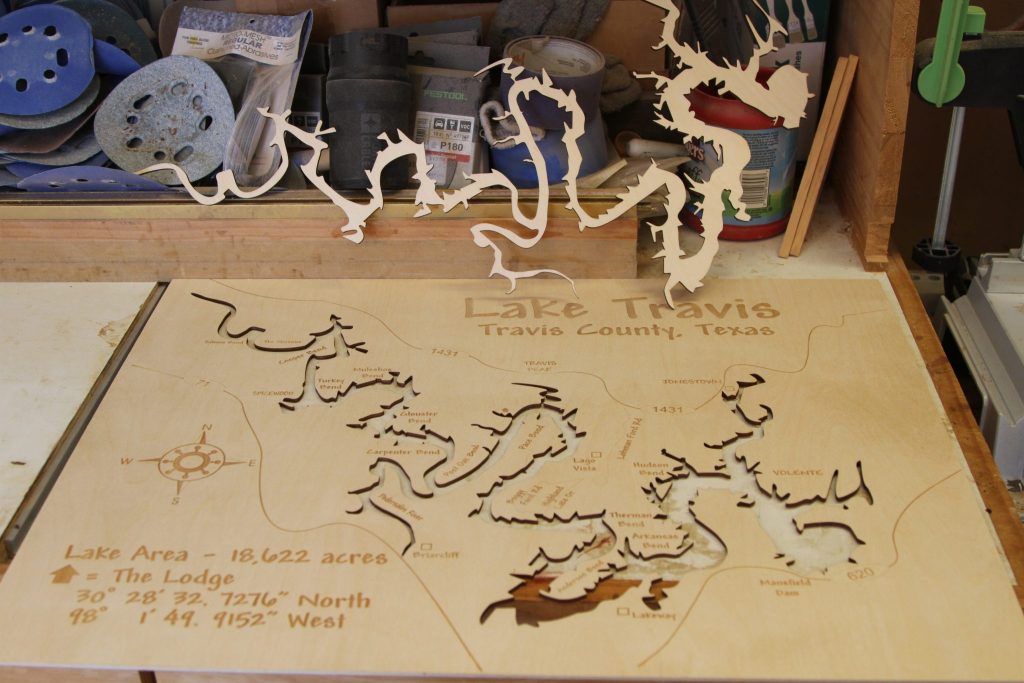
In this tutorial, I cover how to create a map of a lake or river. Begin with finding a sharp, high-resolution photo of the lake you’d like to create a map of.
Supplies needed:
- Laser engraver
- Wood sander
- Wood glue
- Disposable brush
- Graphic design software
- 1 sheet of 1/8″ birch plywood, slightly larger than the size of the map you want to make.
- 1 sheet of 1/8″ Masonite, slightly larger than the size of the map you want to make. I like to use Masonite for the second layer as it is easy to cut and paint.
- 1 sheet of a blue card stock paper. The blue paper will be your third layer, the last layer. It will provide additional color and depth but does not increase map thickness.
- Frame and glass to fit your map
Note: It is sometimes difficult to find a frame that will accommodate the total 3/8” thickness of the completed map: 1 sheet 1/8” glass, 1 sheet 1/8” plywood, and 1 sheet 1/8” Masonite. If your lake does not have a riverbed, you can skip cutting the Masonite and just prime and paint. That would be your last layer, and it will still look good.
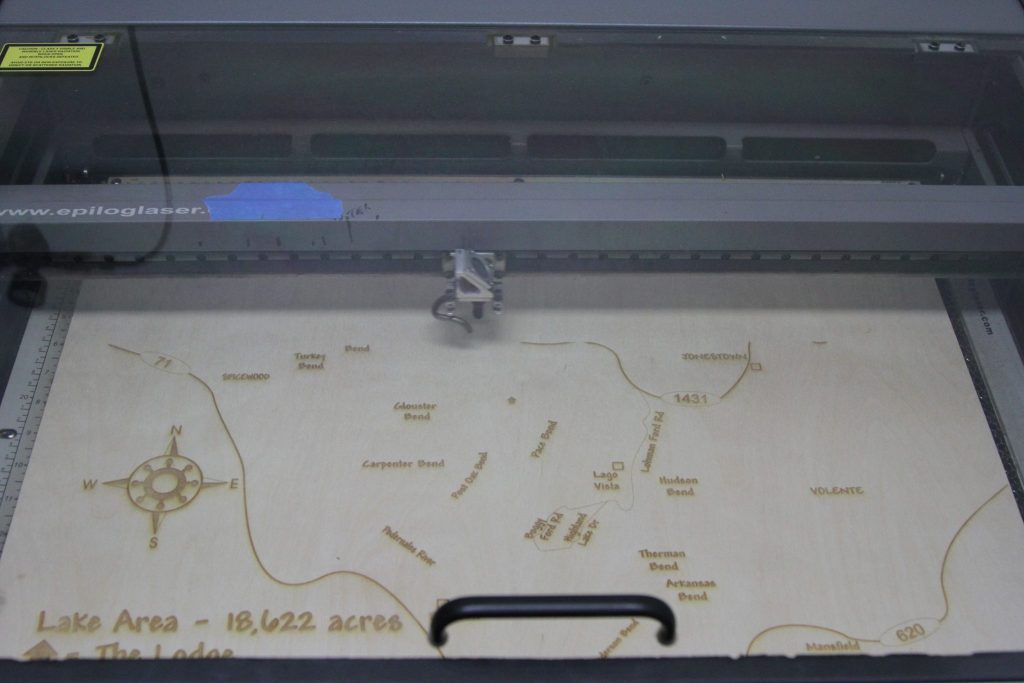
Step 1:
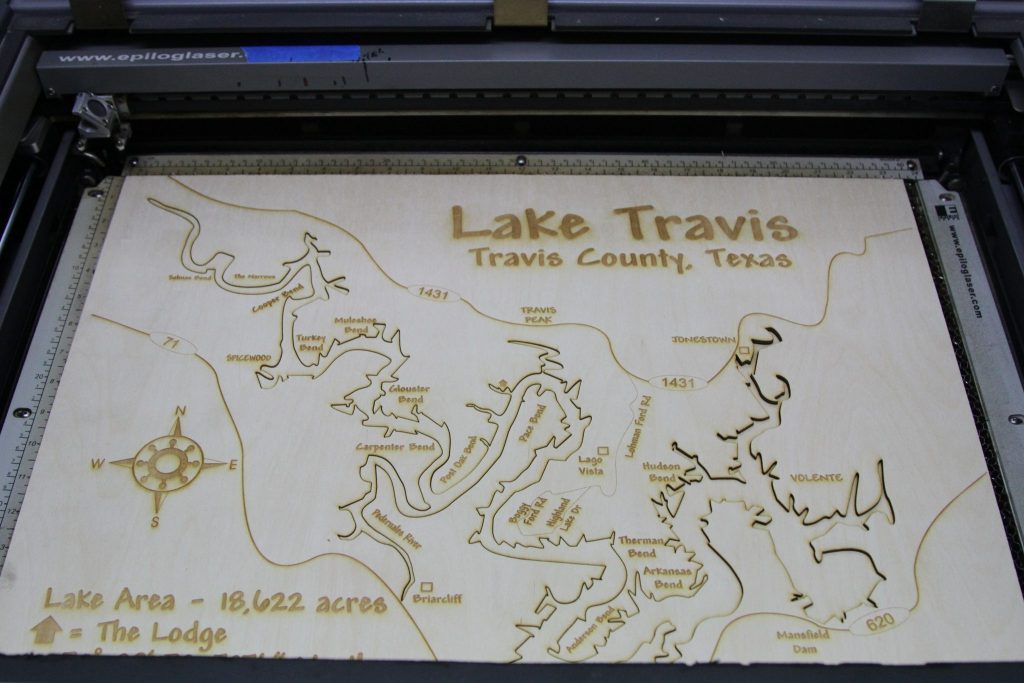
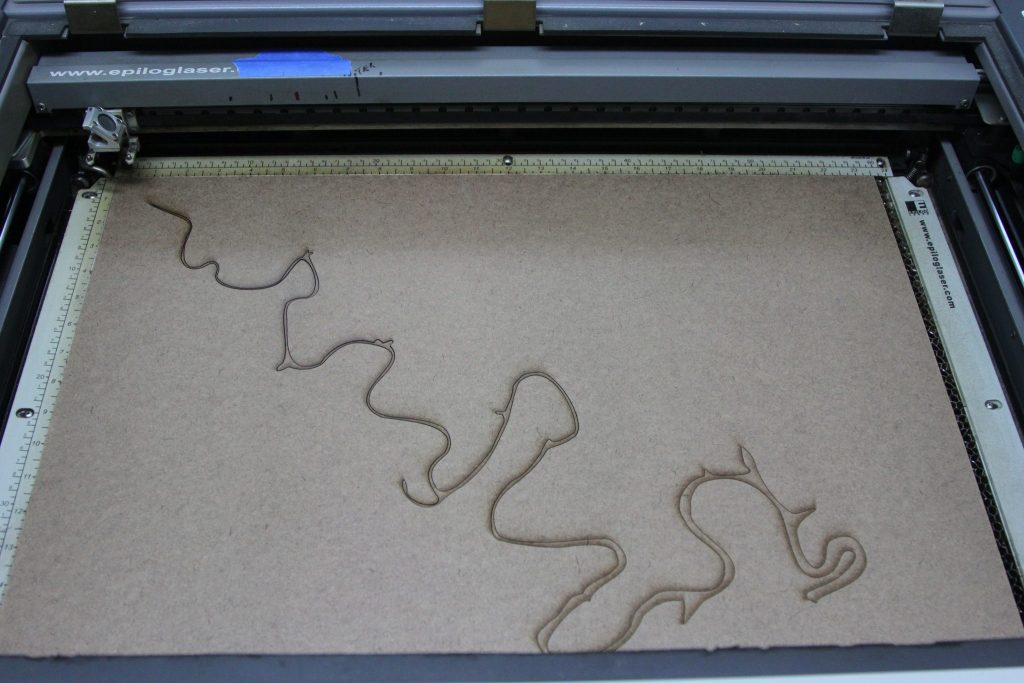
Place the plywood in the laser bed. Begin with cutting the lake (vector lines) first, making sure you have it cut all the way though the wood. Once you have cut the lake out, without moving the wood, engrave (raster) the roads and text of the map.
All images courtesy Doug Green
Then turn the map over, and using blue painter tape, tape over all the lake cut lines.
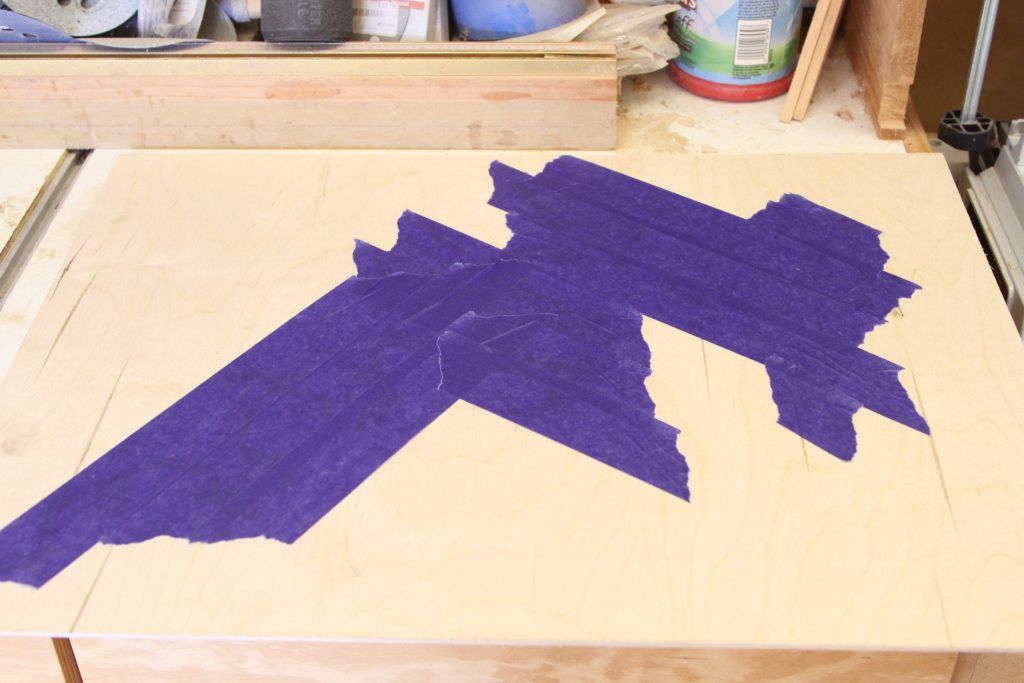
Now you can sand off the laser burn residue without fear of the sander breaking off any of the small pieces of the map. The tape will hold it in place.
Step 2:
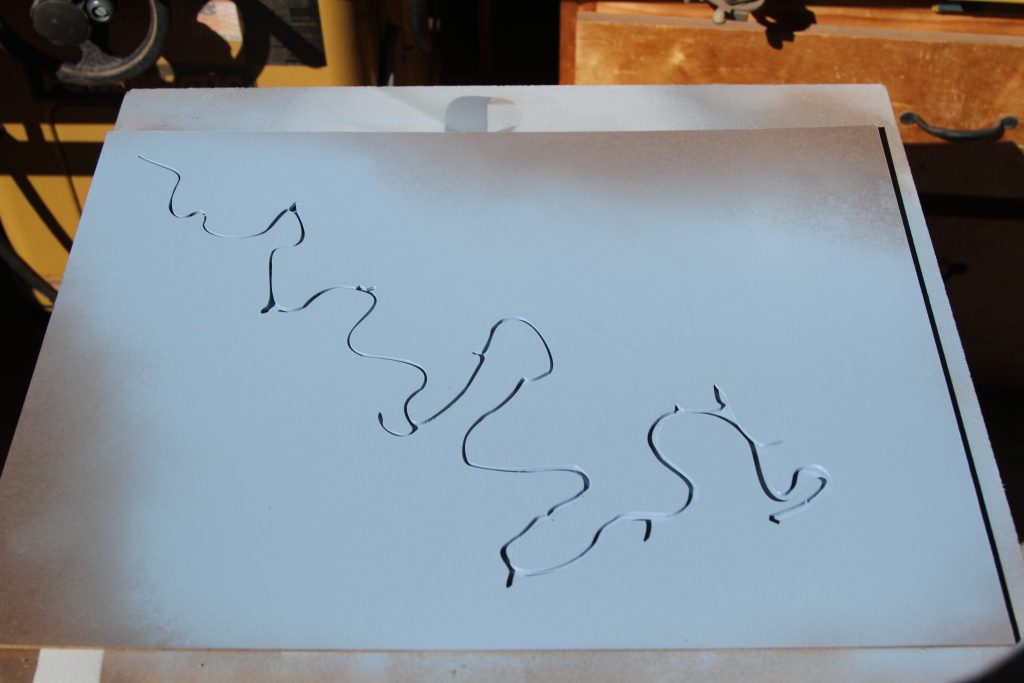
Place the Masonite in the laser bed and cut out the riverbed part of the lake. It does not need to be sanded, just wipe off laser burn residue with rubbing alcohol. Let dry for a minute or two. Then prime the surface with two coats of primer. Primer seals the wood and helps bond the paint to the wood.
Step 3:
After all is sanded, painted, and dried, you are ready to glue the layers together. Use any yellow wood glue and apply the glue to the backside of the plywood with a disposable brush. Be careful not to get excess glue near the lake cutout. Keep in mind that the glue will spread out when pressure is applied to the layers.
Step 4:
I use weights to apply pressure to the layers while the glue dries. I use wax paper to protect the front of the map.

Once the glue between the plywood and the Masonite is dry (after about a couple of hours), glue on the blue paper using little glue. Spread glue on the back side of the Masonite, then place it on the blue paper. Put weights back on. I have found it best to have the blue paper larger than the map, so once the glue has dried, just trim off excess paper with a sharp knife.
After a couple of hours drying time, install map into frame.
Watch this video on cutting birch plywood.