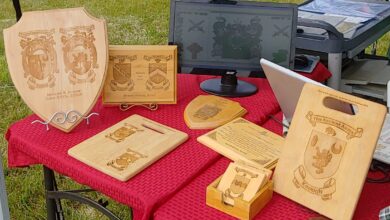


If your shop already custom engraves firearms and other related accessories, a walnut mag loader is the perfect addition that your customers will appreciate. Follow these steps using your router.
Materials and Tools
- Router (This example uses a Vision 2550 with 3HP Router head option)
- 3/8-inch walnut board
- 1/4-inch end mill
- 1/8-inch end mill
- .015 FLX cutter
- Black spray paint
- Spray clear coat
- Spray adhesive (This example uses 3M Super77)
- Dial calipers
Step One: Design
Measure your customer’s clip and bullets with dial calipers and put the dimensions into your design software. In this example, a .010-inch clearance was used to ensure a proper fit.
Step Two: Mounting the walnut wood
Apply application tape to the back of the walnut and one side of an MDF board. Use the super77 adhesive to glue the two pieces together and T-Slot clamps to hold the MDF to the table.
Step Three: Engraving the logo/design
Using the 1/8-inch end mill, engrave the graphic of choice.
Step Four: Engraving text under logo/design
Using the .015 FLX cutter, engrave the smaller text under the graphic.
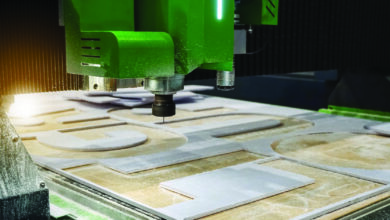
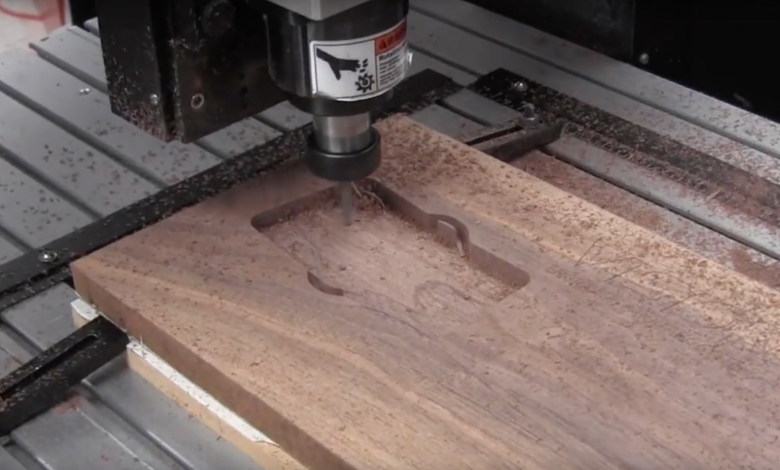
Step Five: Routing pockets
Using the 1/4-inch end mill, route out the pockets for the mag and bullet areas.
Step Six: Routing the border
The border can be routed out using the 1/4-inch end mill in four passes.
Step Seven: Clear coat, spray paint, and sand
The piece can then be clear coated to seal the wood. Make sure to use multiple coats for best results.
Black spray paint can be spray painted over the text and graphics to make your engraving stand out.
Finally, sand the mag loader and apply a final coat of clear.
-Zach Houser, Vision Engraving and Routing Systems