Try This: Customize Lanterns with Sublimation and HTV
Follow this process for one way to customize lanterns.

Disclaimer: This is my process for doing lanterns. There are other processes out there, but this is how I do it.
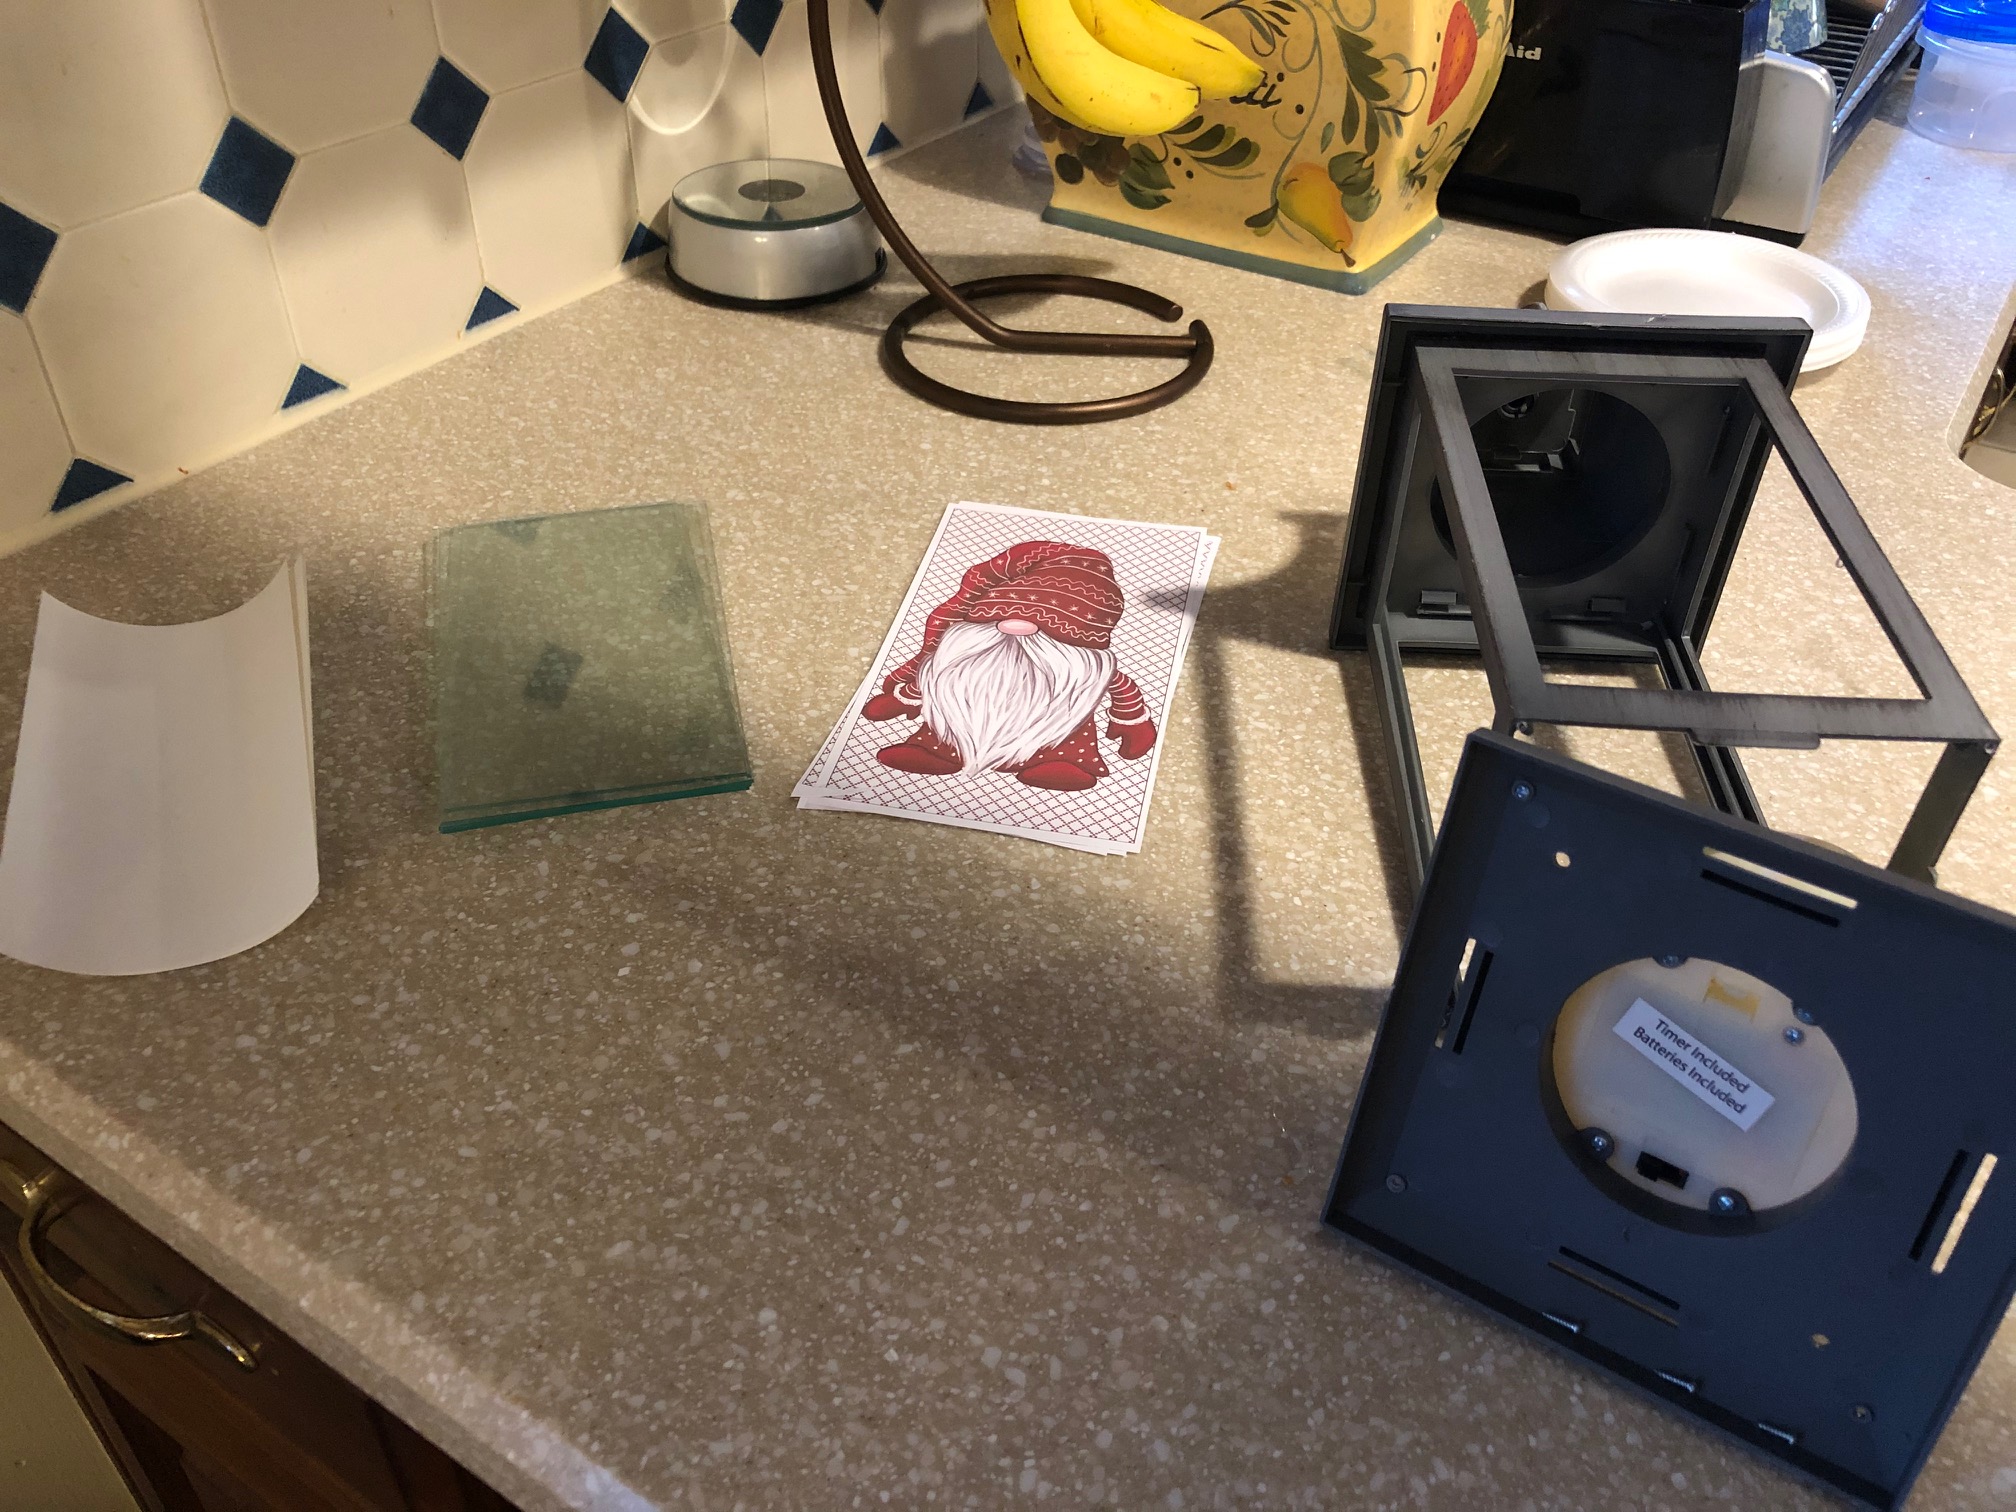
Materials needed:
- Lantern with glass panels
- Cleaning agent (alcohol is used in this example)
- White HTV (Siser is used in this example)
- Heat press
- Sublimation printer
- Transfer paper
- Parchment paper

The supplies needed to complete this project. (All images courtesy Dottie Lanctot)
First, select the lantern you want to use and disassemble it to get to the glass panels. Remove the panels and clean thoroughly. I use alcohol. Then complete the following steps. I use Siser (or other white HTV) for the sublimation process. I do not use glitter HTV.
Step 1: Cut the HTV to the size of the glass.
Step 2: Place the glass over the adhesive side of the HTV.
Step 3: Press for 15 seconds at 330 F.
Step 4: Squeegee quickly over the carrier sheet to remove bubbles and turn the glass over to remove the carrier sheet.
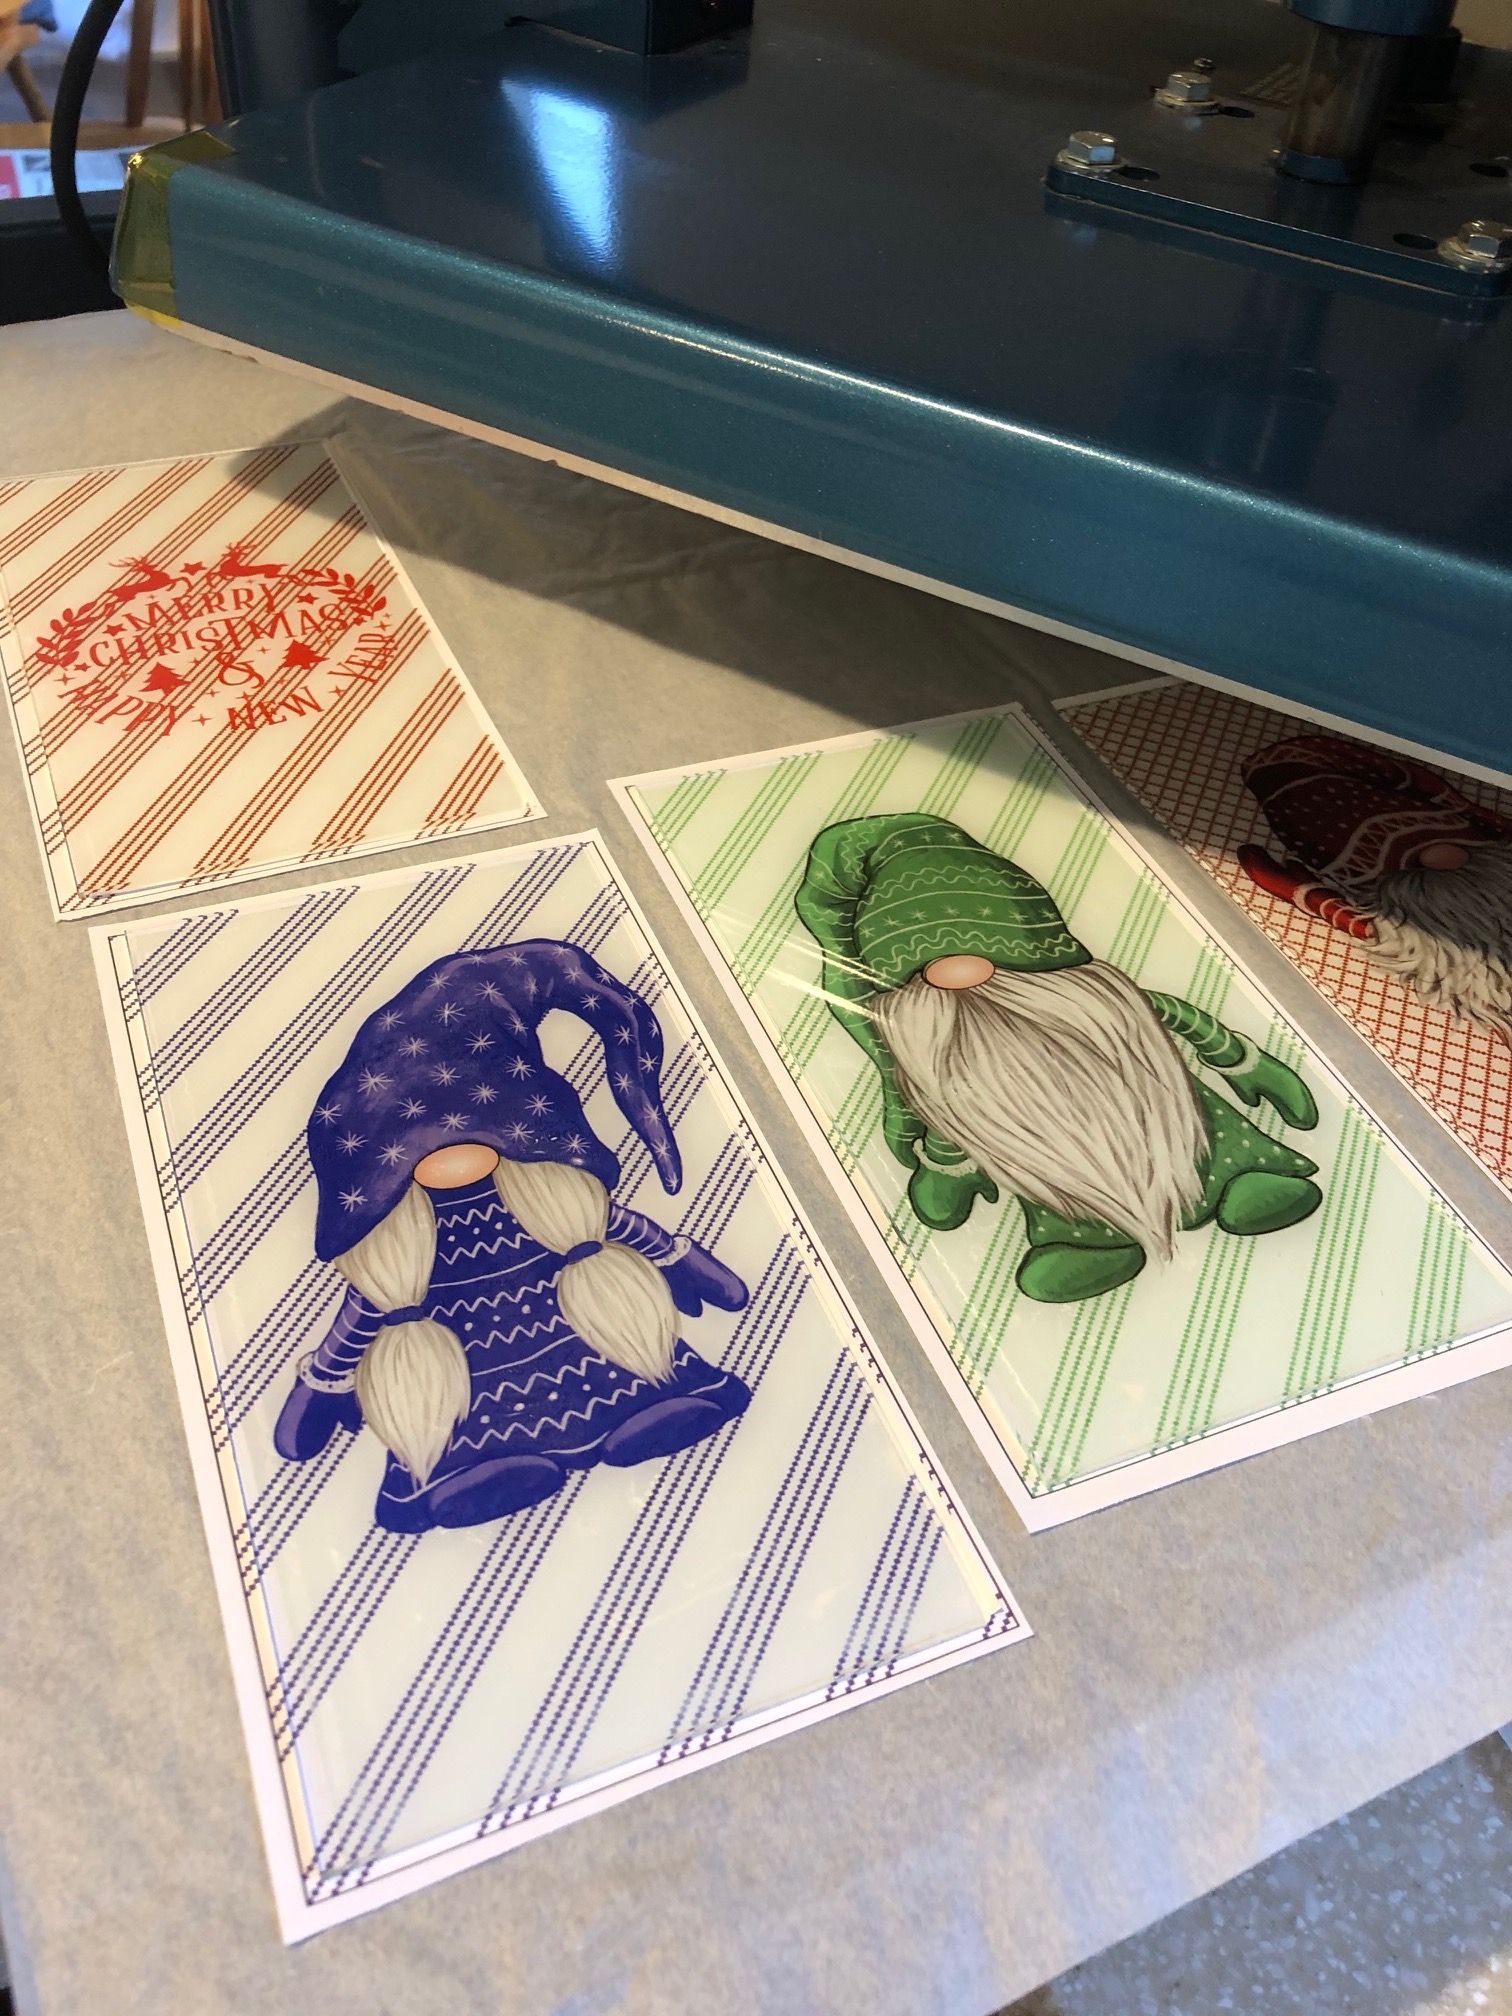
Step 5: Place the sublimation transfer face-up on the heat press.
Step 6: Place a piece of parchment on the bottom platen and then the glass face-up on top of the transfer.
Step 7: Put a piece of parchment over the glass and press for 2 minutes at 330 F.

Here are the layers as you would put on the heat press:
- Bottom platen
- Parchment paper
- Sublimation transfer face-up (Tip: trim your transfer slightly larger than the glass so it will be easier to pull off)
- Glass panel: glass side-up, HTV side-down
- Parchment paper on top
Step 8: Turn it over quickly and remove the transfer sheet.
Step 9: Place the glass face-down on a glass surface to cool. The glass is sublimated and ready to put back in the lantern once it has cooled.
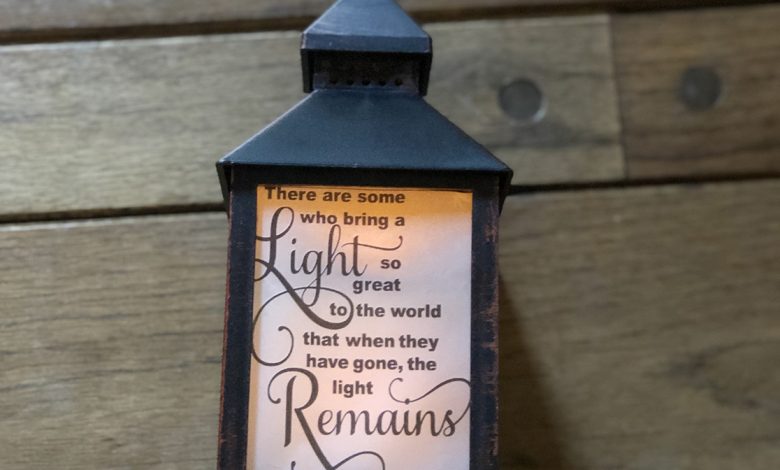
Your lantern is ready to reassemble and use.

