Try This: Create Jewelry Using a Laser Machine
Looking for some unique applications for your laser engraving machine?

Looking for some unique applications for your laser engraving machine? Try creating trendy jewelry accessories. For this project, we used the GCC LaserPro FMC280 fiber laser metal cutting system. A few things to keep in mind for this application:
Thin metal films can easily be thermally distorted and the flatness affected by high-pressure assisted gas during a high-power laser cutting process; meanwhile, precise focal distance is critical to the quality of laser cutting.
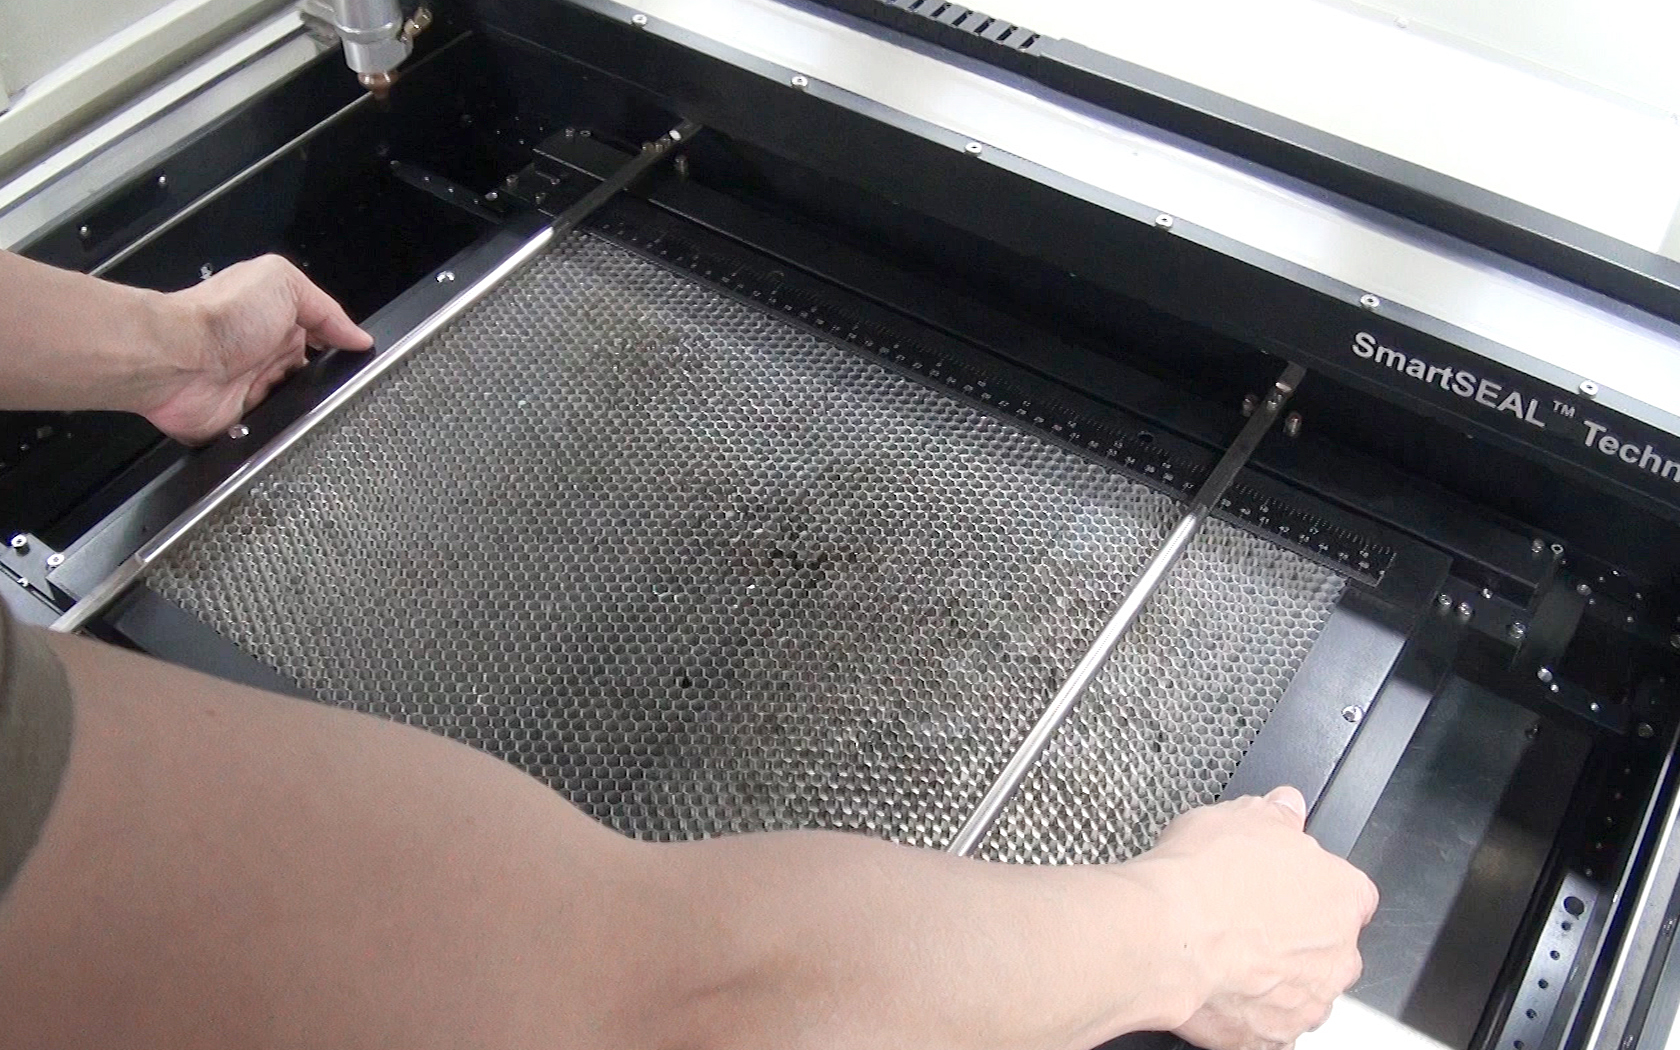
Because of this, the GCC LaserPro team developed the Thin Metal Film Clamping Device to keep thin metal materials flat without curls caused by the high-pressure assisted auxiliary gas and thermal distortion during the laser cutting process to maintain the cutting quality. We used this device for this project along with the laser machine.
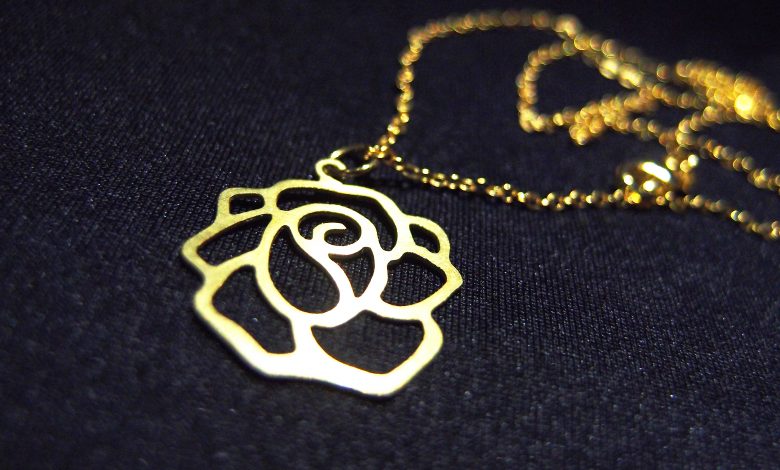
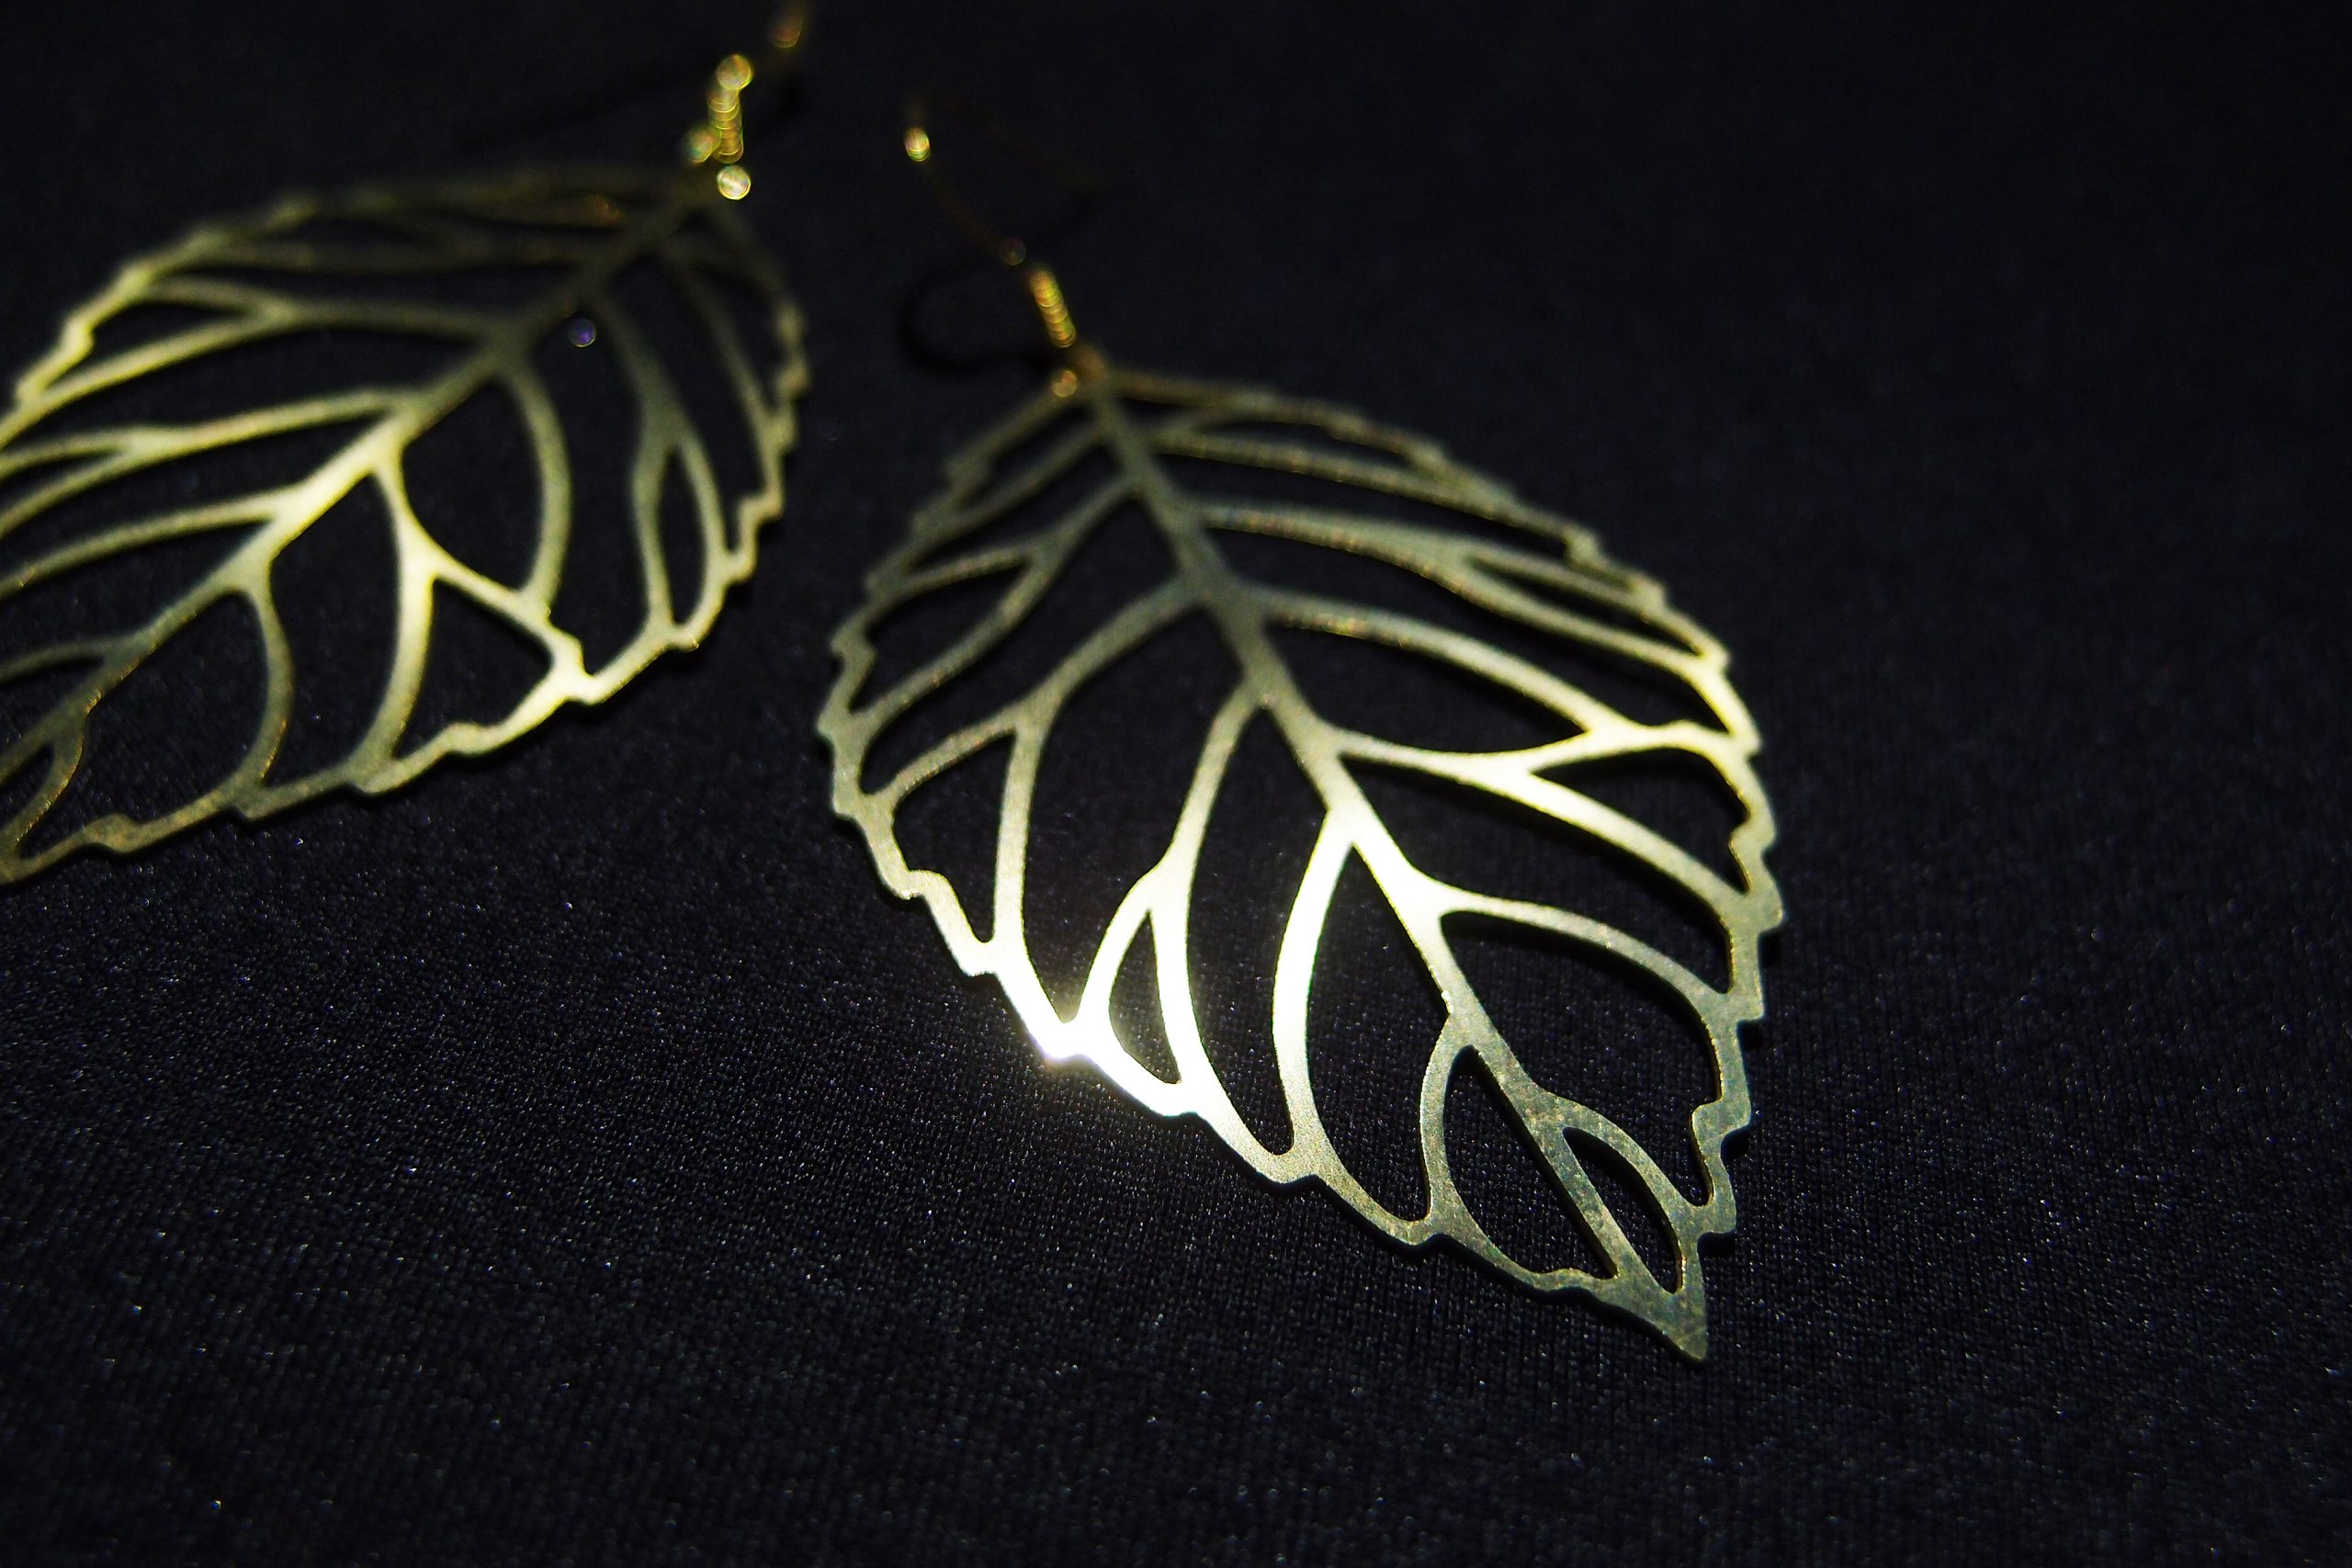
Here’s how our team created earrings and a necklace using the GCC LaserPro FMC 280 with the assistance of the Thin Metal Film Clamping Device.
Material Used:
0.5mm brass
Step 1: Place the Thin Metal Film Clamping Device on the worktop.
 Step one. (All images courtesy GCC)
Step 2: Place the thin metallic material on the device and fix the metal with the clamping bars.
 Step two.
Step 3: Press “Autofocus” to automatically set the focal distance.

Step three.
Step 4: Complete parameter setting and press “Start” to begin cutting.
 Step four.
Step 5: Sample is complete.

Laser cut jewelry sample.
Suggested Parameters
- Speed: 0.7%
- Power: 100%
- DPI: 3,000
- Frequency: 100
- Air: Nitrogen 100 psi
The parameters are suggestions only and should be moderately adjusted accordingly.
Bonus tip: Please ensure the cutting object is located between the clamping bars before processing to allow sufficient cutting area to avoid material waste.