Try This: Create a Digital Border in Photoshop
Avoid sacrificing an image's quality by creating a digital border to make it larger.
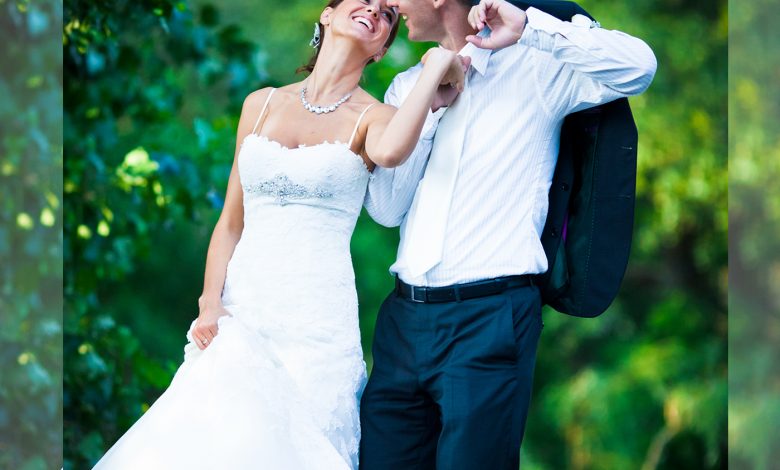

Let’s say a new customer has just walked into your shop. They’ve given you a digital photo off of their phone. While the photo actually looks pretty good, it’s not quite big enough for the 6-by-8-inch keepsake box they want without losing some of the quality. This is where adding a digital border or background with a pattern comes in. You can also place the image inside a shape, which can be a lifesaver.
Step One: Place the image in the center then add a border pattern equally around the photo. Consider adding a stroke to the image with a dash of color from the pattern or the photo to bring it all together. The image can be offset to one side of the sublimatable area while a pattern fills the remainder of the area, leaving room for personalized copy.
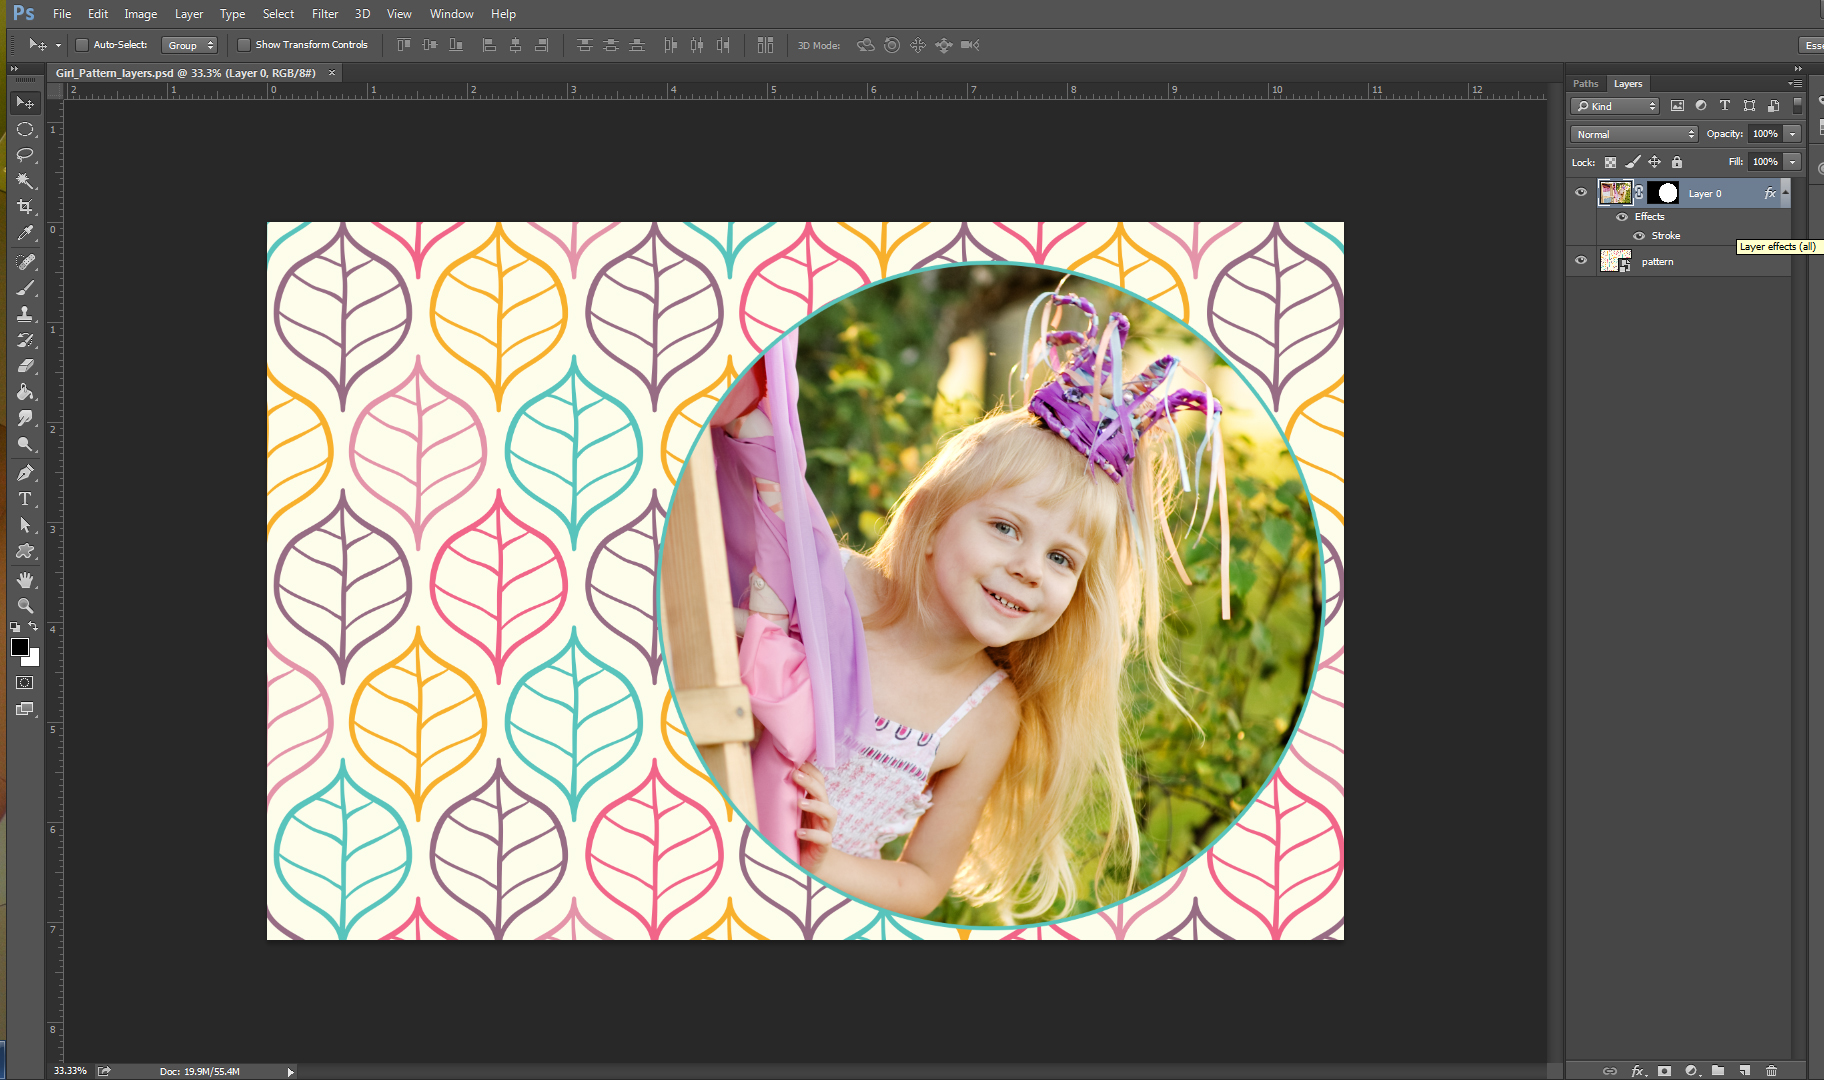
Another option is to place the image within a shape, like a circle for example. Creating a Layer Mask is an easy technique to get the job done. It’s great for creating shapes using images or patterns.
Step Two: Open a photograph in Adobe Photoshop then open the Layers palette (this can be found under the top menu bar Windows > Layers). Next, unlock the photo layer (noted as your background layer with a lock symbol on the layer in the Layers menu) in order to make adjustments. You can unlock the layer by double clicking on the layer in the Layers palette. We’re going to create a circle to put our photo into then add a pattern behind it.
Step Three: Using the Elliptical Marquee tool (the dotted circle shape in the Tool bar), create an active selection circle. For a perfectly round circle, hold down the shift key while pulling out the circle. Now, with the circle active (the dotted line that looks like ants marching), click on the Layer Mask icon at the bottom of the Layers menu. Your photo should then appear in a circle shape. Before making any further adjustments, save your file as a layered PSD file format.
Step Four: With the Layer Mask, you can make the circle larger or smaller as well as make adjustments to your image. Click on the unlock icon that is visible in the Layers palette for that specific layer then select what you want or need to adjust-the image or the shape. A white box will appear around the item you are working on-either the mask or the image. If you need to change the placement of the image, turn the lock icon back on-this links the Mask and the image together so no matter where you move them on your canvas, they stay together. I brought over a pattern design to place behind the image (on it’s own layer) to fill my background. Now, I’m ready to add text or make any other edits before saving a copy and flattening my file under a different name.
You can find patterns to use on your various projects online (some may be formatted for specific products already) at unisubgraphics.com. There are also stock websites such as thinkstock.com or shutterstock.com. You can also create your own library by scanning in old paper or fabrics, create patterns with your growing software skills, or watch some how-to videos on Youtube or Lynda.com. You can also use the picture itself sized larger with a low opacity behind the photograph, smaller in front at 100 percent visibility.