Try This: Color-Fill a Deep Etch on Sandcarved Glass and Crystal
Add that pop of color to bring an award to the next level.

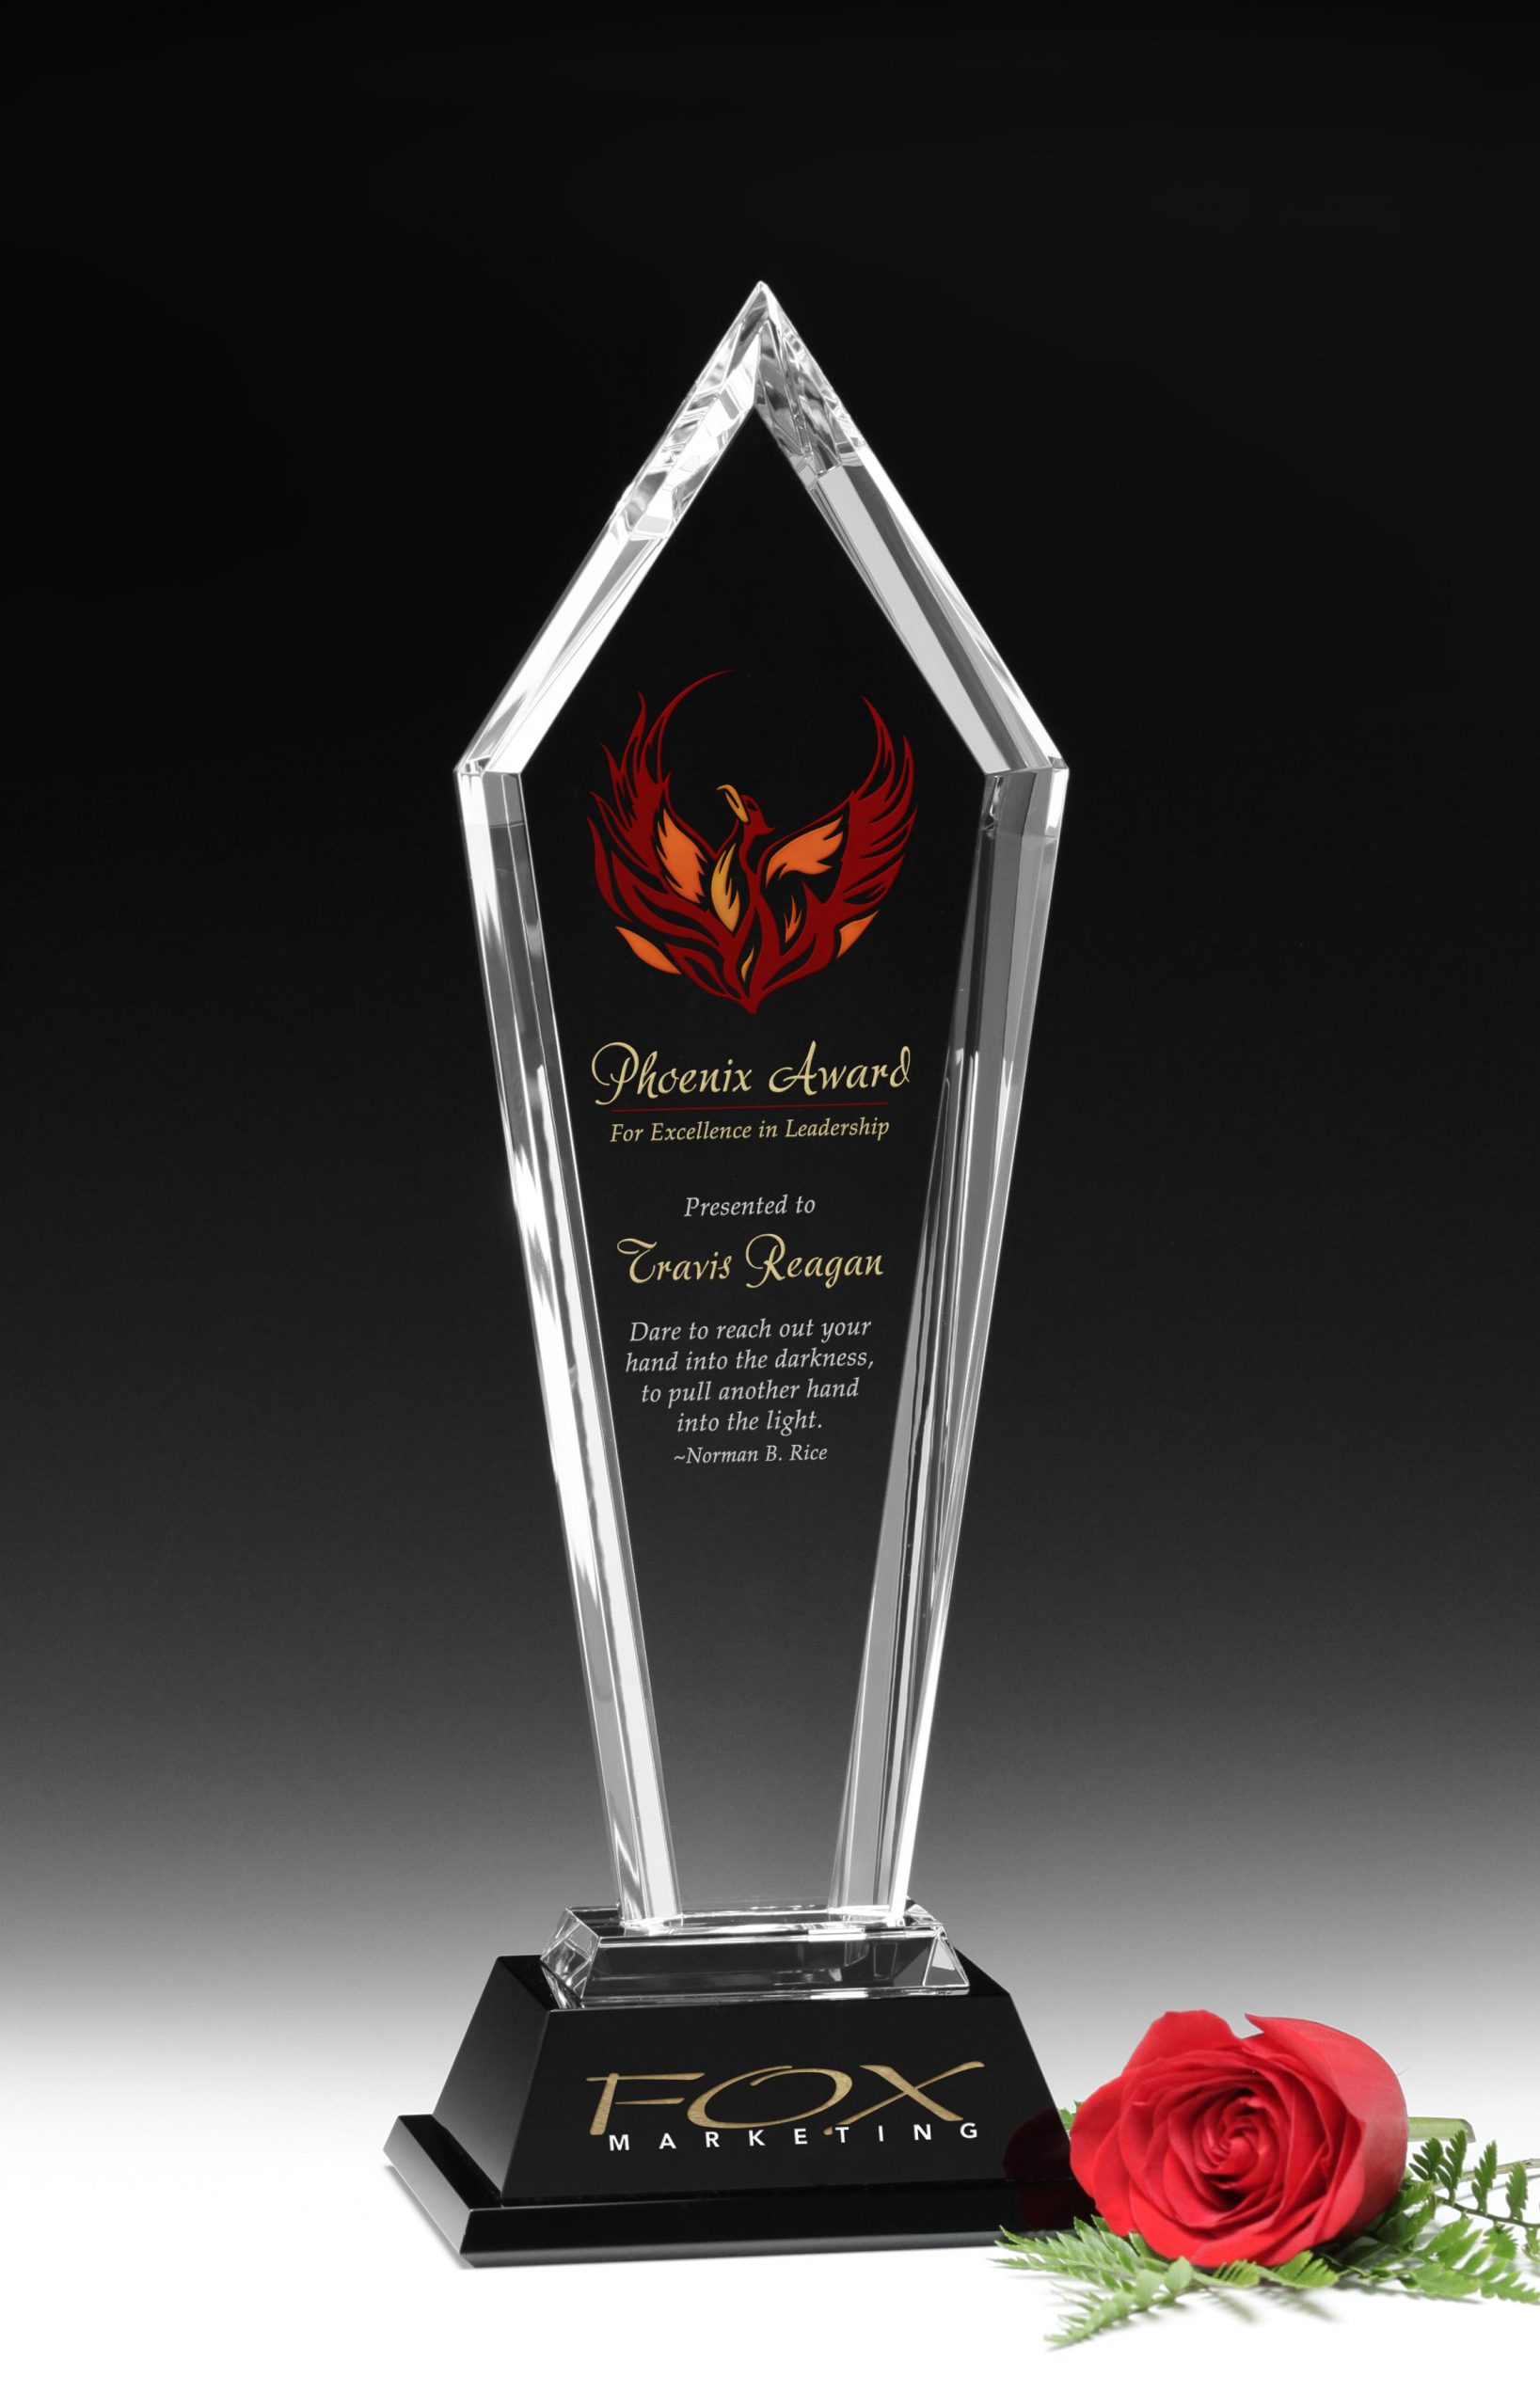
Create a lasting memory for an award recipient by combining a beautiful deep etch with a pop of color. We’ve learned the ins and outs of this process through trial and error, so we have some tips and tricks for you.
Step One: Artwork
The first thing you need is good artwork. Bad art files lead to bad artwork and eventually, bad imprints. Place and size your artwork on a template. Many suppliers have templates for their awards. If your supplier of choice doesn’t have that option, just ask! Production artists use them every day to make sure artwork is ready for imprinting.
You also need to make sure your art is up to sandcarving standards. Take the time with scrap pieces to find out what your minimum etchable font size is for serif fonts, sans serif fonts, and script fonts. The last thing you want is unreadable artwork.
Once your artwork is placed and sized correctly, you can print it onto your film for sandcarving.
Step Two: Sandcarving
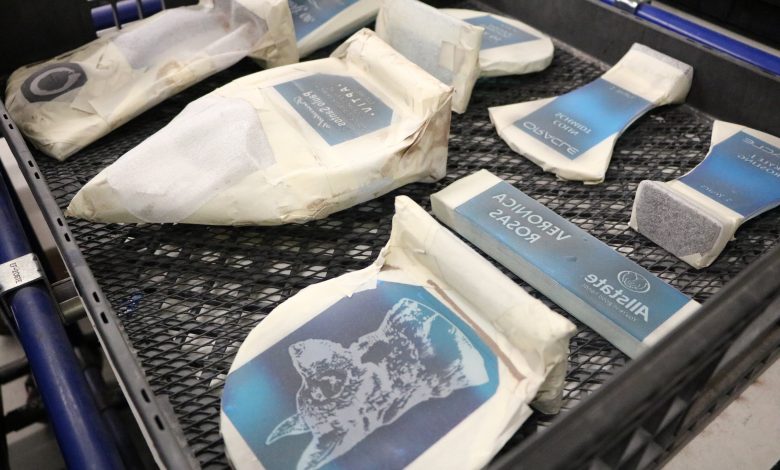
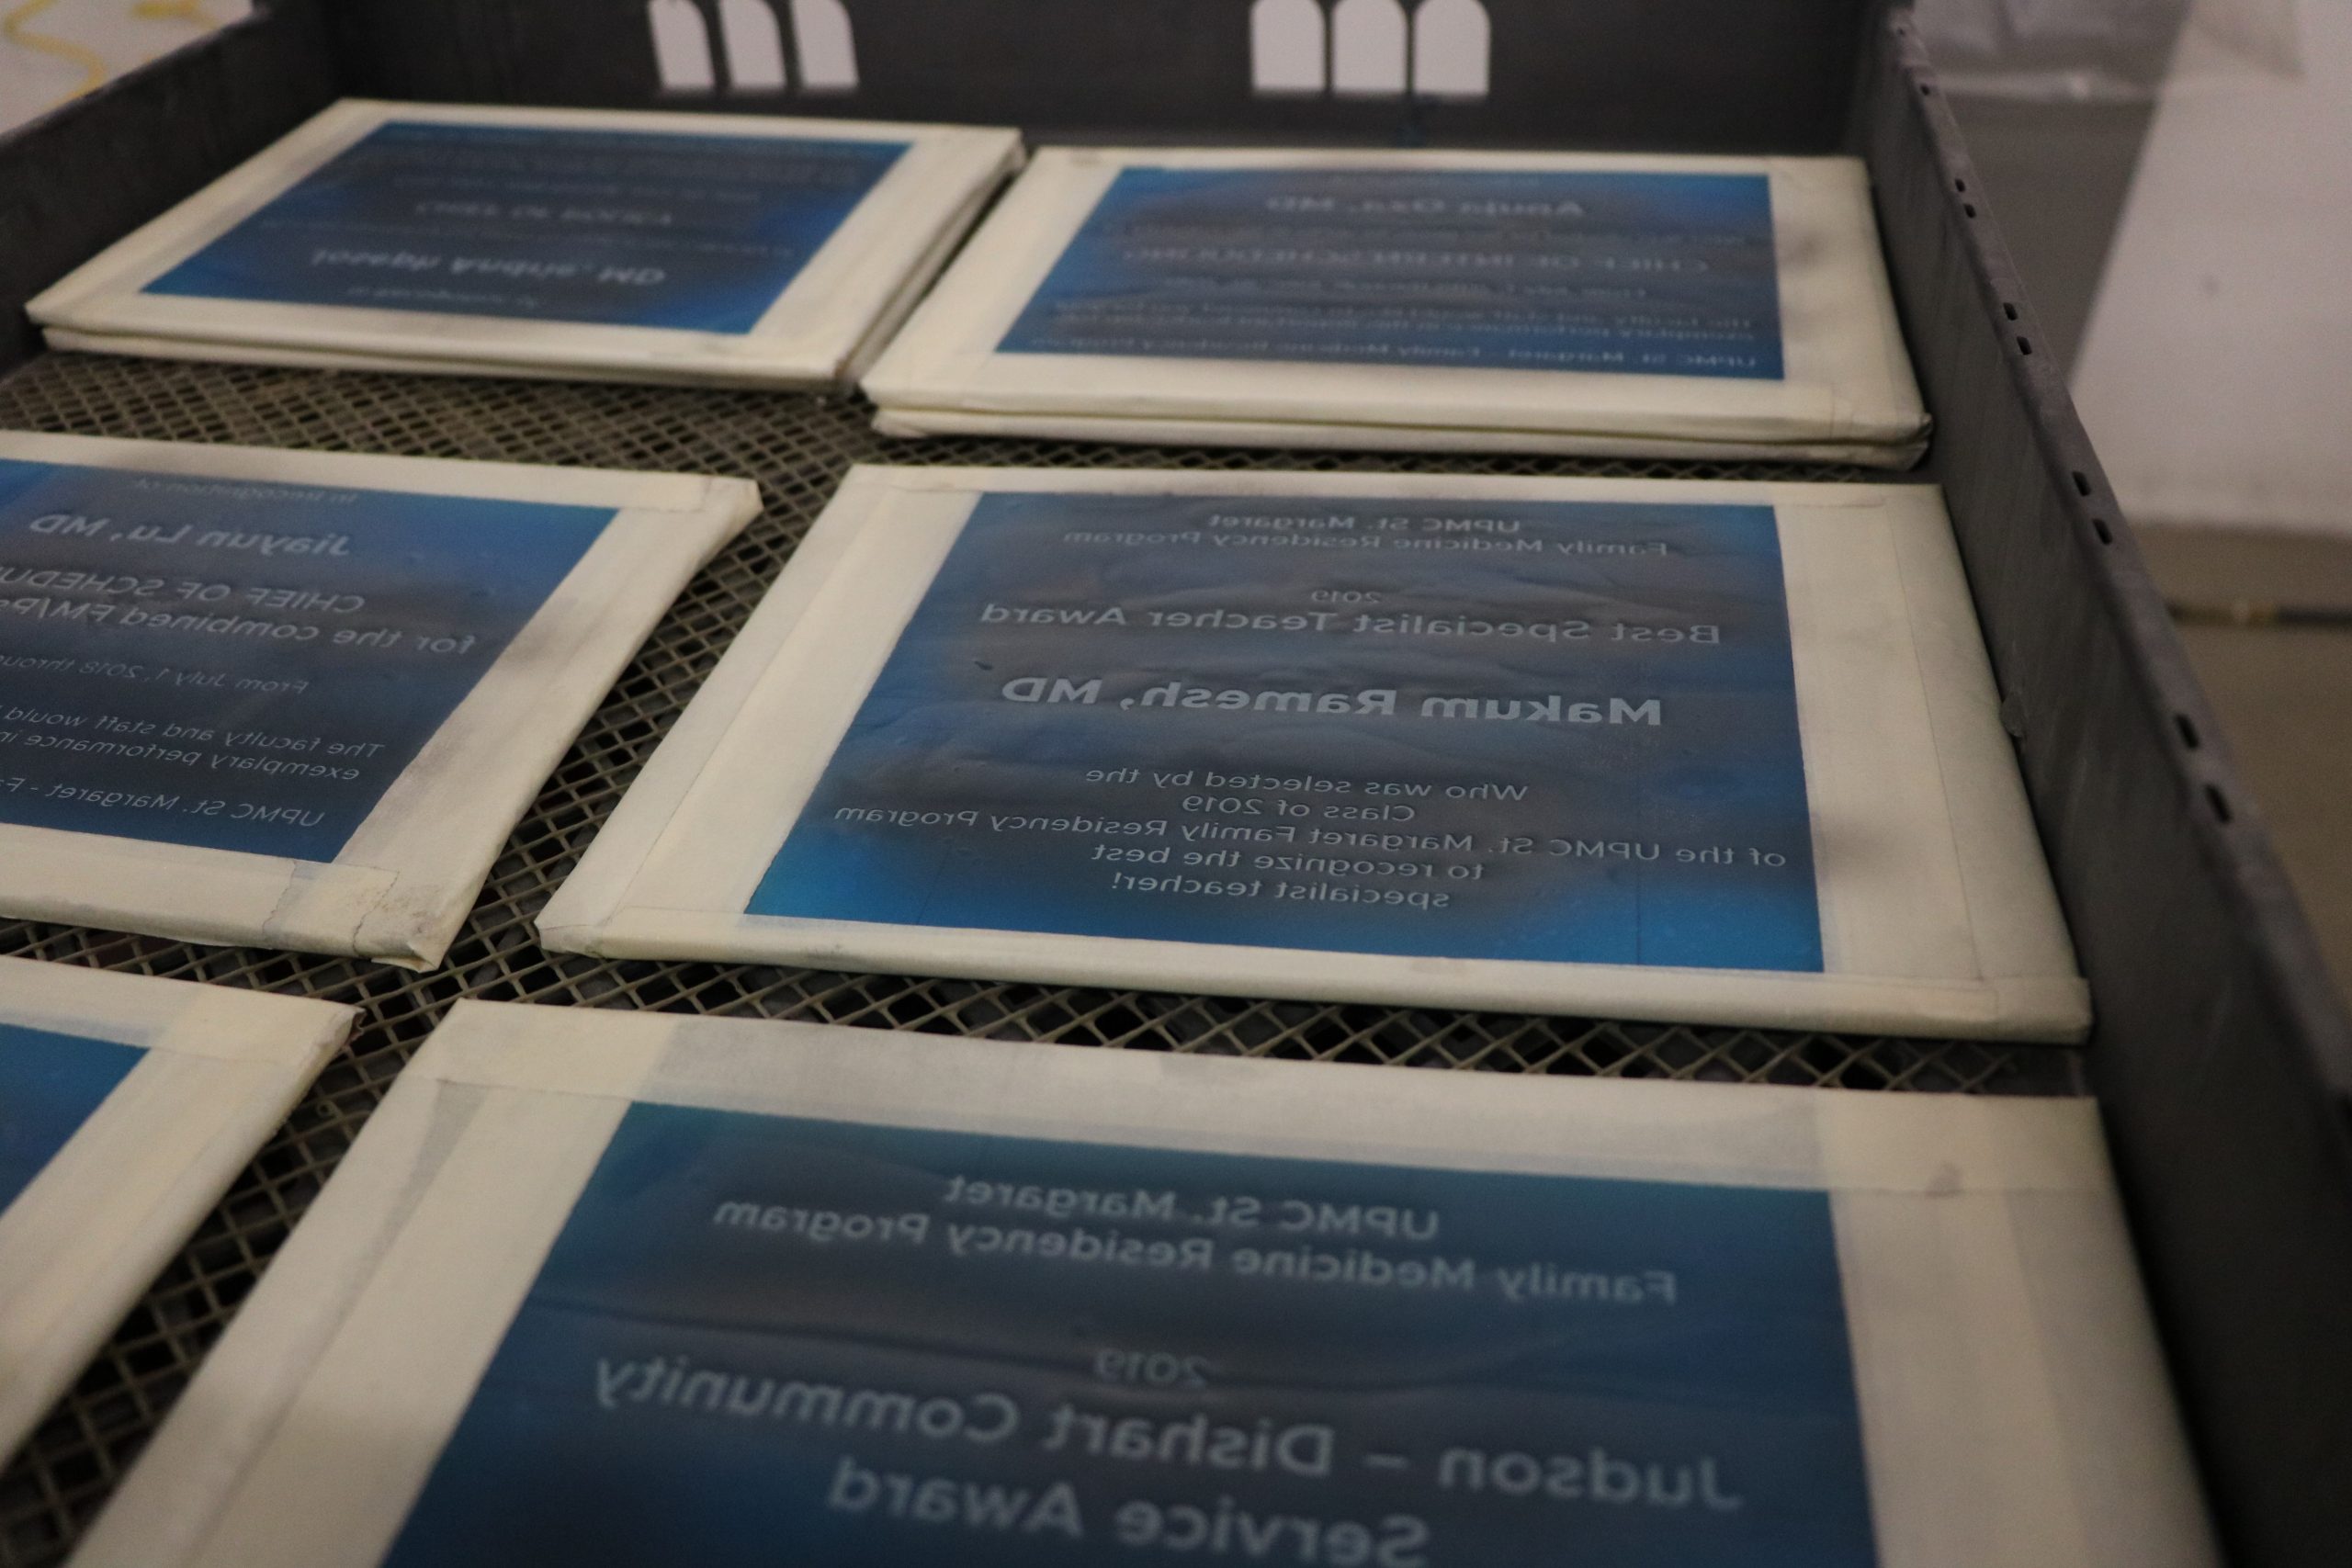
Once the film is created, you’ll need to expose it onto masking material. The most common film used is 3-4mm thick. Once the film is exposed, you can adhere it to the award. But before you do that, check for errors in the artwork. If you don’t catch the errors, you’ll need to start this process all over.
Next, apply the film to the award. Make sure that you cover all the other exposed crystal to keep it protected from the sand in your sandblaster. We recommend covering with masking tape. It keeps the award protected and it’s easy to get off during the washing process.
If you’re using a 3-4mm film, etch at 25-30 PSI. This way you’re less likely to ruin the film and have to start the process all over. Also make sure you’re aiming for a deep and even etch. An uneven etch has darker and lighter spots in the artwork, which are noticeable.
Once you’ve sandcarved your award, wash all the excess masking material and tape off in a clean and dust-free area.
Step Three: Color-fill
The last step is color-fill. Adding that pop of color to an award brings its elegance to the next level.
When working with translucent colors, you may see color variance depending on how large the surface area of the award is. Smaller etch areas can appear darker, even if you’re using the exact same paint. (This is why we don’t PMS color match.)
We’ve also learned that color-filling on curved crystal is tricky. The paint tends to pool in the corners of the etch, which leads to varying shades of the same color. If you do want to color-fill on curved awards, practice your technique.
Now that you know some of our tips and tricks, give sandcarving a deep etch and color-fill a try!