Try This: Achieve a Two-Sided Etch in Crystal
Liz Haas, Rayzist, shares how to bring a little creativity to a simple design by adding a two-sided etch.


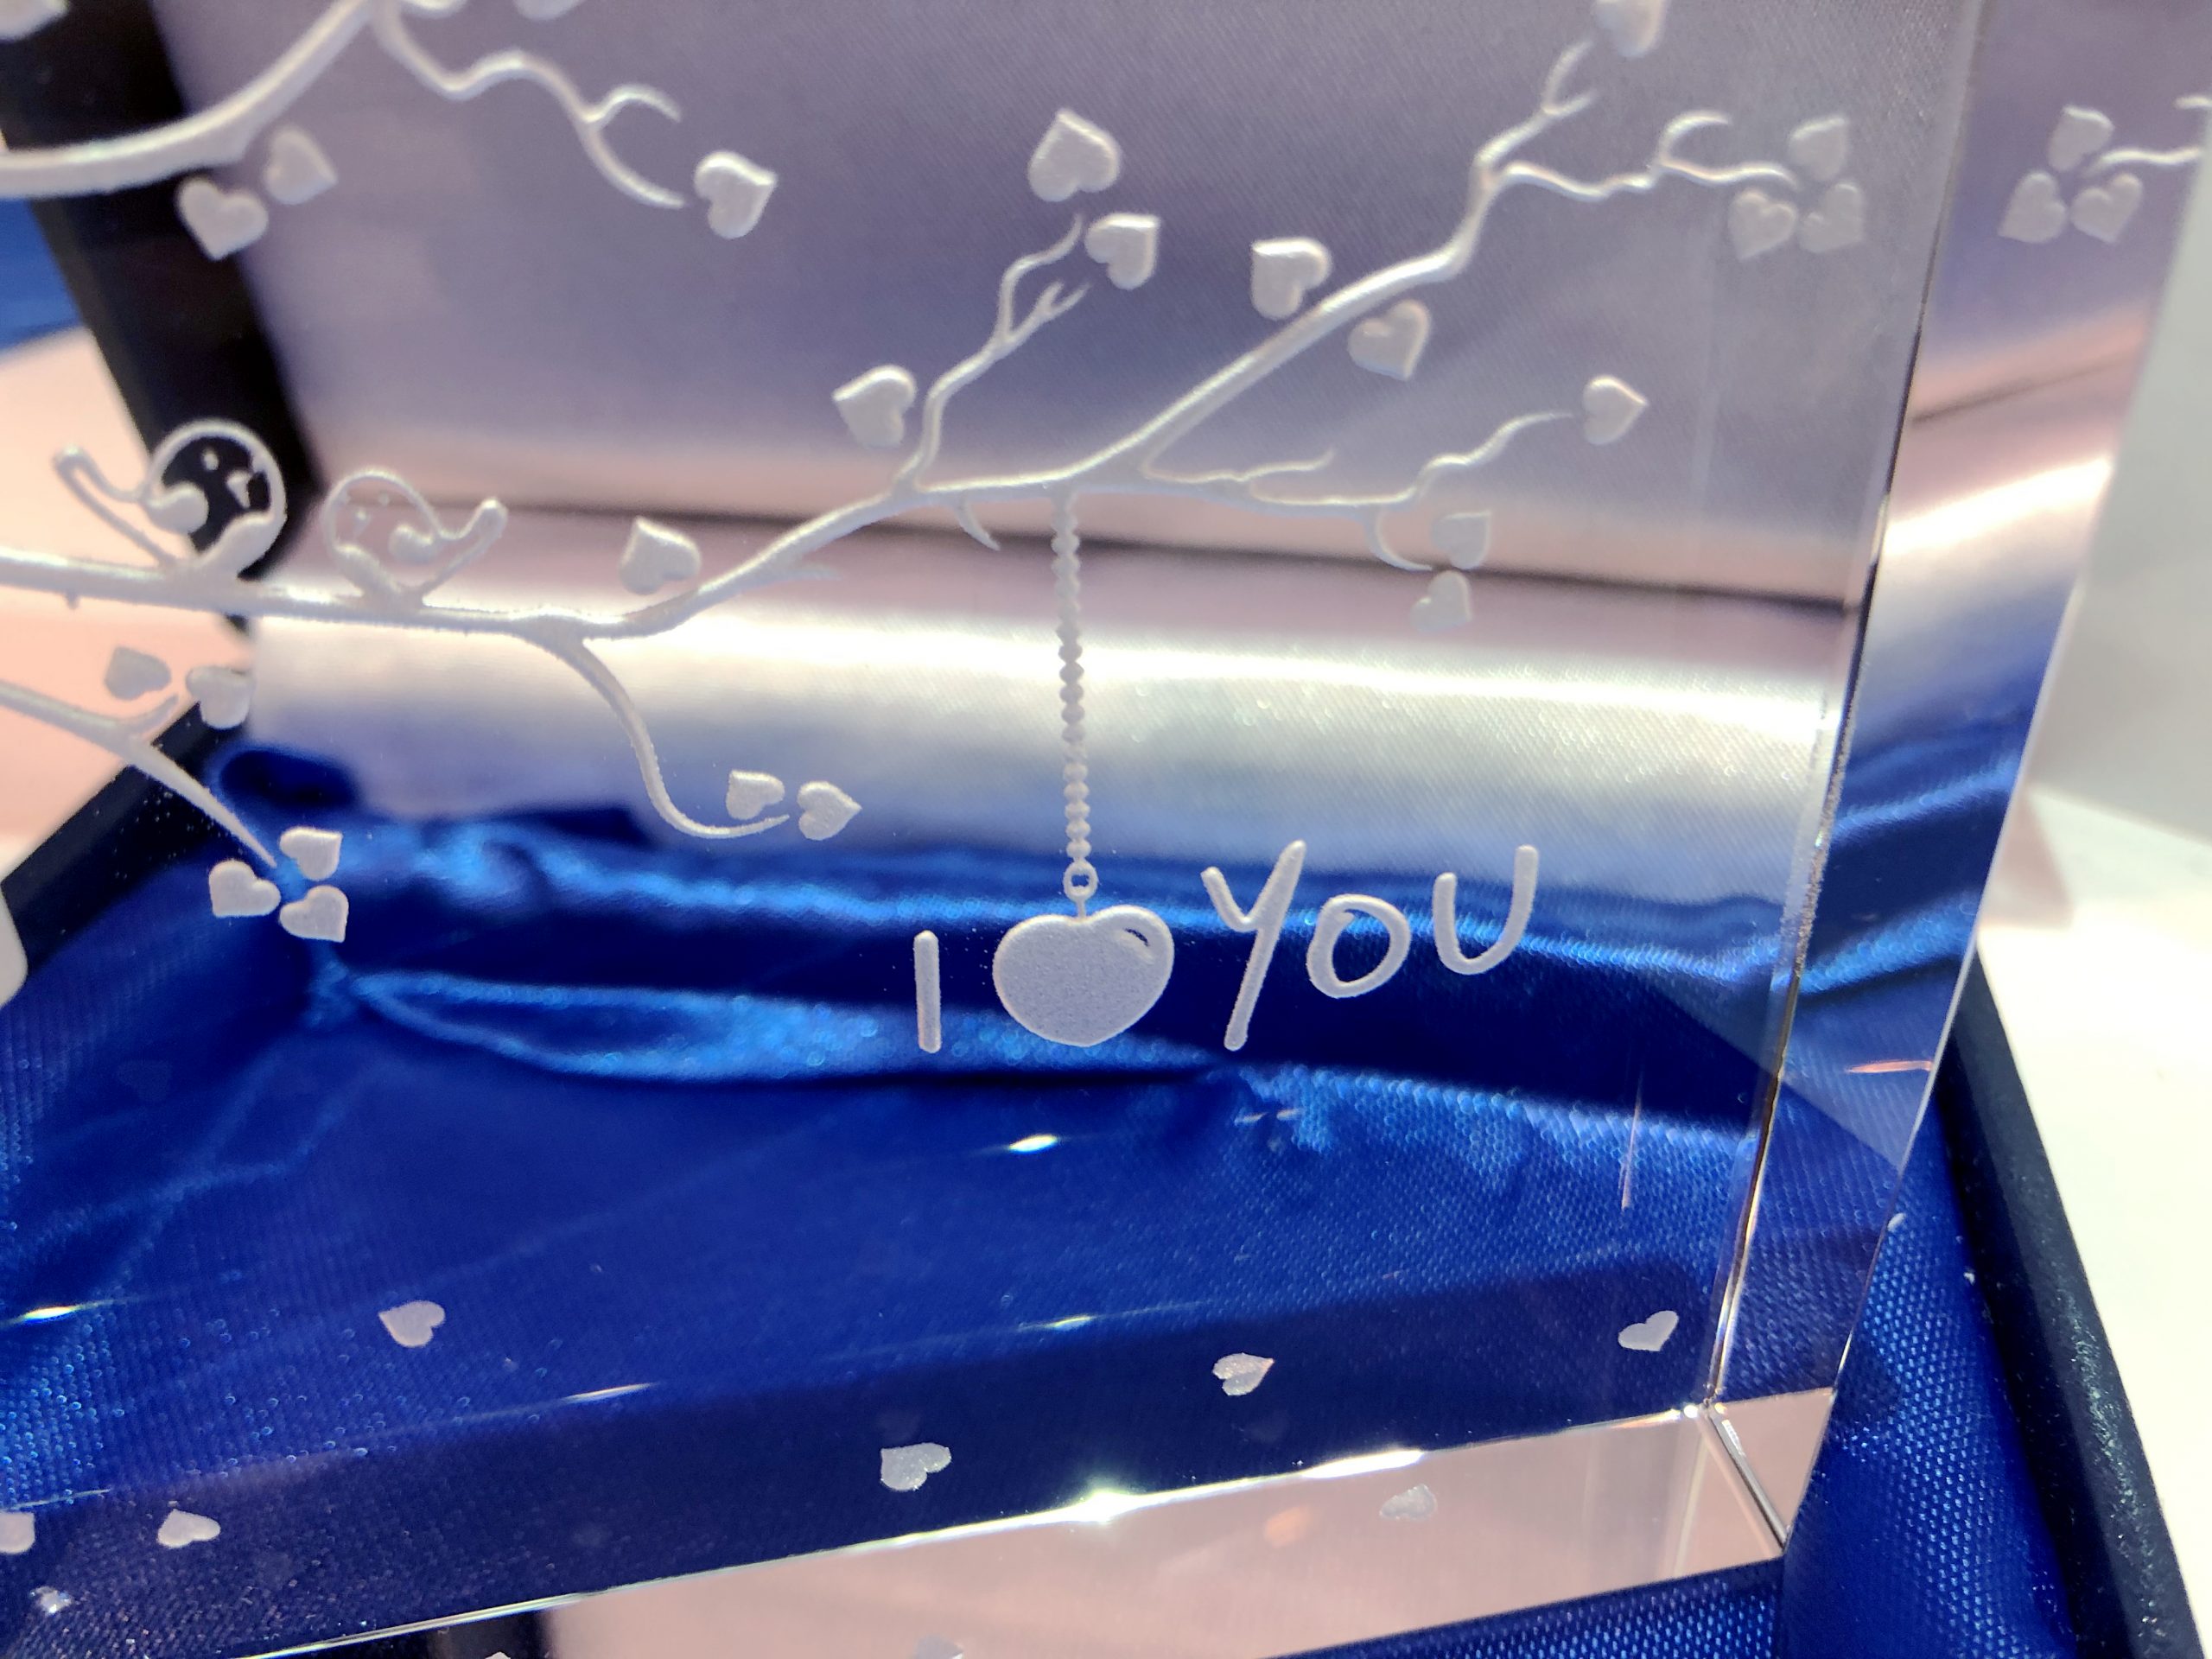


Bring a little creativity to a simple design by adding a two-sided etch. This crystal block vase is perfect to add a two-sided etch because of the 1″ thickness of the item. Etch from the front and back of design to create a unique gift. In this project we added depth to the image, causing the etching to be pronounced when viewed through the front.
Requirements:
- Crystal block vase
- Artwork from www.vectorstock.com (any vector artwork can be used)
- SR3000 4Mil
- Sandcarve at 30PSI
Artwork
Today you have access to several vector images which are cost effective. There are creative images that can be purchased and used as is, or you can take a purchased image and add some of your creative design to the artwork. I chose artwork from www.vectorstock.com and modified the artwork by duplicating the hearts. The branch, hearts, and birds will be blasted on the back of the vase. The depth will be viewed through the front causing the etching to be pronounced. The second sets of hearts will be placed on the front of the vase and blasted with a surface etch. This type of etch is easy and simple, providing a unique style. I added one more design, the couple’s initials – this will add a personal touch for the customer.
Photoresist
Artwork was printed on inkjet film and exposed to SR3000 Self-Stick 4 mil film. 4 mil film allows depth in the crystal. The artwork that is blasted on the back of the crystal will print as a reserved or flop image. The two other images will print regular to etch on the front of the crystal.
Application
Once the photoresist stencil is developed, apply the stencil to the vase. Place the main part of the design on the back of the glass (branch, hearts, and birds). Apply the additional hearts on the front of the glass and lastly, our couple’s initials will be applied to the top of the crystal. Since the vase is optic crystal, cover the exposed area with tape, which will eliminate any overspray on the vase.
Blasting
The abrasive is aluminum oxide 150 grit at 30 PSI. Silicon carbide can also be used. The 4 mil allows depth. Any image that is blasted on the back of glass can be blasted with some depth. Sandcarve the three images with some depth, which will cause the image to stand out in the crystal.
Clean Up
Rinse the entire item with water prior to removing the tape and photomask. The water will remove any abrasive that could potentially scratch the crystal. Clean with glass cleaner or a soft cloth. Optic crystal is a high-polished surface and tends to scratch easily.
This is a simple vase that now has some creative design with a personal touch.
Watch how Liz Haas accomplishes this.