Sandcarving is a versatile and efficient method for etching a variety of materials, offering precision and depth control to enhance perceived value. The process is straightforward — start the machine, apply the mask to your product, and begin carving. However, challenges can arise, particularly during high-production periods or peak seasons. Understanding common issues and their solutions allows for a smoother process and consistent results. This article provides troubleshooting techniques and applications to help sandcarvers quickly identify and resolve potential problems, ensuring efficiency.
Artwork prints are not opaque
The issue is that most do not realize they have light prints. The photoresist film washes out, your design appears, and you move on to sandcarving. A dense opaque print will result in a fast wash and provide the best detail achievable with photoresist film. A light print will result in a long washout, which can compromise the detail of the images. There are a couple of methods to test your print.
One is to place your print of the cylinder of the exposure unit (use UV protection glasses) or a light table. Do you see light passing through the artwork? The print will appear to be black just by looking at it, but viewing the print under light will give you the true test. The second method is placing an unexposed strip of photoresist film on the washout board.
Time the washout — this should be the exact time of your washout, exposing your print film. If you find you are washing longer than the wash test, you may be dealing with light prints. The artwork is the most important part of having a good photomask, which makes a printer an important tool in the process.
We highly recommend inkjet printers because of the print settings options. Adjust the printer settings to print dark on inkjet film. This is important especially when purchasing a new printer. Take the time to go through each setting and determine which setting prints the darkest. In addition to checking the printer settings, artwork should always be set up in CMYK mode with CMY at 0% and K at 100% versus RGB mode. This will ensure the graphic is set up in 100% black.
There are several printers on the market today and searching for a printer can be overwhelming. Printers are vital to producing a photoresist mask/stencil, so it is important to have a good printer for the photoresist process. Another method of ensuring you are achieving a quality print is to invest in a rip software.

Reactivating self-stick photoresist film
Self-stick film is a water-based resist known for its flexibility and repositionable feature. Apply the self-stick photomask to the substrate, apply pressure to secure it in place, and if it is not aligned correctly, remove and apply again. Since self-stick photoresist film is water based, it can be affected by the environment. Entering winter and dry climates can affect a self-stick photoresist film. If you are working in a humid environment, the self-stick photoresist film feels very sticky because there is moisture in the air. A dry climate, such as during winter months, will cause the self-stick film to feel less tacky than normal.
A great feature of self-stick photoresist film is that you can reactivate the adhesive via moisture. Simply place the photomask on a damp, lint-free cloth and hold for a few seconds. Flip it over and the moisture has reactivated the self-stick properties in the film. The photomask is tacky and ready to use.
Inconsistent mixture of the blasting stream
The ideal blasting stream is 50% air and 50% abrasive. This 50/50 (equal parts) stream is a consistent flow, allowing an efficient etch. An inconsistent flow results in flooding the nozzle with abrasive or air. Blasting with a higher percentage of air will overtake the blasting stream and may cause the photomask to lift. Flooding of the abrasive results in sand taking over the blasting stream, providing less power behind the media. You want a steady blasting stream packed with power to sandcarve efficiently and quickly.
An inconsistent blasting stream can begin to start when your nozzle is worn. The opening of the nozzle may start a 3/32″, but after a while the 3/32″ becomes a 1/8″ or larger. This larger opening will cause either more abrasive or air in the blasting stream. Test the nozzle by keeping a 1/8″ drill bit by the sandcarving system. Drop the 1/8″ drill bit in the opening of the nozzle. If there is wiggle room, then you have a worn nozzle, and it is time to replace.
Worn abrasive will also contribute to an inconsistent blasting stream. The abrasive breaks down over time and the grit reduces in size after several recycles. As it reduces, the abrasive starts to flood through the nozzle — or a big burst of media — while blasting. New abrasive has the consistency of sugar or salt. After several recycles, the abrasive starts to break down and feels like flour. Worn abrasive will result in slower etching time. It is ideal to replace your abrasive when you change the nozzle.


Compressor maintenance
The air compressor is the lifeline to your sandcarving system. The operation of the sandcarving system is dependent on the quality of the compressor.
As we enter into the busy season, the compressor will increase in operation. Continuous operation requires maintenance. Draining the compressor is a priority. The compressor generates condensation during operation, and as the condensation builds in the belly of the tank, if it is not drained, the moisture will carry over into your hoses, foot pedal, and pressure pot.
Some sandcarving systems provide a moisture separator on the regulator, but it is not sufficient to capture excess moisture. In these photos above, we had a customer that was experiencing moisture in the airline. Once the compressor was completely drained of water, the moisture problem was resolved.
We recommend adding a moisture separator to your compressor and draining your tank often. There are a few methods to draining your compressor tank. One is installing a timed electric auto drain. The second is adding a manual valve to drain the moisture. Lastly, manually drain the moisture by the release valve (see compressor manual).
 Issues with sandcarving stone
 Issues with sandcarving stone
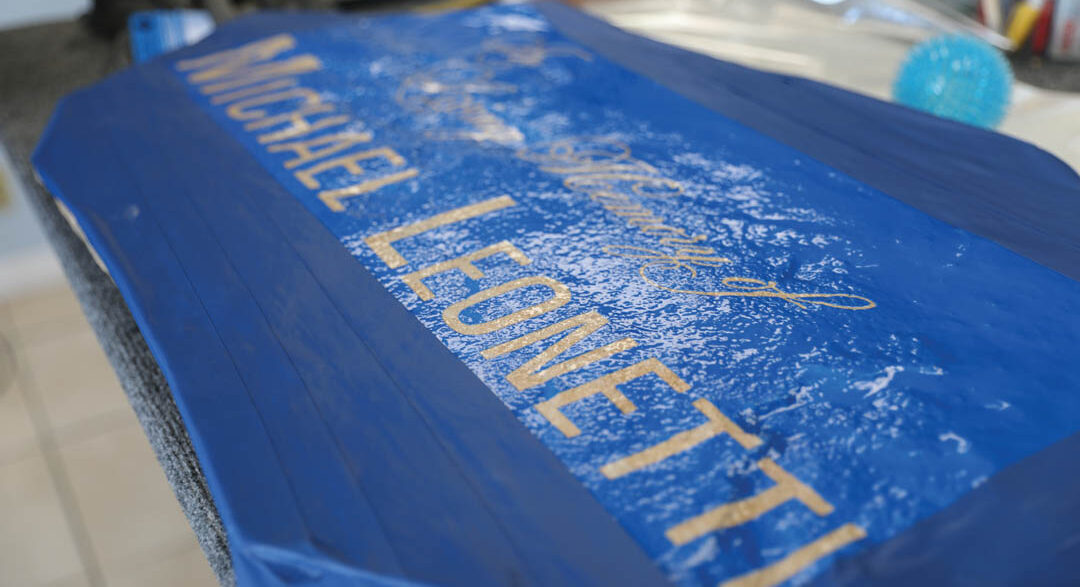
A common issue we see is the photomask will not adhere to stone or unpolished surfaces such as stone. Photoresist will not adhere to unpolished surface stone such as natural stone, brick, or concrete. A solution to get the photomask to stick to the unpolished surface is to heat the stone until it is hot to the touch. Stone has moisture and it draws to the surface with heat. Heat is generated while sandcarving. It is important to heat the surface prior to applying the photomask stencil.
A mini torch from a local hardware store or a heat gun will draw the moisture to the surface. Once the stone is hot to the touch, apply the photomask stencil. A 5-mil or 6-mil photoresist film and extra adhesive with brush-on adhesive is recommended for sandcarving stone. The photomask should be resistant to etch deep into the stone surface if desired.
Visibility
Similar to compressor maintenance, changing the viewing glass is often overlooked. Changing the sandcarving window should be replaced when the glass starts to look frosted. The best way to order the inside window glass is through a local glass store. Usually, you can get a few pieces to have as a backup. It is usually a better price and there is no chance of it getting damaged in shipping. Once the window is frosted, it is time to replace it. Visibility is key to see the process of your etching.
Back up
It is so important to have replacement parts on hand. This will save money on express shipping a part and no downtime waiting for parts to arrive. We recommend keeping a nozzle, blast hose, abrasive, and foot switch valve kit (rubber tube sleeve) on hand. After a couple of years of sandcarving, it doesn’t hurt to keep a foot pedal on hand too.
By following these troubleshooting tips, you can minimize production issues and maintain a smooth sandcarving process. Proper maintenance and preparation ensure efficiency, quality, and a stress-free sandcarving operation.