Professional wrap installers continually strive to perfect our process; and to make our day go smoother we try to learn from our mistakes. Sometimes the customer will force us to design a certain way, or the contours and body breaks of the vehicle only allows us to put elements in certain places.
Unfortunately sometimes we don’t have many options to design and print without making the installers life a little harder. A lot of job outcomes are due to scenarios that make the installer seam, patch or align wraps in a less than ideal way due to deadlines or miscommunication of the specific vehicle year and model. So how we avoid these situations?
Planning is Key
When planning your design and print panels, keep the installation in mind. Doing so will make the wrap install go a lot smoother-especially if ten different companies have to install the same kit. We know fading to a color near panel seams and bumpers would be ideal, but this is not always possible. Many of the kits I install are like puzzles. In other words, you may have to figure out which pieces should go on first so that the other panels will align easily.
I usually peg both sides of a wrap and give the rear extra material, as long as the sides sitting in the same spot at the rear of the vehicle making stripes and patterns travel around possible to match. Some of my most complicated wrap-around designs require me to wrap both sides and then photo them on vehicle, adjusting rear design before I print. I tell a lot of designers it’s like a video game-the more creative and more precise you want to get, the harder it becomes. A level ten package design may require a lot of math and measuring.
Fender Flares
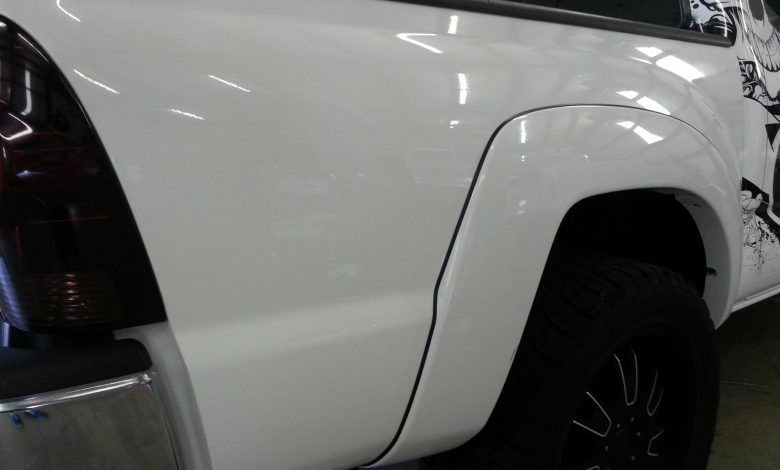
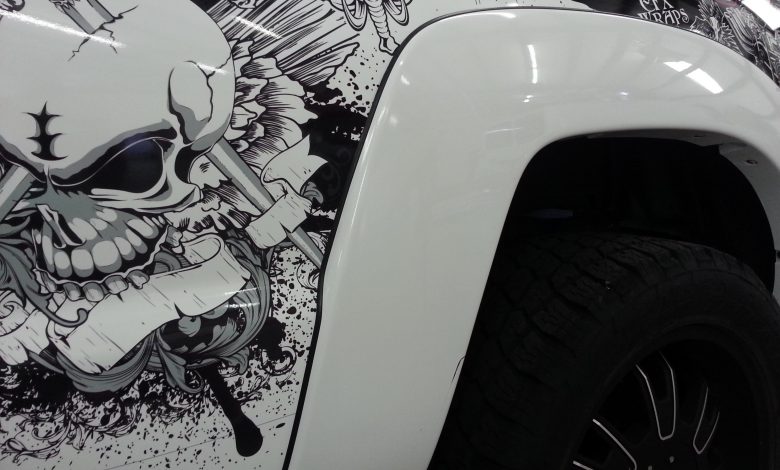
So the problem I want to talk about is vehicles that have fender flares and panels that protrude outward which can cause the print and install process to be tricky. Simple examples range from truck fender flares like the Ford Expedition or the F-150 pickup-which can be beat by installing them flush to the 90-degree contour, and then trimming in the gap.
However Toyota trucks and H3 fenders have a small rubber seal gasket between the fender and the truck body that poses some new problems. For example, if we install flush to the fender panel the rubber seal does not always get a tight fit next to the body panel, so now we can’t trim without cutting into that gasket.
A lot of technical installers will remove the fender panel. But not all shops have that caliber of expertise, and maybe time-wise it’s just not worth it, or maybe you’re using a complicated Aurora fill graphic that requires you to keep that panel in place in order to insure precise graphic alignment.
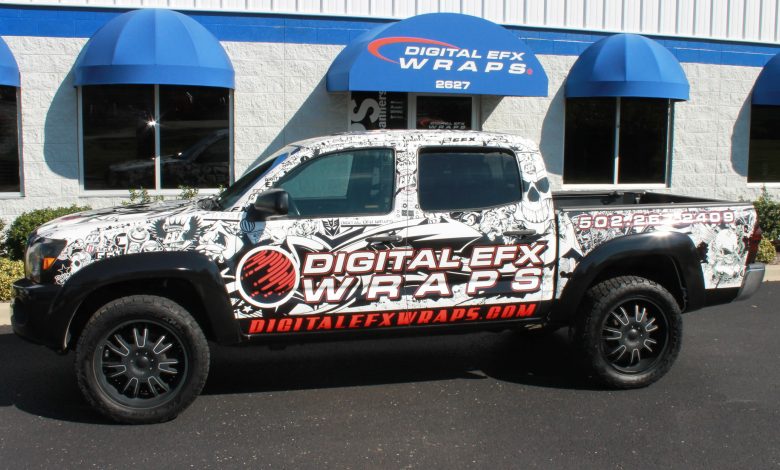
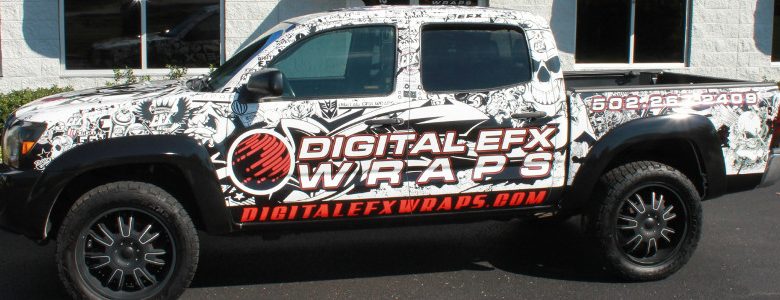
Toyota Tacoma
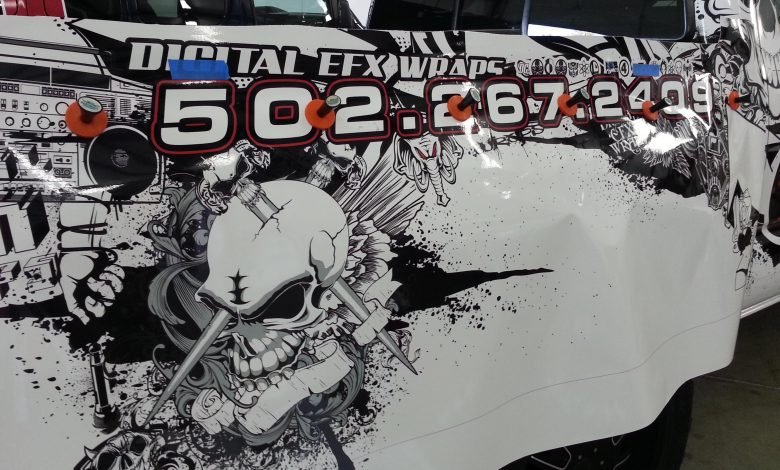
Our example vehicle is a white Toyota Tacoma pickup. The job called for a sticker-bomb of logos and gloss black wrap all the way around the vehicle-covering the bumpers and fenders-and a stripe on each side, creating something of a two-tone effect.
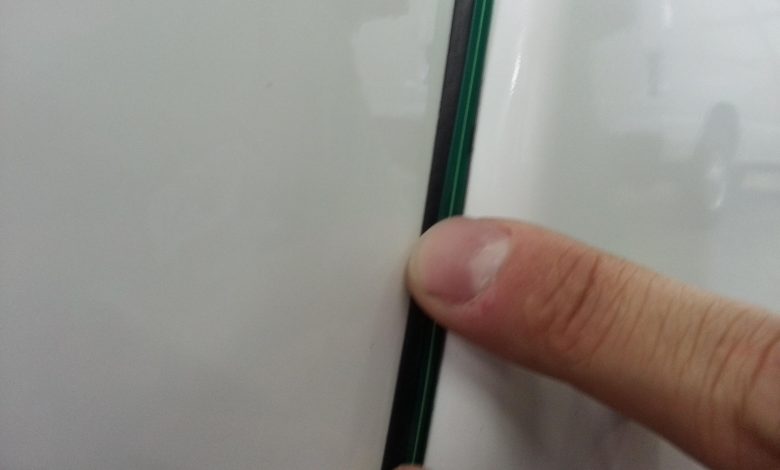
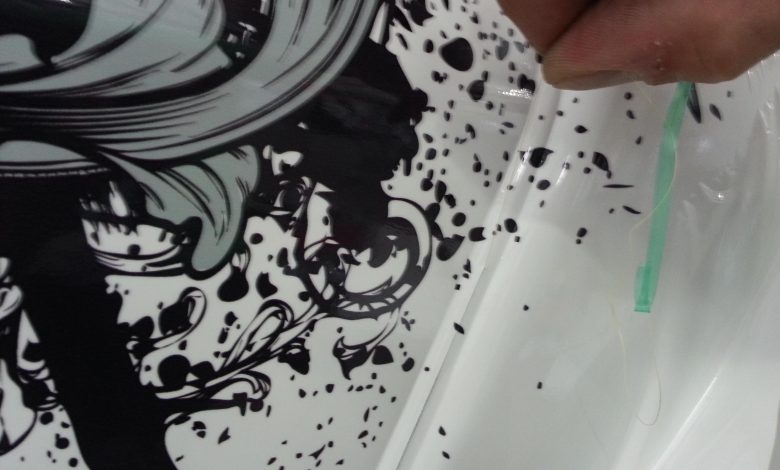
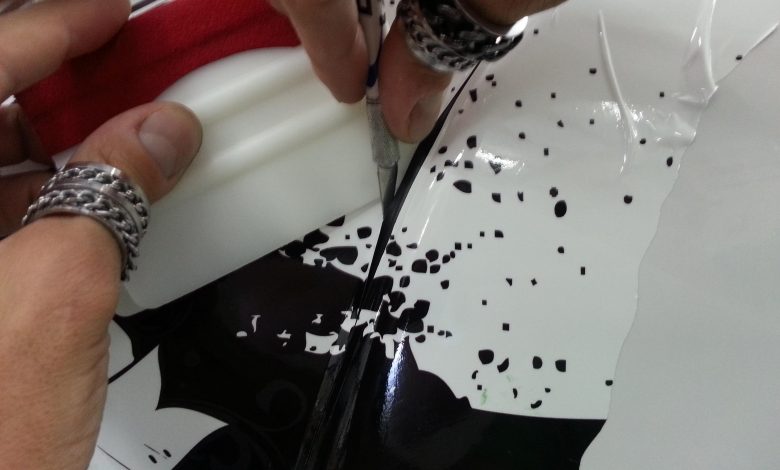
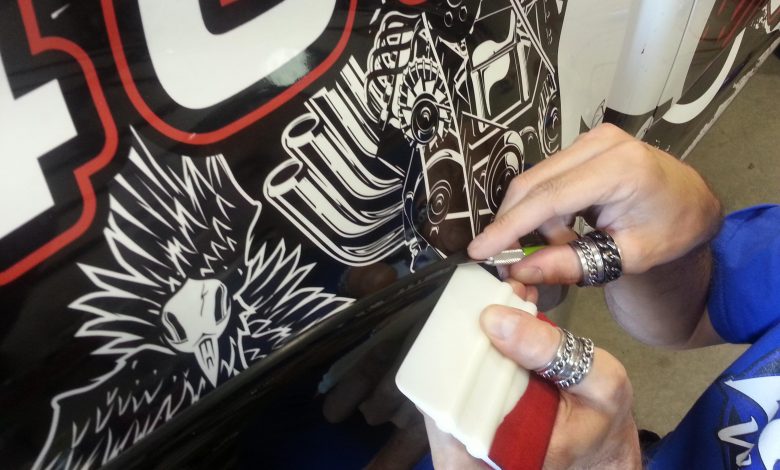
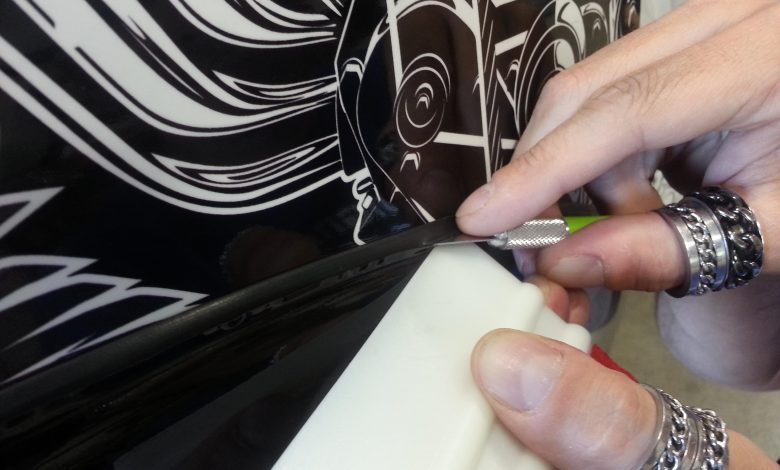
For this job I recommend using knifeless tape to minimize the amount of actual knife-cutting that’s required. After doing the proper vehicle prep procedures, be sure to wipe the rubber fender gasket really well to ensure good contact when applying knifeless tape.
The main advantage of this “how to” application is to ensure that you do not cut the gasket between the fender and the body. Getting these wraps on vehicles is important but we need to always keep in mind when the wrap is removed that we leave no trace of knife cuts or adhesive. Becoming a good wrapper just requires practice, so follow along. Good luck and have fun.
The graphics on this vehicle were printed on a Roland XC 540 and the media we used was Avery 1005 EZ SC and Avery DOL 1060 laminated using a DryTac laminator, and installed using the Digital EFX Wraps Wet Edge squeegee and wrap gloves.
* From the 2014 issue of WRAPS magazine.
* Click on the images above for step-by step directions.