Tips and Tricks: Sandcarving Odd-Shaped Substrates
In this special feature from the Glass and Crystal Report, a supplement to the December '19 issue of A&E, uncover how to customize an item that is out of the norm with sandcarving.
Have you ever been asked to customize an item that is out of the norm? While it can be nerve-wracking to be liable for making mistakes on a rare collectible or grandma’s urn, it doesn’t need to be scary. Sandcarving any curved or odd-shaped items can be challenging, especially if you are using a large photoresist mask. However, there are many tips and techniques that can be used to successfully meet the challenge.
Here are a few recommendations to feel comfortable when being asked to customize and engrave unusual objects that can be so delicate and important to your ever-so-trusting customer.
Application Techniques
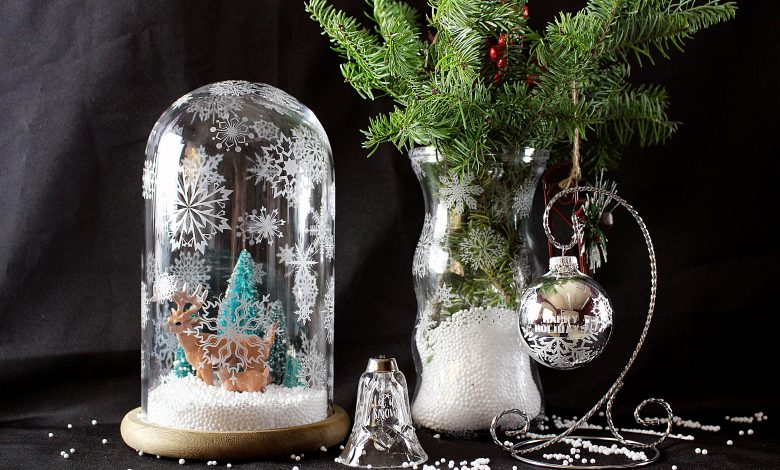
Sandcarving any curved or odd-shaped items can be challenging, especially if you are using a large photoresist mask. (All images courtesy Mikaela Hernesman)
Stretch and reposition are key
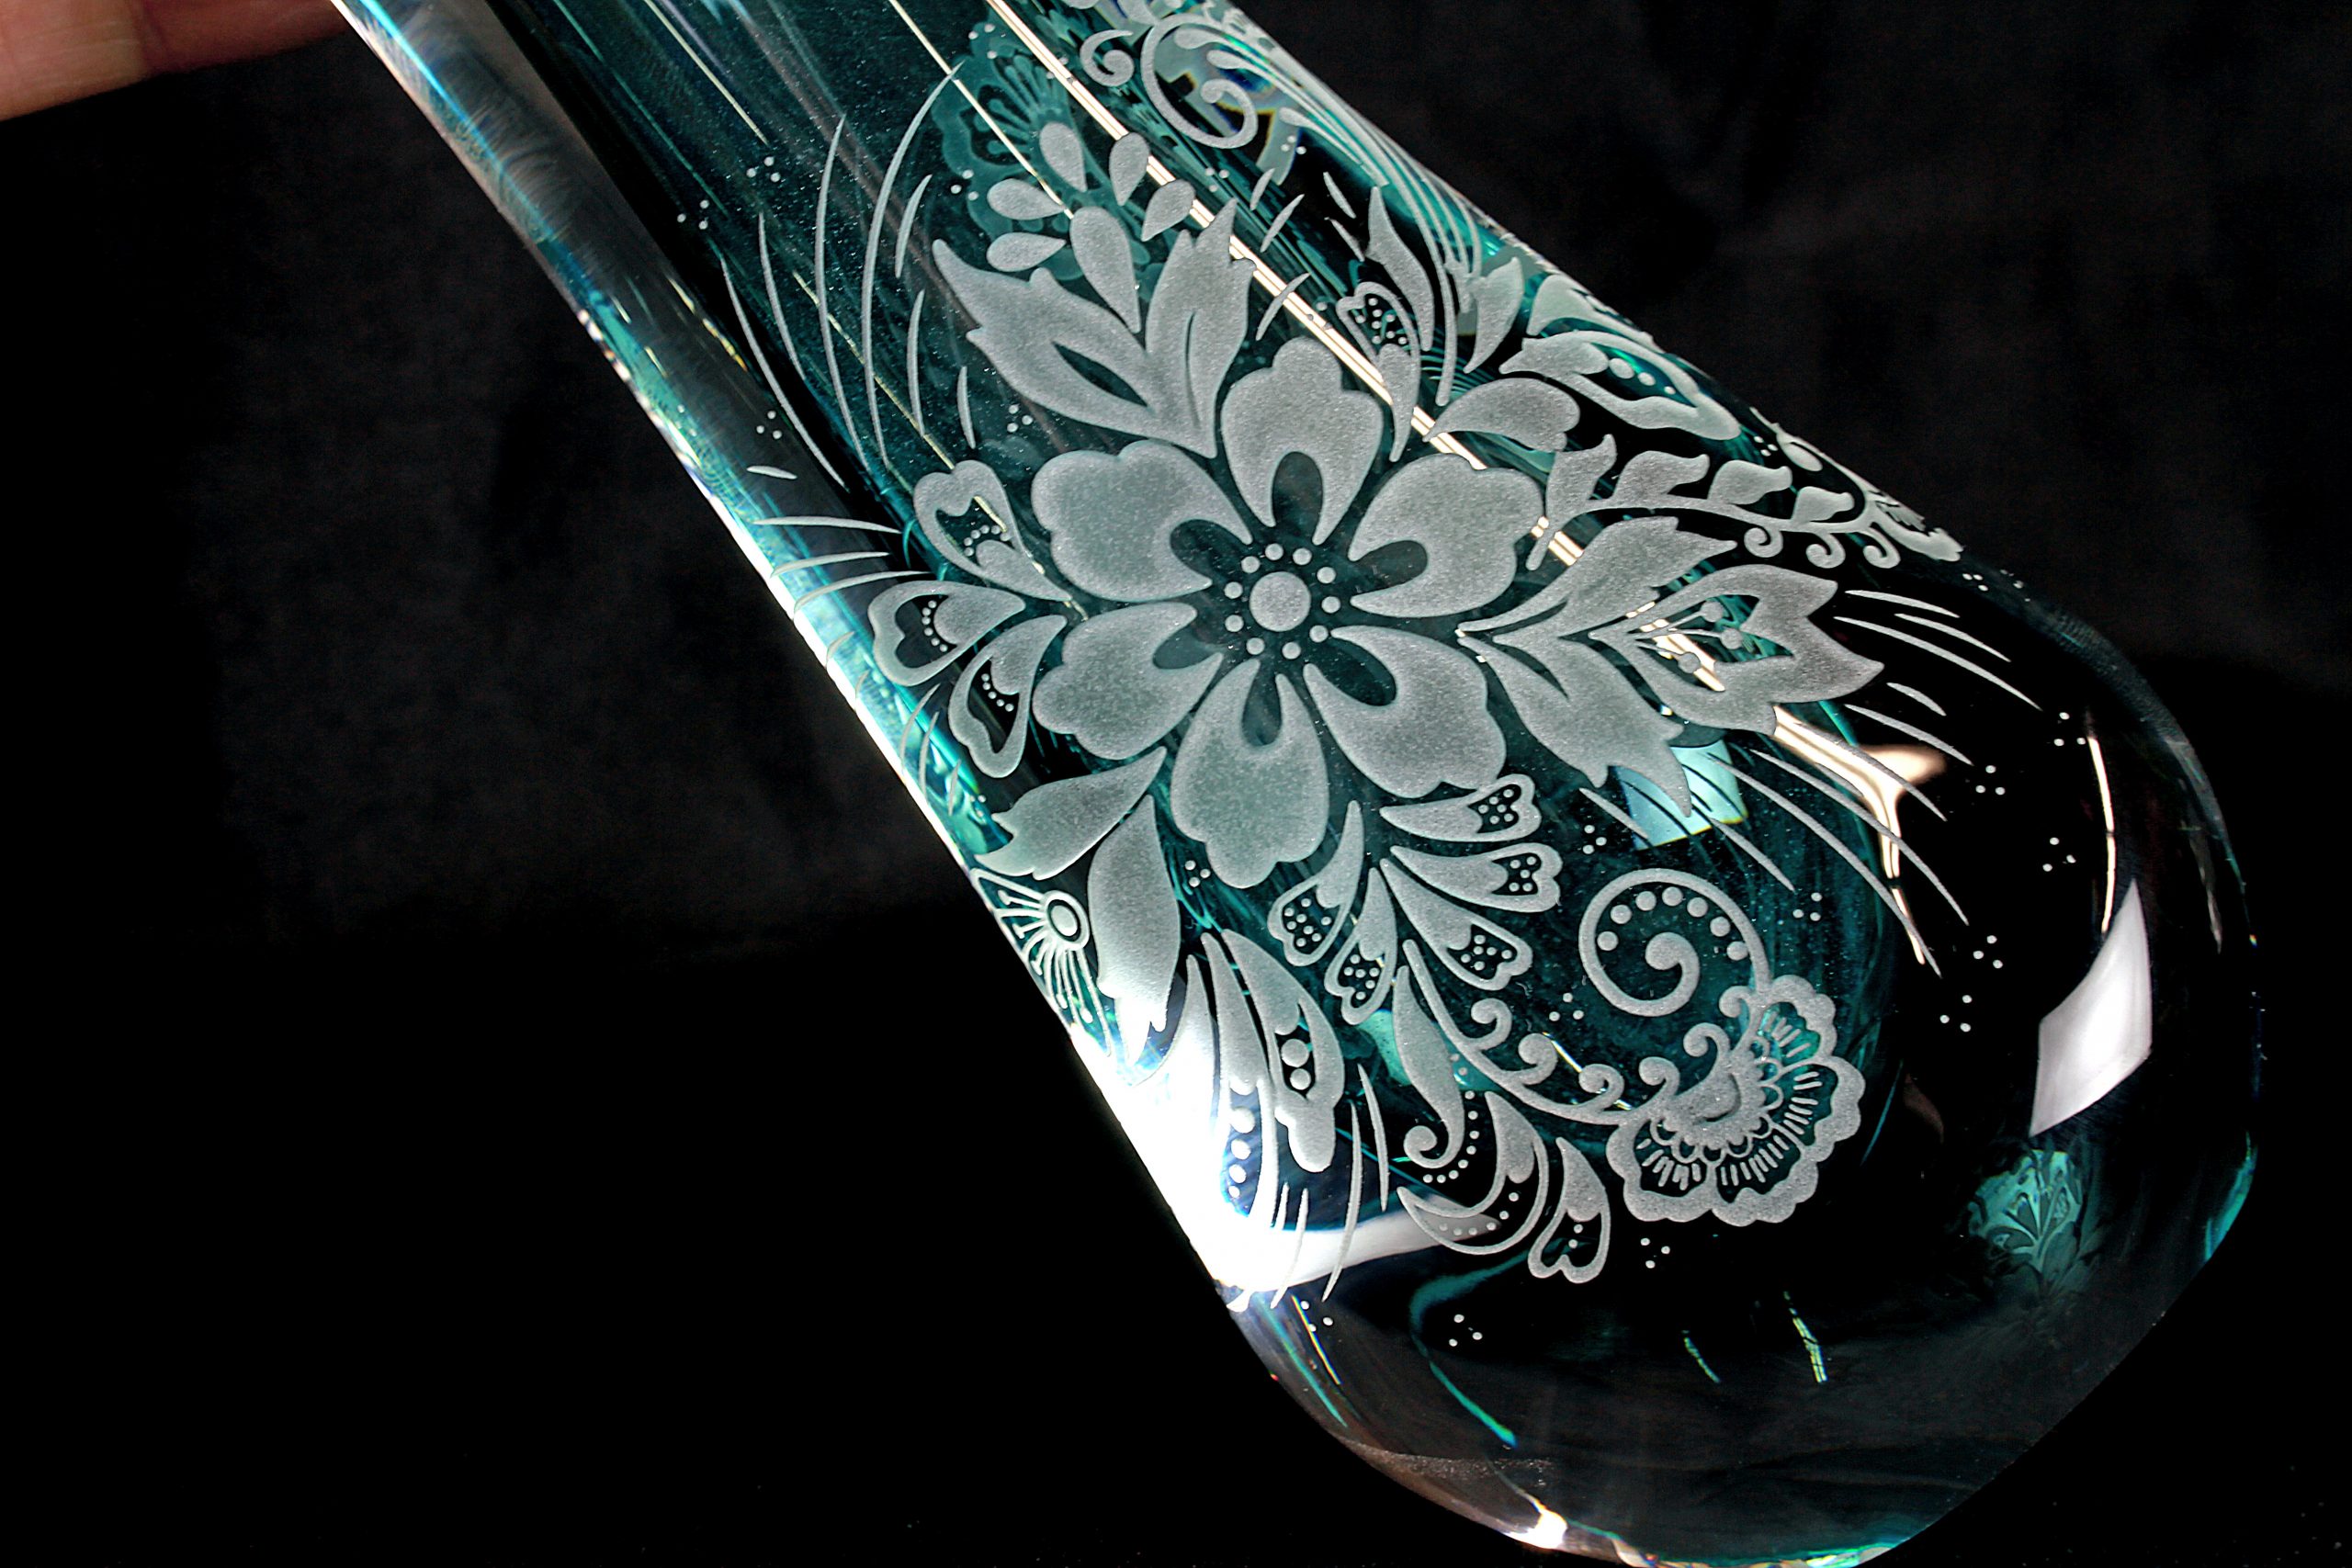
Photoresist masks can be tricky tools to work with because you typically don’t want your mask to rip when you’re stretching around curves and edges. The film we work with on these tough substrates is R3, which is a 3-mil rapid washout photoresist that holds high resolution and has the repositionable qualities many look for when working on odd shapes.
You can also stretch it to cover gaps to connect to other mask pieces. The key is to remember to remove the shiny carrier sheet to take advantage of the mask’s flexibility. Using a squeegee will not be necessary in this type of application, because the mask will rip without the carrier sheet. In other words, it is important to simply use your hands and fingers to apply the film.
Cutting slits
Cutting corners can often do more harm than good, but not in this case. If you’ve ever had a Tootsie Pop sucker, you know there are many creases and wrinkles in the wrapper. That’s because it’s a round sucker with a square wrapper and it will never conform to the pop perfectly without wrinkles.
The same goes for trying to wrap a photoresist mask around a snow globe, for instance. Cutting small slits in areas where the mask is trying to wrinkle or fold over itself allows you to manipulate and stretch the image to where it needs to be applied on the substrate. This ensures that you don’t have wrinkles throughout your image that could be unveiled in the final sandcarved result and look sloppy.
What do you do with the extra mask where the slit was made? See the Tape pinching tip further on in the article.
Mask folding over
Similar to the effects of duct tape or plastic wrap, photoresist films have a tackiness side that can fold over on itself. Unlike duct tape or plastic wrap, which can seem impossible to separate again, photoresist can carefully be separated without ripping the delicate substance. It is suggested to either use your fingers, fingernails, or even the tip of an X-acto knife to peel up the fold and straighten out the mask for application.
If you can master unfolding the mask, you will be able to avoid starting over – exposing a new mask, washing it out, and waiting for it to dry again before application.
Tape pinching
Tape pinching, or mask pinching, can be a major time saver during application. Oftentimes when masking a simple flat object, it is only necessary to tape off simple straight edges and voilà , you’re ready to blast! On the contrary for large round or odd-shaped pieces, you may need to connect multiple masks and cut slits to avoid artwork distortion and an array of other problems.
Although masking tape can help you connect masks or adhere masks to the substrate, stretching the extra border of a mask can be cost-effective to your production time. As demonstrated in Figure 1.1, you’ll see that the ends of the two masks were matched up, pinched together, and folded or rolled over until secured tightly to the surface of the glass. This prevents any blow-offs, avoids having to use tape, and might save you a little money in the process.
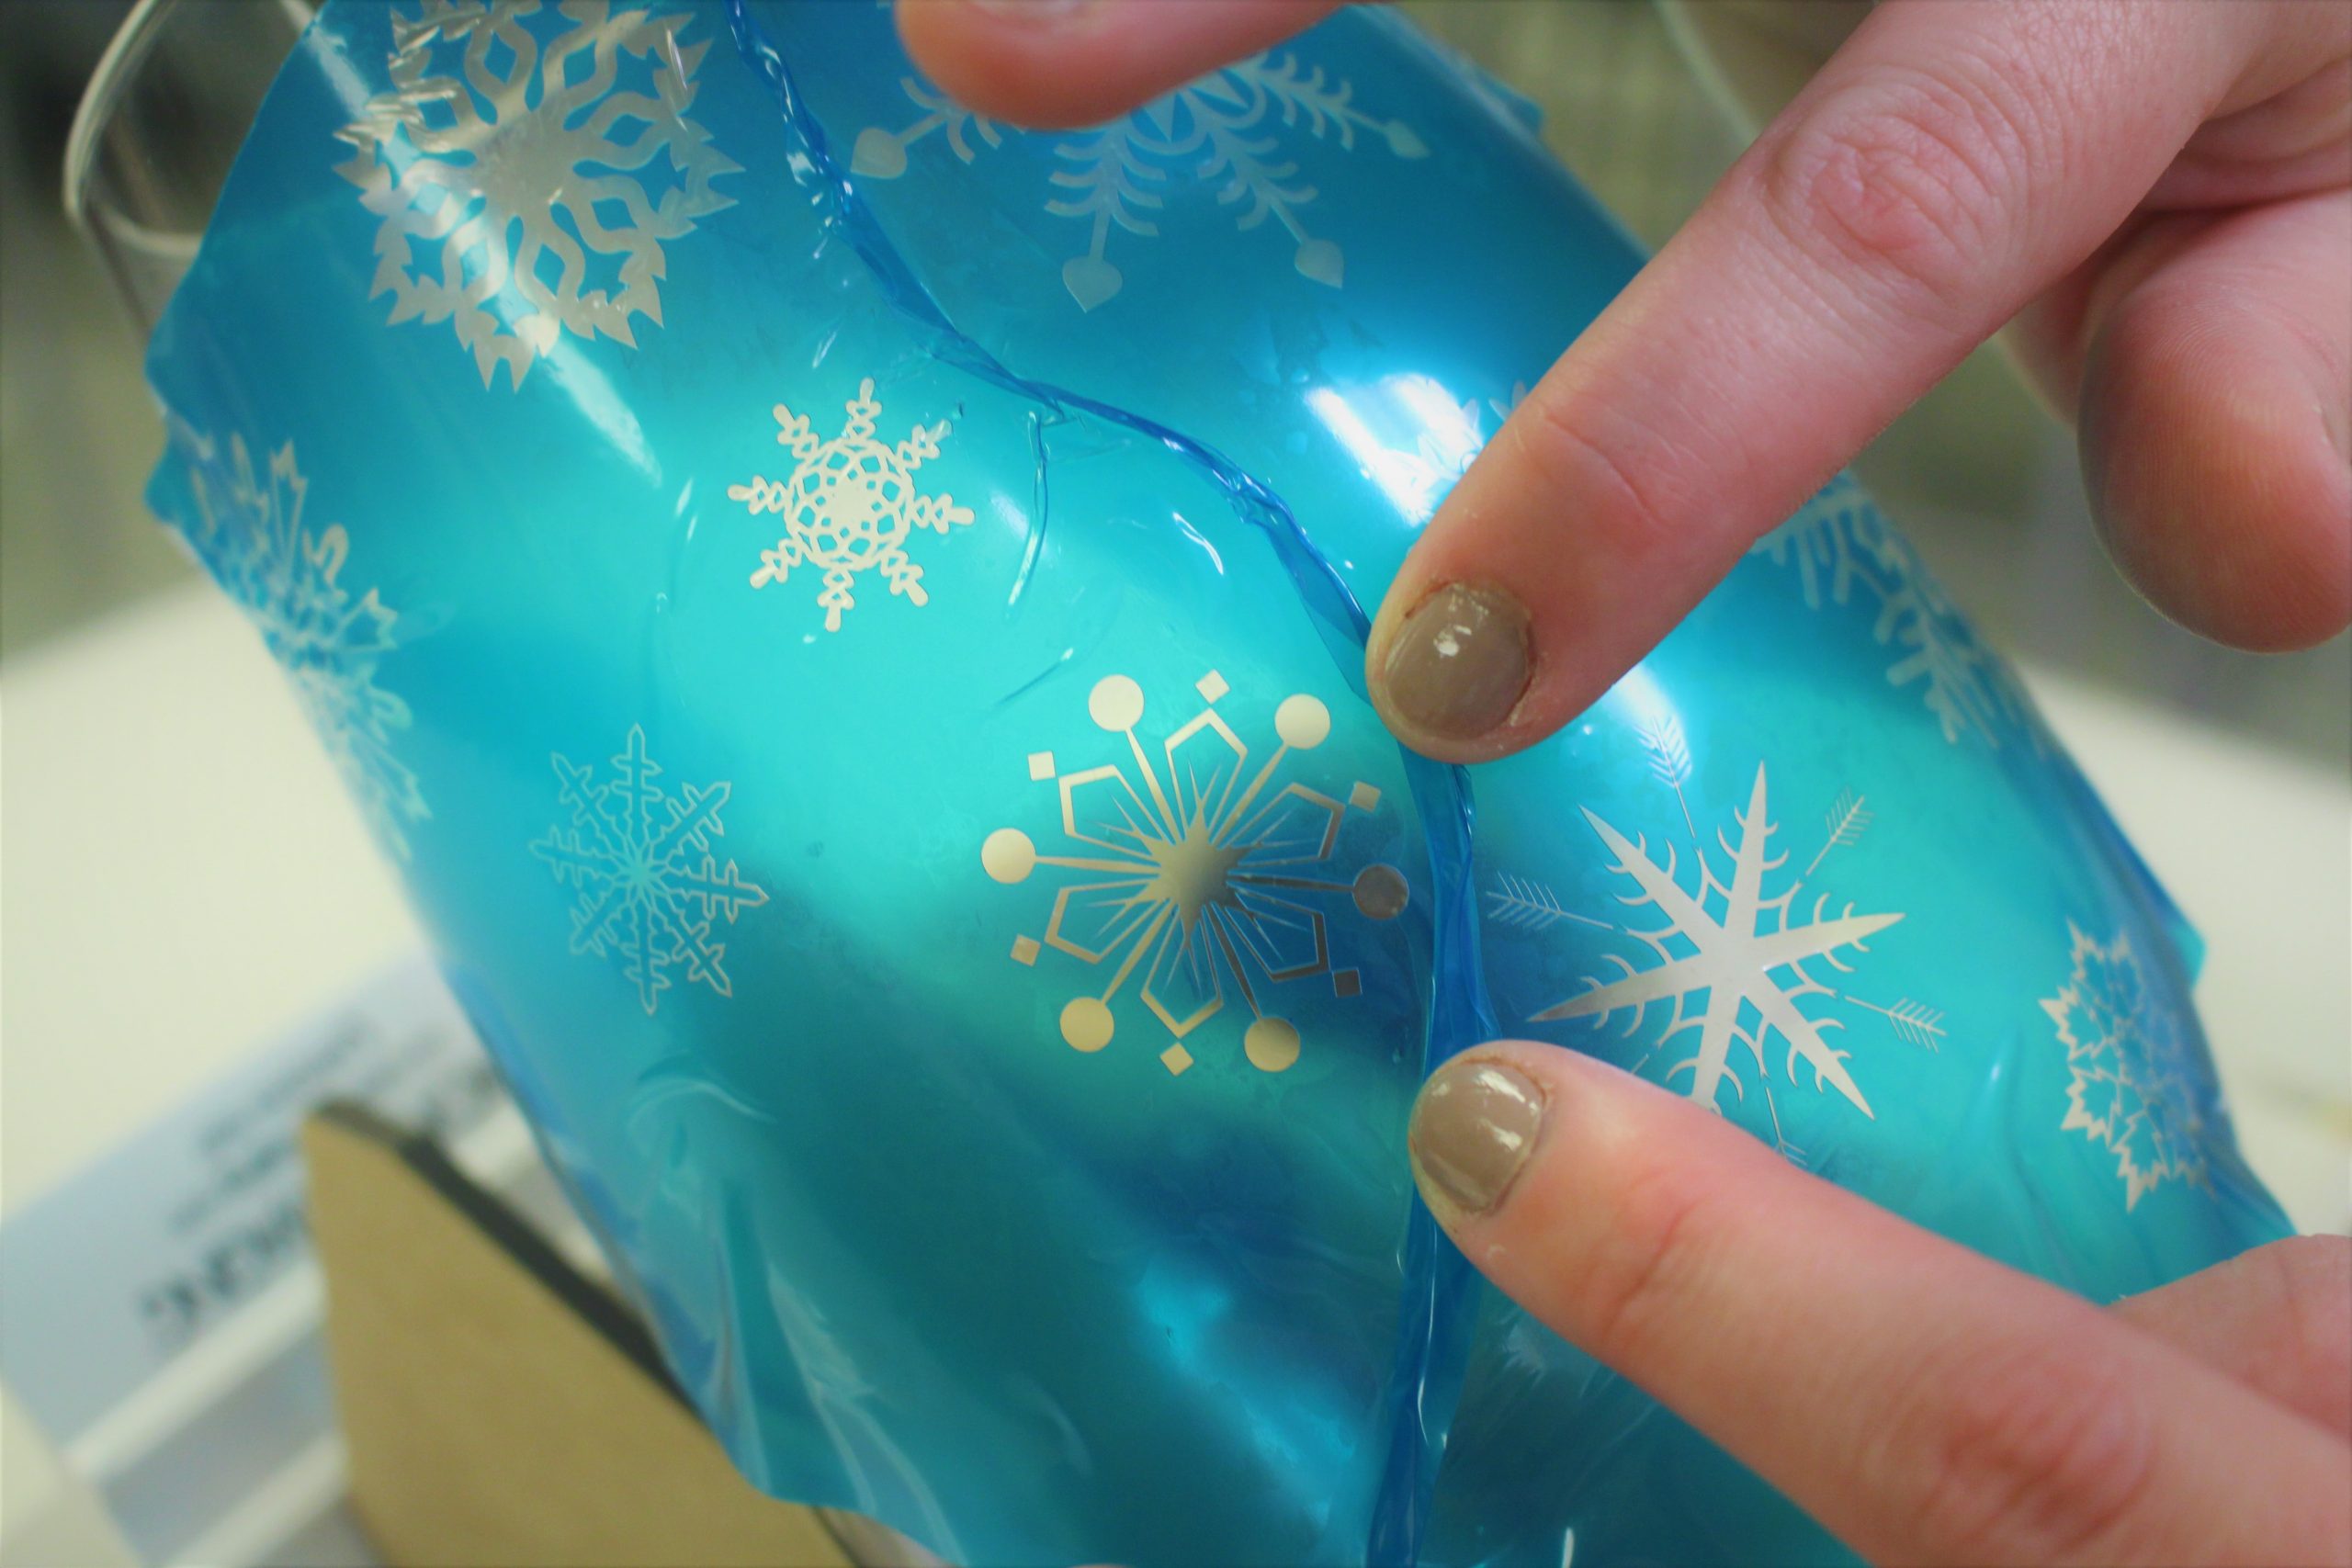
Figure 1.1: Pinching two masks together.
If you have more confidence in using masking tape, that is the other alternative. See Figure 1.3 for an example of how tape pinching works during application. You truly only need to use a small portion of the piece of tape, depending on the gap that you’re trying to cover. You simply apply one side of the tape and create a rainbow shape (Figure 1.2) with the tape until you have reached the other side of the gap.
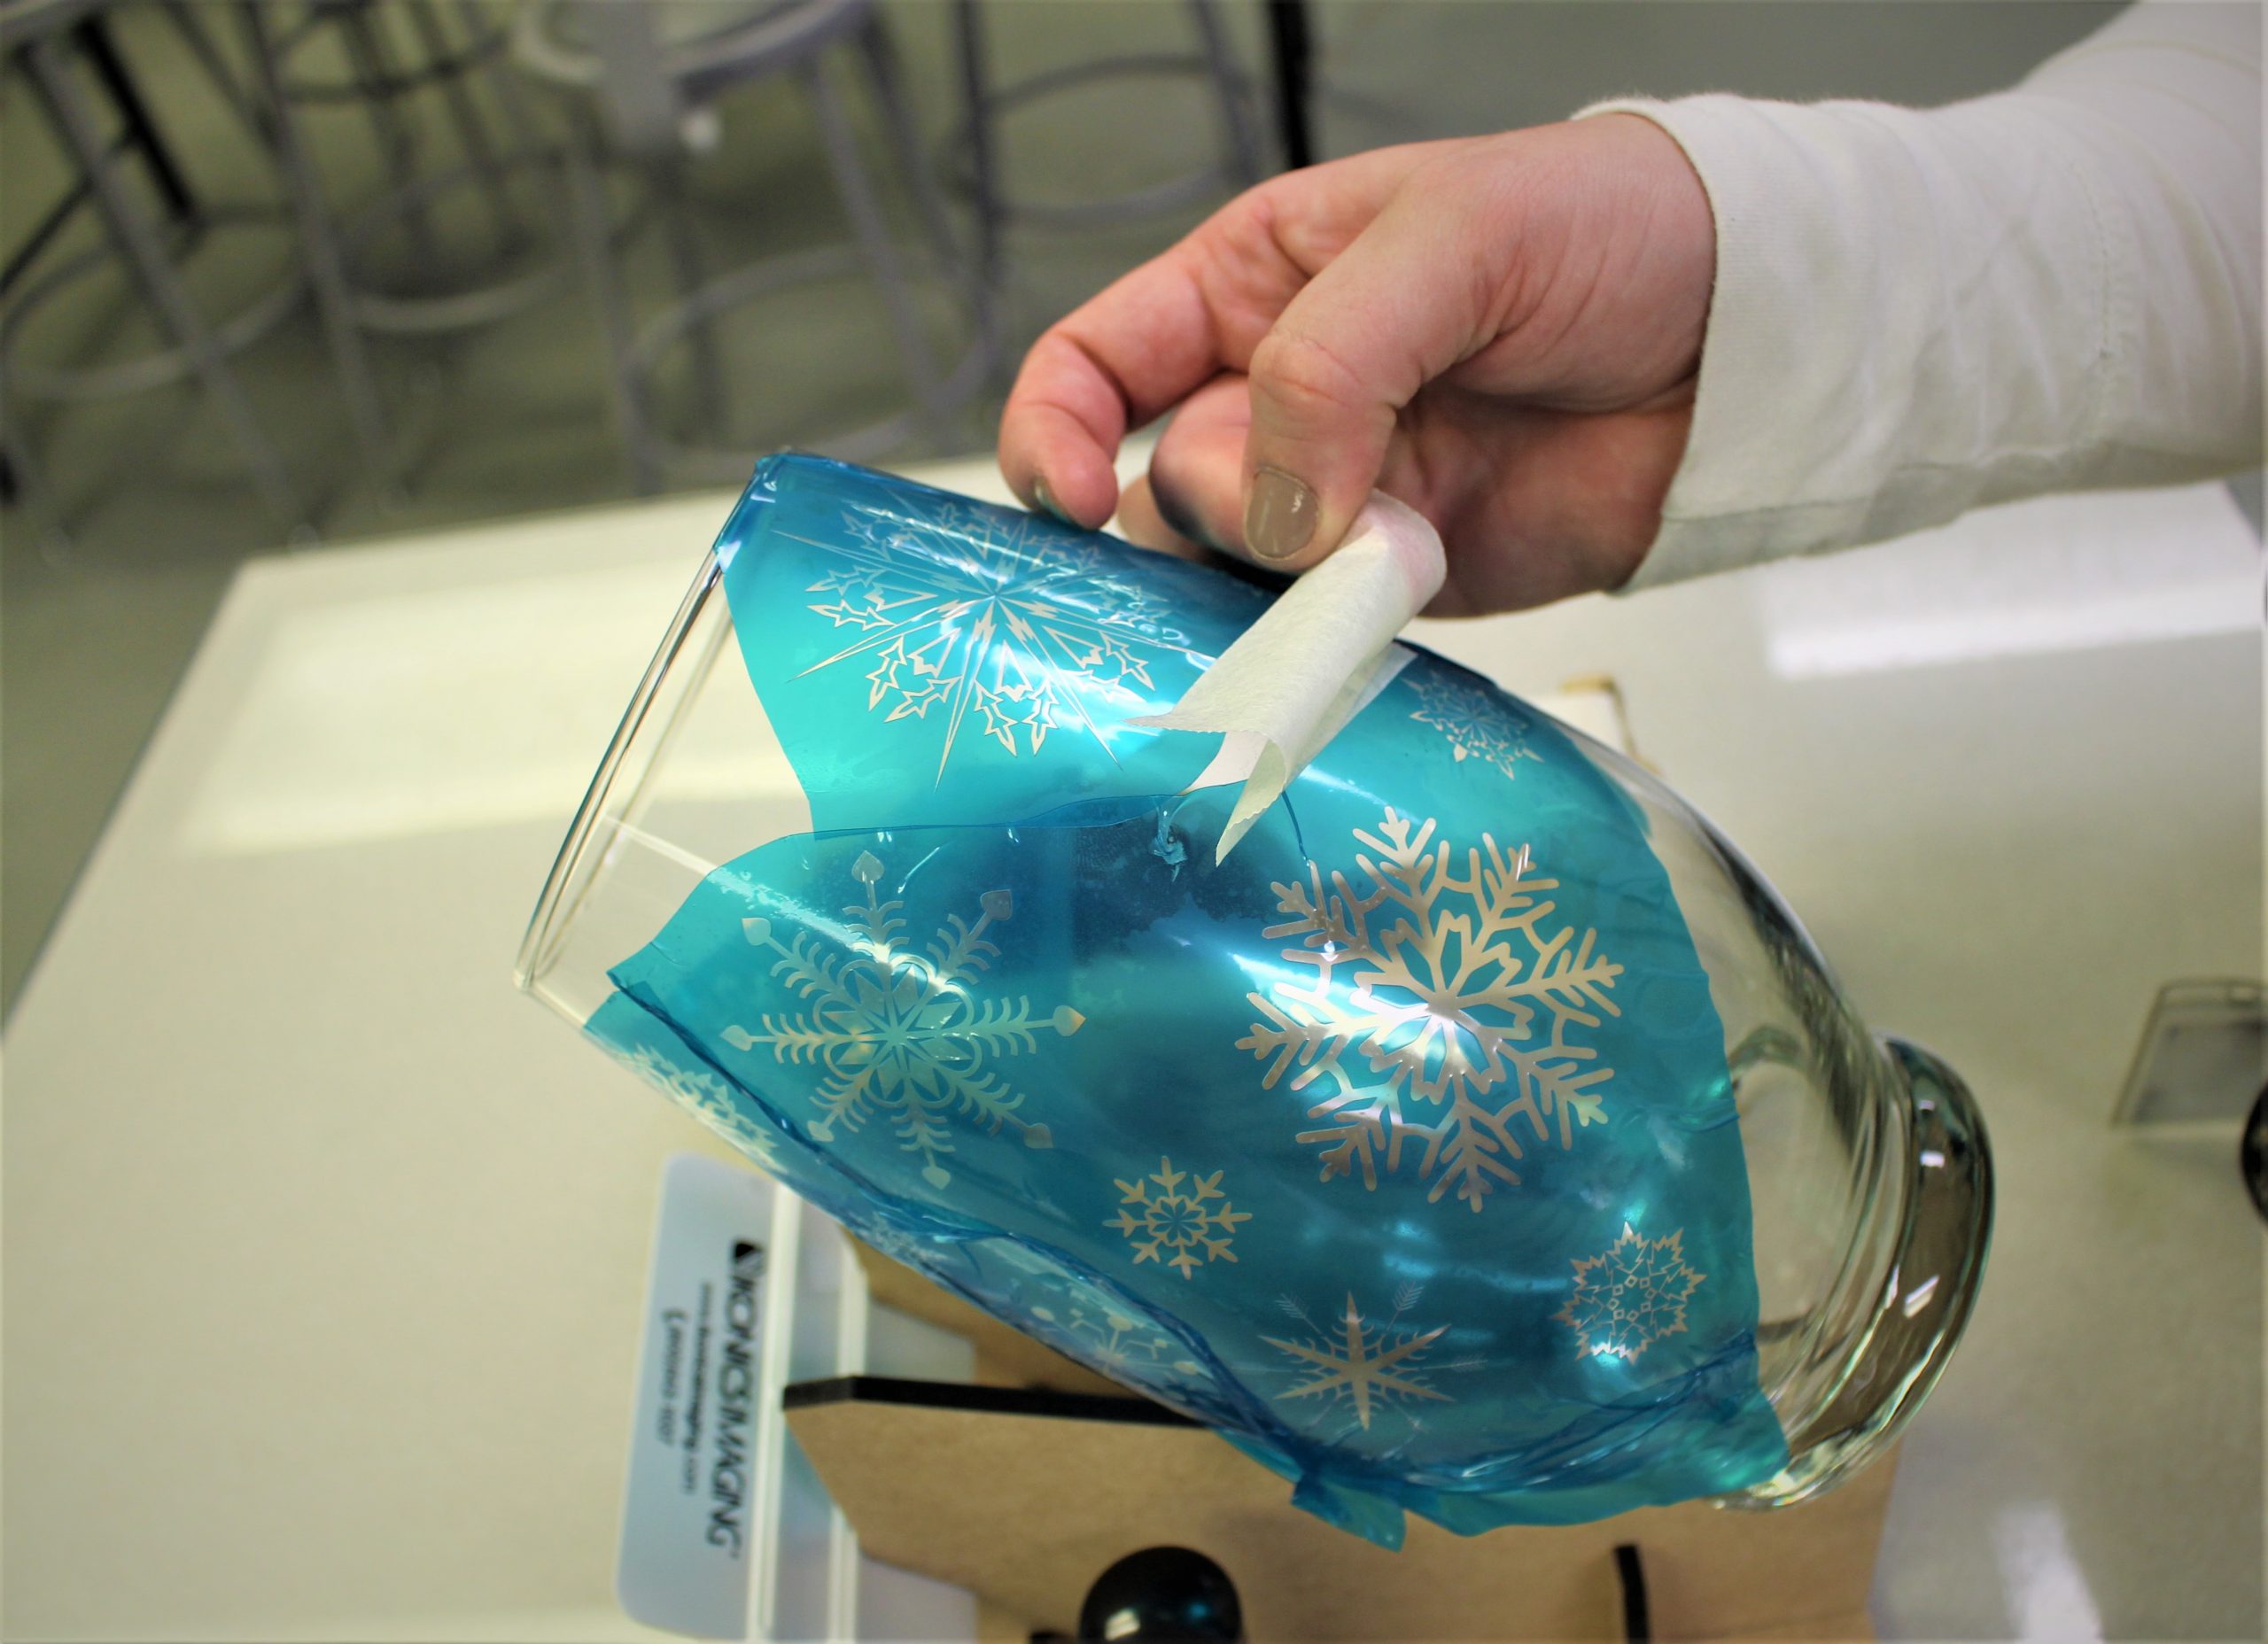
Figure 1.2: Making a rainbow shape out of tape.
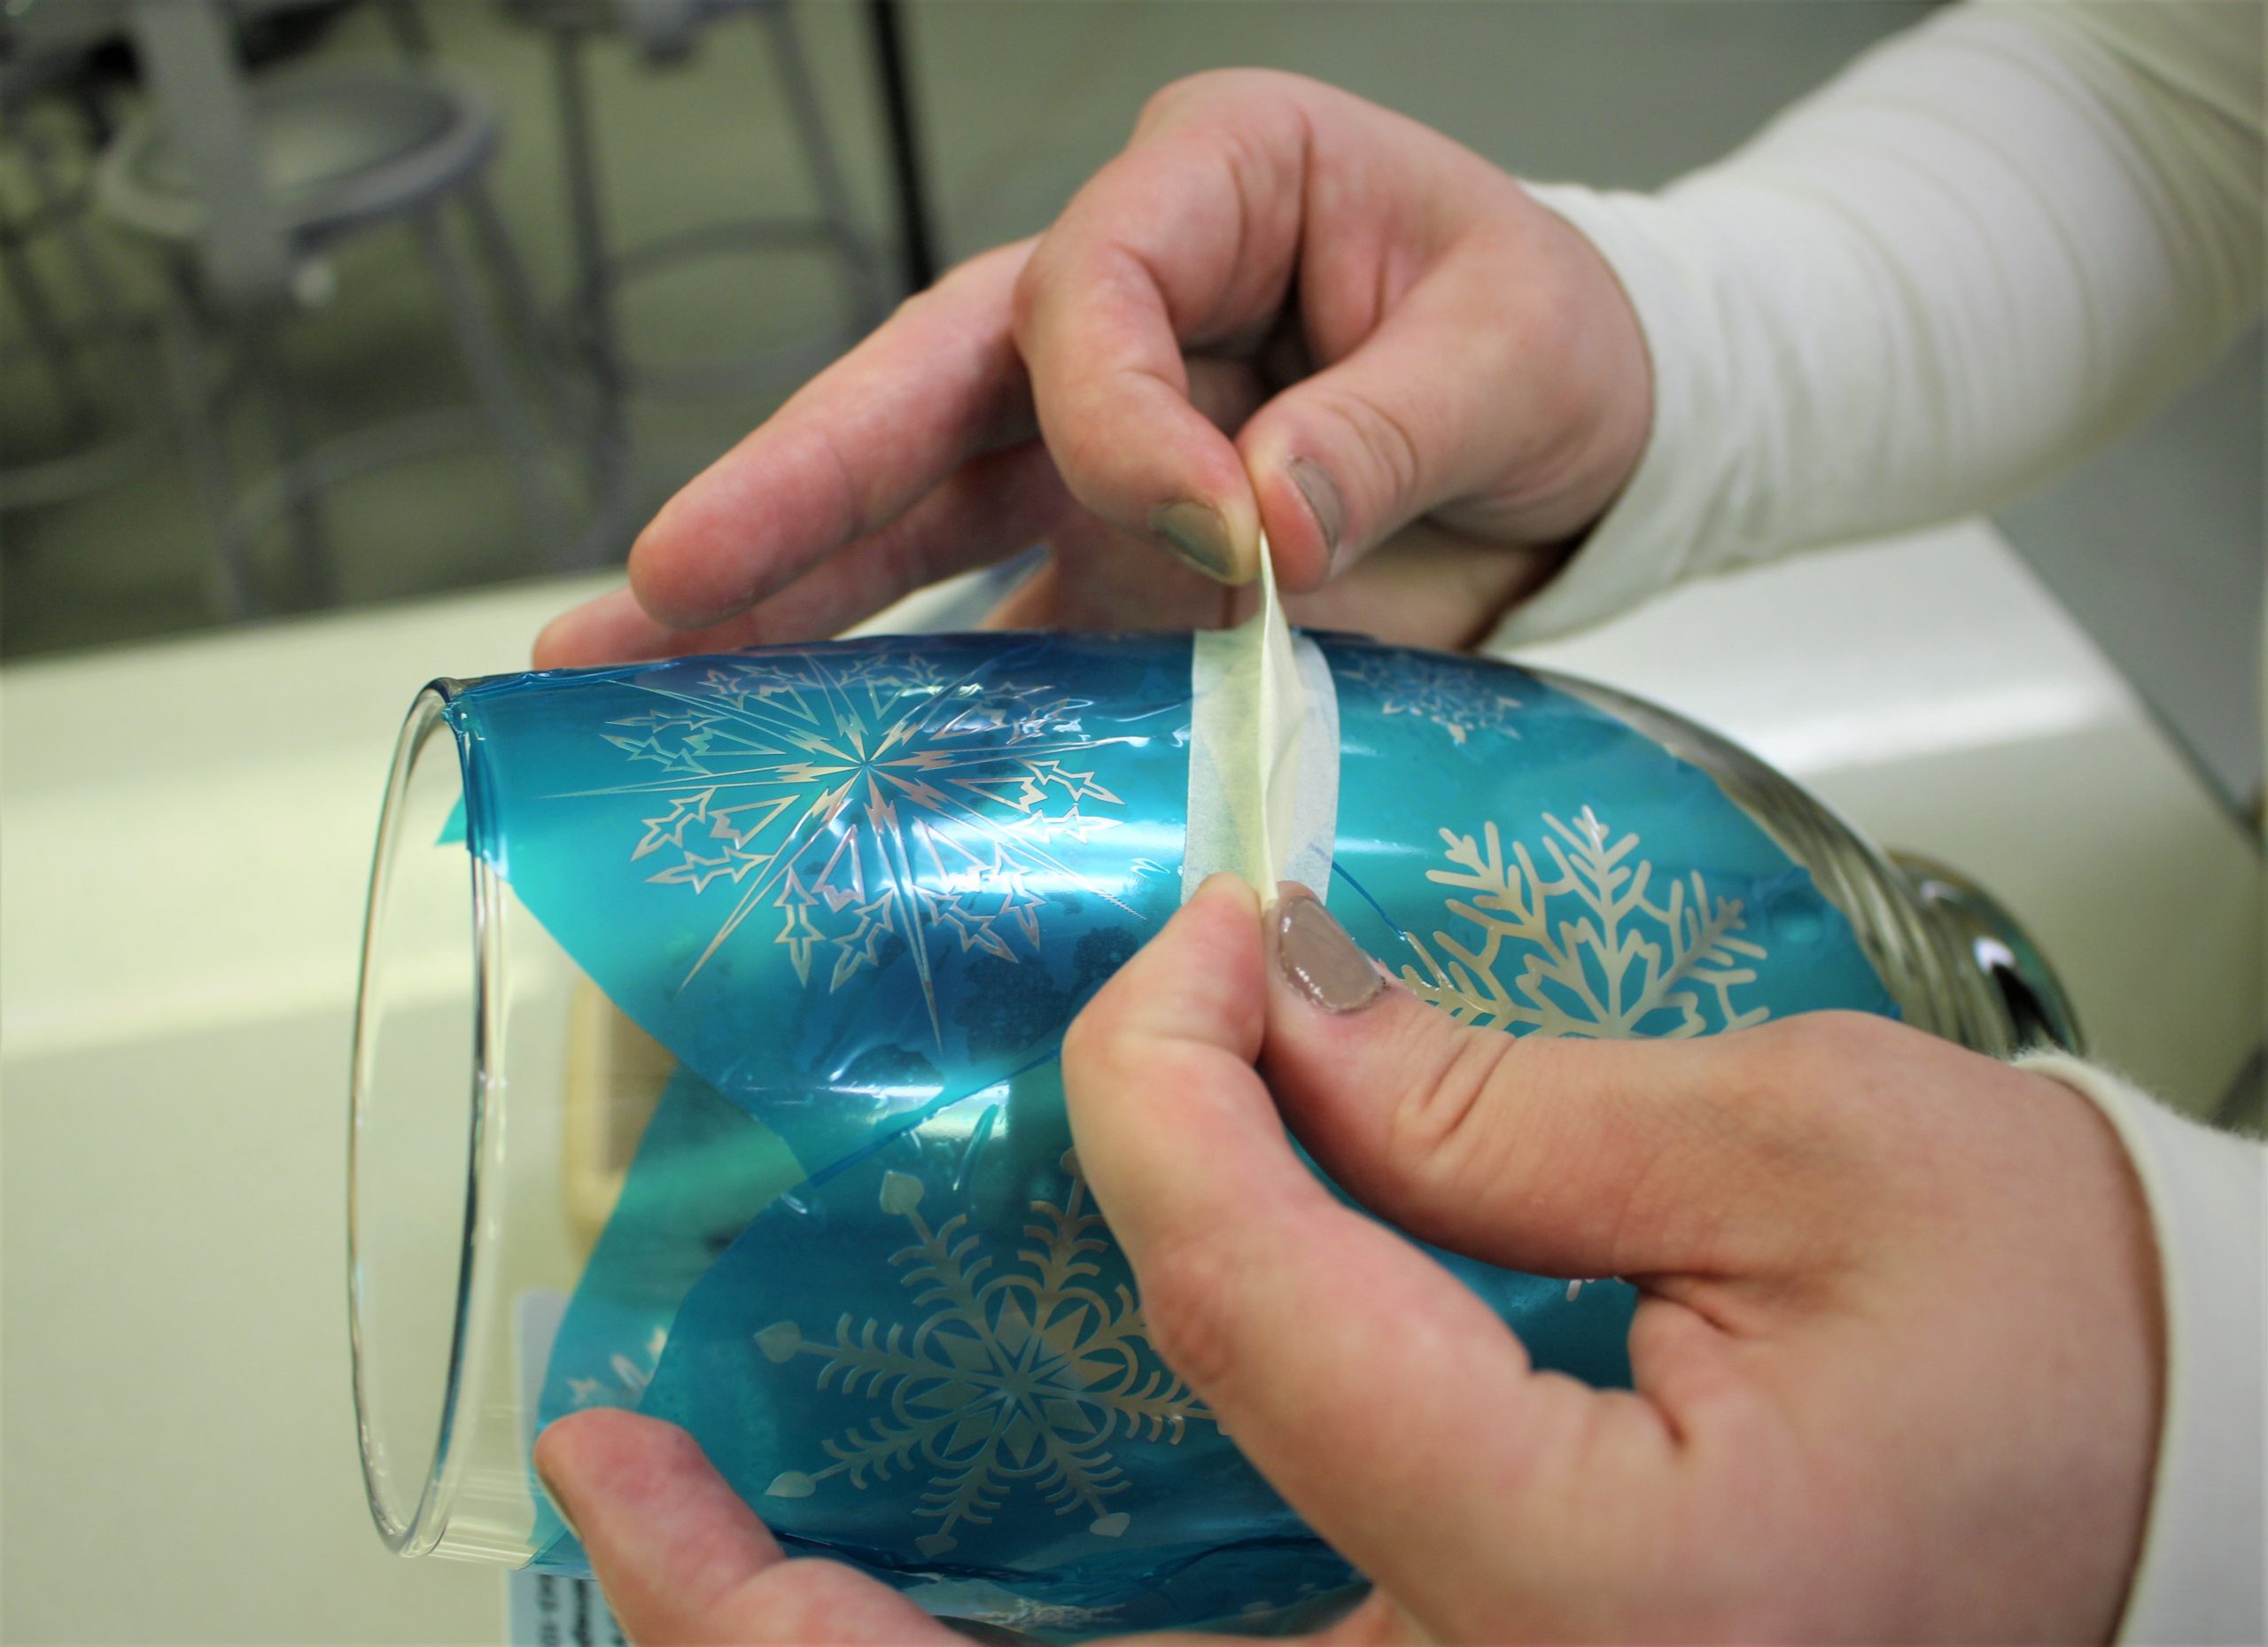
Figure 1.3: Pinching tape in a vertical position.
Once your rainbow is complete, pinch the center so that the tape is standing perpendicular to the surface of the substrate. The purpose here is to make sure all exposed surfaces are covered, and mask ends are properly secured and adhered to the item being sandcarved.
Air bubbles
A common cause for blow-offs during the sandcarving process is air bubbles. They can be a nuisance that can ruin a whole project, and no one wants to be responsible for unintentionally frosting over Little Joey’s “Baby’s 1st Christmas” ornament.
It is highly recommended to ensure good adhesion between your mask and substrate. If the tackiness is drying out, give the mask a little warm huff of breath. This creates moisture and brings the tack back. You can also use a fine mist from a spray bottle and let it sit for a few minutes.
Once positioned in the desired location, press down firmly on your mask. Use your thumbs to slightly massage out any large air bubbles. For the microscale bubbles, we recommend rolling a round wire brush over your pre-imaged mask. The most important areas are around and through the design. The wire wheel perforates just the membrane of the mask and gets rid of almost any and all air bubbles that could otherwise make your project go down the tube in a second.
The Blasting Process
When working on some substrates, specifically thin glass and other materials alike, stickier mask stencils isn’t always the top priority versus the blasting technique that is needed. Lowering the air pressure of your sandblast cabinet significantly improves your results and reduces the chances of blow-offs.
A 10-20 psi is an ideal air pressure, along with moving your nozzle at a slow snail-like pace. This gives you optimal effects. Furthermore, it’s important to hold the nozzle at 90 degrees, perpendicular to the piece being blasted, and simply rotate the substrate.
The film application is like making a big holiday feast for your family; prepping the turkey and all the fixings is similar. All the prep work is sure to set you up for success and a delectable meal, but if the family sits down to scarf their food too fast, they’re going to have belly aches. In the case of sandcarving, slow and steady always wins the race and won’t leave you aching.
When applied, these technique and application practices have proven to help with some of the most common sandcarving challenges, especially on odd-shaped items. During the seasonal time of gift-giving, the industry is seeing more sentimental items that are being altered to reinvent or renew the genuine aspect. Hopefully these tips help you, and even your customers, understand the complexity of customization and how gifts, glass art, collectibles, etc. can be etched with ease and peace of mind.