Six Tips for Successful Heat Printing
Get started with heat pressing on the right foot with this feature from the 2019 issue of Start Here, an annual issue put together by A&E, Sign & Digital Graphics, and Printwear magazines.

Getting started in heat printing can be a little daunting. Over the years, heat print technology has risen to meet the demands of the growing garment decorating industry. With such a wide variety of fabrics and heat transfer materials on the market, there’s more opportunity for decorating than ever. However, along with these opportunities come challenges. It’s important to set yourself up for success from the start, by considering these tips, you’ll get started on the right foot.
1. Read garment labels for fabric content and care
Purchase heat transfer materials that are compatible with the fabrics being decorated. For instance, materials with a low-temperature application are recommended for heat-sensitive fabrics like polyester, spandex, and rayon. Higher temperatures on these types of fabrics can cause scorching, leaving what’s called a “heat press box” or “bruising” on the garment. This is when the heated top platen burns its shape into the garment.
Look at tags on the garment to make sure it can withstand the temperature the design is being printed at. Some garments may have a “do not iron” symbol, while others may indicate a maximum acceptable temperature.
It’s advisable that when decorating a garment with a blend of fabrics, check the label, and choose a heat transfer material appropriate for the fiber with the highest content. For example, if a T-shirt is 60/30/10 polyester/cotton/spandex, you would choose heat transfer vinyl created for polyester.
Image courtesy OKi Data Americas
Waterproof, water repellent, antimicrobial, UV protection, and other protective coatings can interfere with heat applications. The adhesive on most heat transfers must form a bond with the fibers of the garment. Coatings can create a barrier to a successful application. Your apparel supply company should have this information listed. If not, be sure to inquire.
2. Follow application instructions. Not all heat transfers are created equal
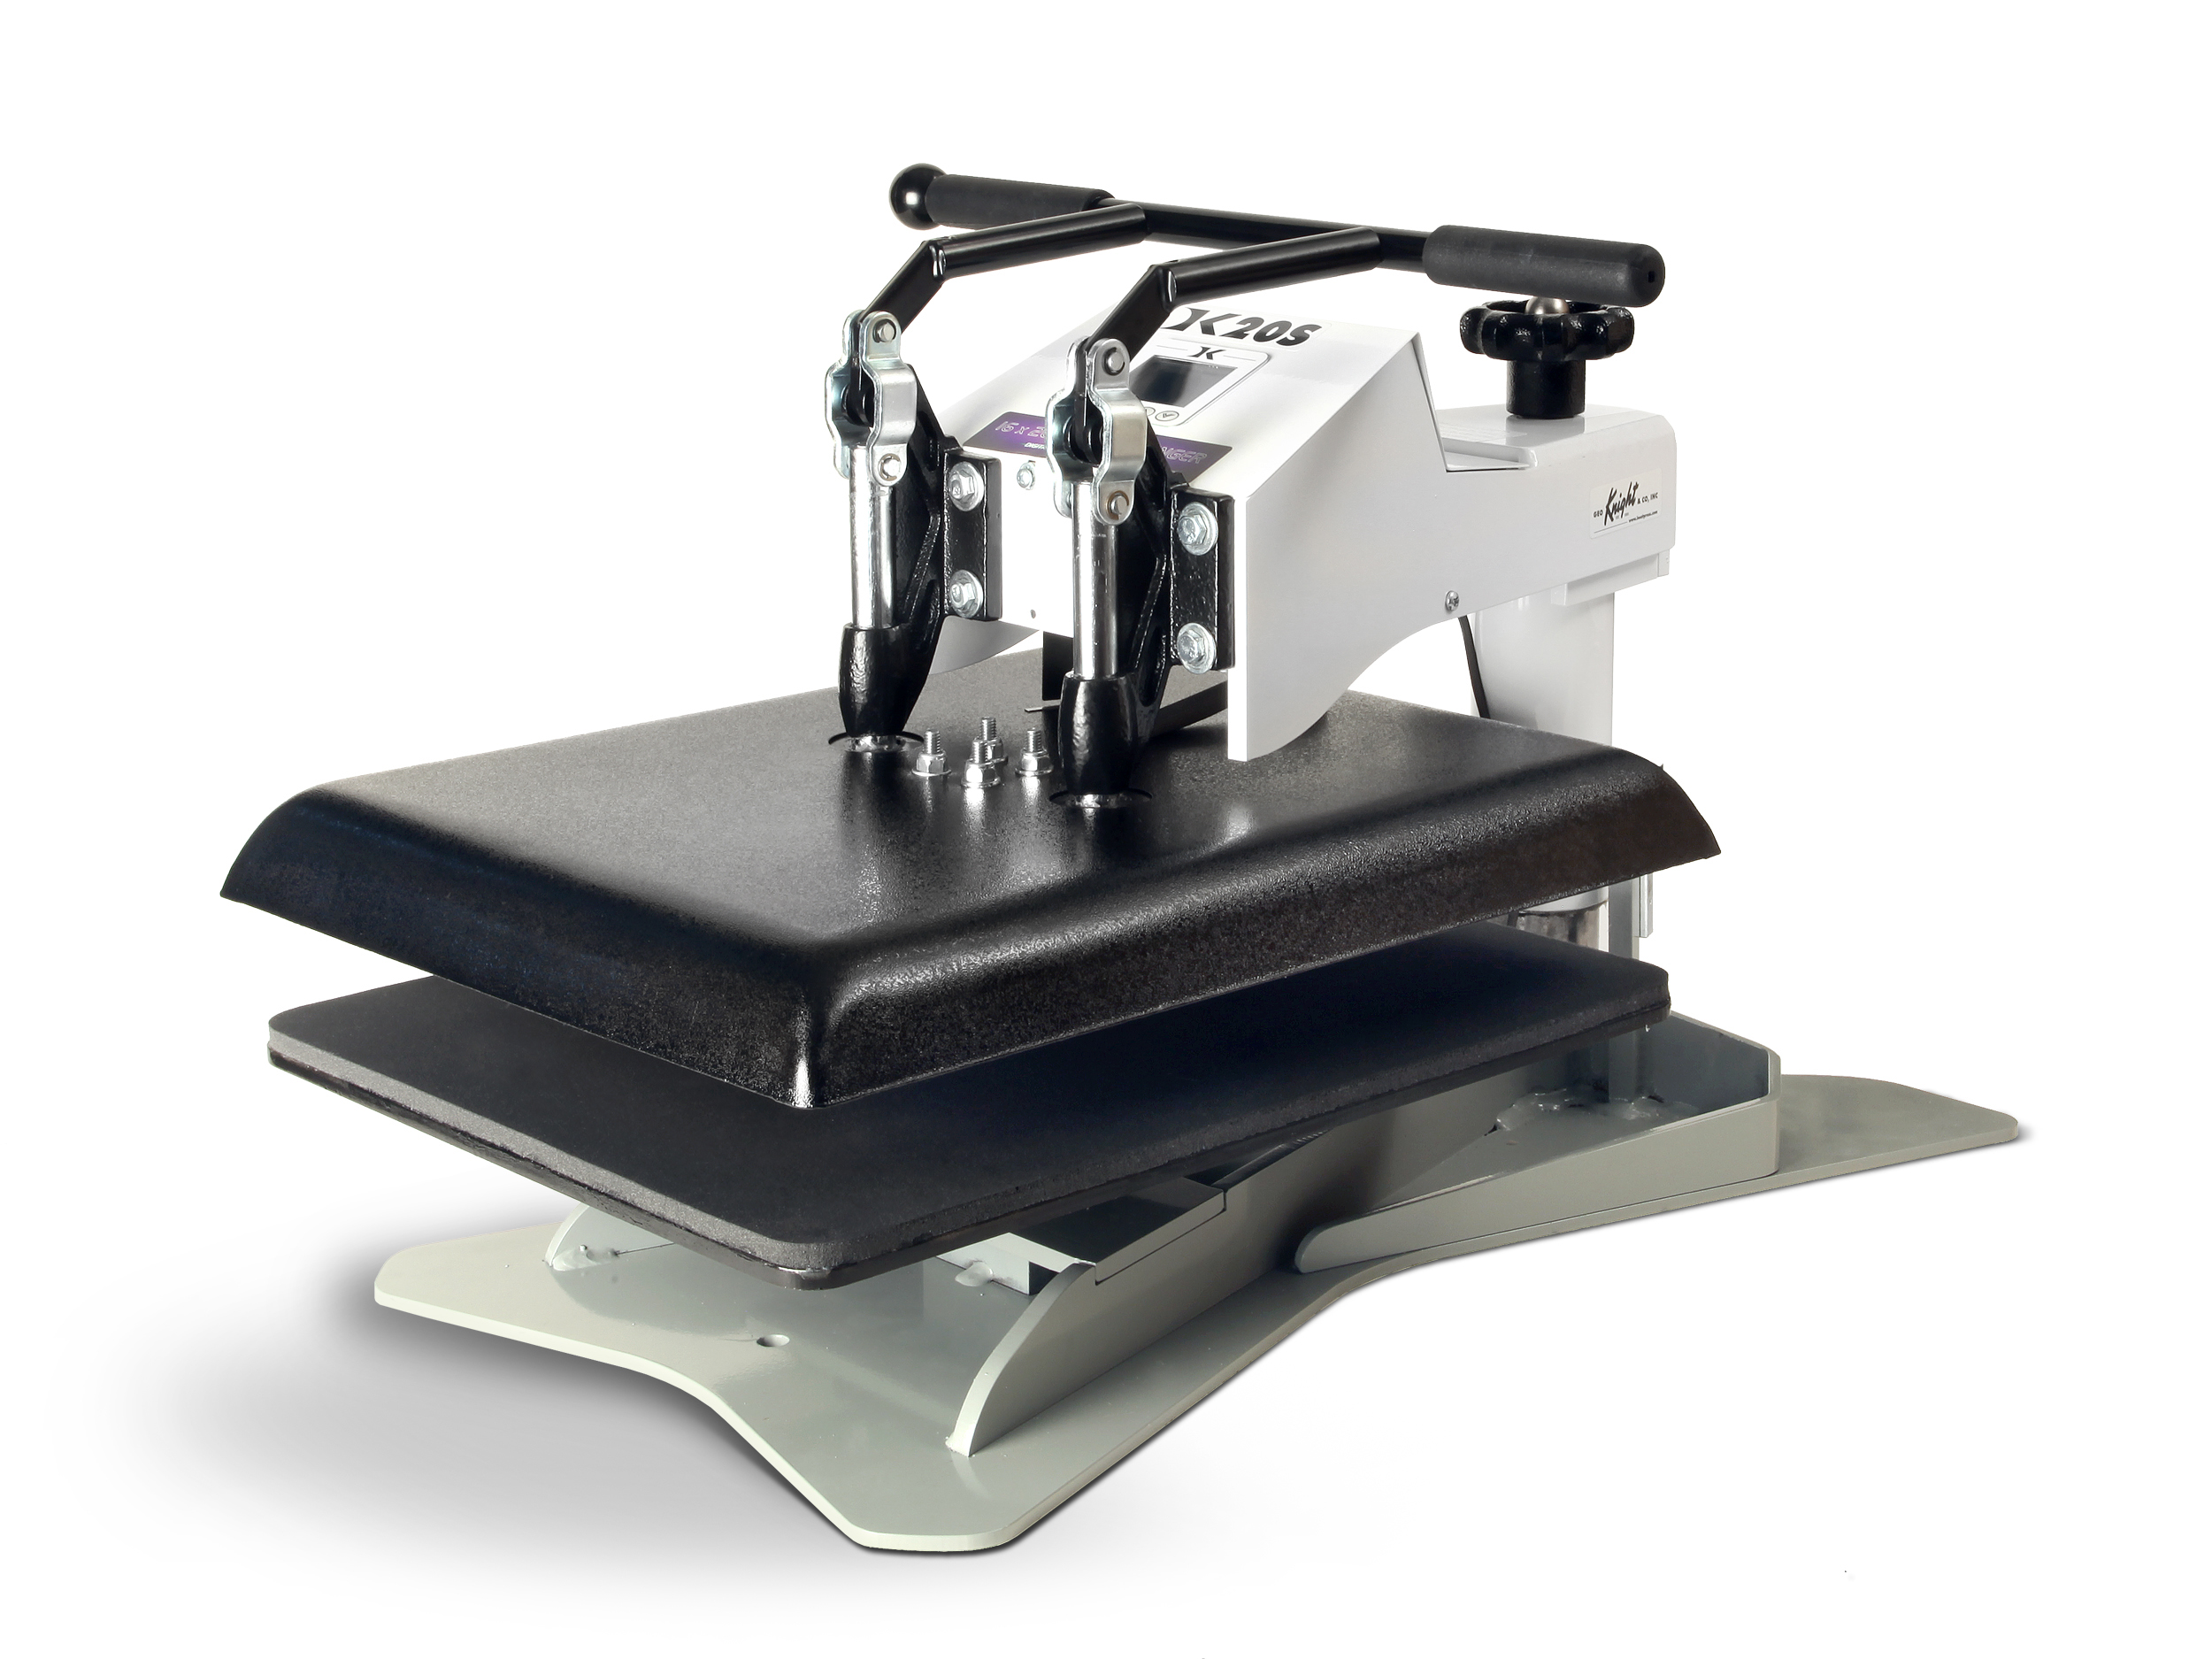
Image courtesy Geo Knight
It’s important to follow the instructions for your product. While it may seem like a hassle to have to change the settings on your heat press for different materials, it’s a lot easier than having to redo everything because a setting was off. Save time and effort by taking the time to get it right the first time.
3. Lower the temperature of your heat press and reduce dye migration
Polyester and sublimated polyester are two popular fabrics being decorated in the industry. These fabrics are dyedduring the manufacturing process. Dyes are activated by heat, so the less heat, the less chance of the dye bleeding through to your design. Choose a heat transfer material that contains dye blockers and can be applied at a lower temperature. Also, be sure to avoid washing and drying on high heat settings.
4. Skip the pre-heating when it’s not necessary
For years, pre-heating was recommended as a first step to ensuring successful application on garments. This helped eliminate wrinkles and remove any moisture from the apparel that might interfere with adhesion, especially with cotton. Today, many garments being sold are made from synthetic fabrics.
These fabrics don’t wrinkle like cotton might and are also moisture wicking so they don’t hold moisture like a natural fabric will. Unless you are heat printing on cotton or other natural fabrics, you can skip this step and save time in the production process.
5. Request a sample and test the product

Image courtesy OKi Data Americas
Don’t ruin a good garment on your first attempt with a new material. That’s why many companies offer samples for you to test your application. There are even some wholesale fabric companies that will send you swatches to test. You can use that sample to help close the sale and keep it on display for additional promotion.
In your shop, find a few of your “regular” garments and test them with different heat transfer materials noting which materials work best and the time, temperature, and pressure you used to apply them. Having these standard garments on hand will allow you to be sure the products you’re selling are designed to last.
6. Measure twice, press once
Just like the old carpentry adage, make sure your print is positioned correctly before you press. While you may get to the point where you can easily eyeball your placement, being cautious will give you consistent results. Use a laser alignment system to help you easily layout transfers. Or if you’re on a budget, you can use a T-square or a carpenter’s square for correct measurement.
Knowing the fabric, heat transfer material, and how you need to press, sets you up for success from the start. With the rise in popularity of synthetic garments, it is important to be smart about how you’re printing on them.
Use materials compatible with your garment, and you will protect your reputation for quality and save yourself a lot of headaches. Not only do you need to know your material, but you need to know how to press it.
If you’re new to the material or new to heat pressing, get some samples and try it out before doing a professional run. Remember to apply according to application instructions and make sure you are correcting aligned before you press. Now you should be ready to print with confidence.