Shop-Built Monument Sign
To meet the budget, Rick's Sign Company could not outsource this project to a manufacturer
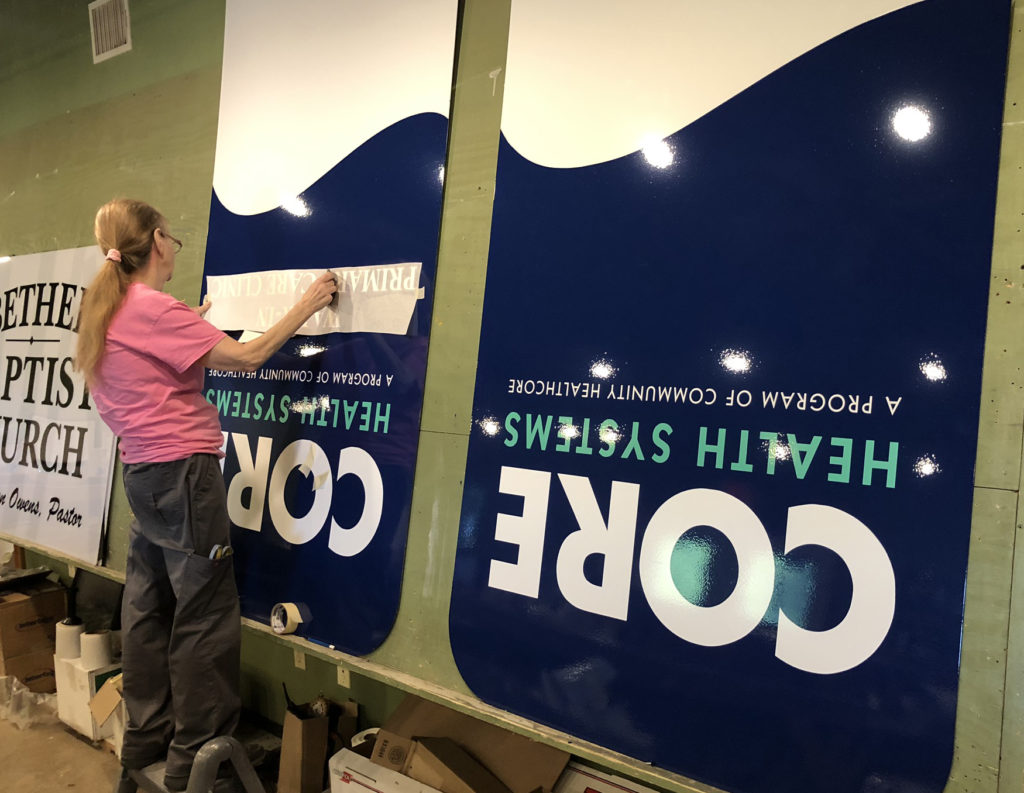
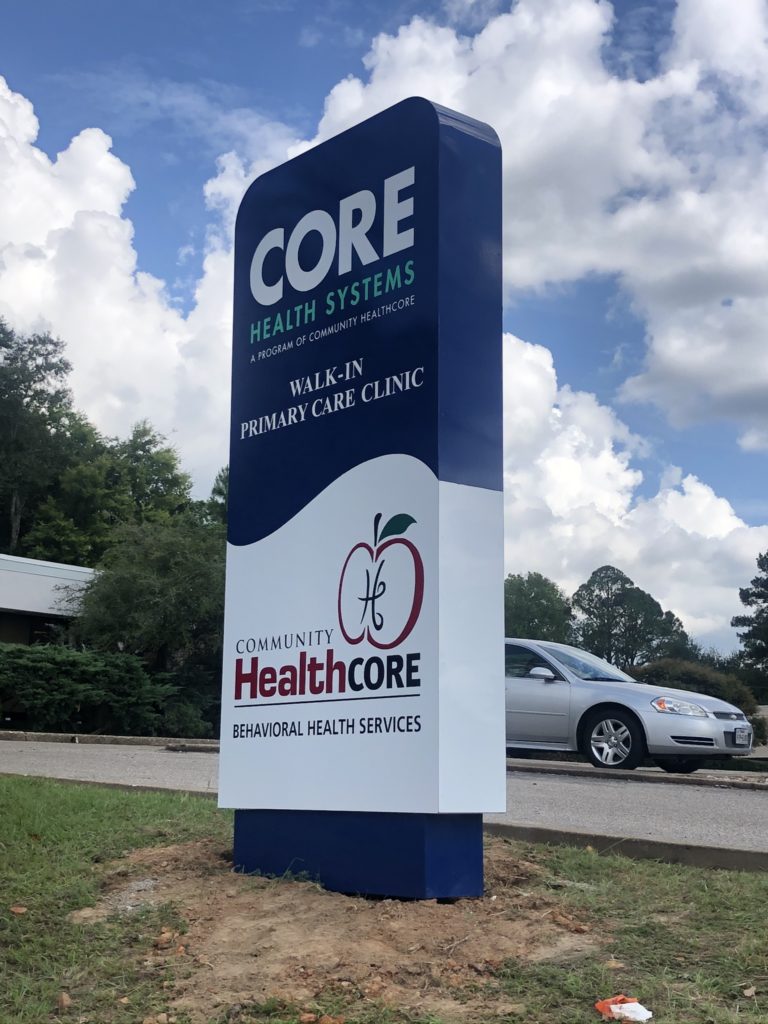
Recently we were hired by a local medical clinic to produce a new custom, vertical monument sign to go on the corner of their property a few miles from our shop. Using a couple of logos they provided, the actual graphic to fill a 4′ X 8′ portrait format was easy enough to design.
We’ve done a lot of work for this client over the years, but I had to manage money carefully. The budget for the sign was about $3,500, and I told them I could fabricate a handsome, dimensional sign myself, including installation. To meet that budget, I would not be able to outsource this project to a manufacturer.
Sign shapes
The basic plan was to cut two identical sign shapes from economy aluminum laminate sheets, use them to define an aluminum tubing framework, and assemble the frames about 12″ apart to make a hollow sign. We’d then cover the structure with a surface layer of pre-finished white .063 aluminum with the graphics already in place.
The cutting of the sign shapes, and the aluminum fittings that would attach the tubing frame members, was done on our old but accurate waterjet. The waterjet guaranteed that both halves would be the same. The edges would be wrapped with 1/16″ thick white aluminum, so the faces would be cut slightly oversize by 1/16″ all around, to come up flush with the edges of the trimmed-out sign, which they did perfectly thanks to the waterjet.
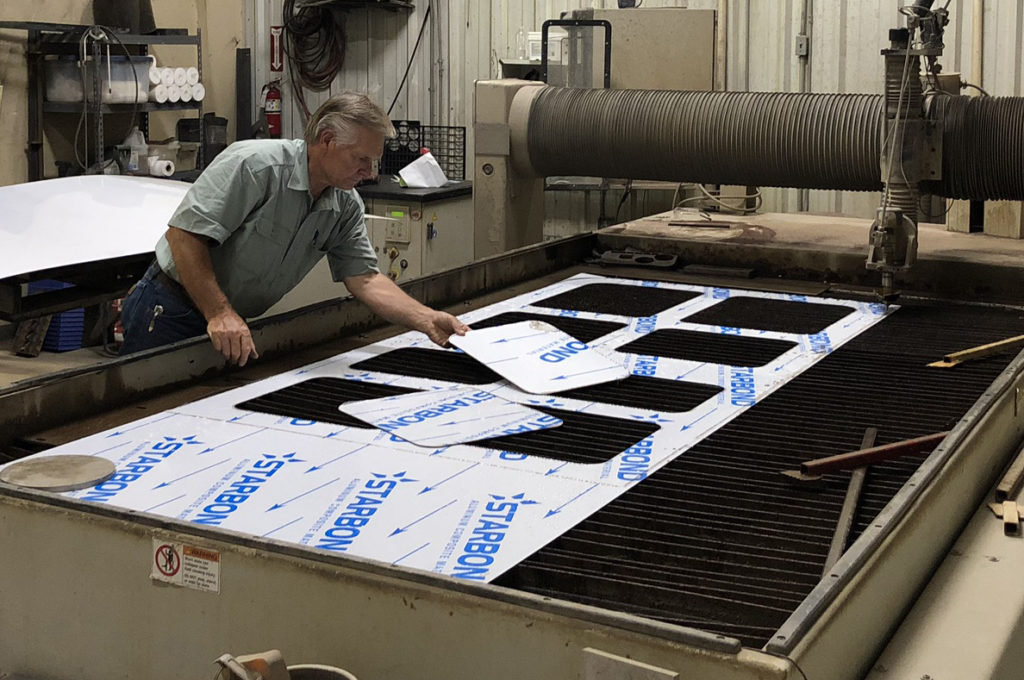
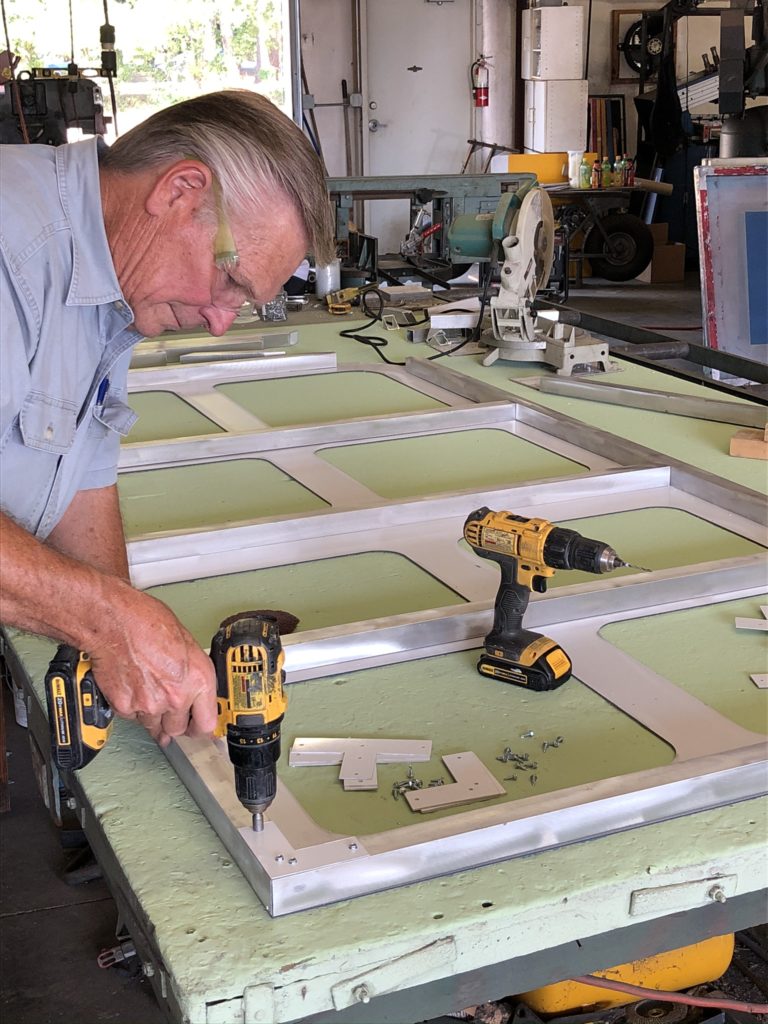
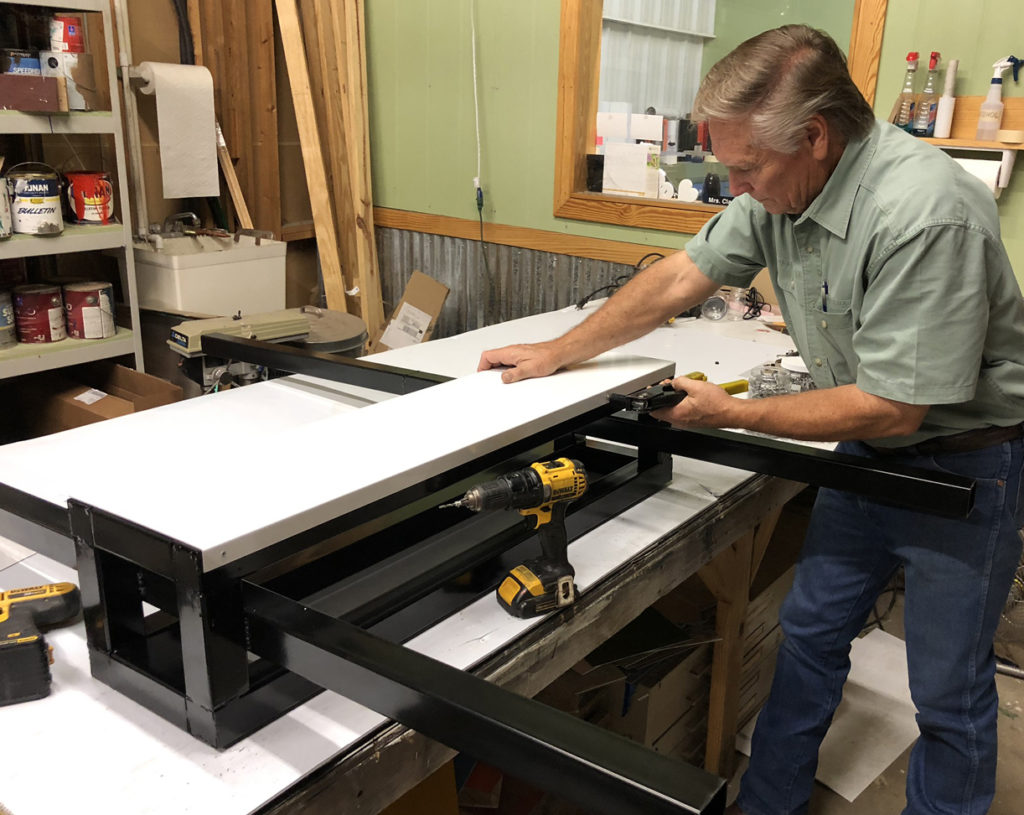
One of the sign shape panels was laid face down on a worktable, and the frame members were assembled on top of it, matching its shape accurately. To frame the large radius corners at the top of the sign trim, parts were made that were notched to be formed to the radius required.
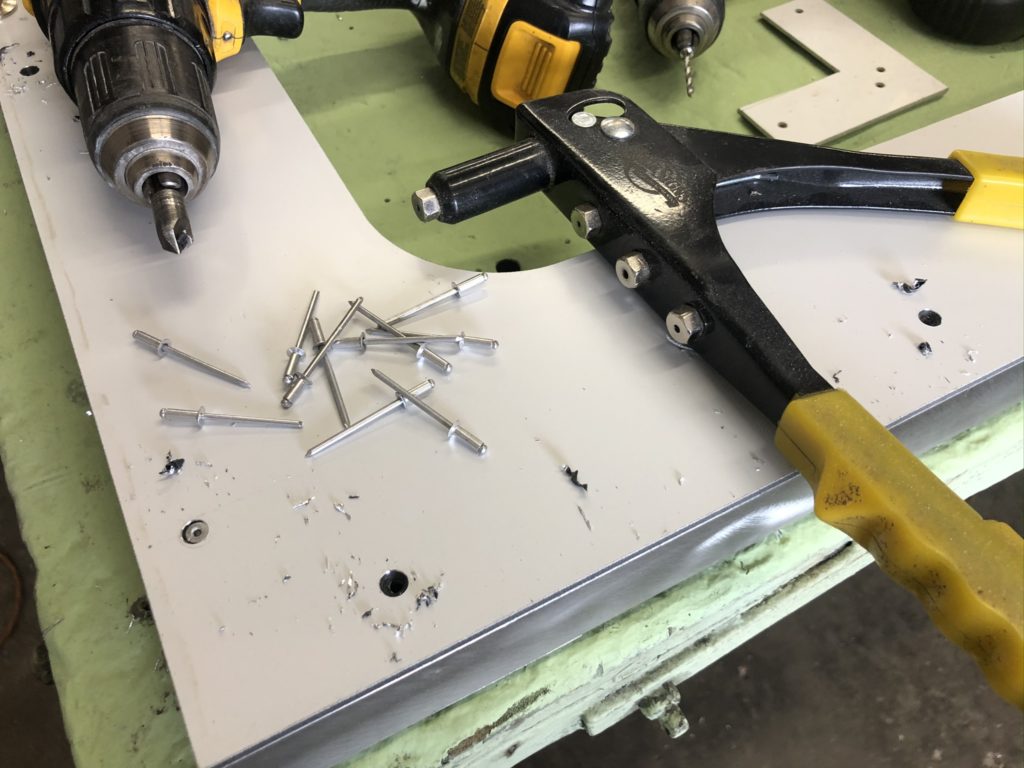
Once the framework was finished, all of it was flipped over, and the sign shape panel was secured to the frame using countersunk 1/8″ thick rivets, inset flush so there would only be a smooth surface to attach the outer skin to.
The .063 skin with its graphic would mostly be glued on, leaving the final monument sign with almost no exposed fasteners. In the end, six well-disguised countersunk rivets would be used to align the skin in the exact right place and hold it while the glue dried. One of the face skins would not adhere until the sign was installed and vertical, so having the six rivet holes already placed would be crucial to align the face out in the field accurately.
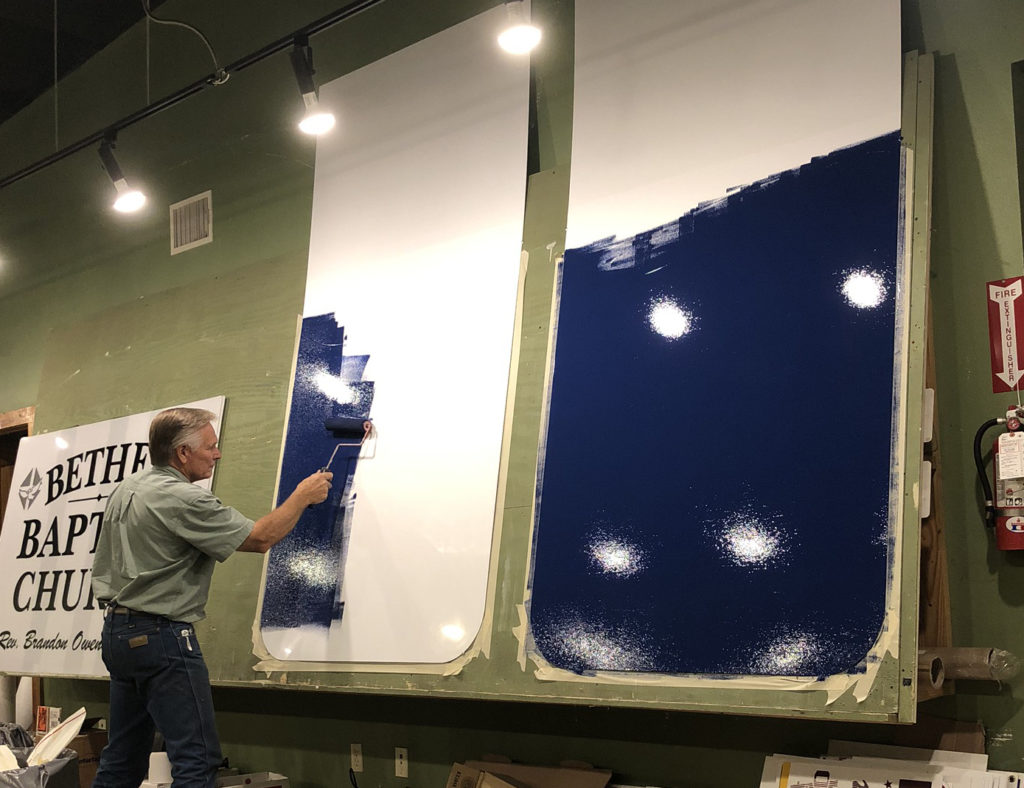
This work took place at our small fab shop. Back at the sign shop, the faces were cleaned and prepped so about half of each face could be painted with dark blue sign enamel. I seldom spray anything and using a foam roller and the right technique, I can paint a background that, once dry, looks sprayed on. This method of painting produces a thicker and more durable paint coating than I could spray.
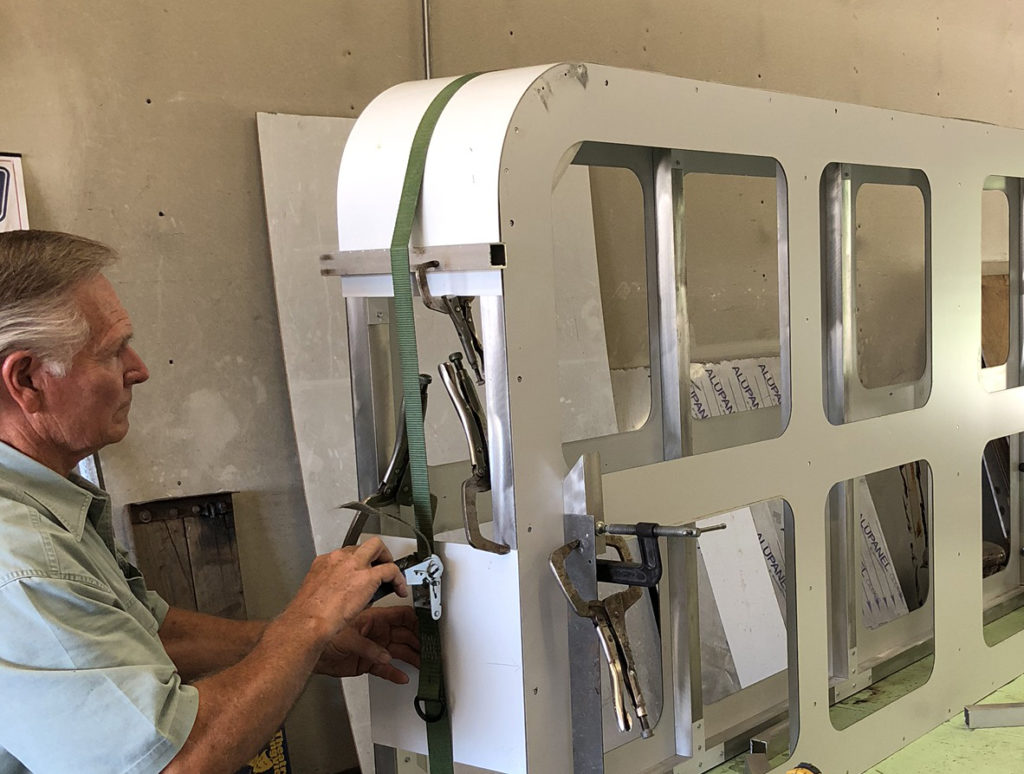
The two halves of the sign’s framework were joined at the fab shop, and the side skins were riveted in place. These were not glued, but instead, we used more 1/8″ diameter rivets, countersunk flush, and painted in place. No more rivets were used than necessary, and they were spaced accurately and consistently. These flathead rivets, once countersunk, are pretty insignificant visually. Because of the tension on the curve of the metal over those radius corners, I did not feel good about gluing the side covers in place. Also, if adhesive had been used, the side trim would be unremovable.
A simple way to make the .063 white aluminum trim conform to the radius edge without arm-wrestling it is to use a tie-down strap to hold it firmly in place until the rivets are inserted. This method made the job easy and required no helper to accomplish.
Another bit of fabrication that had to be done for this project was to weld up a base and pole framework. This structure would provide posts to go in the ground, uprights that would protrude up into the sign itself, as well as a boxed-in framework that would be covered with more .063 aluminum and then painted dark blue. This was a fairly simple project, but the true-and-square nature of it was important.
On the job site
Once fabrication was done, and the faces were completed graphically, it was time to go to the job site. The first task was to dig holes and set the sign base in place perfectly level and true. We actually used two holes that existed from removing their old sign, so only a small amount of digging was required. But, after setting the base and filling the holes with concrete, we had to let that set and return another day for the sign to be installed.
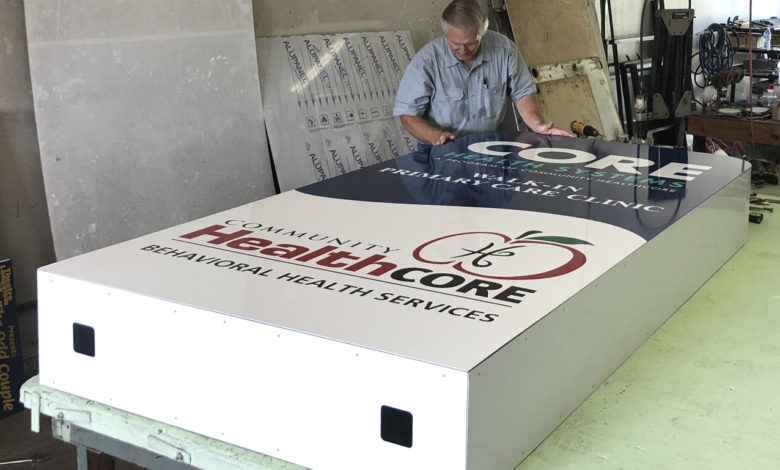
Of course, at that point, the sign was fully trimmed out with a bottom, several internal “ribs” that the uprights would go through, and one face fully glued in place and covered with masking. The sign was lifted and set over the 2″ square tubing uprights that were part of the base and set down to rest on the base itself.
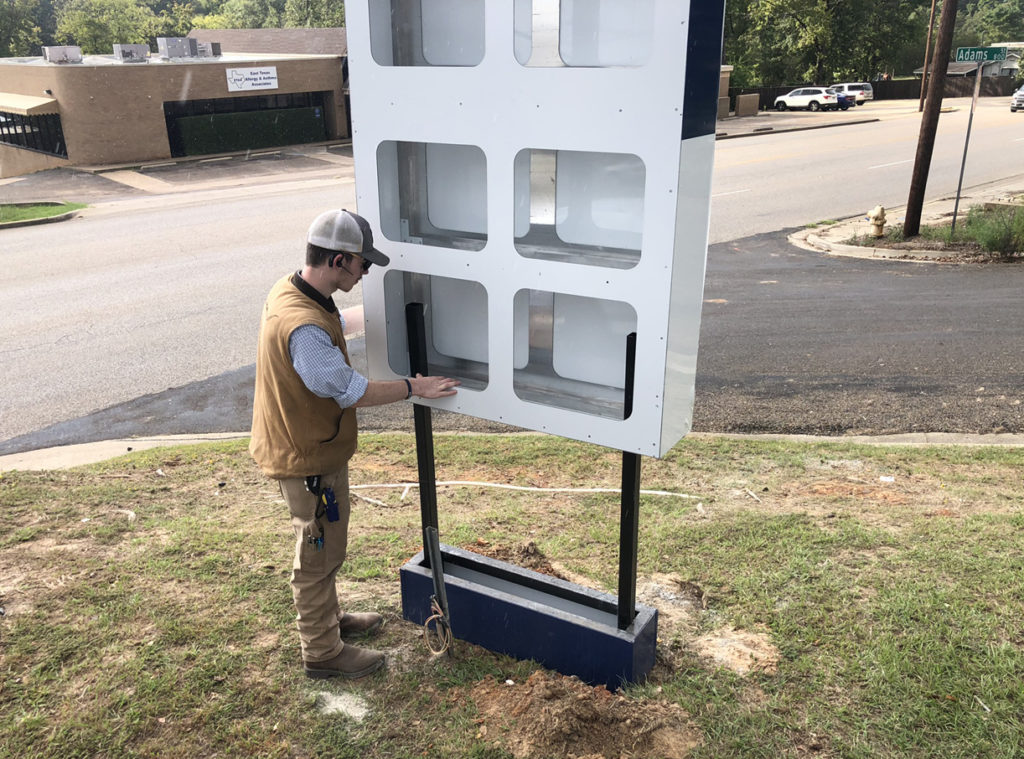

The sign was not perfectly level at this point and fit loosely in place, but aluminum “L-brackets” had been made as locking members that would be screwed in to snug contact with the upright while the sign was held perfectly level. Once the brackets were secured with self-drilling screws, the sign could not move and was perfectly centered and level.
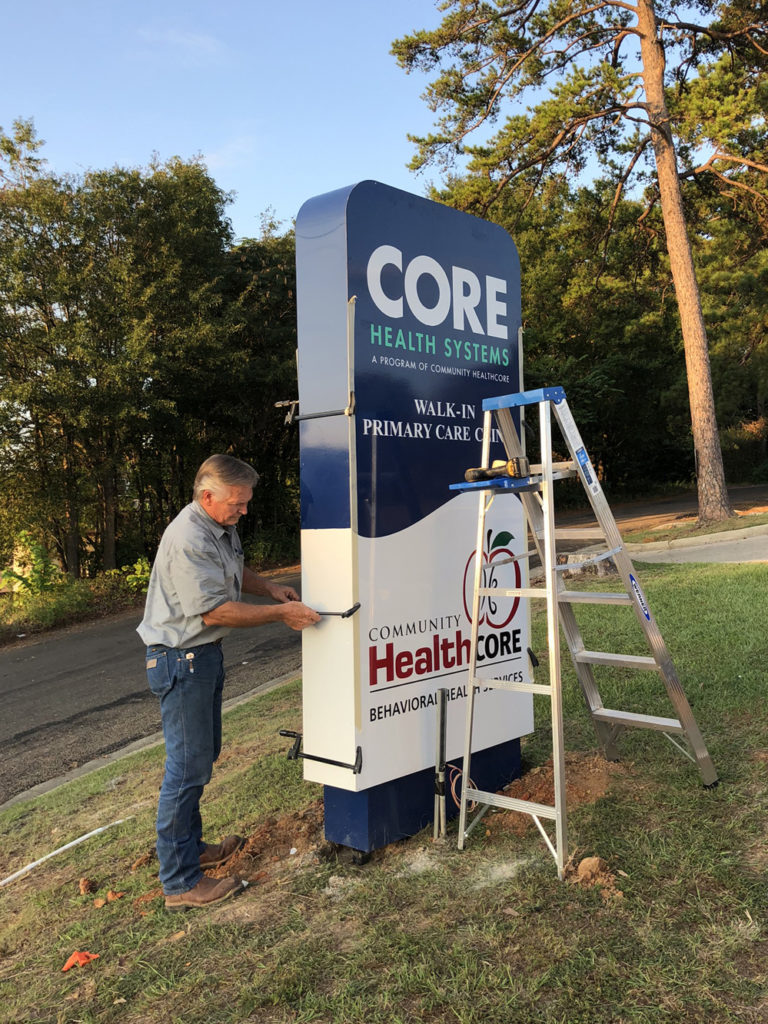
The final step was to secure the missing sign face. It was to be secured with two-part epoxy glue and six rivets. Some temporary clamps were used to hold the face in good contact and perfectly flush with the sign’s covered edges. Time for an extended coffee break while the glue set.
We decided to return the next day, and we took our chances with the clamps. They were still in place, and everything looked good when we arrived the following morning. It was time to call the landscapers as we were done. The sign looked great, met their budget and time frame, and the clinic’s top brass was more than pleased. What’s not to like about that?