Sandcarving Techniques: A step-by-step guide to shading
Follow these steps to master a unique sandcarving technique.
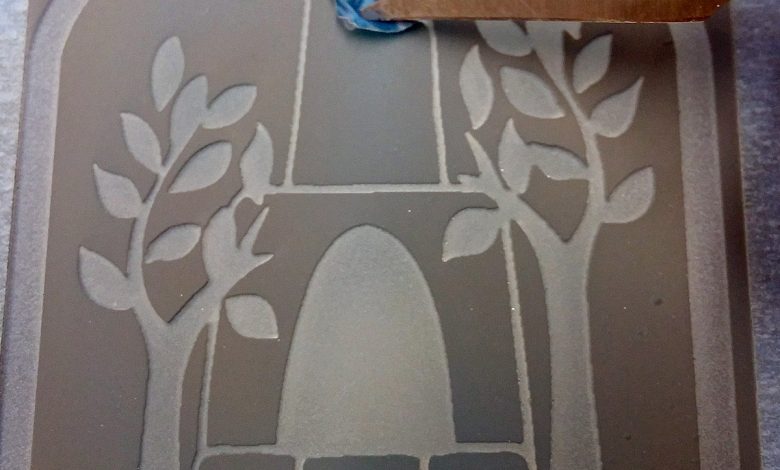

After finishing the peeling process for the shading technique, it’s time to begin sandcarving.
The pressure setting for shading is very low. I usually do not assign a pressure number to it since we have found that all blasters have their own type of gauges that are rarely accurate. The main point is to pressurize the blaster so that there is just enough air in the tank to hold up the stopper and keep the blaster sealed as you step on the foot pedal.
We usually turn our pressure regulator all the way counter clockwise so that no air gets into the pressure pot upon opening the main air intake valve. Having turned the air on, we then slowly turn the pressure regulator clockwise, until we hear the air enter the blaster with a “swish.” Here, we try stepping on the foot pedal to see if the stopper of the blaster will stay sealed, or if it falls down. If it stays, you are ready to blast; if it falls down, you want to turn the regulator up another quarter to a half turn and try again. Then you are ready to blast.
You want to make sure that the abrasive flow is not excessive-something you can tell by the sputtering that happens as the air/abrasive mixture leaves the nozzle. No sputtering allowed. If you want to achieve gradations, you want very little abrasive in the airflow. Trying to cover areas uniformly, you may want more abrasive in the airflow. Some of this will also depend on the size of any given area that you want to blast. On awards and such, we usually blast smaller areas.
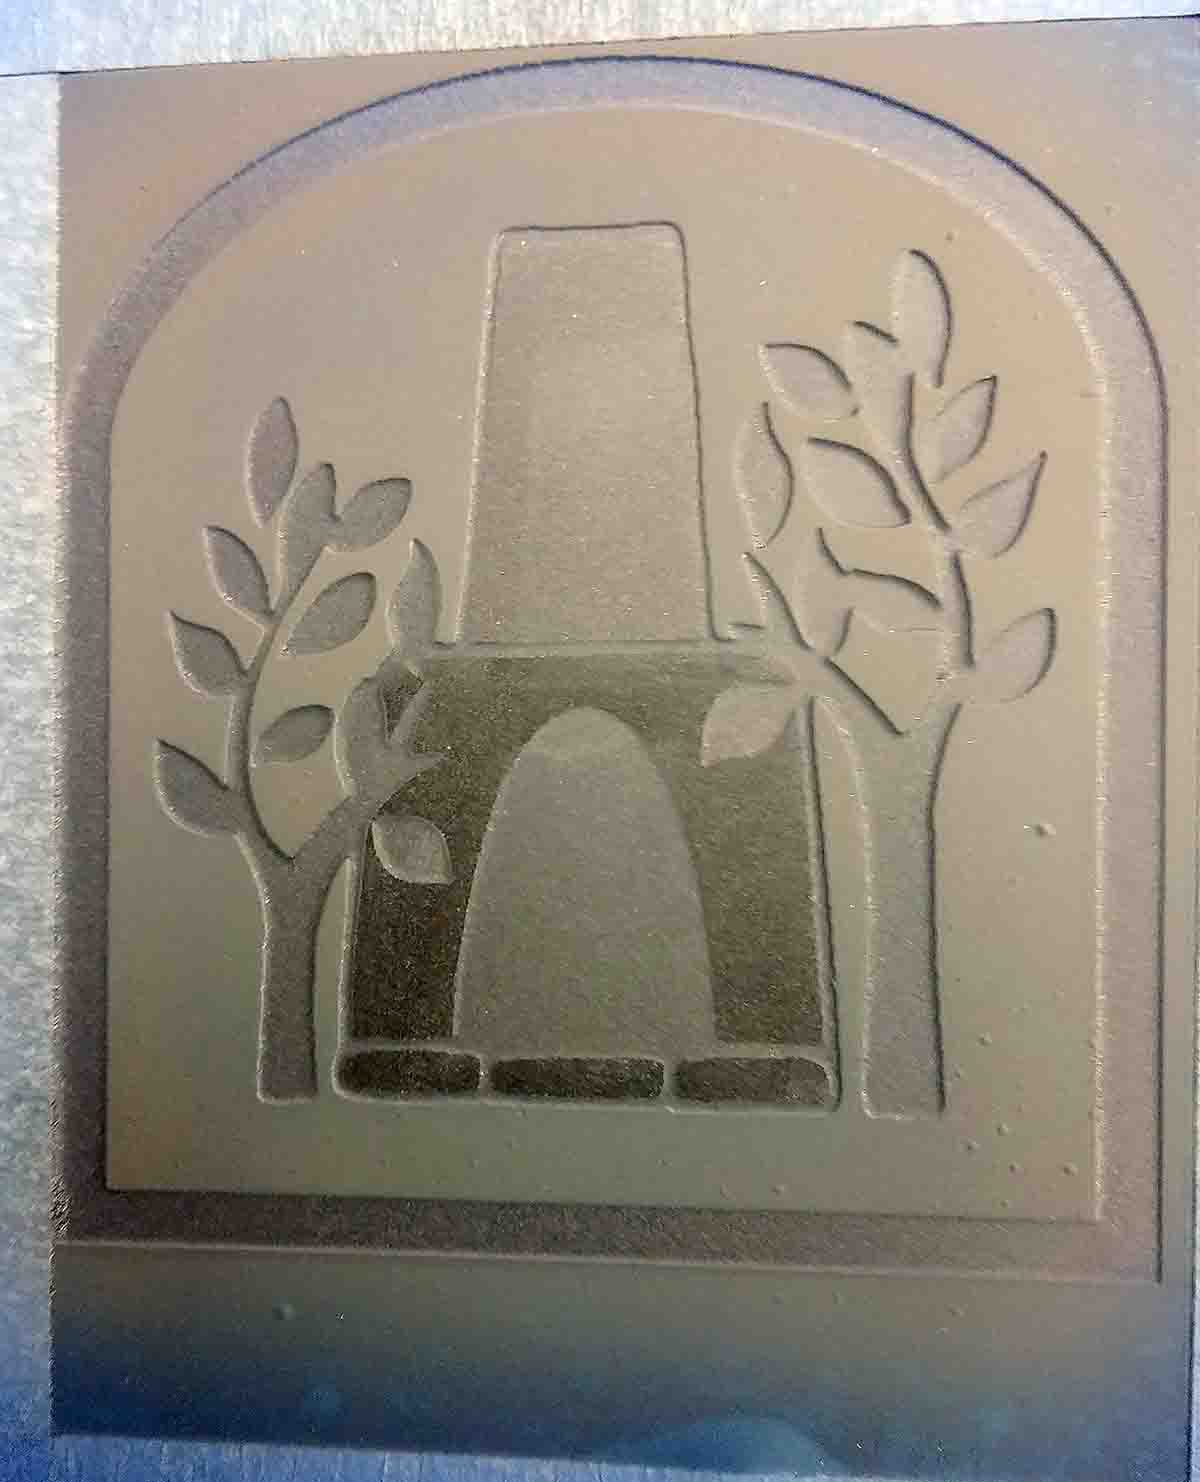
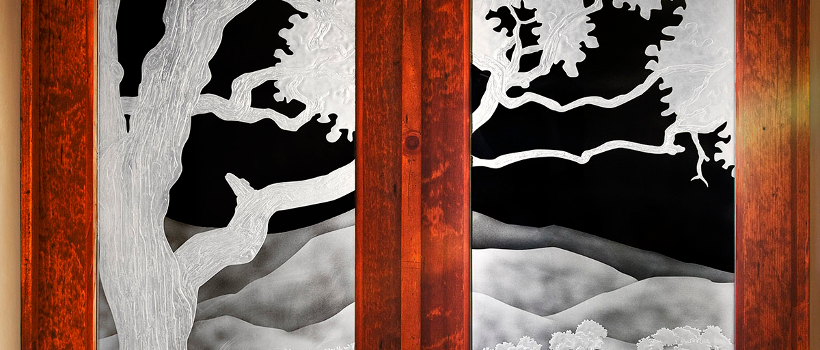
In order to see what you are doing with this technique, it is imperative to have a directional light source behind the glass you are blasting on. This means the light should shine through the glass from the back rather than pointing downward onto the glass surface. You need to hold the nozzle about 8 to 10 inches away from the glass surface, and your hand motion will be a lot quicker than in any other blasting technique.
While learning, it is important to check the actual blast on the area after each pass, as dust often clings to the back of the glass and gives a false impression of density. Over time you will develop an eye for what is really happening on the glass as you work. Until then, you will find yourself stopping often, keeping in mind that just one too many passes can ruin the whole project in seconds. Lots of practice is called for with the exception of those few natural talents that pick up this technique as if they were born with the knowledge; the rest of us have to work at it.
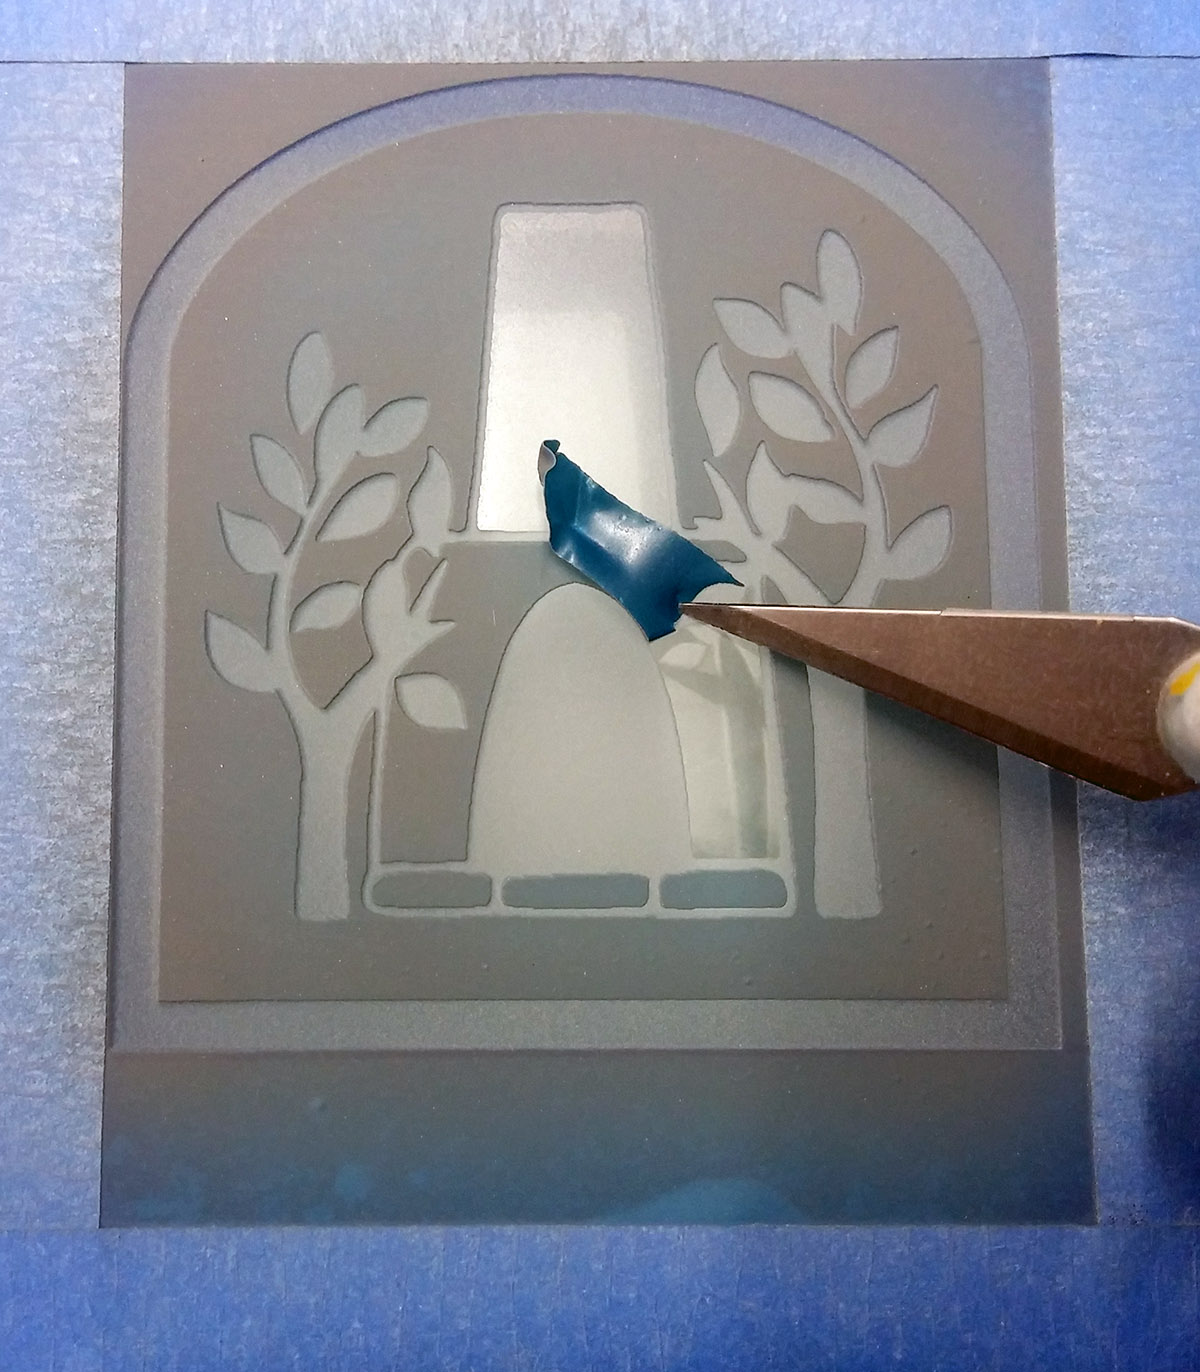
The sequence of peeling is dictated by the degree to which an area needs to get blasted; any obvious white areas are blasted first and then all subsequent stages follow as they get less and less blasted. This should make sense, since you would not want to create a delicate gray tone somewhere and then try to blast an adjacent area completely white; no doubt the overspray would destroy the delicate shade.
Still, it is important to develop strategies of approach with your nozzle for the very same reason: you don’t want to destroy carefully rendered areas by passing over them with your nozzle, especially if you have forgotten to keep your distance to the glass. The closer you are, the more intense the blast.
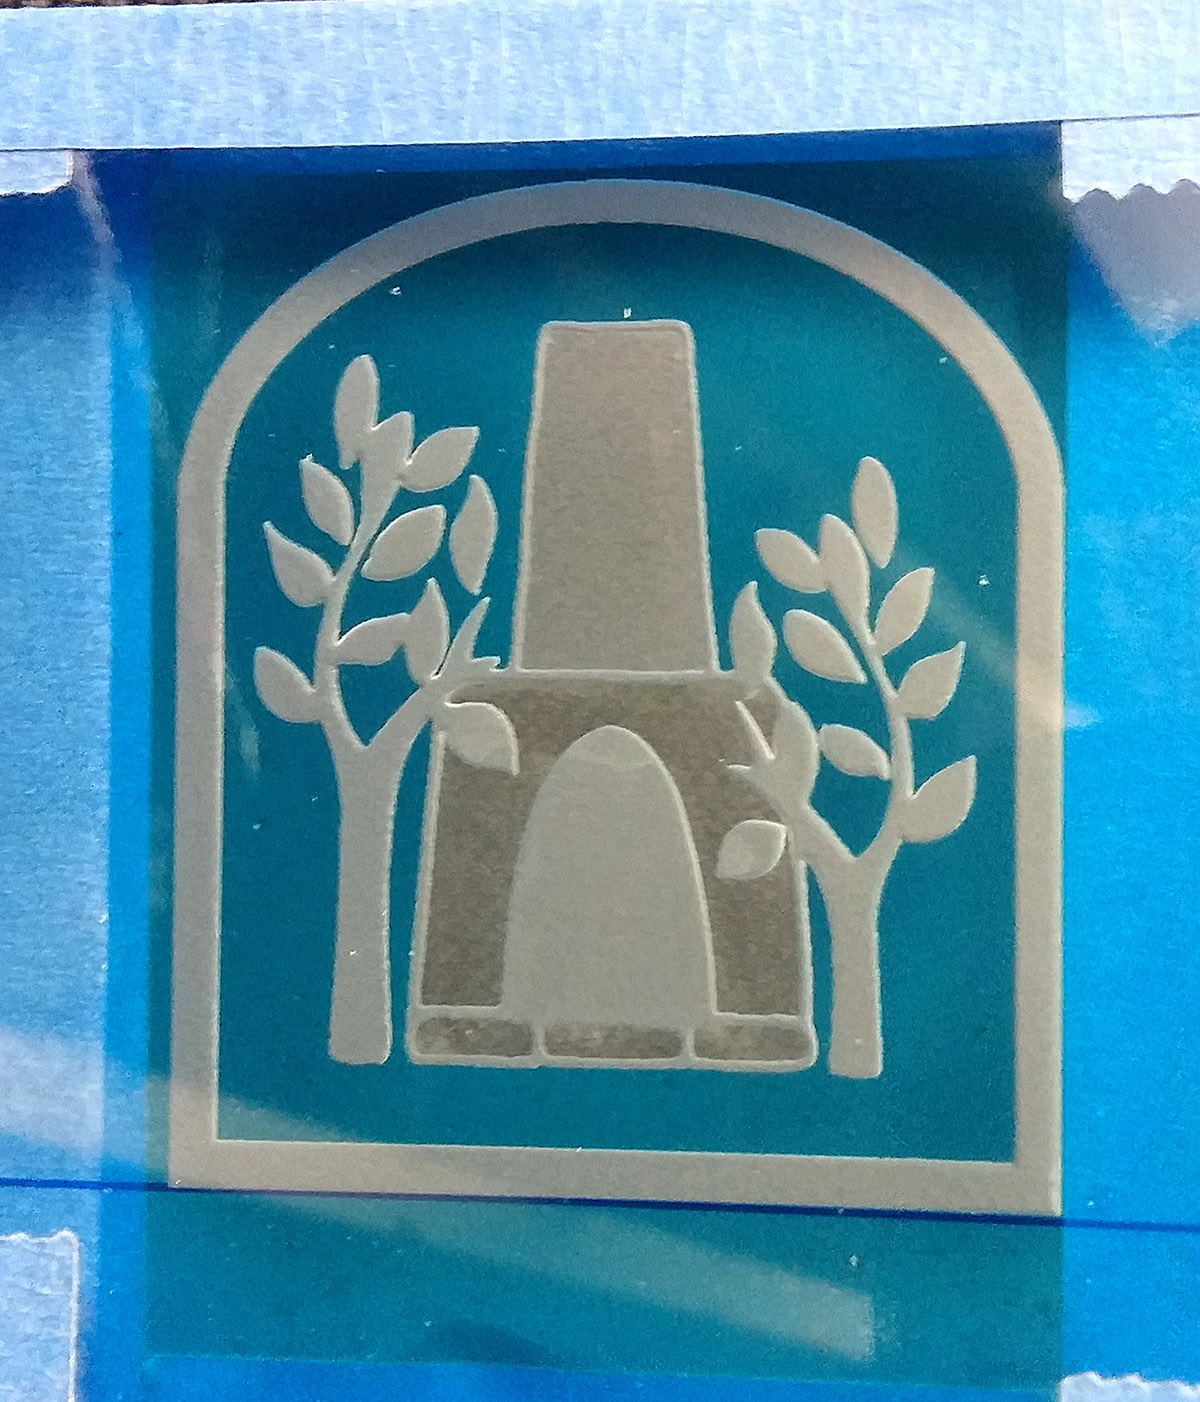
Be happy with each stage before peeling another-you can’t put the resist back on with photoresist to correct a blasted area. You should also make sure that there are no great jumps in values within your piece. If almost all design elements are shaded delicately and then, in the middle of it all, is an area that is almost either white or completely un-blasted, those will look out of context with the rest.
-Ruth Dobbins, EtchMaster