Production Methods for Creating ADA-Compliant Signage
The amount of customization available today for ADA-compliant and braille signage means a wide variety of ways it's manufactured.


Braille is required for many types of interior wayfinding signs, but how the little dots and pictograms come into play vary with the production method-they are added or the rest of the material is removed, achieving differences in appearance, durability and cost.
Since 1992, the American with Disabilities Act Standards for Accessible Design requires Braille on all indoor wayfinding signage from restrooms to permanent rooms with specific rules for informational versus directional signs. Braille signage appears in public spaces such as commercial buildings, restaurants, hotels and hospitals to mark room numbers, floor levels and other permanent spaces.
“Some people are just looking to get compliance and get the signs up to comply with the code,” says Kathy Wilson, vice-president of sales and marketing for Advance Corp. in Cottage Grove, Minnesota. “A business owner might want something simple. Or they might be looking for the aesthetics with full color and a complex logo to be part of their brand signage.”
Common Production Methods
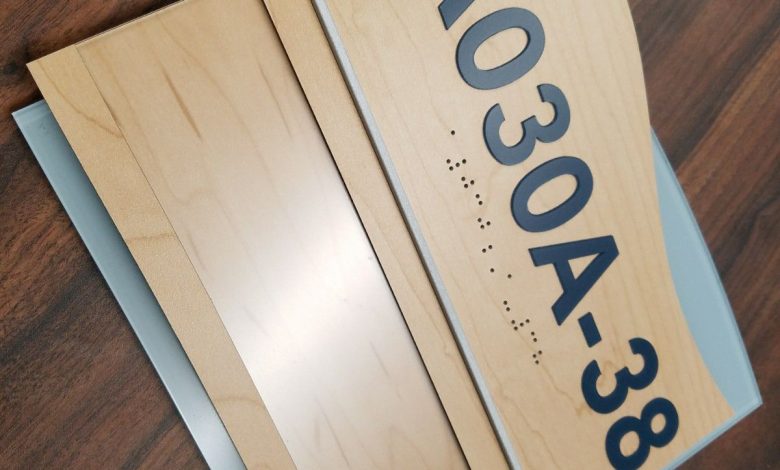
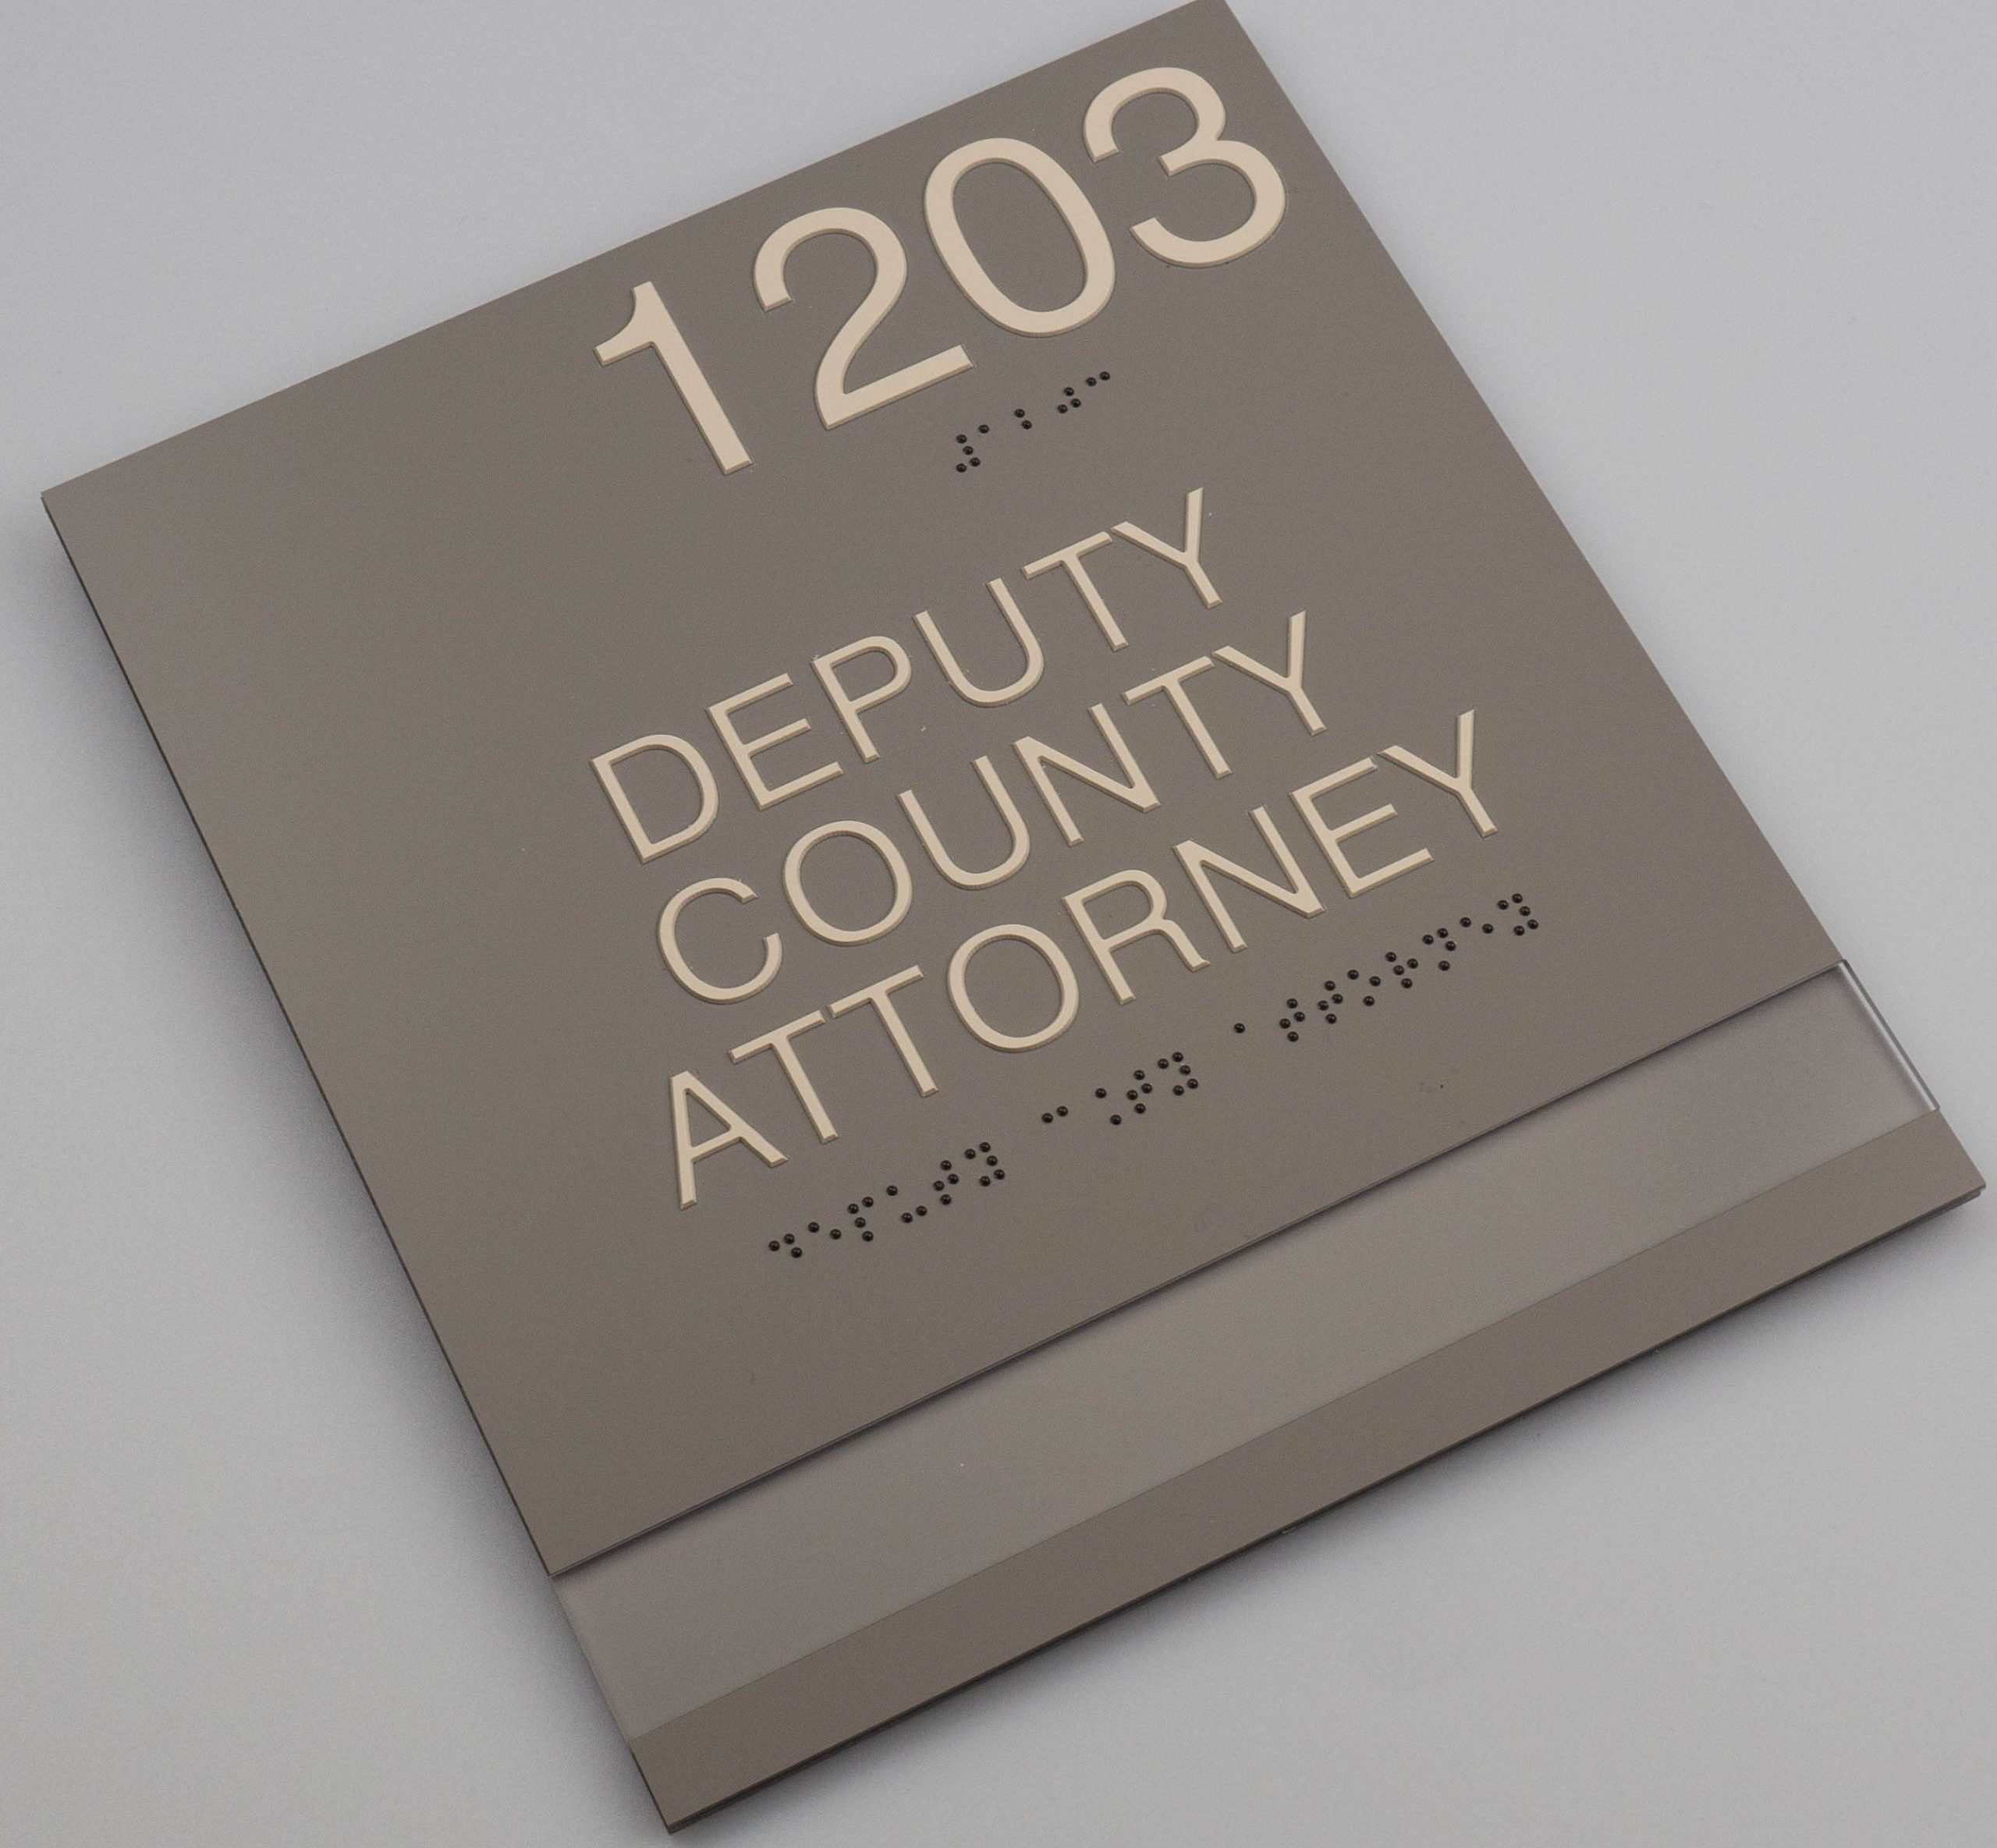
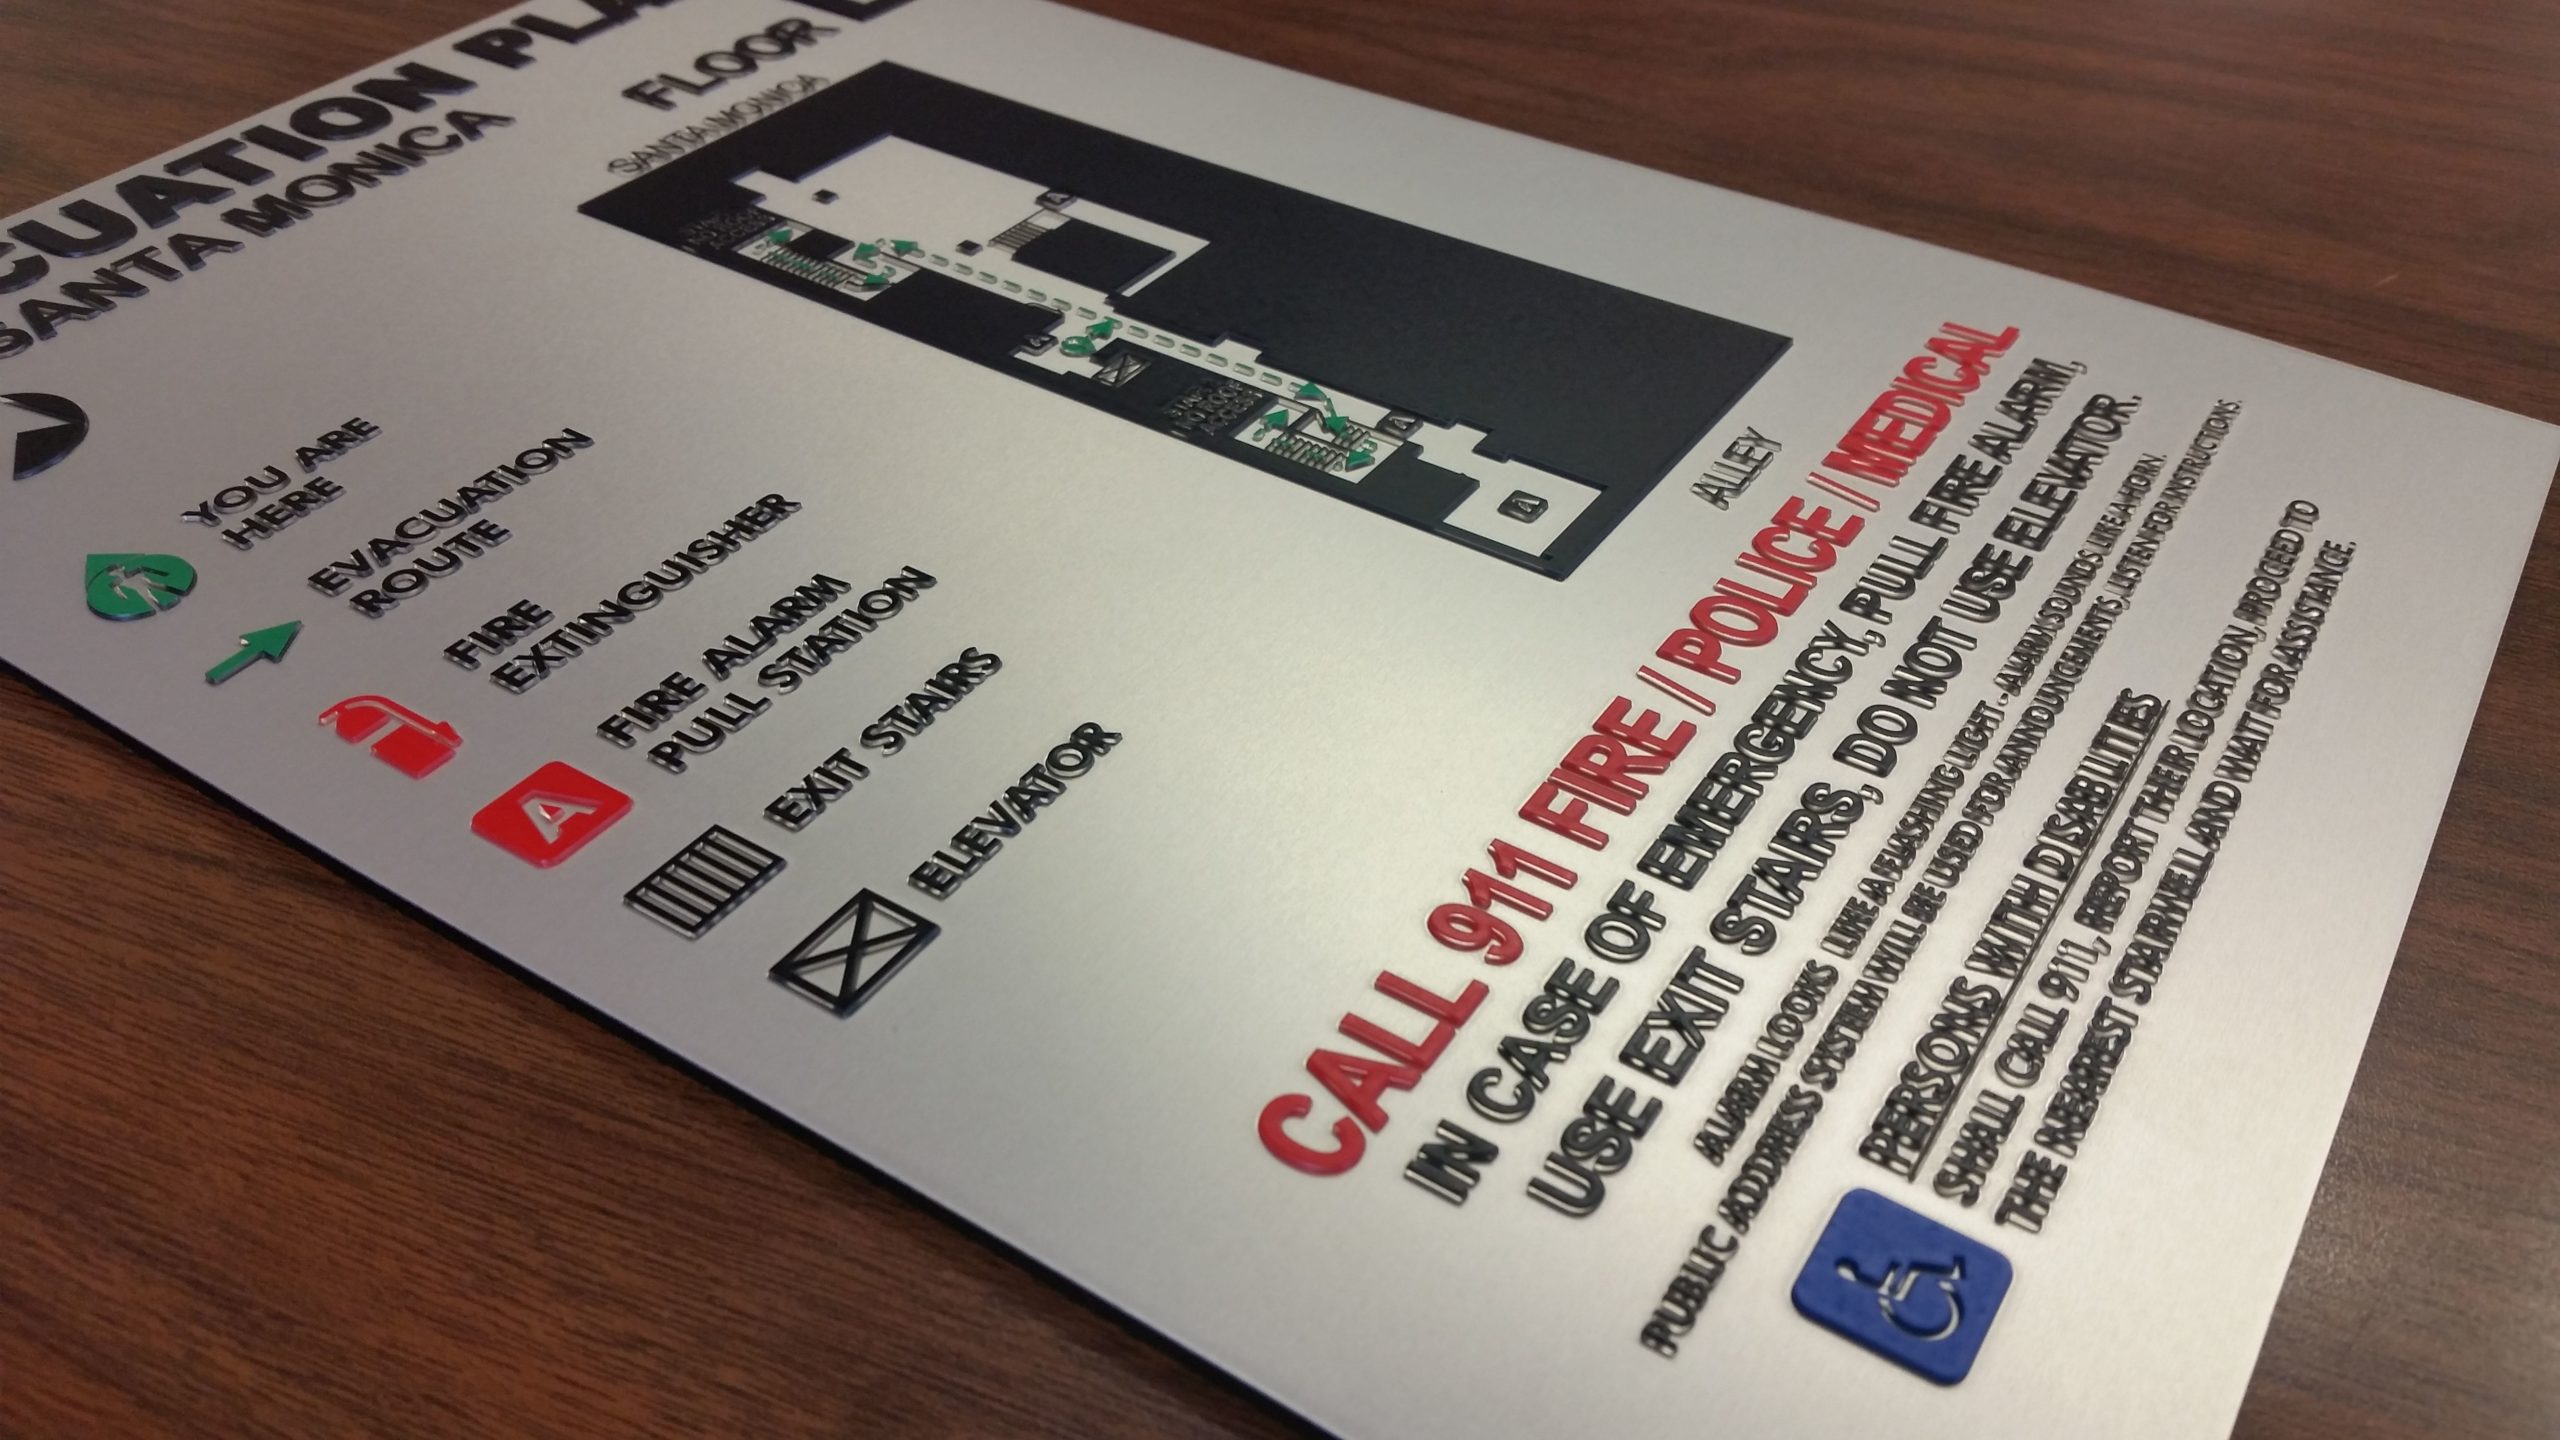
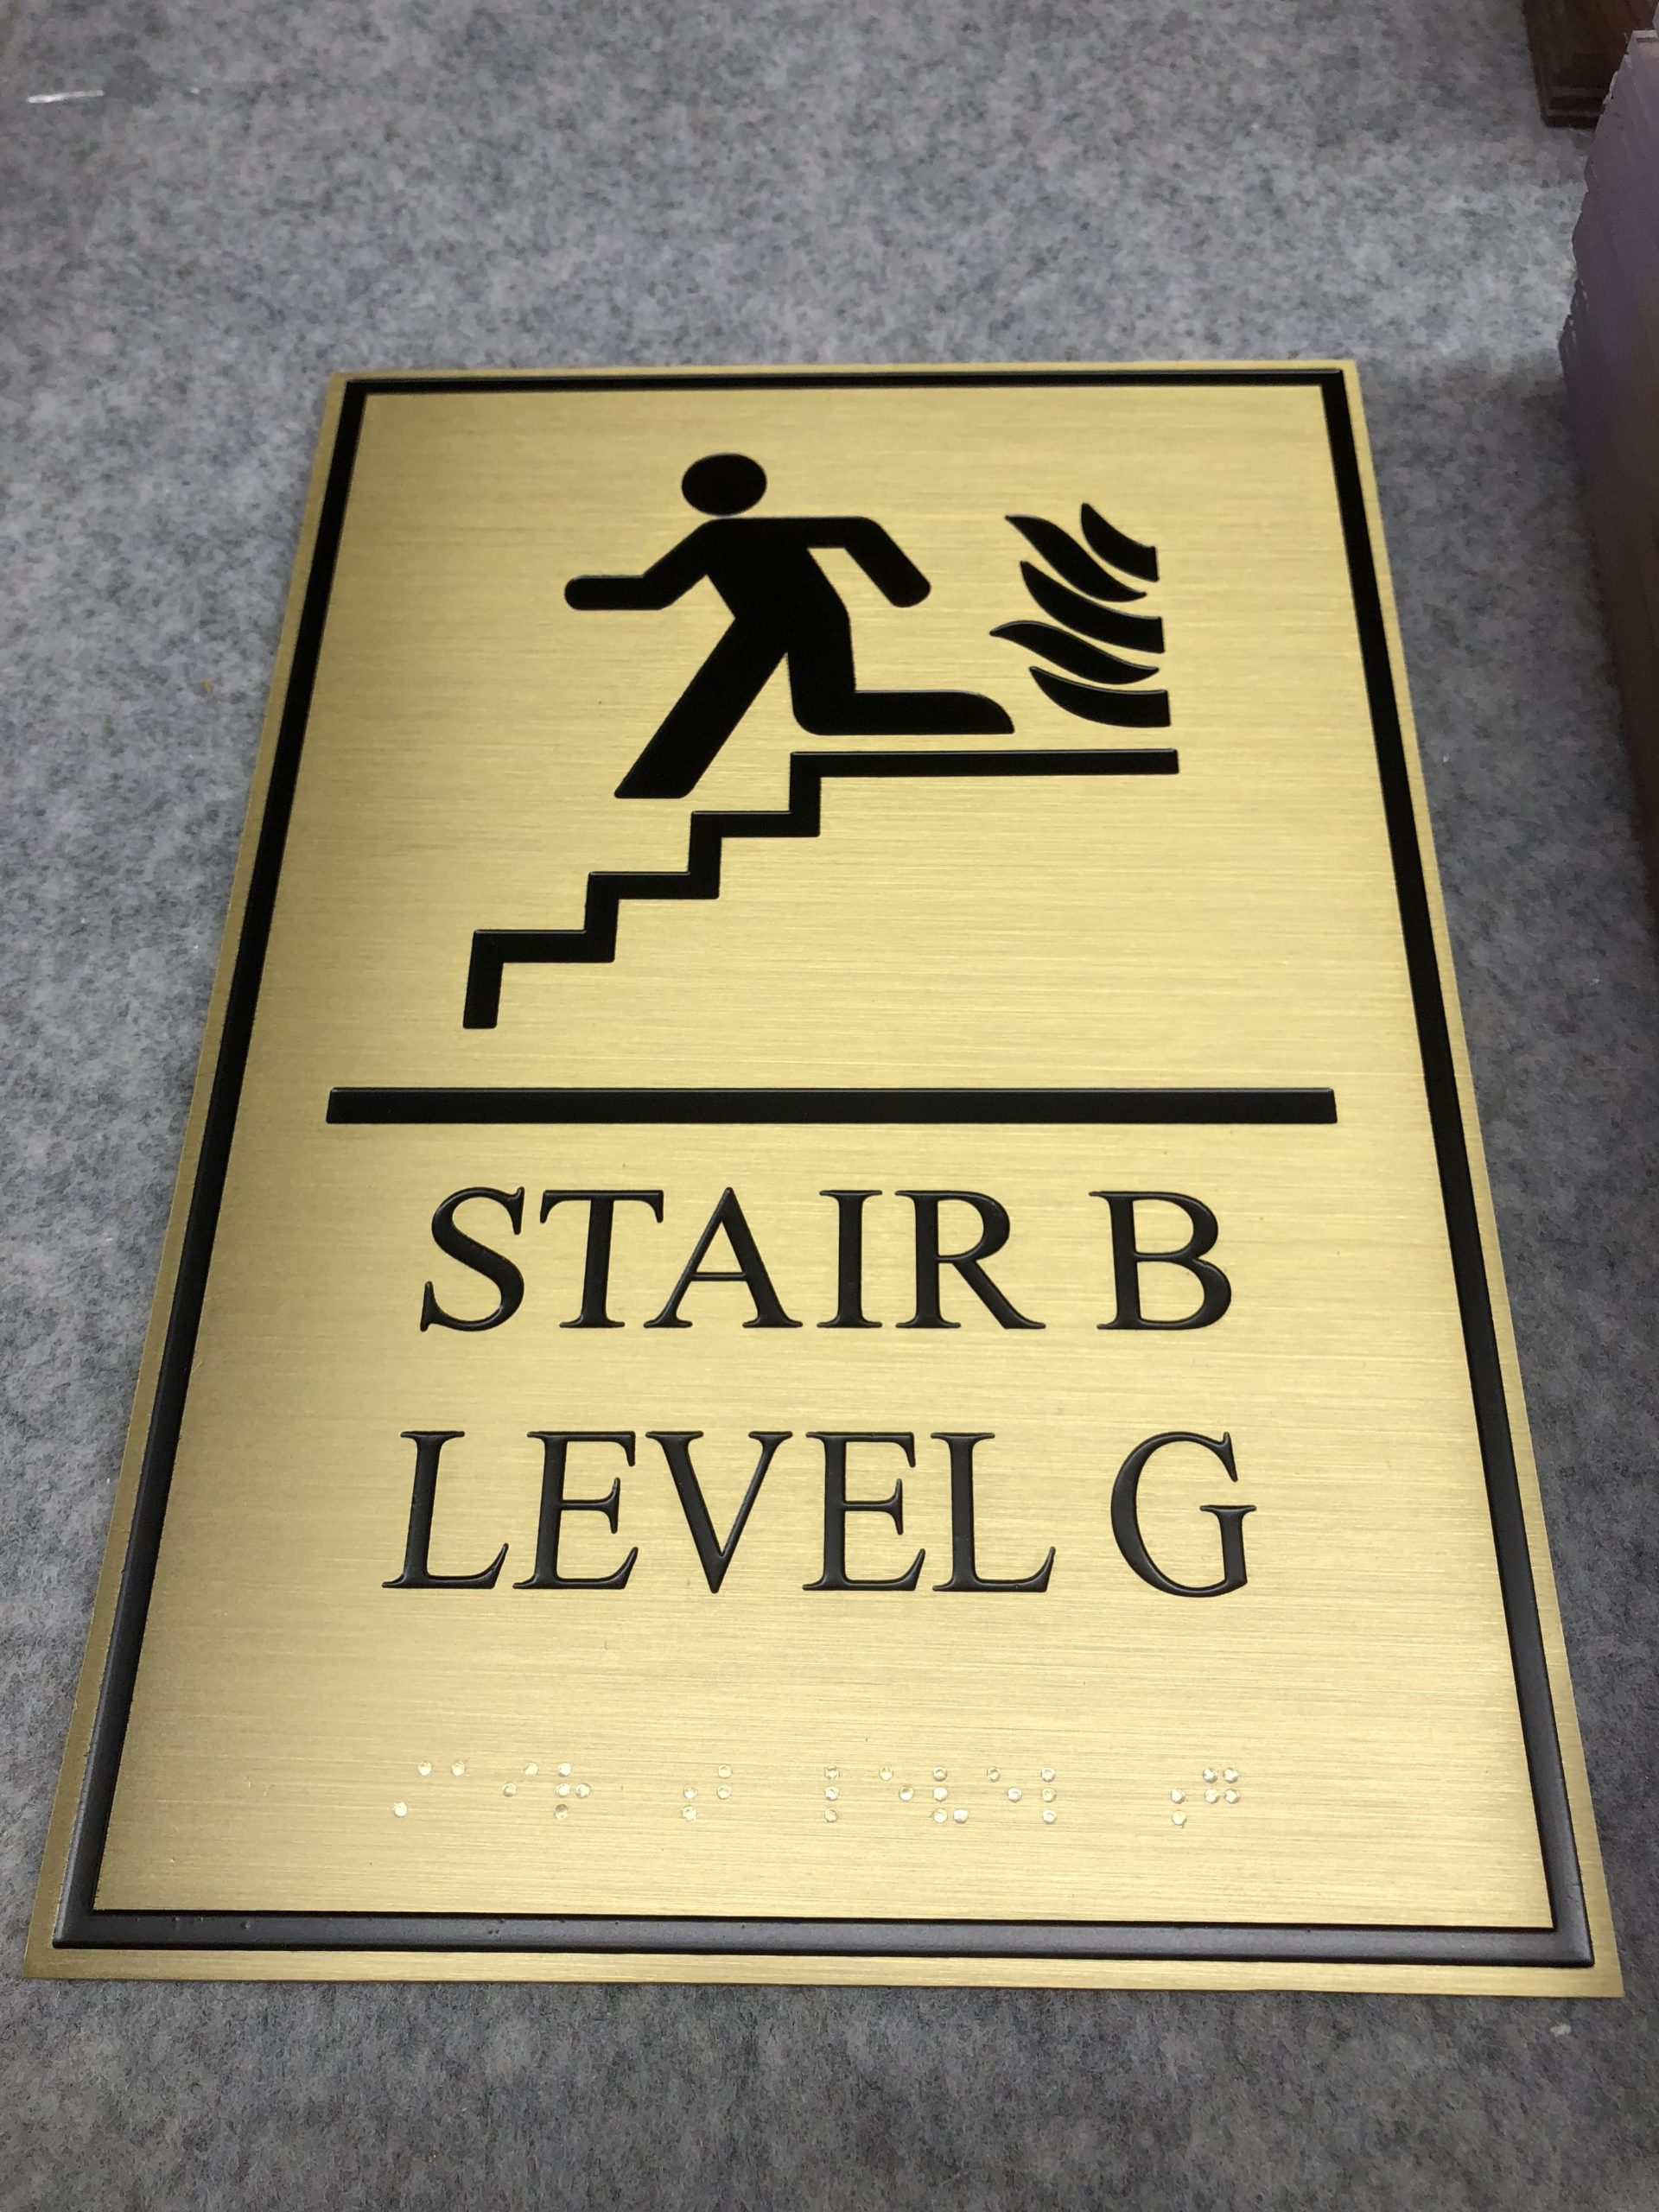
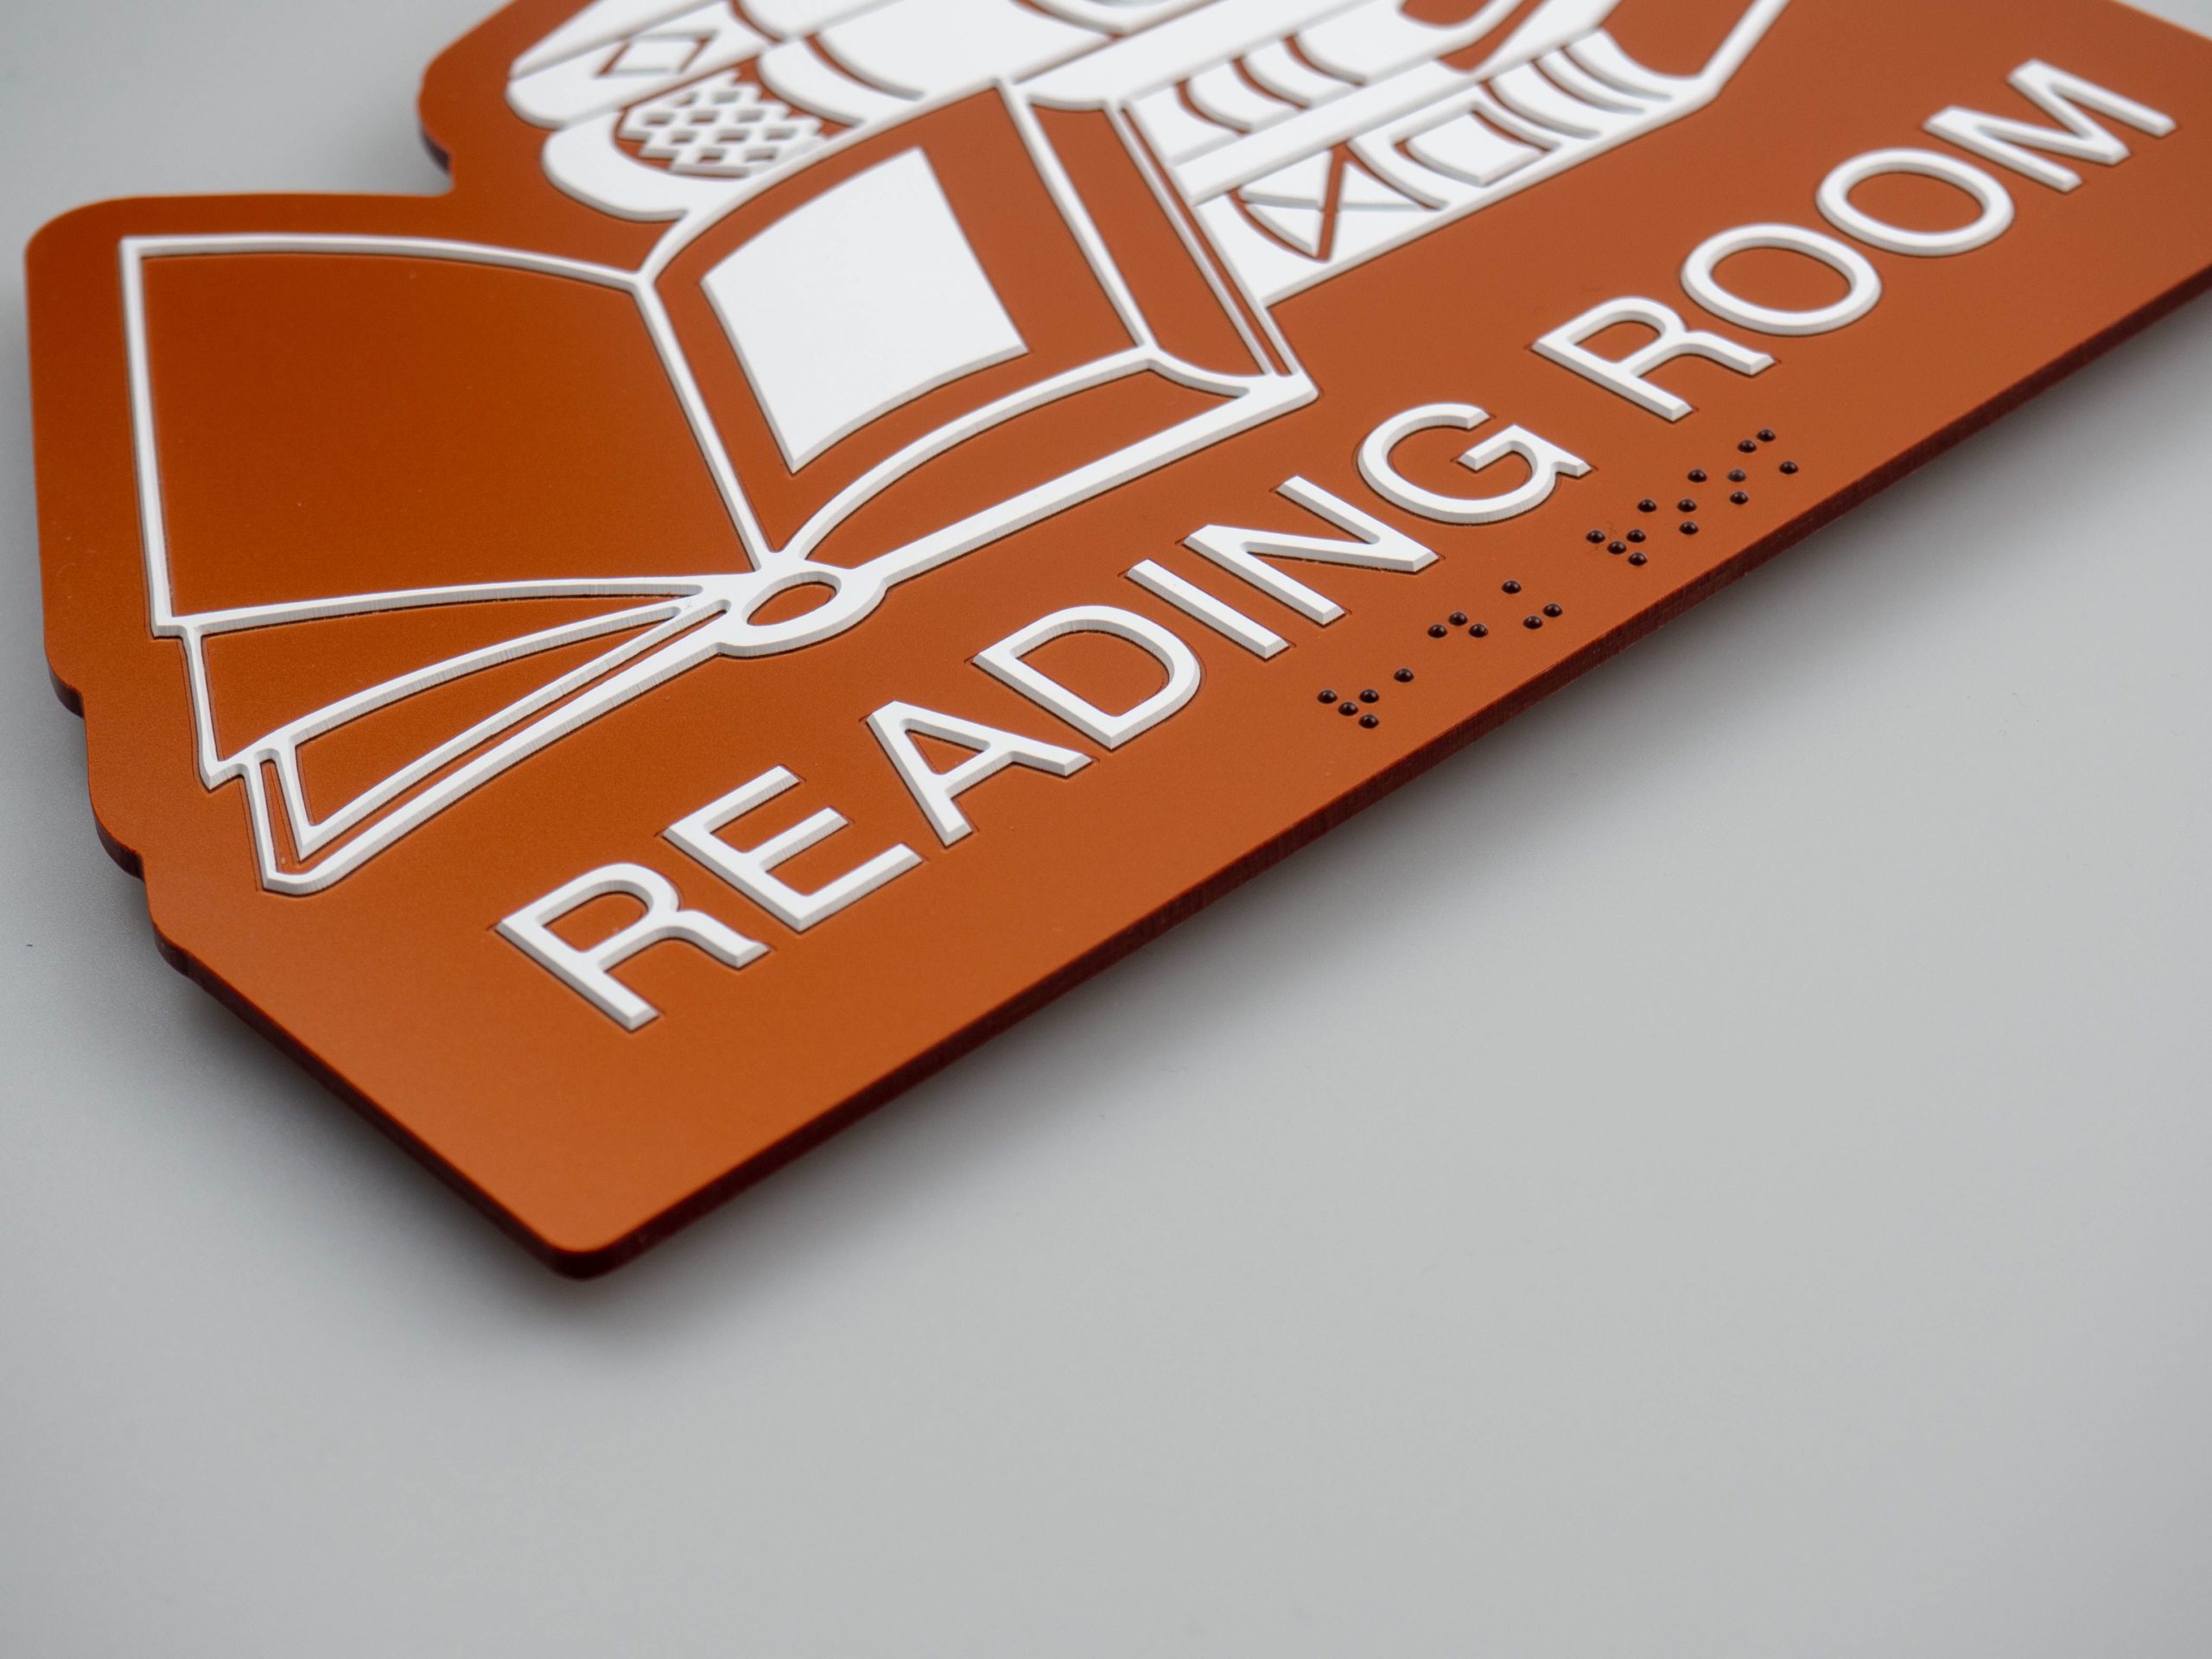
ADA-compliant Braille signs are produced through several methods that include appliqué with Braille raster beads, etching and digital printing, plus the less frequent methods of sandcarving and thermoforming. Common substrates to make the signs range from aluminum, brass, stainless steel and other metals to wood, acrylic and plastic laminate. Tactile raised Braille dots and raised letters, numbers, punctuation marks and pictograms are placed on the signs to communicate messages to those who have low vision or are blind.
Appliqué with Braille raster beads is one of the quickest and most cost-effective production methods, but also is slightly less durable. An engraver/router or a laser engraver is used to create divots onto the surface of the sign, typically an acrylic substrate that comes in more than 50 colors. The engraver/router uses cutting tools such as bits, while the laser engraver employs laser beams for a faster production process.
“The appliqué method is typically plastic on plastic,” says Charlie Kelly Jr., president and owner of Clarke Systems in Allentown, Pennsylvania. “Essentially, you apply a second layer of plastic that is adhered to the face of the sign. The router cuts the letters or numbers out of that second layer and when the excess is removed, the text is left behind. … The appliqué does not require painting, because the plastic used is saturated in the chosen color.”
With the engraver/router or laser engraver, an appliqué or applied graphic is added to the face of the sign and precision cut to the needed letters and pictograms, such as an image of a male, female or wheelchair for a restroom sign.
“The pictograms or lettering have to be machined out, and they are physically taken out of the sheet after cutout and attached to the rest of the sign with an adhesive liner,” Wilson says, adding that the adhesive is a type of thin and durable glue or film and that the images are raised above the sign’s surface.
Small holes are then drilled into the sign and the raster beads are inserted according to instructions from a software file.
“It’s a perfect fit,” says Chris Bayer, president of Cab Signs in Brooklyn, New York. “They have a dome appearance, and people seem to like it.”
The beads are tension fitted into the holes, which are slightly smaller than the beads, so that a portion of each bead sits above the sign’s surface. The beads can be inserted before the sign is painted and painted the same color as the sign or, if clear, inserted after painting to show the color underneath.
Etching and Digital Printing
Another production method for Braille signage is etching. It’s a high-end process that results in one complete piece for the sign substrate and raised Braille dots with the ability to produce small, detailed images. Unlike engraving with a machine, the method involves water or chemical baths and the use of photopolymer or metal in one big sheet.
“Photopolymer signs start out with film negatives that are created from artwork,” says Tina Kirk, general manager of Bell Company Inc., in Leeds, Alabama. “Raw photopolymer sheets are exposed to ultraviolet light with the negatives, then water-etched, dried and post-exposed in a polymer processing unit.”
More specifically, the sheets, which are made of lightweight and light-activated resin that changes properties with light exposure, are placed in a water tank for 10 minutes, and brushes are used to rub away at the material, leaving behind the raised portion that is the Braille, Bayer says.
“It etches down the background so the letters remain raised, so it’s one piece,” Bayer says. “Everything else wears down, so you’re left with the raised portion on the background.”
The photopolymer is hardened by the light exposure, making it resistant to the water, Kelly says. The photopolymer that isn’t exposed is what washes away, and the material is dried one last time to harden it further, he says.
The raised letters end up the same color as the sign substrate but can be tipped through a screening process to be given a different color, plus a final protective clear coat is added, Bayer says.
The etching also can be done on a zinc, magnesium or other metal that is exposed to a light source and placed in a chemical bath, which washes away the metal to create the dimensional part, Wilson says.
“Because of the type of equipment and the fact you’re using chemistry, it costs a lot of money to get started. It’s not something simple to get into,” Bayer says. “You really have to have a lot of equipment.”
Another method is three-dimensional digital or direct-to-surface printing, a printing process that adds layers of ink to a metal or other substrate to build up dots, letters and pictograms through several passes. A flatbed printer layers the ink to 1/32nd of an inch for the different images, which can be any color in the printing color spectrum.
“Direct-to-surface printing is starting to get a lot of traction in the industry and becoming a method of choice,” Kelly says. “The speed, the quality, the accuracy and the detail are phenomenal.”
Digital printing, which is cost effective, can result in a “great looking piece,” Bayer says.
“The printing can get very intricate with high quality designs. The copy can get very small, and you can introduce many different colors because of the printing process,” Bayer says. “It’s a newer technology, but it allows for a lot of customizations and a lot of designs. It’s not limited to some of the problems of the other two more mechanical methods.”
Less Common Methods
Other less common production methods for Braille signage include sandcarving, which uses two layers of hard phenolic resin, a hard plastic laminate, to achieve dimension and different colors. The material is sandblasted to remove unwanted sections from the first liner or layer and expose the second layer, carving out the images to create the Braille dots, letters and pictograms.
“It’s like sand, and it’s gritty,” Wilson says. “It’s considered one piece, because there’s nothing glued on like raster beads and applied copy.”
Thermoforming, or thermo-compression, is an old manufacturing process circulating back into the sign industry, Wilson says. Using a press, an acrylic or plastic sheet is heated into a pliable form to the specific shape of a mold, which has the Braille dots and letters within the form to leave a raised impression of the graphic images, she says.
“And then you basically do the same thing as etching. You trim and finish it into a usable product,” Wilson says.
The time required for thermoforming is extensive because of the steps involved, Kelly says.
“You have to create a mold, so in essence you’re making the sign once in a mold and then heat molding another piece of material,” Kelly says.
The material typically is clear and either back sprayed or a film is applied to the back, Kelly says.
“The text, Braille and body of sign are literally one piece,” Kelly says. “It’s probably one of the most durable solutions.”
Benefits and Drawbacks
Each of the Braille production methods has several benefits and drawbacks. The most cost effective of the three primary methods is digital printing, followed by appliqué and photopolymer.
Digital printing is on a smaller scale and requires minimal equipment purchases. The appliqué method requires an equipment purchase of an engraver and sheets of material, while the photopolymer process takes specialized equipment and a router, a light source and film.
“Photopolymer requires a processing unit, meant to produce negatives and sheets of raw photopolymer material that is available in a variety of thicknesses,” Kirk says.
Digital and appliqué are the quickest production methods, usually taking a day, Bayer says. The most time-consuming method is photopolymer because of the steps involved and can take several days up to two weeks, he says.
Aesthetics and type of material are other reasons to choose one method over another, Wilson says.
Thermoforming and photopolymer, which is not made out of metal, cannot provide a metal finish, which is more expensive looking than a plastic finish, Wilson says. Components can be added to dress up the signage, such as a metal accent bar or frame, she says.
“Polymer and thermoforming can look nice; they just don’t have a natural metal finish. You can paint it metallic silver to get that look,” Wilson says.
Thermoforming, however, allows graphics to be imbedded between two layers of acrylic, which are clear and allow the images to show through, Kirk says. The graphics are sealed and bonded within the acrylic, so that the signs are suitable for indoor and outdoor uses, she says.
Another consideration is durability and resistance to damage from vandalism. The least durable is appliqué, since the beads can be picked at to remove them, while etching, photopolymer and thermoforming create signs in one piece, making it harder to take out the pieces.
Custom Signs
Braille signs also can be customized with different colors beyond the traditional black and white, the addition of shapes and inserts, and the use of different backings that can be square, oval or triangular in shape, Bayer says.
“There are a lot of customizations that can happen that affect the cost and timeframe,” Bayer says.
With digital printing, a logo or full color image can be added on the sign for branding and other purposes, Bayer says. For the appliqué and photopolymer methods, custom colors can be spray painted onto the sign, he says.
“Appliqué has a little bit more cost and not as many customizations as the direct printing process. Sometimes you can’t get it as fine work-wise,” Bayer says. “Appliqué has to be one or two colors mostly or a highlight. To put two colors on one background is a big deal in appliqué land whereas in printing land it can be many colors.”
The technology for Braille signs for appliqué and the other methods has been improving, especially over the last five to 15 years, so that signs do not have to be simple but can be customized in size, color and substrate, Bayer says.
“It’s quite a different product than when it started,” Bayer says. “Now things have so many customizations, styles, colors and logos, it’s not black and white and boring. It’s quite involved now.”