Pins and patches have been a hot item on the market for the last few years, allowing the wearers to show their allegiance with a little flair. And both make great promotional items. Here are a few tips and tricks to consider when working with both.
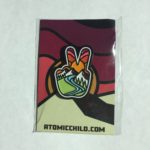
Pins
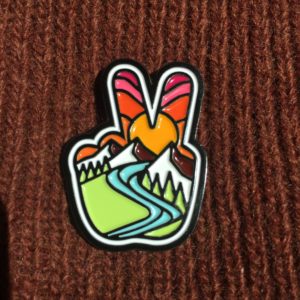
Know your options. The metal and fill type are important to think through before you start designing. Not all enamel fills work on all metal types. Know the look you are going for.
Think of the pin as stained glass. Whatever metal type you choose, you want a thin line to separate every color. Use the metal as a color in the design.
Consider the size of the pin. The bigger you go, the more posts you need. The smaller you go, the less detailed you can get. Think about the end-user items it will be attached to. Will they be collected or added on a hat or lapel?
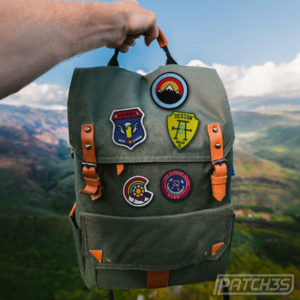
 Add Ons:
 Add Ons:
- Embossed logo or etching on the back
- Embossing brand name, website, and pin name
- Etched for individual numbering for limited runs
- Add backer cards, which are a low-cost extra that elevates a brand
- Change the clutch—the typical metal clutch can be upgraded to rubber of all colors, jewelry style, or magnetic
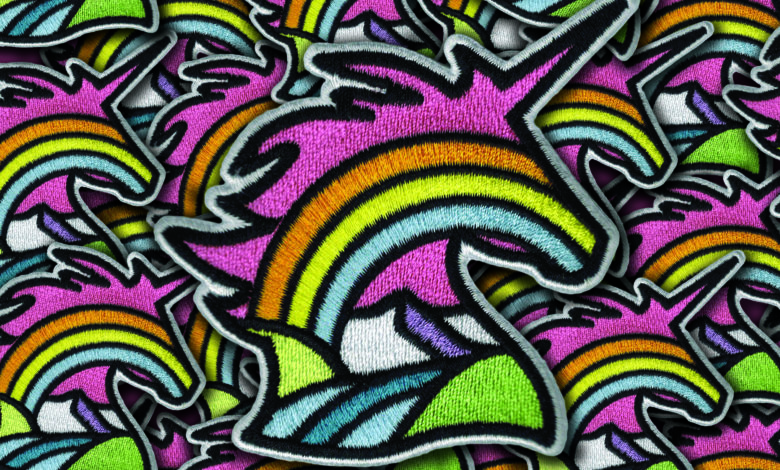
Patches
Know your options. There are many looks when it comes to patches. Wovens are best used for clean/finer detail; full embroidery for a classic/retro look; debossed leather for a rustic look; PVC for a sporty look; chenille for the preppy look; sublimated or screen printed for finer detail; and flexible chrome-esque heat transfers for a futuristic look.
Spot the colors. Gradient fades don’t translate well unless your digitizer rocks. Instead, create spot colors for easier translation. For full embroidery, experiment by building up layers and don’t skimp on stitch count. For wovens, there are fewer color options but they offer a more polished look.
Choose your borders and backing. This depends on what the patch will be used for. I recommend iron-on backing for most patches unless you want Velcro or PVC or leather. For standalone patches, full embroidery with hot cut satin stitch border will be flat for ironing. For hats, a patch with a merrow border is nice. For a vintage look, try exposed edge on twill or canvas and stitch 1/8″ inside to allow the fabric to fray.
Extras:
- Use a glue dot on a backer card or a bag with a header card stapled to it
- Do a patch pack for a high-ticket price
- Mix and match styles for the adventurous designer (use embroidery on wovens or felt on PU leather)