Let’s Talk Shop: Wrapping Unique Objects
Cutting oddly-shaped items can be challenging but essentially, the same fundamentals apply

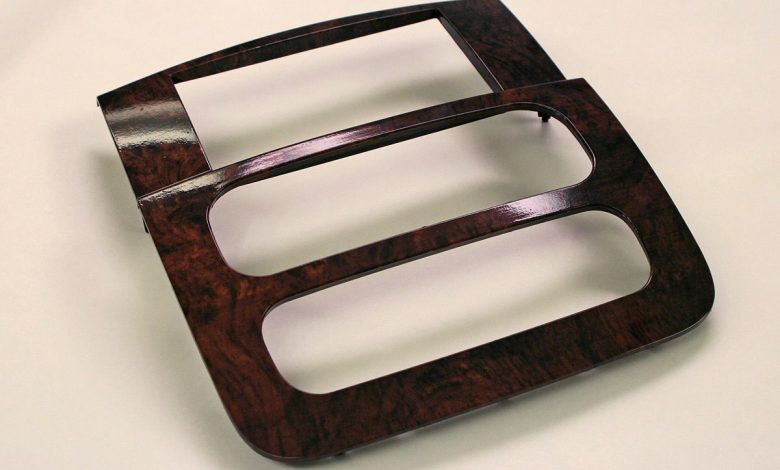


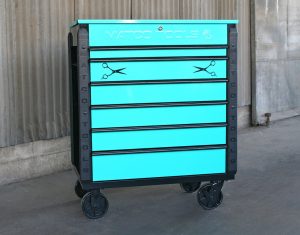
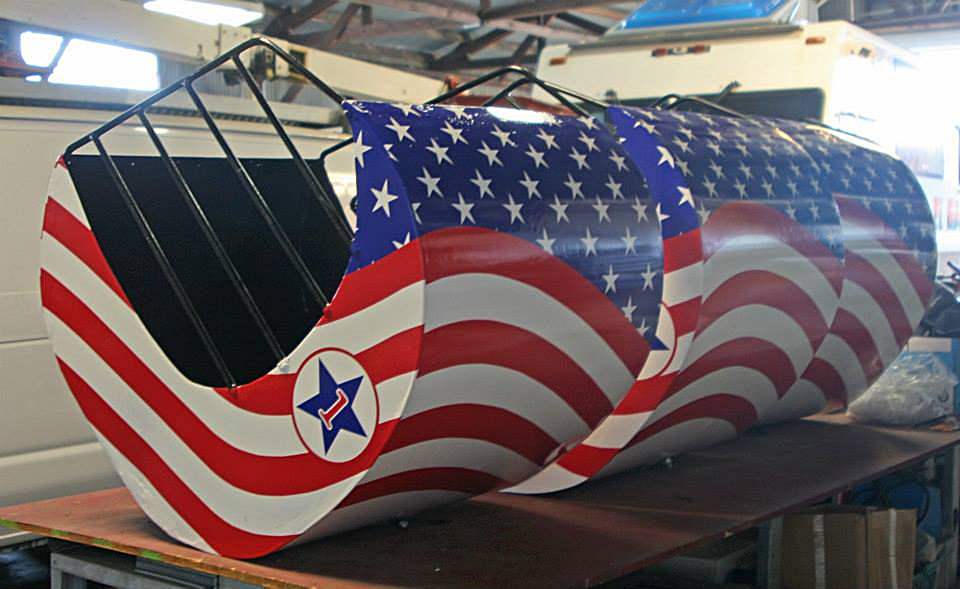
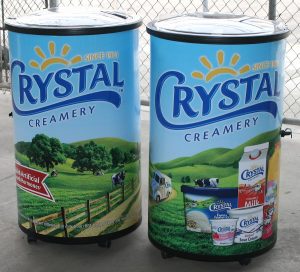
Over the years we’ve had some interesting objects come in to be wrapped. Vehicle interior parts, tool cabinets, helmets, an X-wing jet pack, and a skeleton sled used in the 2018 Winter Olympics are just a few that come to mind.
Each of these items was a fun change-up from the vehicles and trailers that we normally wrap. What doesn’t really differ though is the approach to wrapping unique items. Whether you’re wrapping a van or a jet pack, the techniques to wrap either one are basically the same.
Prep
No matter what object or vehicle you’re wrapping, prepping the object properly is the first step. Start by removing any parts that you can for an easier and cleaner install. All objects need to be thoroughly cleaned to remove any adhesive, oil, or other surface contaminants. If necessary, a light coating of 3M Tape Primer to promote adhesion can also be applied.
Beyond prepping the surface of your object, you should also gather together your tools. Depending on your material, you should have the right squeegee for installation. A heat source and proper finishing tools should also be on hand.
Another step is to apply masking tape to any high-surface-energy objects that you are not wrapping. During installation, this will keep the vinyl from sticking to these objects as aggressively.
Prior to application you should measure or fit the vinyl to the object and cut away any excess material before you start wrapping. Doing this not only gives you scraps that you can possibly use later, but it also removes excess material that will just cause issues as you’re wrapping.
Material
Be sure to choose the right material for the application-interior/exterior, long-term or short-term, deep concave or compound curve areas, etc. Also, choose a vinyl that works best with the high or low surface energy of the object you’re wrapping. Textured plastic has a low surface energy and will require a vinyl with a more aggressive adhesive while painted metal has a medium to high surface energy and a less aggressive adhesive will stick fine.
Beyond surface energy, you need to be familiar with the adhesives that come with different film types and how they should be applied. A calendared film may have a permanent adhesive that leaves little room for error and makes lifting and repositioning the material very difficult. Premium vinyl that is repositionable, with a pressure-activated adhesive will be much more forgiving to work with.
You should also be familiar with the properties of the film itself. If the material is not laminated, you need to be sure to use the right squeegee and possibly a water and soap solution. If the material is textured, be aware that it’s directional and be sure that you apply it in the same direction across the object. Also be conscious of any heating or stretching that could alter the film’s texture.
Some materials require water to install properly while others require a dry installation. Know your material so that you know the best approach for the installation.
Pre-Stretch
No matter what object you’re wrapping, knowing a few simple techniques will make a huge difference in the final results of your application. One example is the pre-stretch technique.
In this technique, the material is heated, stretched then placed around an object. Once it’s placed on the object, with a few inches of overlap at the edges, the material is reheated so that it shrinks back and conforms around the object, much like shrink-wrapping.
Because vinyl has a memory to it, stretched vinyl wants to shrink back to its original shape. However, if the vinyl is over-stretched, especially right to the edge of an object, the vinyl will lift and fail once the vinyl starts to shrink back. By heating, wrapping, then reheating the material you’re conforming the vinyl to the object, while also relieving the tension at the edges that can cause failure. When the excess vinyl is cut away, the smooth tension-free vinyl remains around the object with little chance of lifting.
There are limitations to pre-stretching with heat. It works fine on gloss, satin, and matte materials, but on chrome, brushed metallic and carbon fiber films the heated stretch can cause discoloration or distortion of the pattern.
Cold pre-stretching works similarly but heat is not used initially before wrapping the vinyl around an object. The vinyl is simply stretched over an object without heat, starting at the most difficult area, then smoothed out. Before taking the material all the way to the edge of the object it is heated to remove any tension right at the edge, then you finish squeegeeing the material to the edge. Because cold pre-stretching doesn’t involve as much stretching of the material itself it allows you to use the techniques on a wider variety of materials.
Triangle
Another technique that Justin Pate often mentions in his videos is pulling the graphics in a triangle. In this technique, you’re anchoring the vinyl in an area with minimal tension then pulling the vinyl out toward the edges.
On larger objects, the vinyl may be divided into multiple sections as you pull tension out all the way around the object. Depending on the shape of the object you’re wrapping, you start at any curves or points and pull the vinyl out at a triangle. The curved point is the tip of the triangle. This distributes the excess vinyl away from the point, eliminating tension, and future failure.
If you see wrinkles forming along the edge of an object simply pull at a V away from the wrinkles to create a smooth glass-like surface. All of this pulling and smoothing is typically done before you even start squeegeeing. Once the graphics are smooth and wrinkle-free you can simply squeegee the graphics to set the adhesive.
Relief cuts
Another big part of wrapping-especially with unique objects and objects with compound curves-is knowing when to make a relief cut. As you move the vinyl over an object you can feel where resistance is created. If you feel like you’re having to force the vinyl it may be best to create a relief cut. This allows the vinyl to separate and move in a new direction without over-stretching.
These relief cuts may be large or very tiny depending on the object you’re wrapping. They are very helpful and it’s a great technique to master. Be careful that your cuts are not made too large or too close to an edge. You need to also be careful when pulling against a relief cut that you don’t stretch it further causing you to come up short on the object.
When you need to create an overlap-which is essentially a relief cut that remains on the object-Knifeless Tape is a great way to create a straight line without cutting on the vehicle. You can also create overlaps in areas that are not visible in order to speed up installation while creating a lasting finish. If you do need to cut on the object, be sure to use a fresh, sharp blade and a light, steady hand.