Building Your Arsenal of Wrap Tools
Get advice on gathering the right wrap tools for the job

When we started our business in the mid-’90s, vinyl lettering was the primary option for advertising on vehicles. Very few people in our area were painting anymore and wide-format printers had not become economical enough for small sign shops. Over time, the technology has improved, and the printers, laminators, and media give us better quality at more competitive pricing.
Just as our processes of advertising on vehicles has evolved, so have the tools that we use. As new technology and new materials come on the market, new tools also come out that make our jobs more efficient.
If you look up the tools on the market that are used within the vehicle wrapping industry, it can be a little overwhelming. If you’re just getting into wrapping, you may worry that you have to purchase every little gadget or tool in order to be a quality wrapper.
Fortunately, this isn’t true, but you do need to invest in the right tools for the type of wrapping you’ll be doing. As you pick up jobs you can, and should, add to your arsenal of tools. The best way to decide if you should buy a tool is to weigh the time you would spend wrapping something without the tool versus the time you would save by having the right tool. Of course, if it’s an application where it’s essential to use a particular tool or the job will fail, then get the tool!
Options
Keep in mind that there are many options for the tools as well. If you’ve taken a wrap class, then you may have been introduced to a few squeegee types, knives, blades, heat sources, etc., that you’ve had a chance to work with. You might prefer one application glove over another, a certain air release tool or a particular brand of tape.

My advice is to try out different options by purchasing a few types of an item from your favorite supplier and put it to work. I used to use Geek Wraps original white soft edge squeegee but now I prefer their silver streak squeegee. It’s just a preference in how it slides on the vinyl.
When it comes to breakaway knives, I prefer a 58-degree blade while one of my guys prefers a 30-degree blade. We both get good quality cuts with clean lines, so as long as the quality and efficiency of the install is maintained, then we’ll keep both blades in our tool chest.
Start up
If your shop is just getting into wrapping, then there are a few tools that you’ll want to make sure you have on hand for success. As you progress, you’ll add to these items. Some suppliers offer a complete install kit. These may be a good option, especially if there is a bit of a discount involved by purchasing the whole kit but be sure you’re not buying something you don’t think you’ll use.
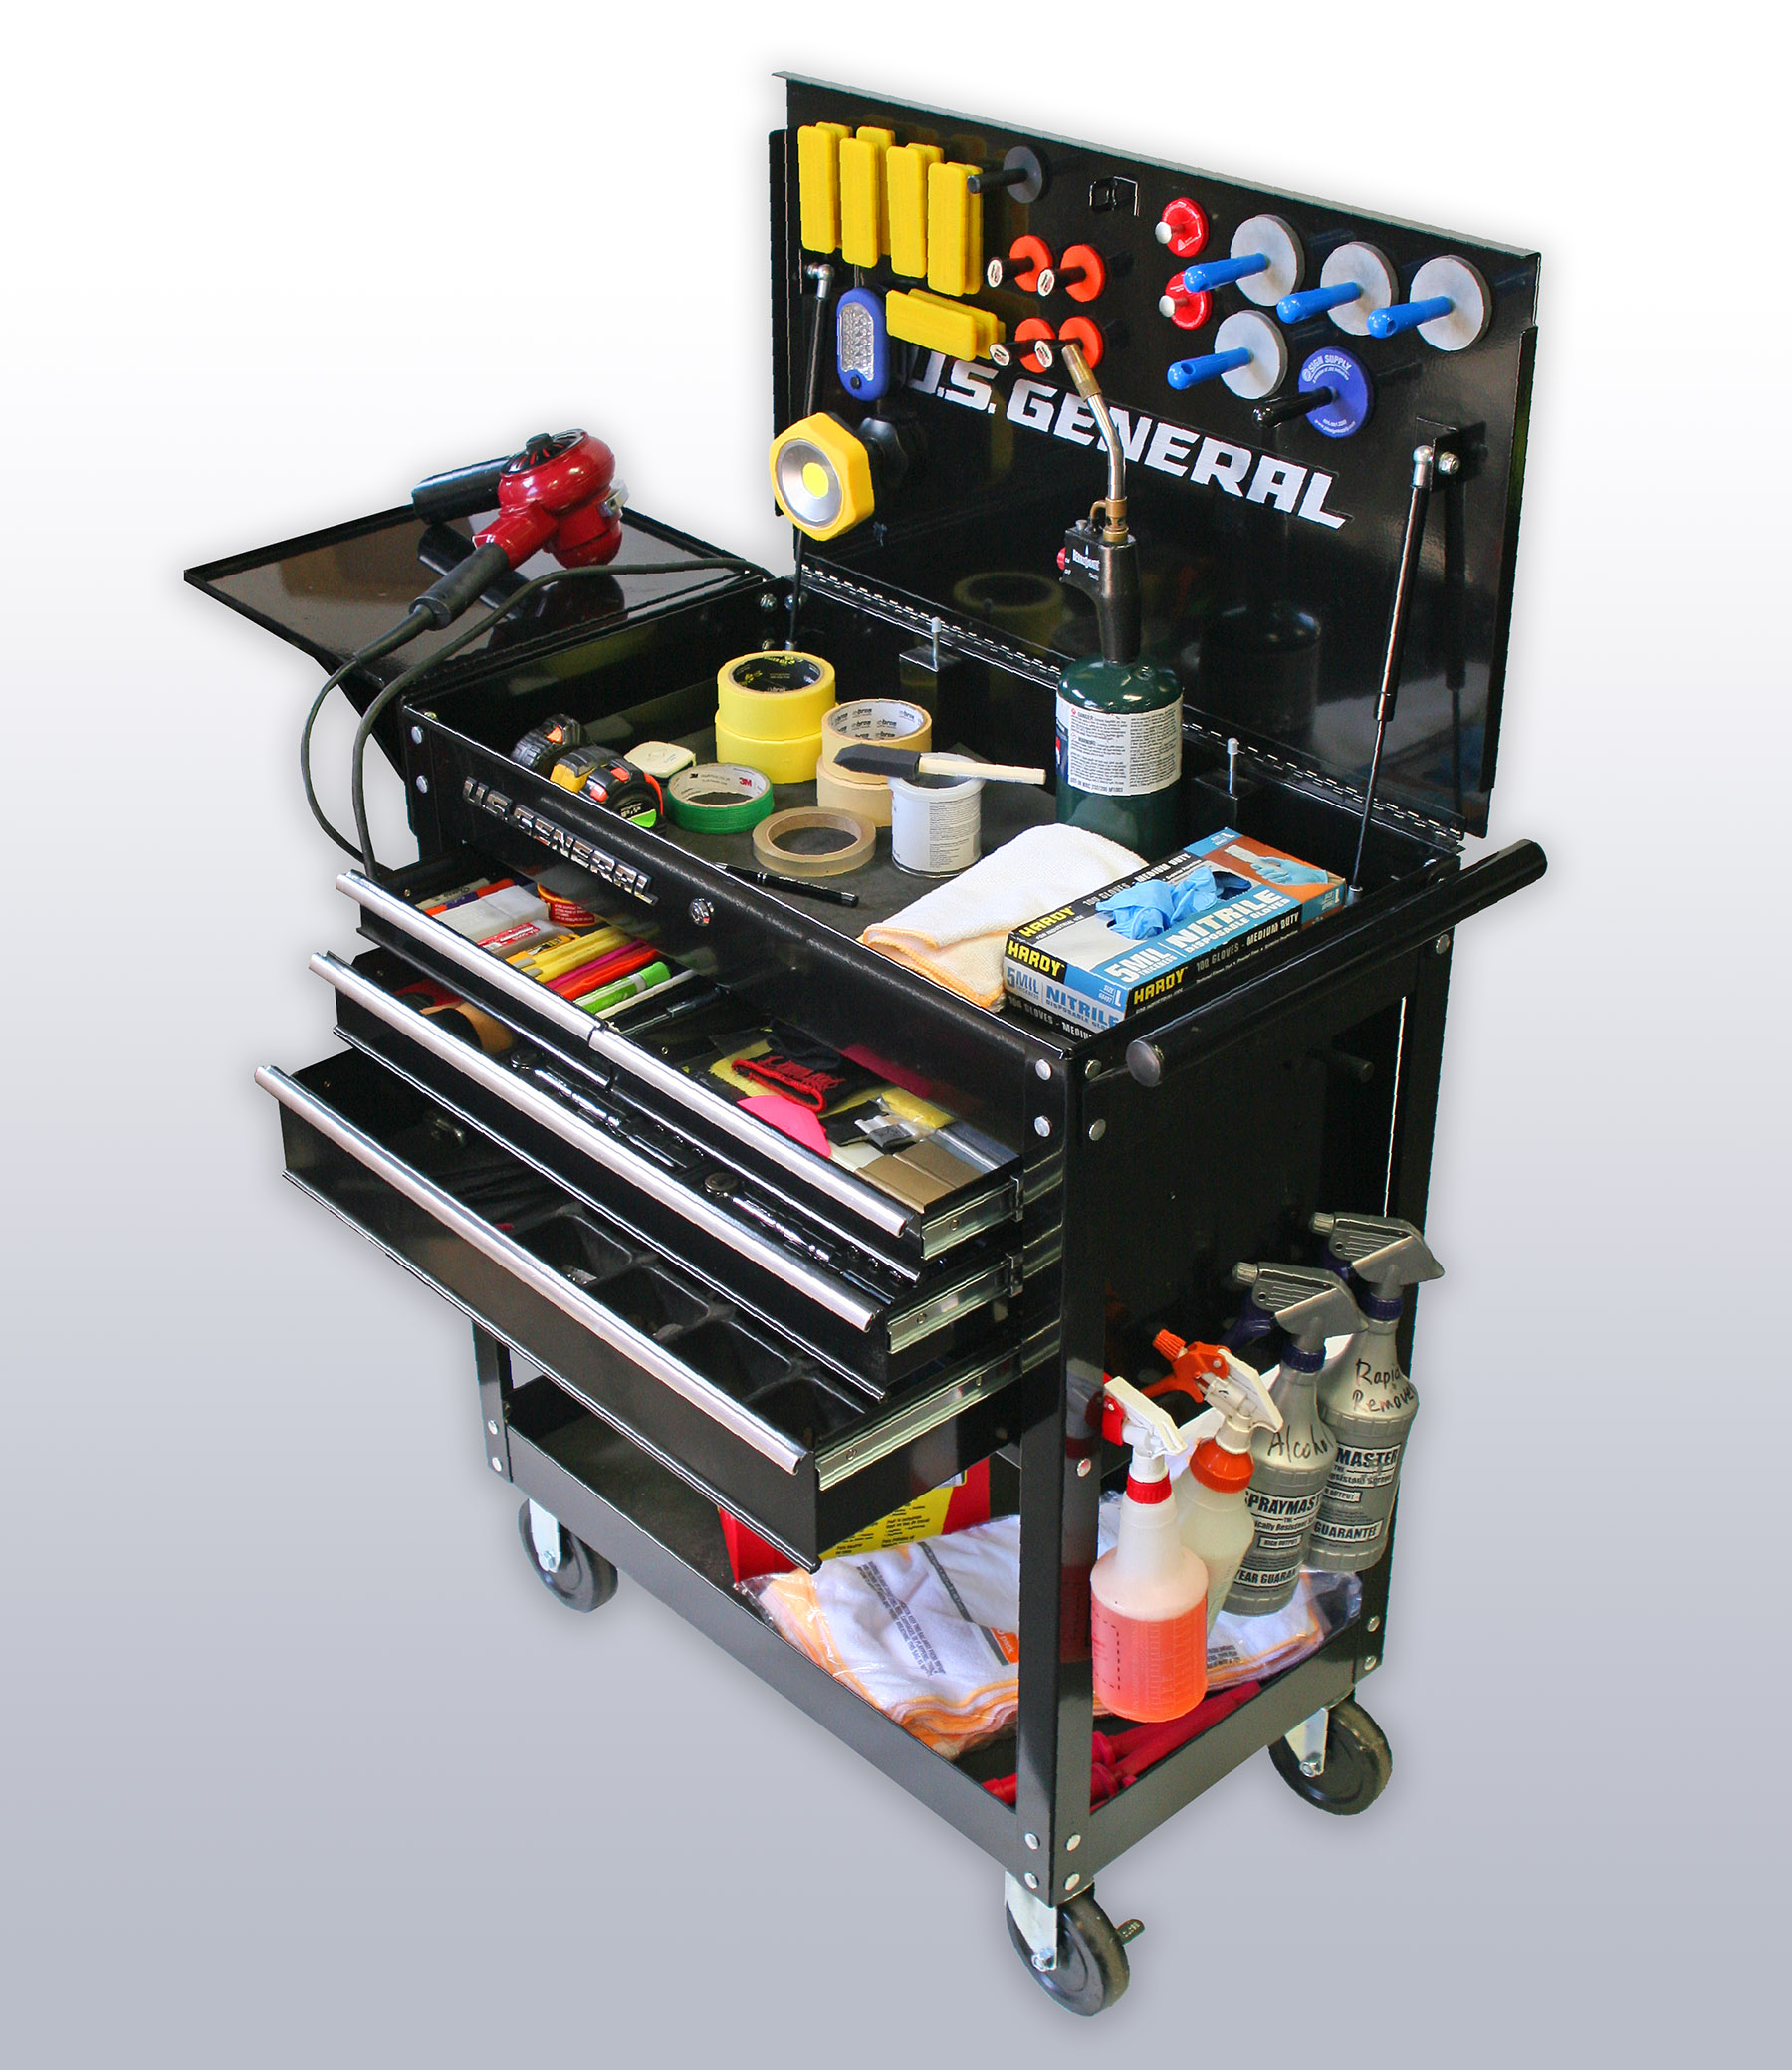
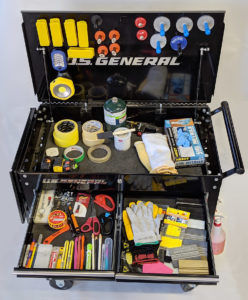
If your shop is primarily going to be doing vehicle wraps in-house, I would recommend a tidy indoor install space with a rolling tool chest or rolling cart where you can store your tools. Here’s a good starting point:
- Cleaning supplies like window cleaner, isopropyl alcohol and Rapid Remover should be in labeled spray bottles, along with lint-free cloths and shop paper towels.
- Plastic scrapers or an emblem removing tool – we get inexpensive plastic scrapers from our local Harbor Freight and they work great on emblems. You can also use fishing line that you slide between the adhesive and the vehicle. Then, a step further are tools on the market that are specifically made for emblem removal. Use what works for you, at the right price, without damaging the vehicle.
- Adhesive Promoters – we use 3M Tape Primer to promote better adhesion in areas with deep channels or on areas with low surface energy. It comes in can and pen form. It’s hard to clean off though, so use sparingly.
-

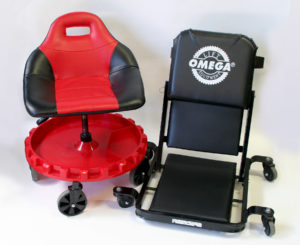
A good wrap chair is important for both comfort and access. Rolling install chair – sitting with tool storage, kneeling, multi-position; do some research and if you can afford it you may want two different types. We have a comfortable seat that raises and lowers and has tool storage underneath, as well as a chair that you can sit on, lay flat on or it will sit just a few inches off the ground for low wrapping.
- Ladders, scaffolding or work platform – we’ll often use a combination of these depending on the size of the vehicle. Our work platforms and step stools are used on most cars and small vans. For larger box trucks and taller vans, it’s important to have proper scaffolding setup for both safety and efficiency.
- Tape – we use tape to hang panels on vehicles with aluminum or fiberglass bodies. We also use it to create install hinges or to mark our edges to make sure we’re staying straight. I prefer the Killer Bee BT-7061 yellow tape from Bron Tapes. When our guys go out and install transit ads after hours, they prefer a tape with a more aggressive adhesive. There are a lot of tapes on the market with different adhesive options. Choose what works for you.
- Magnets – we prefer to hang our panels with magnets. We like the Bright Yellow “Low Profile” Magnet EZ from Image One Impact because they don’t stick out and they can be slid on the vehicle if we need to shift panels. If we have multiple panels hung up we like to use a heavier duty magnet that can hold the weight of the panels in place. One good option for these is Avery Dennison Z1063-S Super Strong Magnets.
- Knives – breakaway knives are great to use because you can simply snap off an old blade and keep going with the new fresh blade. It encourages the installer to maintain a sharp blade. There are many knife options as well as safety boxes for snapping old blades into.
- Knifeless Tape – great tool for a variety of applications; you’ll use it more than you think!
- Tape Measure – there are regular metal tape measures, ones that stay out until you push a button, flexible cloth tape measures … choose what works for you.
- Scissors, paper slitters or backing paper cutters – paper slitters are safer to use when cutting against the vehicle; each has its benefits.
- Squeegees – there are many, many different squeegee options on the market with different characteristics. There are also felt buffers that can be changed out on squeegees. Try out a variety of squeegees to see what works best for you.
- Application Gloves – Again there are many options. Find your preference and keep clean gloves on hand.
- Air Release Tool – I like the pen style tools because I can click it, use it, then click it again and stick it in my pocket without stabbing myself. Don’t use an X-acto or a thick weeding tool – make sure it has a fine tip.
- Rivet Brushes – to properly conform vinyl over rivets you need a combination of heat and a good brush. I like 3M’s RBA1 and RBA3 brushes. Yellow Tools offers a two-in-one tool with a rivet brush on one end and an air release tool on the other.
- Heat Source – an absolute must-have tool is a heat gun. I’ve found that you don’t necessarily need a super expensive gun to get the heat you need. I tend to drop them off ladders and scaffolding, so I like to balance economics with efficiency in my heat guns. You want a heat gun that provides a heat range with a flip of a switch. Turning knobs isn’t convenient. You should also have an IR temperature gun on hand to be sure you’re maintaining the right heat while post-heating.
So that list might sound like a lot of tools, but if you’re going to be a professional wrapper you need to have the right tools for the job. The tools listed will get you started; as you do more wraps you might pick up specialty tools that make a certain application that much more efficient.
Additional wrap tools
If you are going to wrap brick or concrete walls then you’ll want to pick up a heat gun with a built-in IR thermometer that attaches to a specialty applicator. If you start wrapping a lot of roofs with sunroofs, I would recommend picking up a few tucking tools that can make the job faster than trying to just use a squeegee.
If you get into full-color change wraps, then you’ll need specialty tools for removing vehicle parts. If you’re installing perforated view-through film, then you’ll need to have 3M 8914 Edge Seal tape on hand. You may also want to have a special window perf cutting tool for quicker trimming back of the edges.
These are just a few examples where certain installs require a specific tool for success. You may also find that certain tools are just nice to have. Vehicle lifts and ramps or specialty wear that holds your tools fall in this category. You don’t have to have them to wrap a car, but they may make it easier and faster. Build up your arsenal as you build up your business.
Hands down, the most effective tool you’ll use is a good education. If you haven’t been properly trained, then the tools themselves are ineffective. Get ongoing training through wrap classes, videos, industry trade shows, and hands-on practice.
