Creating precision, custom cut name badges is one of the many items you can offer using a UV-LED printer. In this article, we’ll show you the steps of how we created custom name badges and what you can expect if you’re doing a similar project. You’ll see how easy it is to make badges your customers will love and will help you grow your business.
Step 1 – Design
The first step is to create and design your layout for the name badge. For this project, we’re using Sai Flexi software to design and lay out the badges.
Once we decided on the name badge shape and design, we duplicated the design to fit the bed size of our Mutoh VJ-626UF UV-LED printer. In this instance, we did 40 name badges, although the bed size could have accommodated more.
![]()
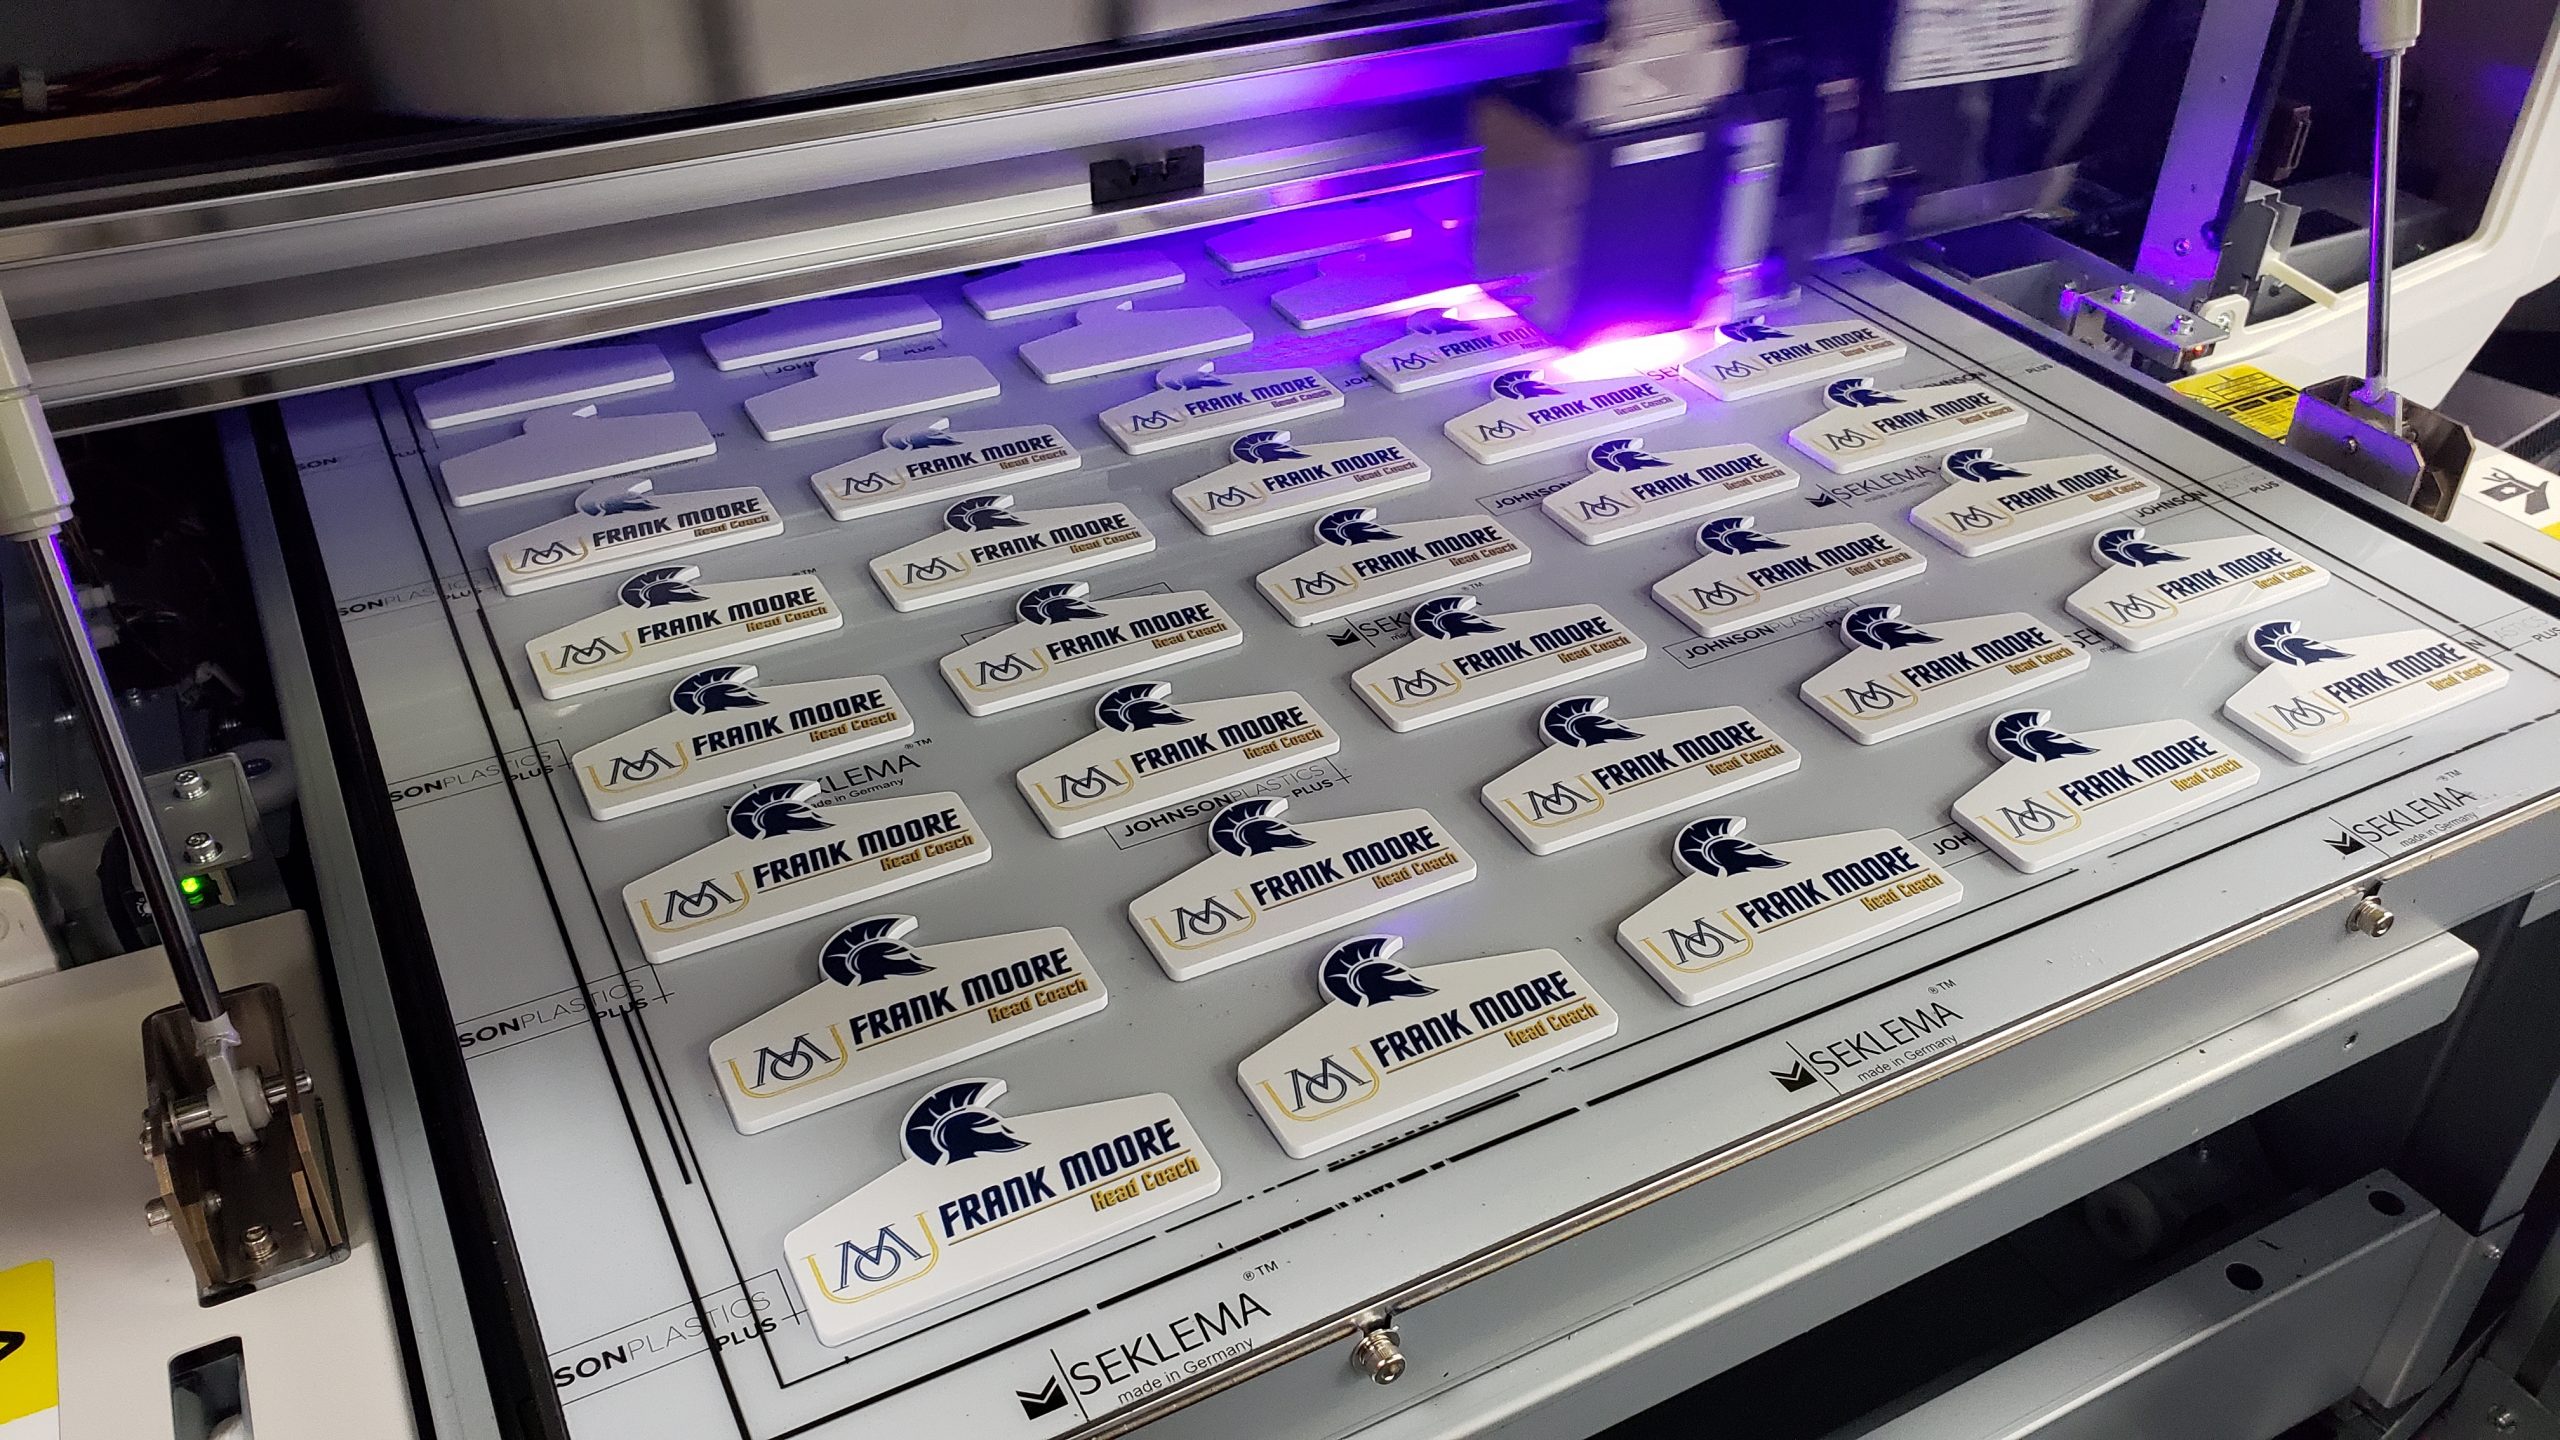
Step 2 – Printing
Once we have our design set, it’s time to print. There are several ways you can set up a template on your printer, including printing a template directly to a Seklema table mat, printing a template to the bed itself, or using a jig. For this example, we printed a template directly to our Seklema table mat, which also serves to hold the pieces in place as we print.
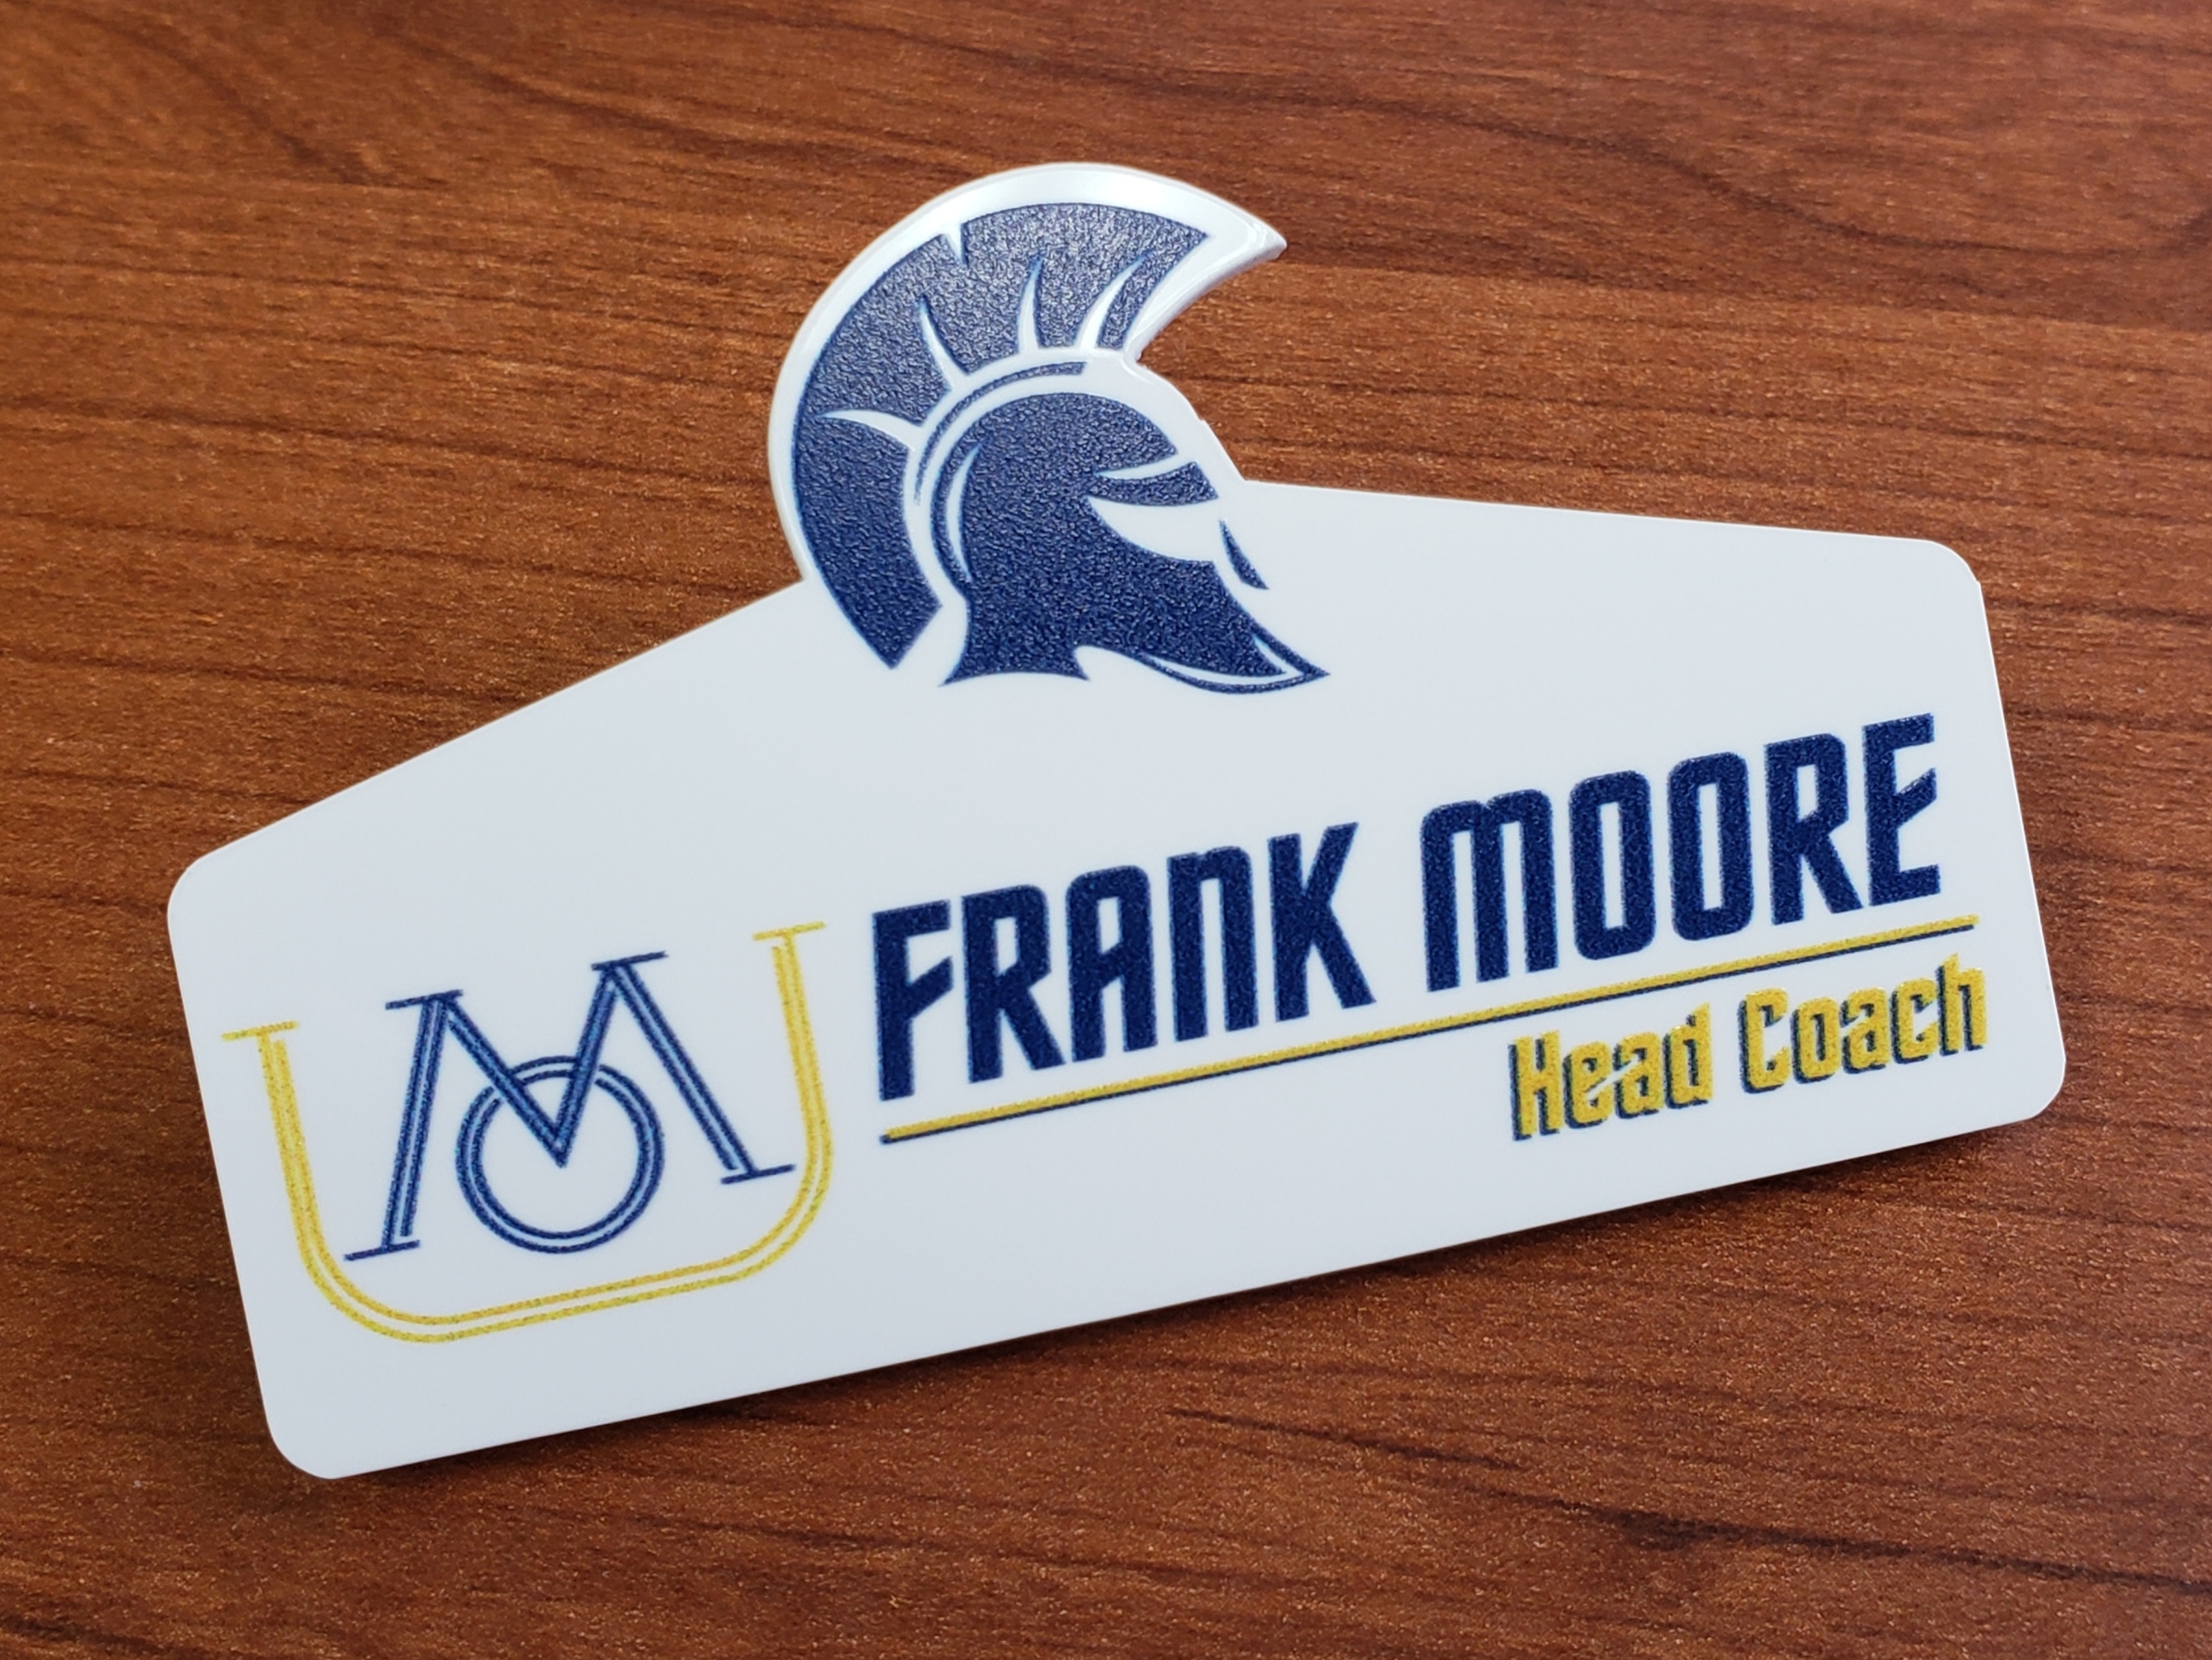
For this project, we’ve made our name badges out of 1/8″ White Rowmark ColorHues. The blanks were vector cut on a laser to give us the desired shape. To get the best results, it’s best to clean your material with IPA microfiber alcohol wipes to remove any dust, oil, or residue from cutting out the blanks. Additionally, using an adhesion promoter helps give you the best results possible when printing.
When printing, you can also run a pass with a layer of varnish to help with ink adhesion. This is an optional step but might be necessary if the name badges will be used outdoors or in a high-traffic area. This will add slightly to your ink costs.
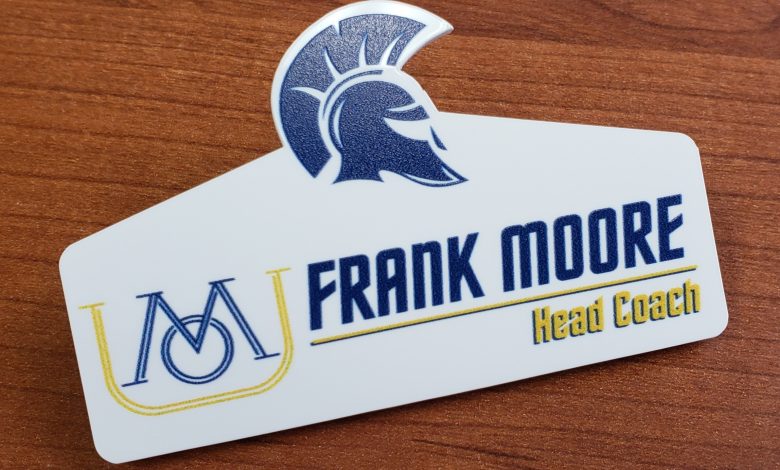
Step 3 – Finishing Touches
Once we’ve printed our badges, make sure that you wipe off any excess adhesion promoter with a clean cloth and warm water. Also give the back of the badge a wipe with alcohol wipes before attaching a magnetic badge finding to the back.
Conclusion
One of the benefits of using a UV-LED printer for a project like this is the ability to use virtually any acrylic product that can be lasered into a specific shape. It also gives a level of precision image placement that is difficult to achieve with other full-color fabrication methods, such as sublimation.
Once the items are printing, the process is “hands off,” allowing you time to work on other projects. Other than removing the excess adhesion promoter and attaching the badge finding, these name badges are ready to go to the customer. The printing times vary depending on the complexity of the image and whether or not a varnish is used.
For a project such as this, print time for the entire run of 40 badges can fall between 15 to 25 minutes. One of the hallmarks of UV-LED printing is the low ink costs. For this type of job, you can anticipate an ink cost between $0.25 and $0.55 with material costs of approximately $2 per badge (including magnetic badge finding). Depending on your local market, you could expect to get $12 to $15 per custom badge.
Download the Mutoh VJ626 Brochure.