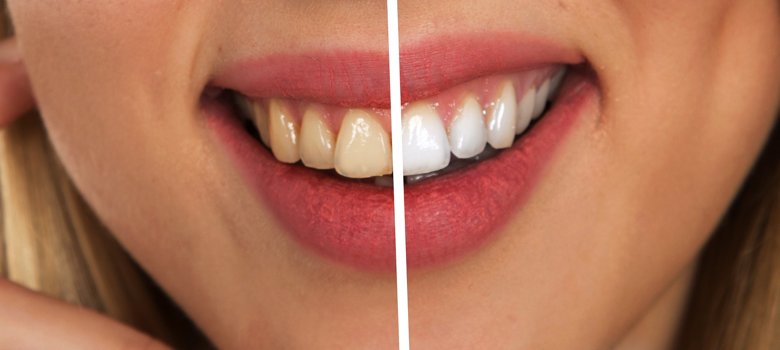
Open the image in Photoshop and zoom in toward the teeth you want to brighten. You will create a selection of teeth in Quick Mask Mode. Check your colors and make sure they are set to the default: black and white. Next, click on the Quick Mask Mode button at the bottom of the tool bar.
Select the paint brush tool and adjust the brush settings to have a hard edge with a brush size of around 14. Paint over the areas that you want to adjust. The brush automatically paints in a slightly opaque red shade. Switch the foreground and background colors to put white as the foreground hue to add to the selection and black in the foreground to erase. Once your touch-up areas are refined (your selection doesn’t have to be exact), click on the Quick Mask Mode button to turn it off.
The painted area should now be a selection. Do a select inverse (Ctrl+Shift+I for PC). At the top menu bar under Select > Modify > Feather, type in 1 for the Feather radius. Mouse over to the top menu bar, choose Image > Adjustments > Hue/Saturation. In the Hue/Saturation window, change the Master setting to Yellows. Move the slider for Saturation to the left to remove the yellow tint (try around -46 to start).
Once you are satisfied with those results, change the setting back to Master and shift the Lightness slider to the left (try around +10). Click OK to accept the edits. Press Ctrl+D (PC) to deselect the teeth. Your subject should now have a brighter smile without a visit the dentist.
-Jennifer Foy, Unisub


