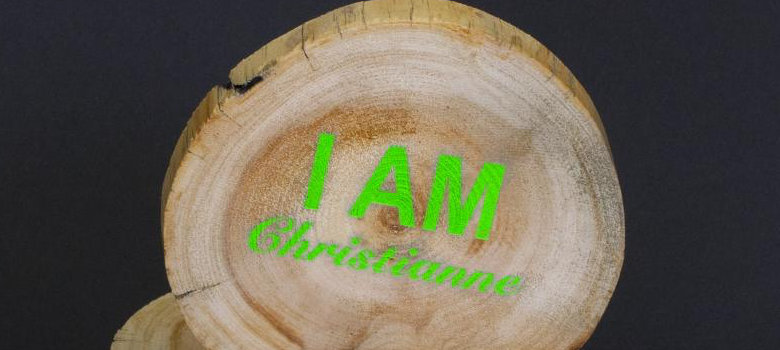
- First, apply your photoresist stencil (5- to 6-mil thickness) to the wood surface and squeegee stencil to surface. Note: Use a 5-mil for detail and a surface etch on wood, and the 6-mil for a deep carve into wood surfaces. Use brush-on adhesive to the 6-mil photoresist film. This adhesive causes the photomask to become tacky and bond to the surface for a deep carve.
- Remove the clear liner and apply a vinyl tape to the exposed area.
- Sandcarve the wood between 40 to 60 psi. I always recommend starting at 40 psi and increase pressure as you feel comfortable. The higher the pressure, the quicker you achieve depth in the wood surface. Aluminum oxide 120 to 150 is the preferred abrasive for wood surfaces. Note: I do not recommend silicon carbide for wood surfaces. If the grit is not cleaned out of the wood grain properly, it can show through the paint as a sparkle.
- Clean the wood surface with air and add a paint-fill. The photoresist stencil now becomes your painting stencil. Once the paint is dry, remove the photoresist stencil.
Bonus read: Additional Tools for Sandcarving Wood or Stone


