This month’s article is a basic “how-to” for new engravers, using a relatively simple project as a guide. I’m going to run a bamboo cutting board. Please note that this is how I do it, and I’m not saying it is how you have to do it. (Bear in mind different machines may have different built-in features, and I can only show what my machines have.)
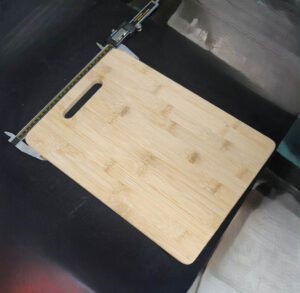
1. First of all, get your machine ready. Clean the optics and the bed. Position your piece on the bed and line it up where you want it — this is usually going to be at zero for the X & Y axes. The cutting board has radiused edges, which can make aligning the board a bit tricky if you have relatively thin X & Y rulers. I have several straight-edged pieces of varying heights to accommodate “taller” workpieces, which I secure to the rulers, allowing me to position the cutting board leading edges to a true zero position.
 2. Measure your cutting board. Remember that the blankware we buy is made to nominal sizes. Manufacturing tolerances can vary widely — sometimes by as much as 1/8″ in any direction, which affects where your graphic will be centered. I find it easier to create a template and adjust it to correct any dimensional changes.
3. Focus the piece. My machines came with a focus tool, which I never particularly cared for. I cut a piece of 1/8″ sheet stock to the correct focal length, which I find much easier to use. There are different tricks for different materials that can help improve the finished product — in the case of bamboo, I focus to the focal length, then raise the bed a further .060″ for the first pass. I then raise it another .060″ for a second pass.
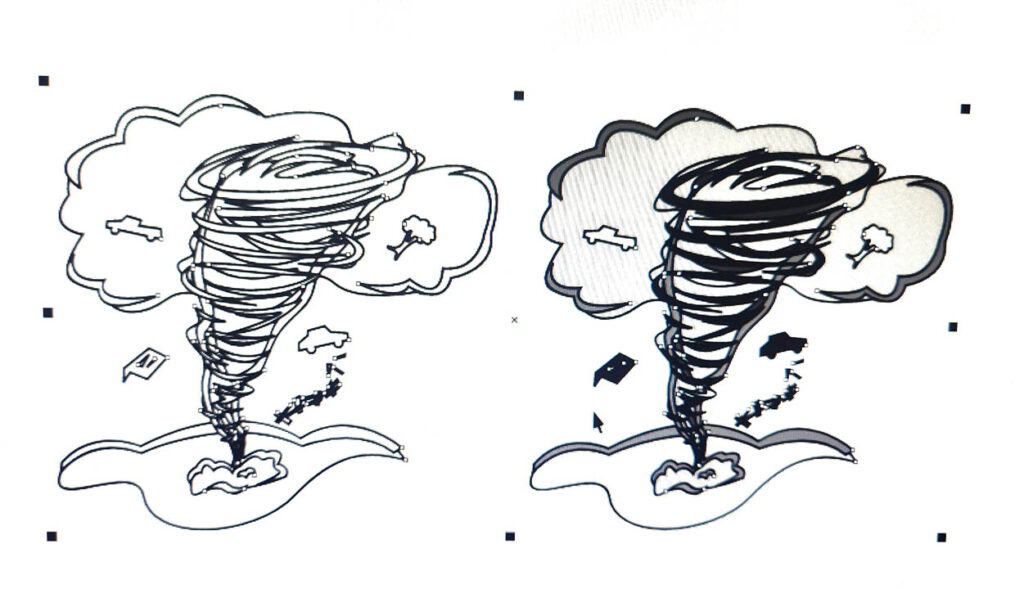
4. Prepare the graphic. You will have different ways to do this depending on your graphics software. If you want, you can sketch yourself and copy, then import it into your graphics software, or you can draw your design directly into your software using a freehand tool — if you have one.
There may be additional tools available to you that will help you “smooth out” anomalies. If you’re not particularly artistic, there are several websites that allow the use of “free” graphics — some may require attribution, and some not. If I can’t draw it myself satisfactorily, I will download a graphic to use as a guideline to redraw it, making changes or adjustments to get the finished design I want.
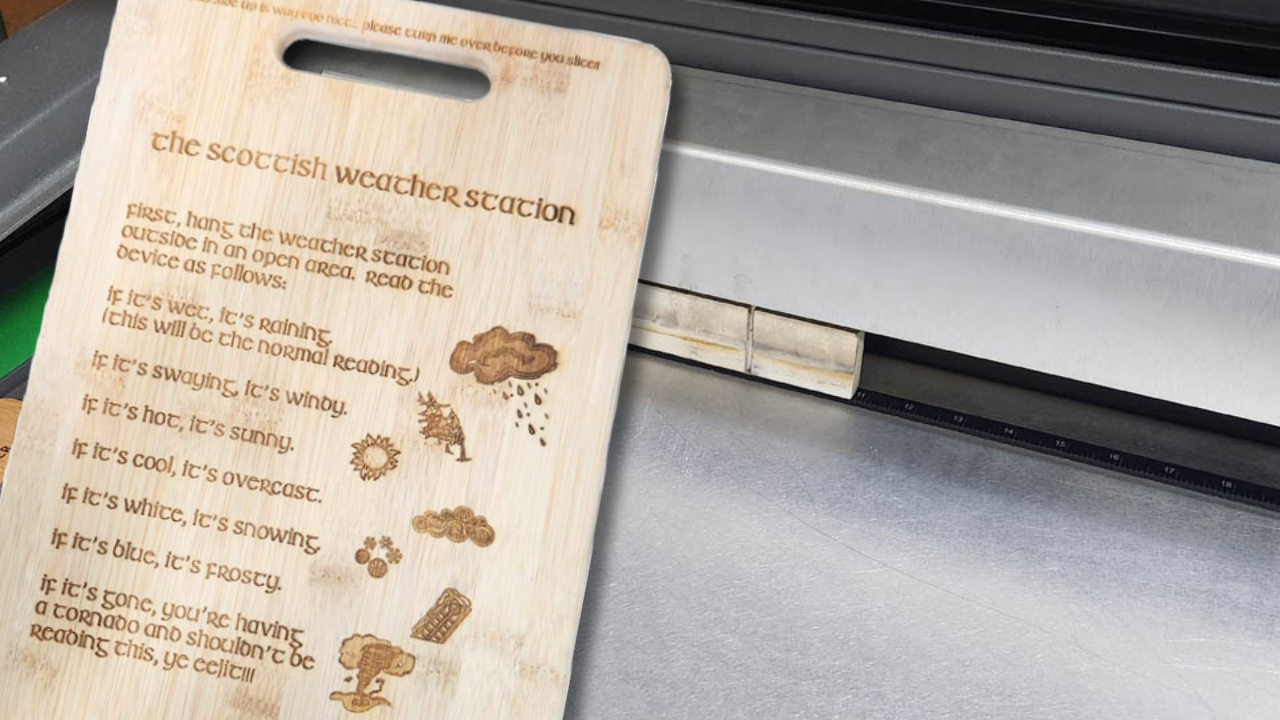
- Note: You should consider bamboo a hardwood, although technically, it’s grass. As such, the manufacturing process can create inconsistent surfaces. You can have very light pieces, very dark pieces, or a mixture of the two. Sometimes, you come across areas that contain fillers or heavily-cemented areas. The surface finish can be uneven. All of these factors can affect your engraving, so when selecting shading for the finished graphic, be very careful. If you are going to use a two-pass approach, remember to adjust your shading accordingly. Remember to save!
 5. Prepare and set the text font, size, and justification — left, right, or center. This is reasonably simple. When placing in an engraving environment, there are a couple of things to remember. Not all fonts will allow you to use your punctuation marks, but this isn’t a problem. First, write in the text. If your chosen font doesn’t place the punctuation marks, remember to leave a one-character space so you can insert them later.
Then, go through your font library and choose a font that will allow you to use punctuation marks and that resembles your main font. Select the appropriate mark and drag it into the space you’ve left. When you’re done, choose “group” in your software to complete the text.
6. Position your text on the cutting board. If you’re combining text with the graphic you selected earlier, retrieve it and place it within the template. You may or may not need to adjust the dimensions of either to get the “right proportions.”
7. OK — as I said at the beginning, I run a second pass with bamboo at the same settings. If the bamboo is a darker shade, I’ll reduce power or increase speed to avoid getting an “overdone” piece. (As an aside, I use the two-pass approach with regular wood too. I focus to the actual focal length for the first pass at my regular settings, then raise the piece about .050″ and run at slightly lower settings to achieve an almost 3D effect.)


I hope this guide will work for you with whatever machine you have. Less sophisticated machines or software will take more practice and “tweaking” and may not work at all without a good deal of effort. However, more sophisticated machines and software can pose their own challenges, too! It is possible to be “spoiled for choice,” and a lot of time can be wasted by trying almost endless combinations of speed, PPI, power, shading, outlines, and so on. Keep your “mistakes” — we all make them, but for newcomers in particular, it can save you a lot of money by having something to work with. As always, good luck and make money!