How to Prep a Left-Chest Embroidery Placement
Find out how to properly prepare your embroidery design in this tip.
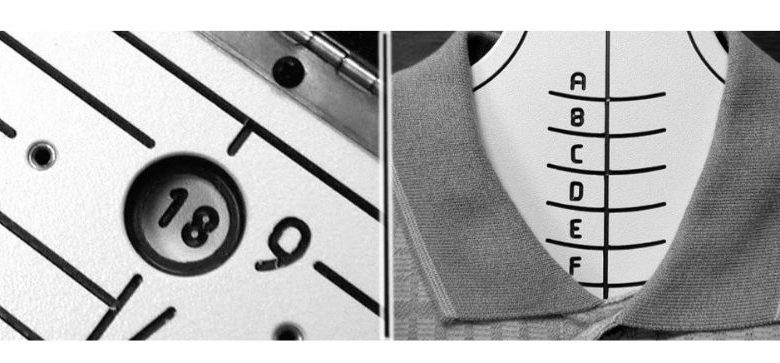
To prepare an embroidery design for left-chest placement, proper hooping is crucial for the rest of the job runs smoothly. One thing to keep in mind when setting up the hooping however is that is not an exact science. It depends on the garment type, logo shape, and size, and what the customer wants. You can initiate the process by using industry standard measurements, but then you need to examine how everything looks and make changes from there. For a left-chest design, most embroiderers measure down from the point where the shoulder seam and the collar meet, which is approximately 7-9″ for men and 5-7″ for women. This point will normally be about 4-5″ from the center of the garment and is a good place to place the center of your design.
Mark the shirt with tailor’s chalk, marking pencils, masking tape, or stickers. I prefer to use the small reinforcement circles made for three-hole punched papers, which usually come on a roll and can be used over and over.
Once the shirt is marked, it is a good idea to print out your design and place it over this spot to see how it will look. Sometimes, having someone put the garment on can also help verify it will look good while being worn. If you think there will be any question on placement from the customer, have them sign off on the placement choice before beginning the run.