The diverse roles knives play in our lives, from practical tools to collectible items, lend to being a sought-after item, gifted, and cherished. With such a large variety of types, sizes, colors, and features being offered, there is a knife for everyone. The unique shapes and parts of a knife can be enough but a touch of personalization with a laser can make it that much more special to a person.
Let’s dive into design trends for engraved pocketknives, how to set up different types of knives in a laser engraver, and best practices for achieving high-quality results.
Design trends in engraved pocketknives
Laser engraving offers endless possibilities, taking a basic tool and elevating it into a work of art. Today’s trends reflect a blend of practicality and style. Some popular engraving trends include:
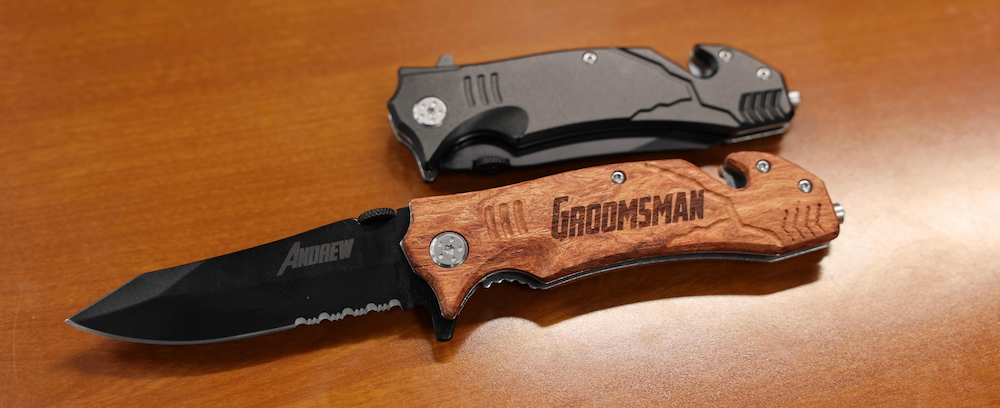
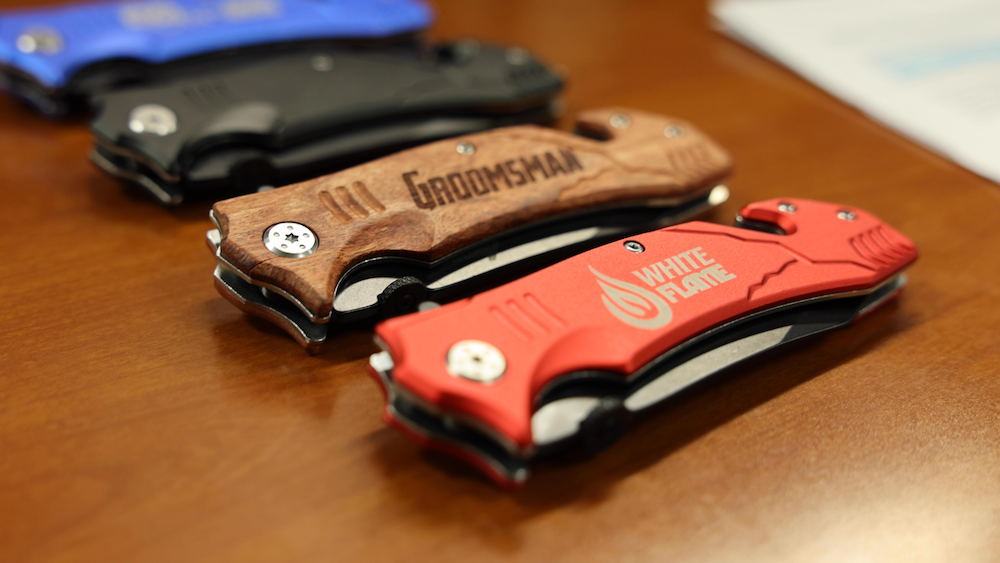
- Monograms & initials: Monogrammed knives are timeless. What can be more personal and unique to someone than their name? They create a personal connection to the item, which makes them perfect as gifts or corporate giveaways.
- Logos & branding: Companies often laser engrave their logos on knives for promotional purposes. Branding an everyday item for a subtle reminder to customers keeps your business in the back of their mind in hopes of having that returning business.
- Tactical & outdoor themes: Hunters, anglers, and outdoor enthusiasts make up a large population of knife users. The knife being practical and appropriate for their situation is most important, but who doesn’t like a little flair? Referencing the rack of the big hunt or fish shape or the beloved camouflage pattern or survival-based symbols are trending.
Setting up knives in your laser engraver
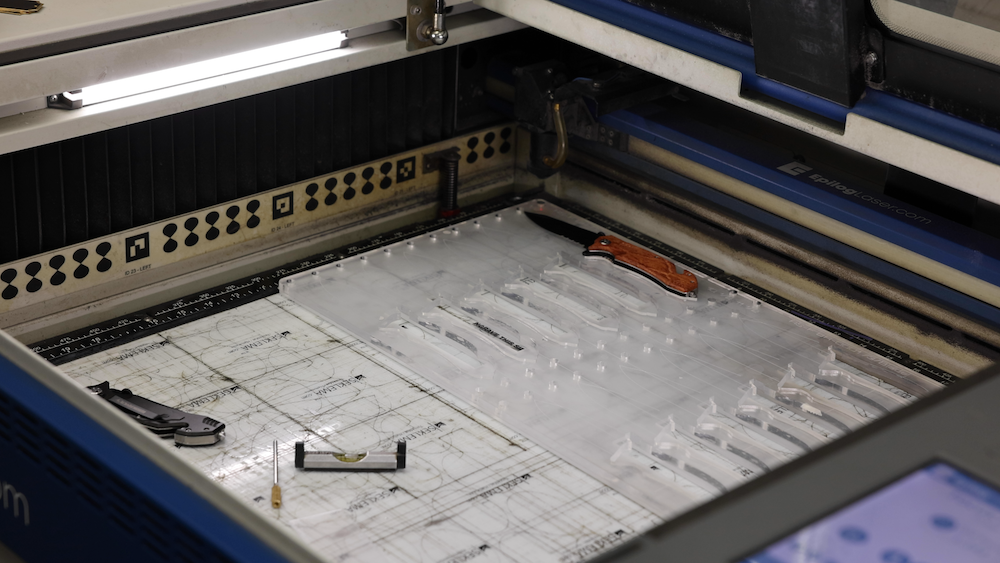
Setting up pocketknives for laser engraving requires attention to detail to ensure proper alignment and engraving depth. Whether you are working with anodized aluminum or wood handles, the setup process remains crucial for achieving consistent, high-quality results. Most knives are not flat items you can simply set in your laser and go. I’ve found creating templates, building fixtures, and leveling to be vital for good engraving before even turning your laser on.
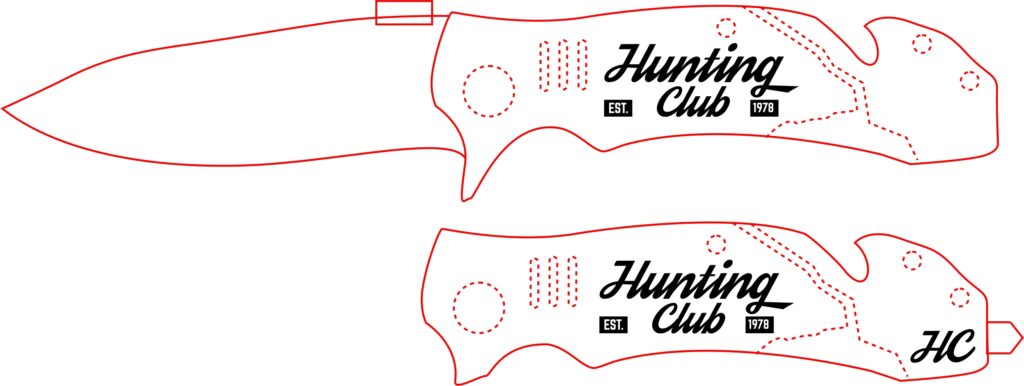
- Template making: With the irregular shapes or small surface areas to personalize, measuring and creating a template for a visual of the art placement and size is important. I start with using a ruler or a micrometer (for even more precision) to measure the different areas and parts of the knife, and then using shapes and my pen tool in Corel, I create a template. I’ve also found taking a photo of the actual knife to upload and use as a visual reference in my design file to be very helpful in marking the tiny screws, inlets, and other unique features of a knife. Some suppliers take a lot of the “legwork” out of creating a template and will provide them for you.
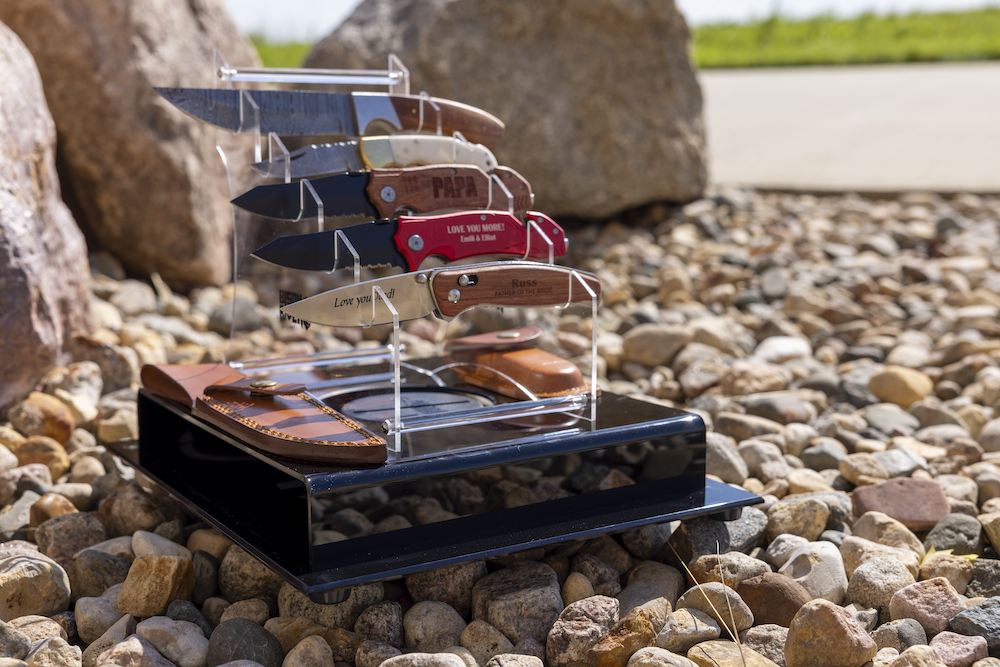
- Creating the right fixture: The template isn’t just for art placement but can be turned to a vector file to cut out a sturdy fixture to hold your knife. A solid, stable fixture is key when engraving pocketknives. Creating a jig from things such as acrylic, cardboard, or wood can take a little time at first, but with large volume of knives, a ton of time and waste will be saved. The knife needs to be secure, flat, and level with the area of engraving the highest part to avoid a laser head crash. The fixture can be for a single knife or multiple, depending on how irregularly the knife is shaped. Fixtures for knives may need to be multilayered to account for pocket clips and blades.

Engraving the knife
Personalizing pocketknives with a laser engraver can be challenging due to their size and need for proper alignment, as well as the various materials used to make them. Dialing in your laser’s settings may require a test knife with multiple marks as you fine-tune them. Knowing the material and how your laser handles them, as well as using center-center engraving, are going to help optimize your results.
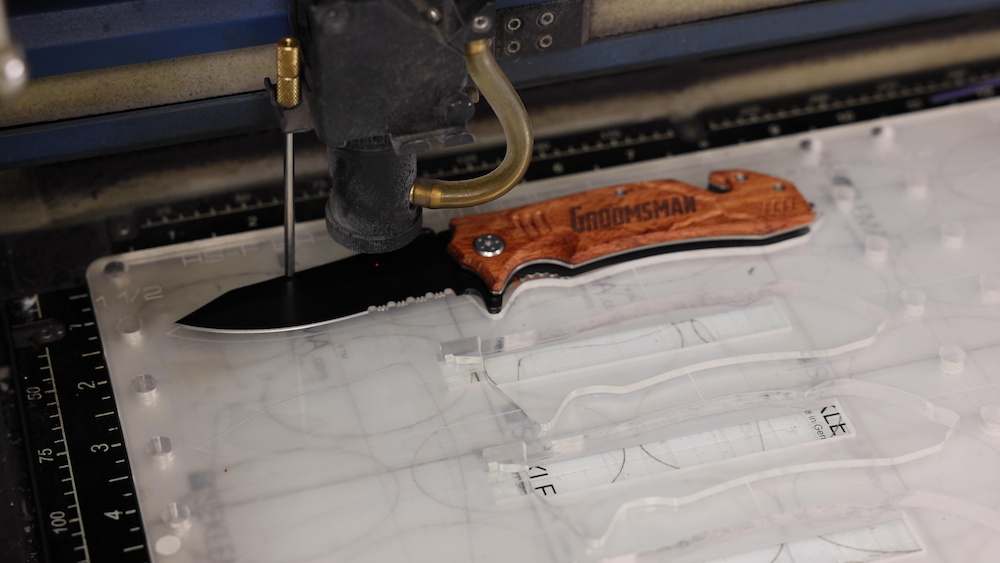
- Choosing the laser settings: Different materials require different settings; most knives for personalization are made using anodized aluminum or wood. When engraving anodized aluminum, lower power settings with higher speeds are usually effective, as the material reacts well to shallow engravings. Anodized aluminum can give you a nice stark contrast of color and a white engraving. Too much power can strip away the anodization, creating an unattractive finish. For wooden handles, you may need to slow down the speed and increase the power to create a deep, contrasting engraving that stands out. Wooden handles can absorb the laser energy differently, so adjusting the focus and power levels based on the type of wood used is critical. Hardwoods like oak or maple may require more intense settings, while softer woods, like pine, are more responsive to lower settings. Perform test runs to find the ideal balance of speed, power, and resolution for your specific machine.
- Center-center engraving: This method is a game changer for engraving pocketknives. By using center-center engraving, you can ensure that the design is placed precisely in the center of the handle or blade, even if the knife has an unusual shape or an uneven surface. I found this to be the most effective when running one knife at a time. Once your knife is stabilized in the laser, you can place your red dot pointer on the location of the knife you’re marking, noting the size of your art to be sure of even spacing on all sides of the pointer, as that will be the exact center of your artwork. Different machines have different ways of setting your laser to center-center so ensure you are creating a new XY home and that proper sending steps are followed for your machine. I like to place a small clear piece of plastic over the knife to run a practice test to ensure proper placement.
Laser engraving on pocketknives is an art that requires a mix of creativity, precision, and technical knowledge. With trends leaning toward personalization and custom artwork, it’s essential to master the setup and engraving process. Whether you’re working with anodized aluminum or wood handles, following best practices and using center-center engraving can greatly enhance the quality of your work. As laser engraving technology continues to evolve, so too will the possibilities for creating unique, personalized pocketknives that stand out in both form and function.