Drinkware includes all sorts of products made from all sorts of materials using several processes. To even cover everything that can be done on a laser would take up several pages, so for this piece, I’m going to discuss three drinkware products: powder-coated stainless steel, anodized aluminum, and ceramics.
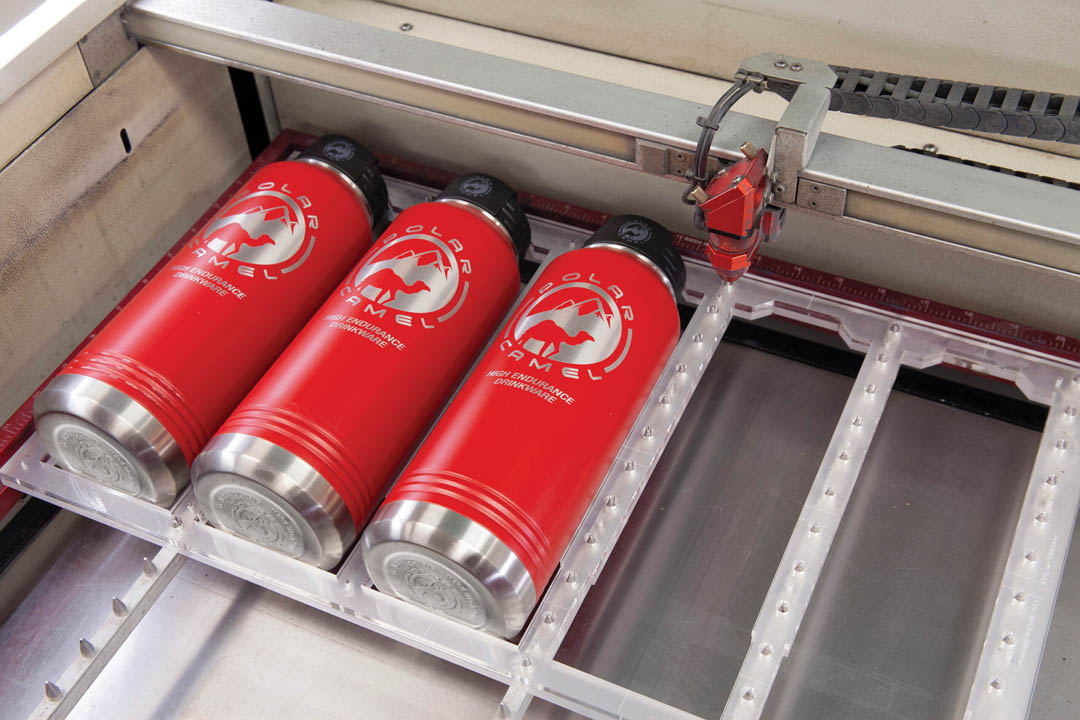
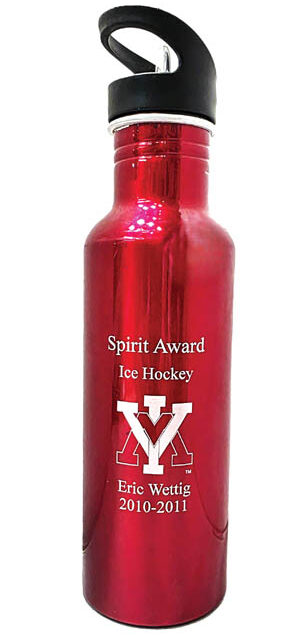
Powder-coated stainless steel
In a previous life as a manufacturing engineer, I worked with powder coating extensively. There are two main finishes used: “smooth” and “hammered.” Please note that “smooth” is not exactly smooth. The application of the powder, which for a “smooth” finish uses a fairly fine powder, does result in a very finely textured finish. A “hammered” finish is the result of a coarser powder, which results in a “pebbled” finish. This is only important because your engraving settings may need to be adjusted to achieve the best results. Don’t be afraid to run multiple passes — just be careful because the powder coat can burn.
So, preparation: I always wipe the piece down with alcohol — ensuring your piece is clean never hurts! Create your template as you would for any other material, and make sure the piece is secured very firmly in the rotary adaptor, assuming, of course, you are working with a travel mug or any other cylindrical piece. Focus the laser head as usual.
A quick note about your graphic: If it includes very fine details, it’s probably best to advise your customer to use a smooth finish as opposed to hammered. The nature of powder coat does mean that a hammered finish can make it hard to achieve fine details and might even come out looking a little “smudged.” Different powder coaters may use different spray rates because of their equipment. Don’t be afraid to adjust settings.
If you want to try powder coating yourself, you can buy powder. I believe the best use of this is to stick to numbering or lettering. If you’re working with a flat surface, you can work with graphics, but be careful with how you place the powder. On large pieces or cylindrical pieces, the powder is applied electrostatically. Off-the-shelf powder is applied manually, so consistency is crucial.
Anodized aluminum
Here are some reasons why anodized aluminum is an ideal metal to engrave:
- Anodized aluminum doesn’t rust and resists abrasion, making engraving anodized aluminum one of the best materials for laser projects.
- The anodized layer has already reacted with oxygen, protecting the metal from further oxidation. Further, the anodized veneer is extremely tough and resists scratches much better than bare aluminum.
- It’s great for engraving because it comes in many colors, as well as its accessibility — even diode lasers can engrave anodized aluminum and create high-contrast engravings, though you’ll still get the best results from more powerful lasers.
Anodizing can be offered in two different ways: simple anodizing and hard anodizing. Hard anodizing “grows” a thicker, harder surface. Many products are hard anodized because they are going to be used in more rugged applications that need a more wear-resistant surface. As far as we are concerned, as engravers, we will not know whether we are working with hard anodized products or not. I always assume I’m working with hard anodizing to give myself the best chance of getting a clean finish.
The preparation and setup are going to be like any other product. Again, clean the workpiece and secure or place the piece as you would. As I said, I always assume I’m dealing with a hard anodize. I increase the power and/or decrease the speed. Anodizing takes place at the molecular level, so it may not be possible to completely remove the anodizing on your laser, depending on the power and type of laser.
A couple of tips:
- Tip No. 1: Use your laser’s highest speed that can engrave or mark the material at full power. For CO2 lasers above 30 watts, it’s usually the laser’s highest speed. But you may have to use lower speeds for diode lasers.
- Tip No. 2: Lower your laser’s output power until the laser starts to etch instead of engraving.
The difference between etching and engraving anodized material is that you can’t scratch off engraving, but any abrasive treatment can wipe off the etched marks. (Of course, this may damage the anodized finish as well.)
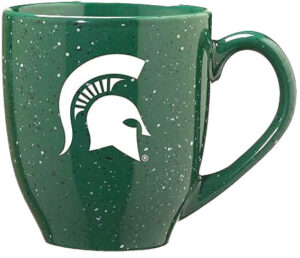
Ceramic drinkware
There are several ways to work with ceramics, and there are several products available.
Tiles, cups, and travel mugs, for example, are all capable of being engraved or marked with a laser. Depending on the product, there are certain products that are pre-coated with a material that allows you to engrave your graphic directly without doing anything else special. There are marking compounds available as aerosol, tape, or brush-on. These work very well with ceramics and require little in the way of preparation.
Clean the piece and apply the compound. Try not to use more than you need, primarily because if an application is too thick, you may not achieve consistent marking. Secondly, these materials are not cheap, and you don’t want to waste money.
- Disclaimer No. 1: I have tried tape, but the results were not good.
- Disclaimer No. 2: I have tried the brush-on solution but found it difficult to get consistent results.
To be fair, I opted not to spend a lot of time practicing with either application. I found it easier and less expensive to use spray-on compounds and have carried that practice on.
Simple engraving, such as you would use with glass, can also achieve good results. The engraving process will cut through any surface colorant, revealing the base ceramic underneath. Of course, if the ceramic piece is self-colored, you will get a result, but it may be hard to make out. The marking may also be unsanitary, allowing dirt or airborne contaminants access to the base material. To avoid that, ceramic engraving can be color-filled or sealed. Be careful to wipe off any color fill or sealant before it dries.