Fiber Lasers: A Beginner’s Guide
Braden Todd, Glassmith2, explores the technology of fiber lasers.

Recently, I took on the daunting task of figuring out if Glassmith2, my business based in Boulder, Colorado, should add a fiber laser, and what all features we needed that fiber laser to have. I wanted to take this opportunity to invite you all to learn with me about fiber lasers and, more specifically, galvo fiber lasers.
The easy part was convincing myself that the laser was needed. I thought my research would be a quick and easy task, especially since we already have CO2 lasers running in our shop, and in this day and age, we have the internet to find answers. However, I quickly learned that fiber lasers are completely different from CO2 lasers, and there seems to be limited information available to easily get up to speed without buying a machine and spending a lot of time on it.
My goal with this article (and future articles) is to provide my fellow peers with the information I have learned through my purchase and testing experiences, and hopefully help others avoid some setbacks when adding a fiber laser to their business.
In full disclosure: I am no expert on fiber lasers, but I have a business that requires me to get up to speed as soon as possible, and anyone else that adds a fiber laser to their business will essentially be in the same boat I am/was in. I hope that anyone that follows the series of articles will be able to get over the fiber laser’s steep learning curve much faster than they would’ve going at it alone. I will share all my settings as well as the suppliers used for the products I create.
Note: Settings will vary from machine to machine (one thing that was the same as CO2 lasers!), and some of you may have a different supplier you’d rather use, but my goal is to provide you with everything I learn and use, and share some secrets that may help you and your business. We are all in this industry together.
MY PURCHASE DECISION
I think my purchase desire started to grow right after I bought my first laser. My first laser was an Epilog Helix, and I knew it was going to change how I did everything in my shop. One of the first things I wanted to engrave was metal, and I quickly learned that CO2 lasers could only leave a mark when using CerMark. As soon as I learned I couldn’t directly mark metal, I knew I needed to add a fiber laser to my equipment list. Fast forward seven years of passing on metal marking jobs and using CerMark, I finally have my metal engraving workhorse.
Choosing which fiber laser to buy got to be time consuming, confusing, and even frustrating at times. When going into my purchase, I assumed I was buying a laser that ran like my CO2 machines, just with a different wavelength that would allow me to engrave metal. My assumption was wrong, and I have learned that there are several differences between the fiber laser types.
One difference I discovered is that some fiber lasers have a flying optic system (essentially a mirror and lens assembly that travels over the laser bed when engraving) and others are a galvo laser (a mirror system that directs the laser beam without having to move the optics over the table). I was pretty much sold on the flying optic fiber laser because I love larger bed sizes, and the standard galvo beds are right around 6 by 6 inches. My mind was changed when I saw how fast the galvo systems run – I was beyond impressed and wanted to find a way to make that machine work for my business.
However, I was concerned since, in a given day, our engraving jobs vary between running a one-off item for a customer and setting up for larger production runs; with the galvo’s limited bed size, I was worried about my larger runs and losing productivity. Luckily, I found a solution to the bed size and potential production issues when I discovered the laser I ended up buying.
The other laser decision I learned about through my research was whether or not I wanted a fixed pulse laser or a MOPA laser (the MOPA laser allows the user to adjust the pulse width to better mark certain materials). I ended up going with the upgrade to a MOPA laser because it allows me to finetune my laser settings to engrave and mark a wider variety of materials. With the MOPA, we can even finetune our pulse width to create a variety of colors on stainless steel. I try to purchase for what I am working on now, but also anticipate the types of orders and parts that will come in the future. I suggest everyone reading this does the same.
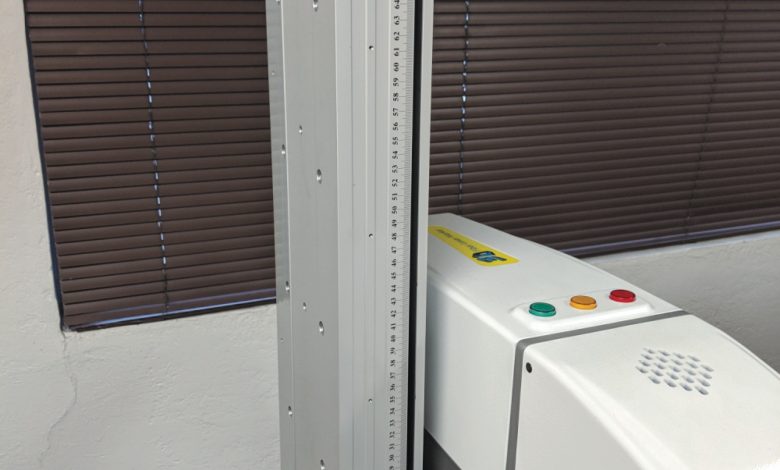
The last decision I had to make was if I wanted an enclosure or open bed system, and how to guarantee that my parts wouldn’t be too tall for my new laser system. To guarantee that my parts would always fit, I opted for an open bed system with an extended height focus tower. With the open bed system, I have ample room for oversized parts, and the extended focus tower gives me up to 26.77 inches in height. Again, I over-planned from the start to ensure we don’t grow out of our new machine too quickly.
MY PURCHASE
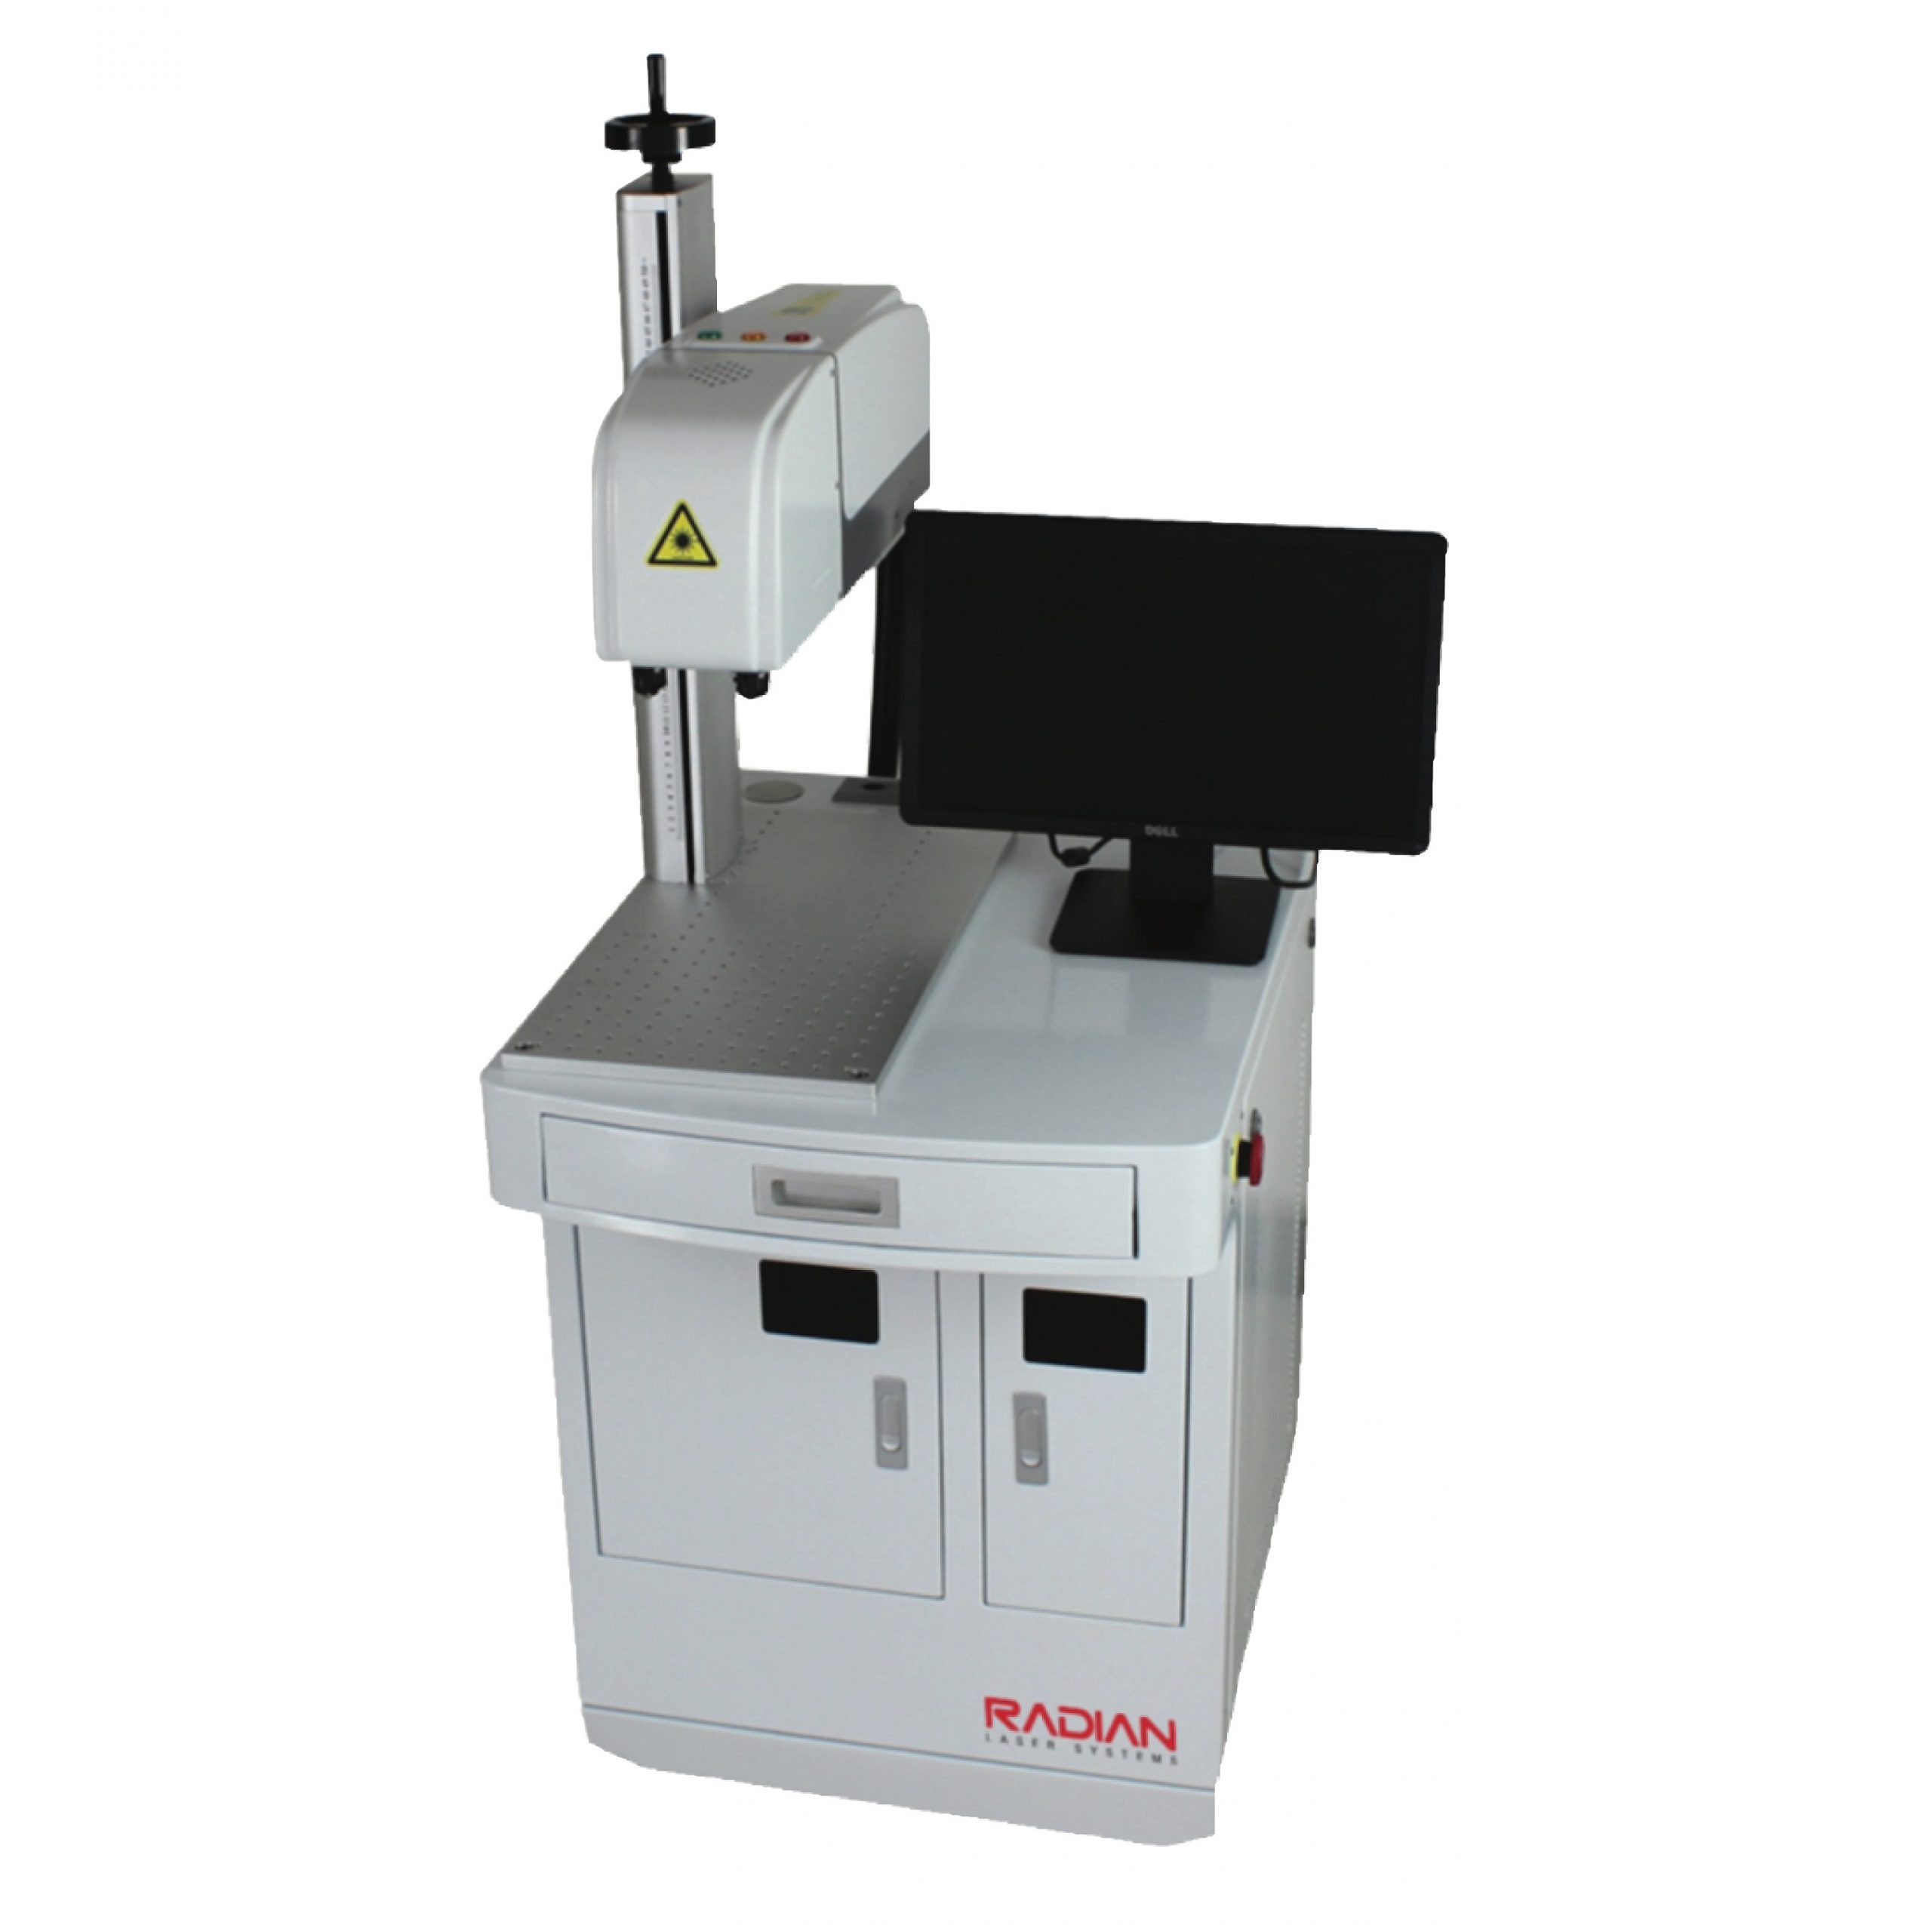
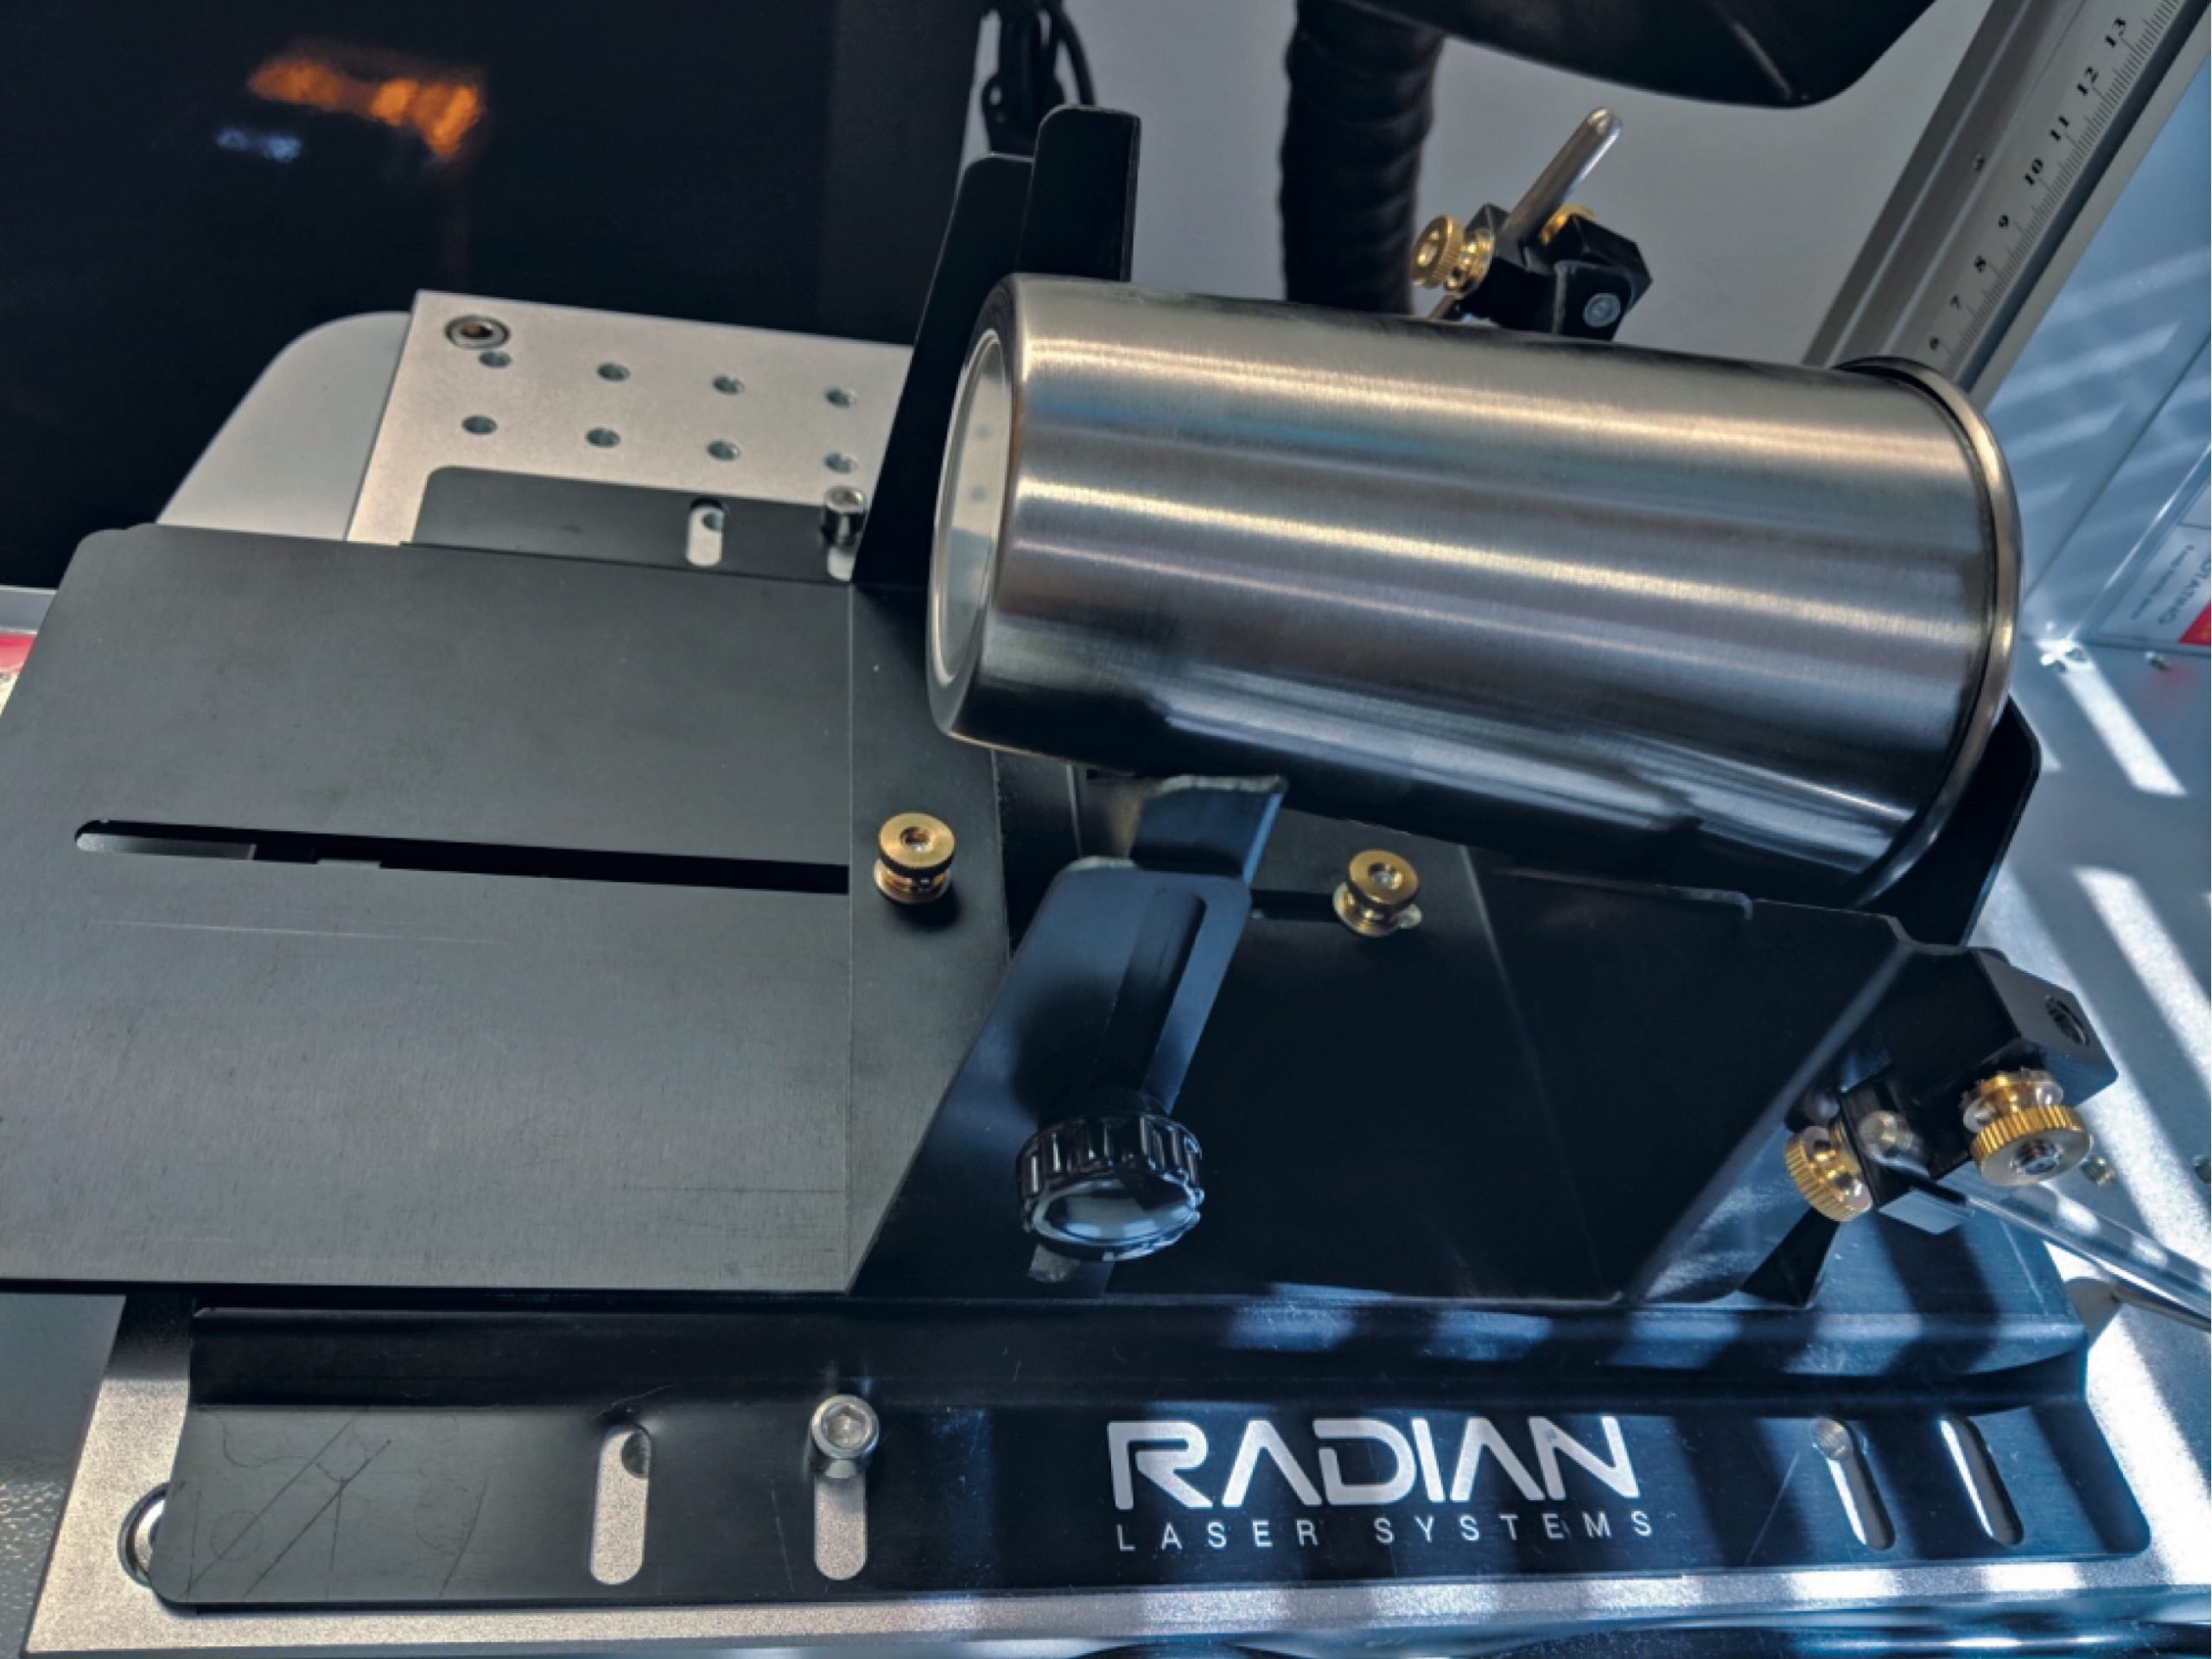
After contacting numerous laser suppliers and seeing a few at THE NBM SHOWs, I ended up purchasing my galvo fiber laser from Radian Laser Systems. I selected the RL-GT3 model with an upgraded 60-watt MOPA laser source and taller focus tower. To help us get up and running Radian’s CEO Tom Tamburrini flew out to assist with the laser’s setup and initial training. When looking to buy a fiber laser, look for manufacturers that offer this level of customer support – it proved critical with such a technical machine.
The main factors that influenced my decision to purchase from Radian Laser Systems was the company’s willingness to help me learn about the system pre-purchase, speed of replies to my questions, ability to fully customize my laser build, and the system’s ability to aid and even increase my production and not limit me due to the galvo’s bed size.
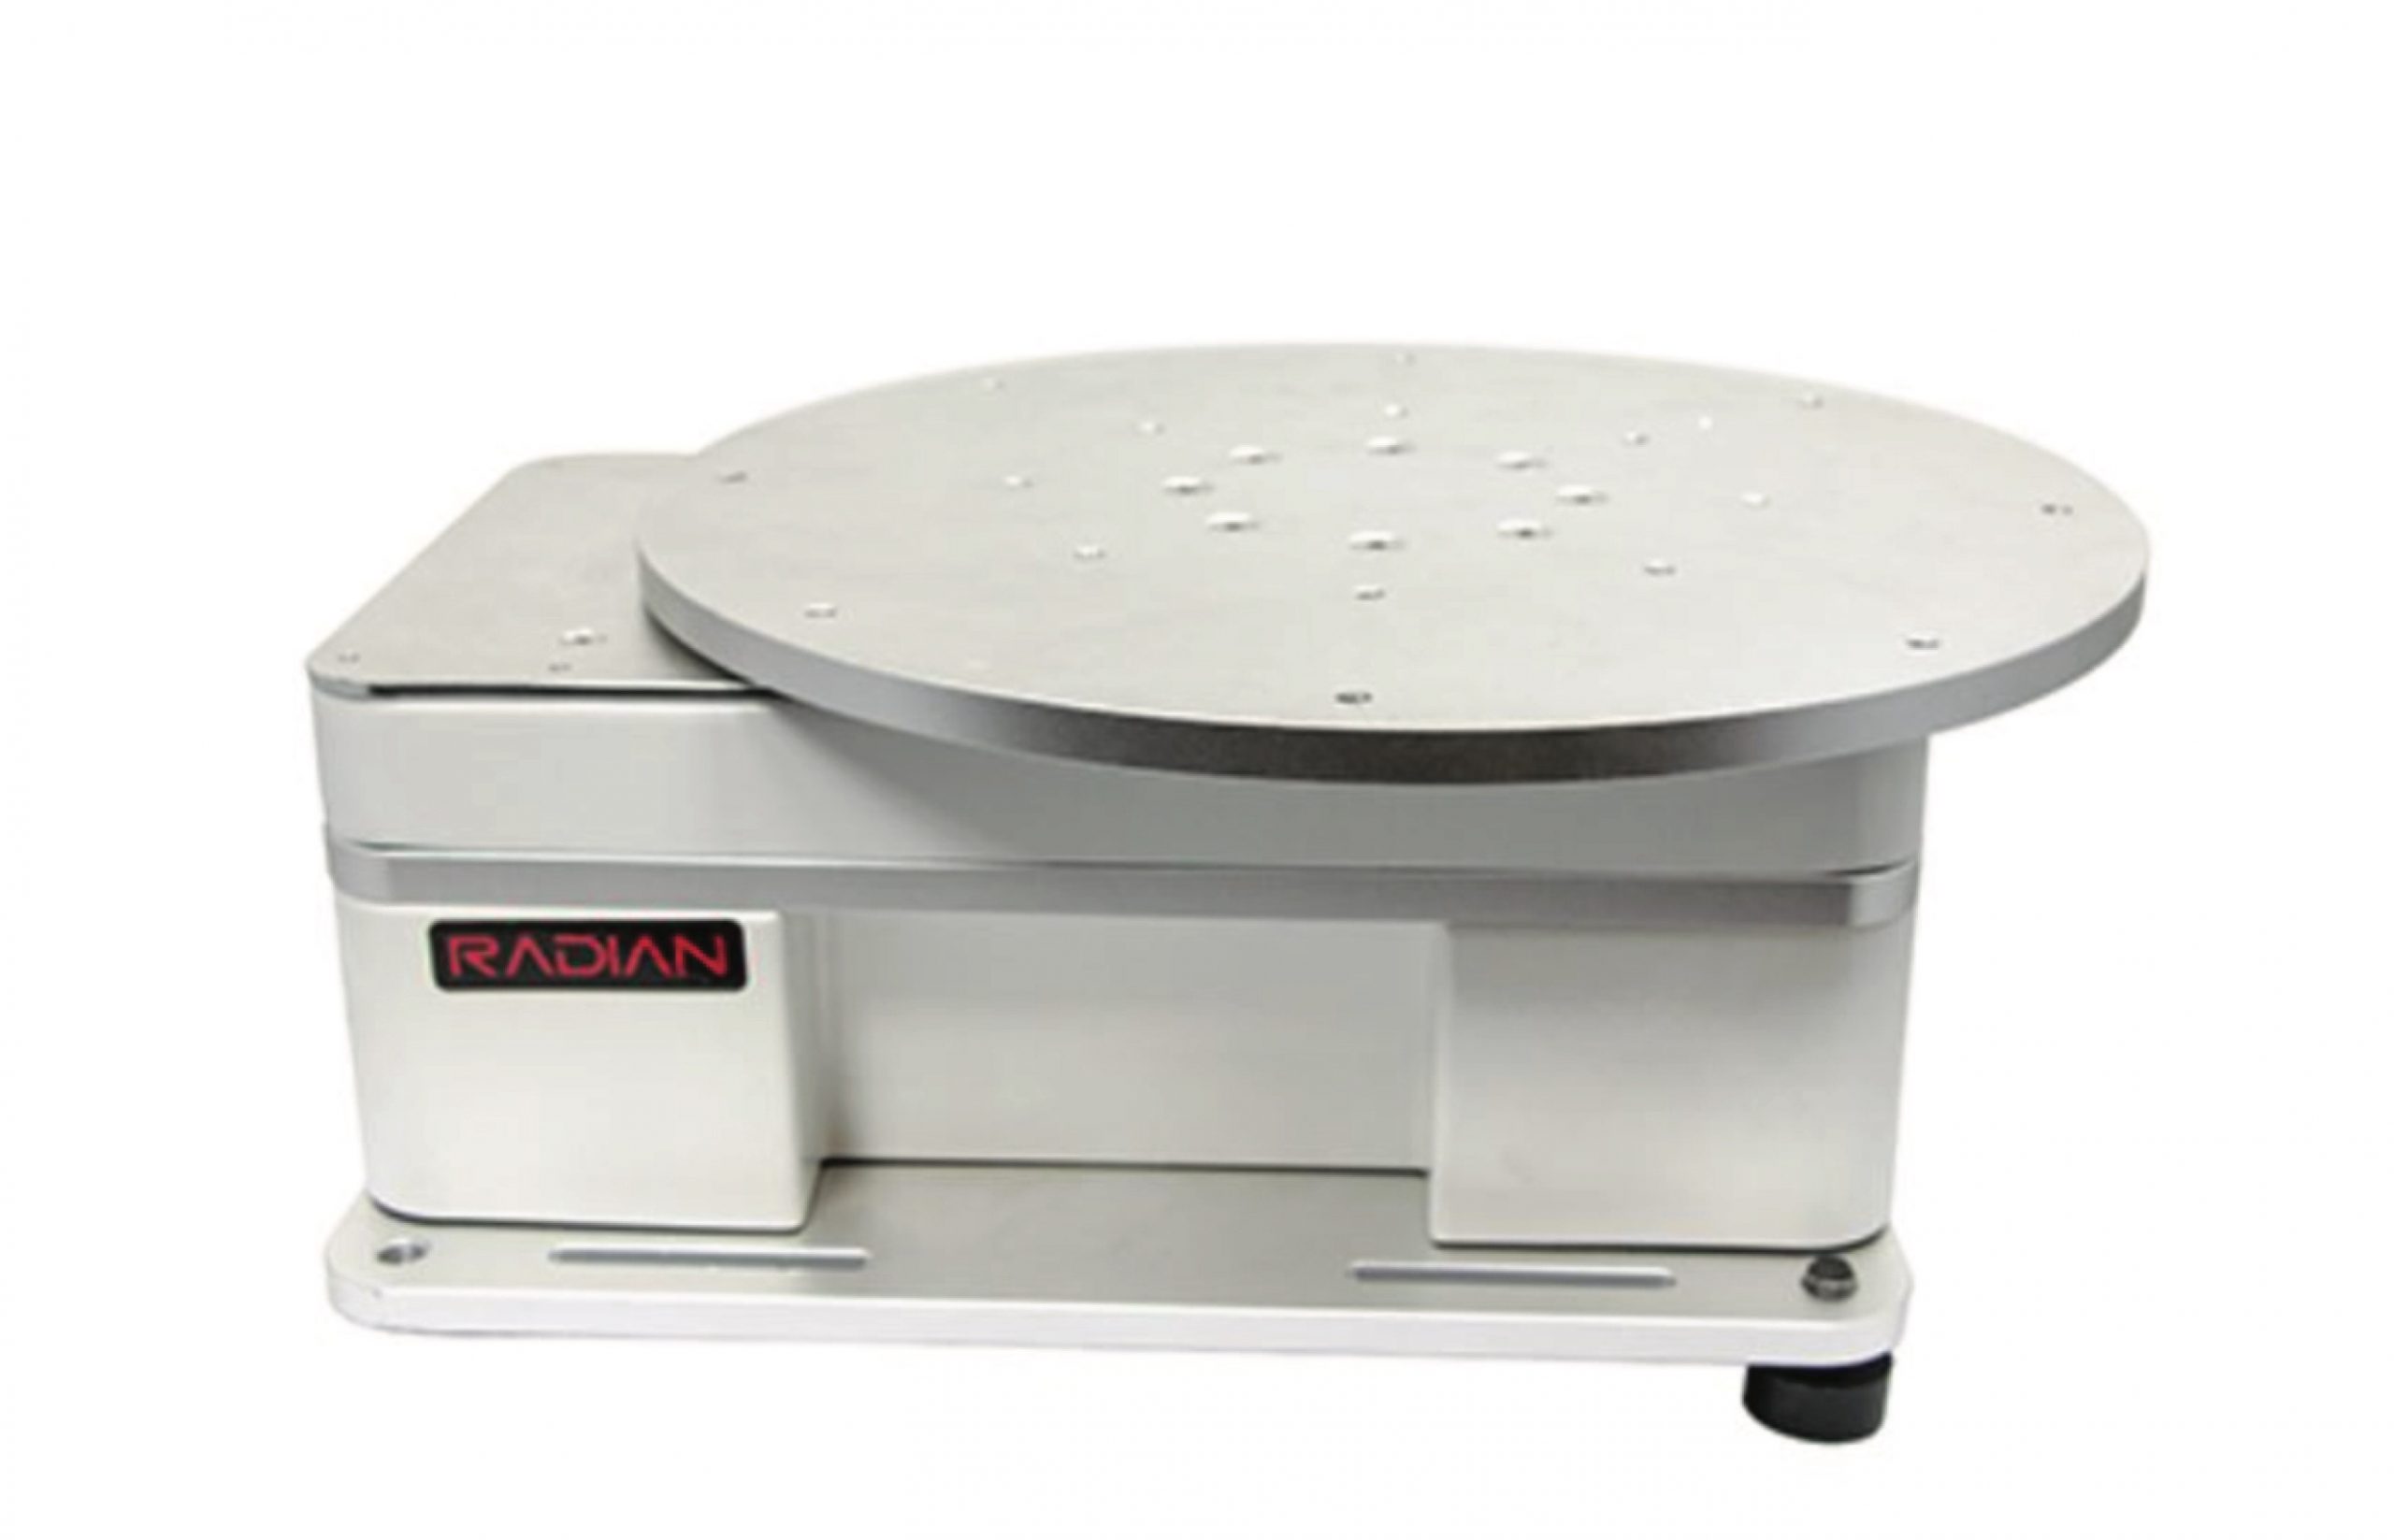
My concern around bed size was eased by an offered accessory, the flat rotary disc motor. With this rotary, we can fill the flat tray with parts to be marked, and then the rotary becomes the larger bed size I require for our production runs, as it rotates the larger quantity of parts through the marking area. There is also a drinkware jig that holds up to 10 full-sized tumblers.
The other production aid was one that I never knew existed: 3D engraving allows us to engrave over a radius without rotating the item. We can engrave up to 55 degrees off center. All we need to do to engrave drinkware is use our stationary drinkware holder and reap the benefits of our galvo speeds. My business has already picked up a new B2B customer because the mark took 8 seconds to complete. We are cutting minutes off of engraving times.
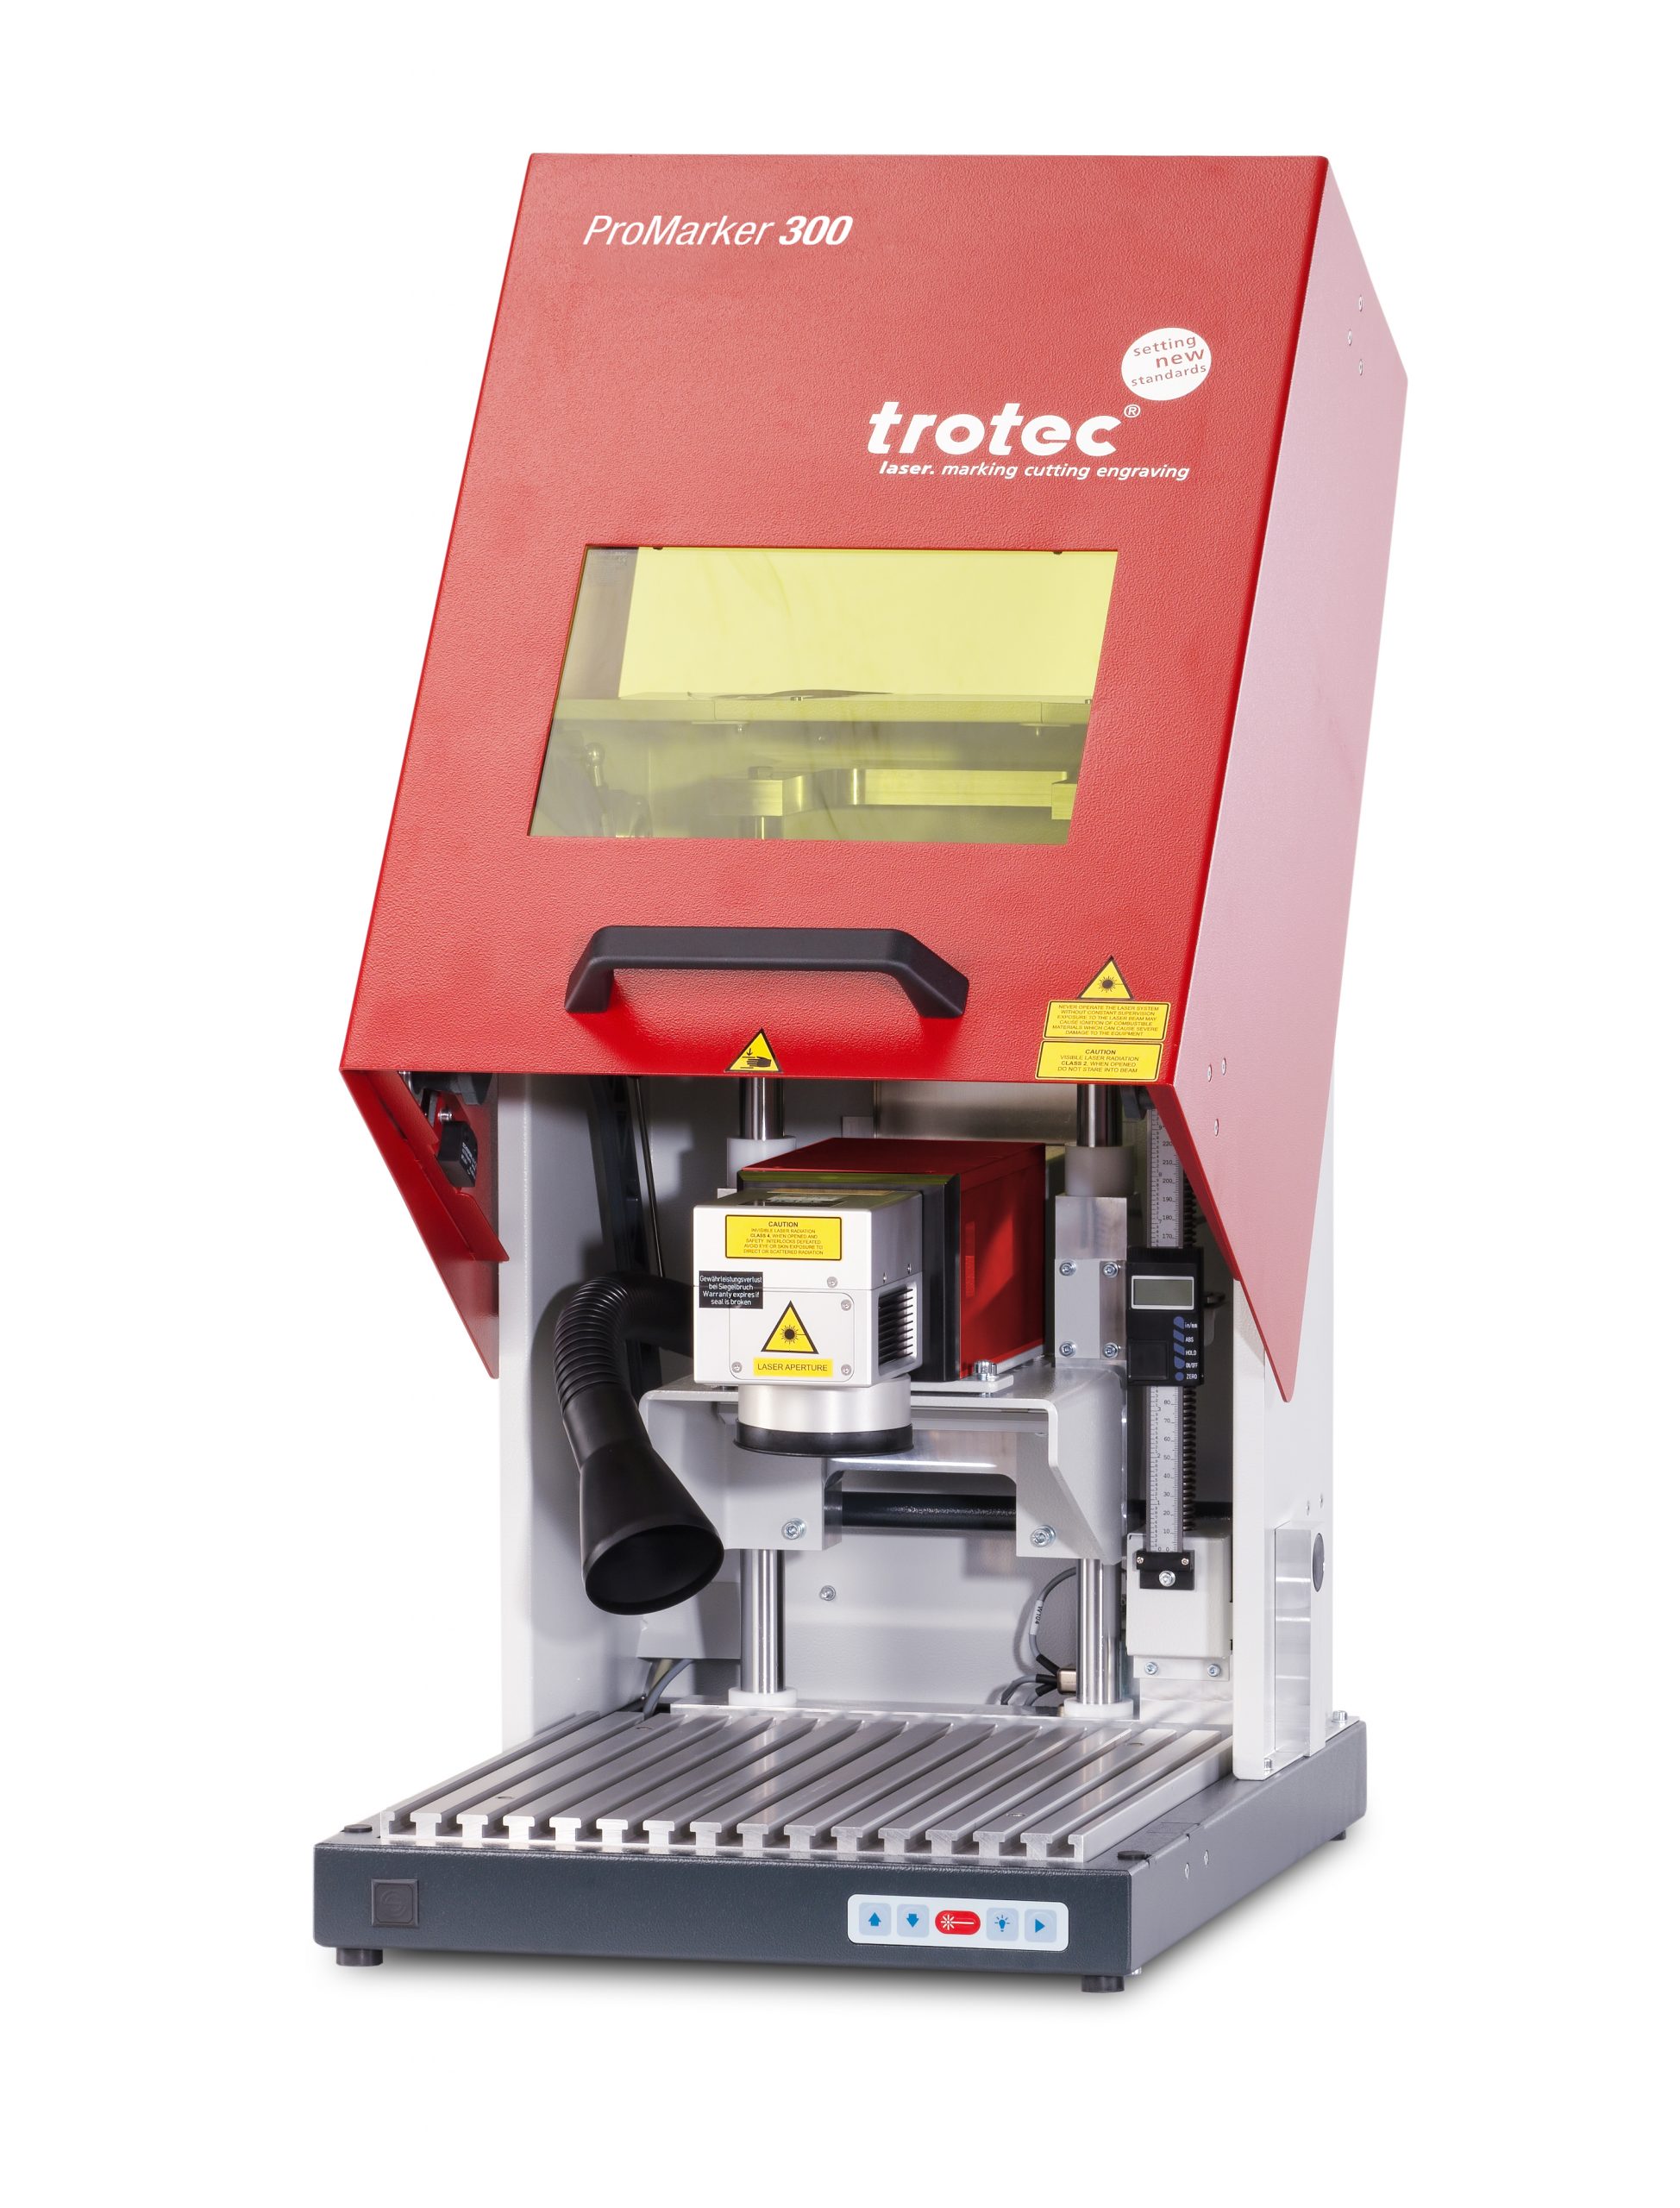
Note: Other brands that carry galvo fiber laser systems include Epilog, Trotec, and Gravotech. As I did, do your research and select the company and system that works for your business.
TERMINOLOGY
I am including some keywords and definitions to help everyone get up to speed on the fiber laser lingo:
Laser types:
Fixed pulse width and MOPA: The fixed pulse width machine cannot be adjusted whereas the MOPA systems allow the user to adjust the pulse width for maximum marking options.
Flying optic and galvo: A flying optic is essentially a mirror and lens assembly that travels over the laser bed when engraving. A galvo system steers the beam through mirrors increasing marking speed with reduced markable area.
Hatch: essentially the fill for the engraving and needs to be set to achieve desired engraving results. The hatch can have different line spacing as well as angles applied.
Line spacing: the distance between the lines being engraved for the hatch fill. The closer the lines are, the more solid of a fill achieved.
Speed: the rate the laser marks the material. When using a galvo laser, the beam is sent through a scanning galvanometer with mirrors and then through the lens to the material being marked.
Pulse frequency: number of pulses produced a second measured in KHz; generally lower frequencies vaporize material while higher frequencies apply more heat to the material.
Pulse width: duration that the laser pulse is on, measured in nanoseconds. Shorter pulse widths allow for marking on materials that would otherwise be compromised by a longer pulse width i.e. certain plastics. When marking on stainless steel, by adjusting the pulse width, you can also achieve various color marks.
Laser on/off delay: the on/off delay essentially helps the laser operator ensure that their engraving properly fills the objects outline. If the engraving fill starts before the outline, the laser on delay needs adjusting. If the engraving stops after the object’s outline, the laser off needs to be adjusted.
Annealing: heating of metal (stainless steel, titanium, and chrome) to create an oxide layer. Depending on the thickness of the oxide layer, the results can range from black to other various colors. When done correctly, there will be no surface deformation.
Engraving: vaporizing the surface material to create a mark with minimal depth/relief.
Deep engraving: vaporizing many layers of material to create noticeable depth in the material, generally done with multiple passes.
Foaming plastics: instead of engraving into the material, the laser creates gas bubbles that result in a raised, light mark on the material.
One last tip for working with a fiber laser: brush up on using vector-based artwork. When preparing a file, you will utilize unfilled vector art and then apply the hatch to the artwork to create the fill to be engraved.