Facts You Should Know About Photoresist Film
Photoresist can play a large role in sandcarving - make sure you know how to use it correctly.

Common to all photoresist films are a couple of facts: You should work under yellow light/safe-light conditions, and you need an exposure unit. For most of you, that means the use of a small unit commonly referred to as the Letralite.
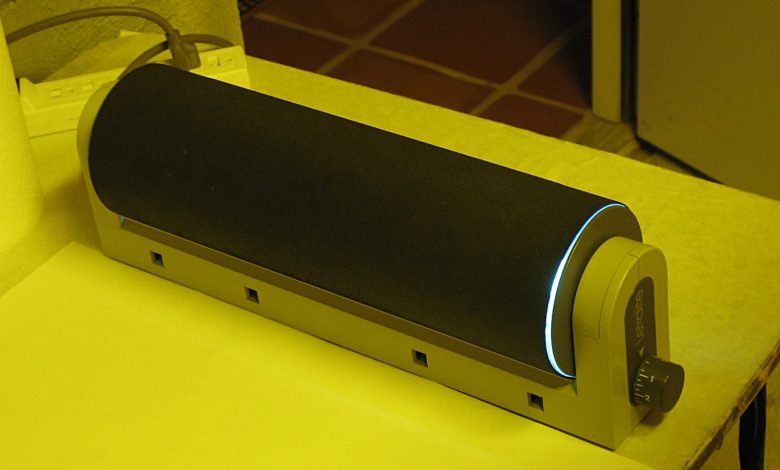
The exposure light uses an ultraviolet light tube to expose photoresist film to the artwork created. The lightbulb is surrounded by an acrylic cylinder that sits a few inches above the bulb, assuring equal distance to the light source no matter where you place your film. The cylinder is covered by a stretchy blank blanket that makes optimum contact possible between the artwork/film sandwich onto the cylinder in a specific way. First, the printed side of the artwork needs to face the emulsion side of the photoresist. Once you have that sequence correct, you need to make sure that the backside of the artwork faces the exposure light. If you reverse either of those two steps, you will not get exposure.
This is true for all photoresist films, no exceptions. Once you get to this point, you need to refer to the user guide of your specific photoresist to determine the exposure time. Make sure you pick the right exposure time for the thickness of film you are processing or again, you will not be successful.