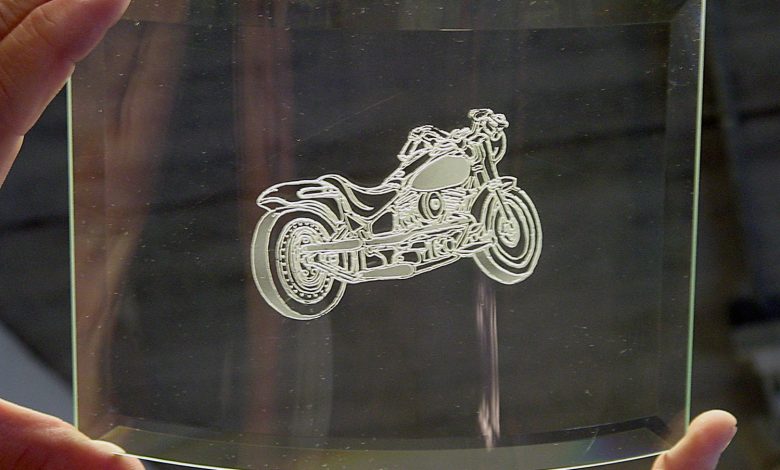
Etching Outlines into Glass for Multi-Stage Sandcarving
Achieve a multi-stage sandcarving project by starting with an outline.

With outline etching, you can use photoresist by creating the design with outlines rather than a block design. To do this, either scan a design that is already in outline form and use the centerline trace in your graphics software, or hand trace the design in vector format in the computer. Once the design is in vector format, simply thicken, or increase the stroke weight of the lines, the outlines to the thickness you want to etch on the glass.
The next step is to create the stencil: print the design, create the photoresist stencil, apply it to the glass, and blast. Instead of only blasting for a short time, though, you will need to blast all the outlines slightly deeper so they will still show up well when you etch the elements inside of the outlines in the technique of your choice.
Next, remove the glass from the blasting cabinet and manually peel the resist from the elements that are inside the outlines. You can either surface etch all design elements inside the outlines uniformly or carve individual areas to various depths. Another way of blasting the design is to shade groups of elements that are related. After removing the elements, put the glass back into the blasting cabinet and etch the exposed elements according to your technique of choice.