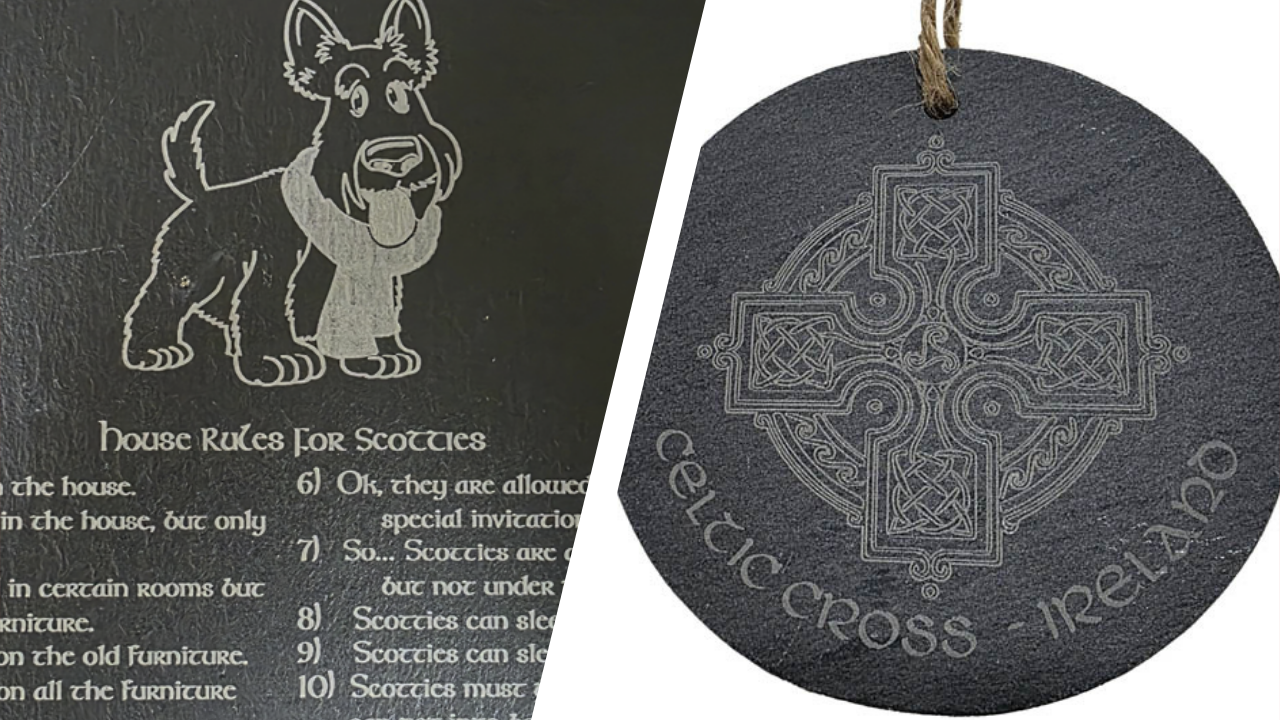
I’d like to take the time to talk about working with more unusual materials — in this case, slate. It’s possible to achieve high-contrast, detailed designs on slate, making it suitable as an alternative to materials like glass, wood, or ceramic. Similar to glass, the laser essentially pulverizes the surface to get to the finished engraving. As usual, a good graphic is essential, as are clean optics and precise focusing.
What is slate? Slate is a fine-grained, clayey metamorphic rock that splits into thin slabs that have great tensile strength and durability. Slate can appear as black, blue, purple, red, green, or gray. Dark slates usually owe their color to carbonaceous material or finely divided iron sulfide. Reddish and purple varieties owe their color to the presence of hematite (iron oxide), and green varieties owe theirs to the presence of chlorite, a green micaceous clay mineral.
It’s a great alternative for items used in home decor, commemorative pieces, or unique gifts. Slate is a very sturdy material and is ideally suited for placement outdoors. It is very hard, so it isn’t possible to get anything beyond a light surface marking. This also means that you can’t cut slate with a CO2 laser — you can cut it yourself with a tile cutter, or with a fine diamond blade, but remember its hardness makes it very prone to shattering.
If you’re lucky enough to know someone with a waterjet, that’s the best option. If you need to drill holes in the piece, I recommend first applying masking tape to help avoid chipping. Use a high-quality carbide-tipped drill at a low speed and apply light pressure. Don’t try to pass through the piece in one go — back out every so often and then proceed again slowly.
If you don’t, there’s no need to despair! Slate can be purchased in a variety of shapes and sizes. The material can be obtained in two forms: what I would term raw or finished. The raw material is simply slate with no precoat or reactive coating. (If you get raw material, you can apply a light coat of a satin lacquer to make the graphic stand out a little better, or you can apply the coat after the engraving process.)
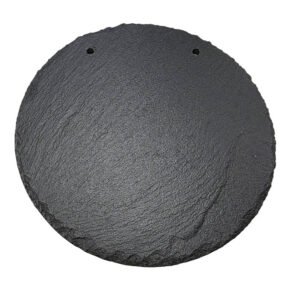
Finished slate has had a pre-coat or reactive finish already applied. Slate blankware can also be purchased either milled, so the surfaces and edges are flat and smooth, or with surfaces and edges that are rough-hewn, cut to resemble a hand-cut piece.
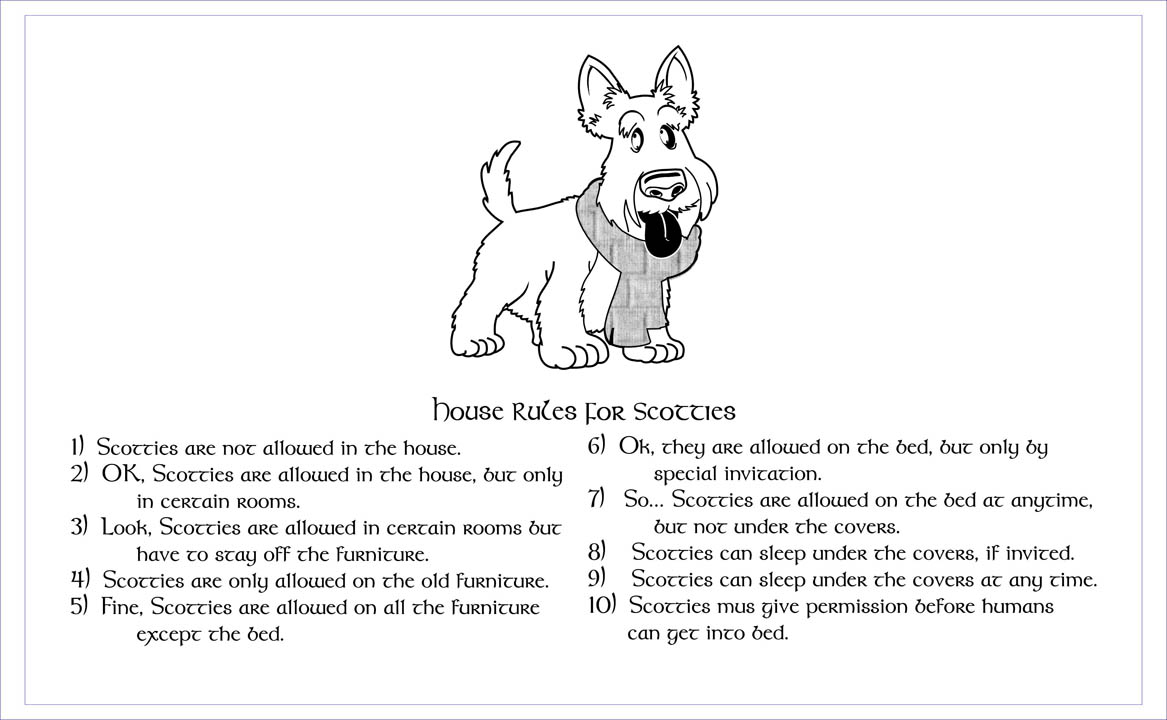
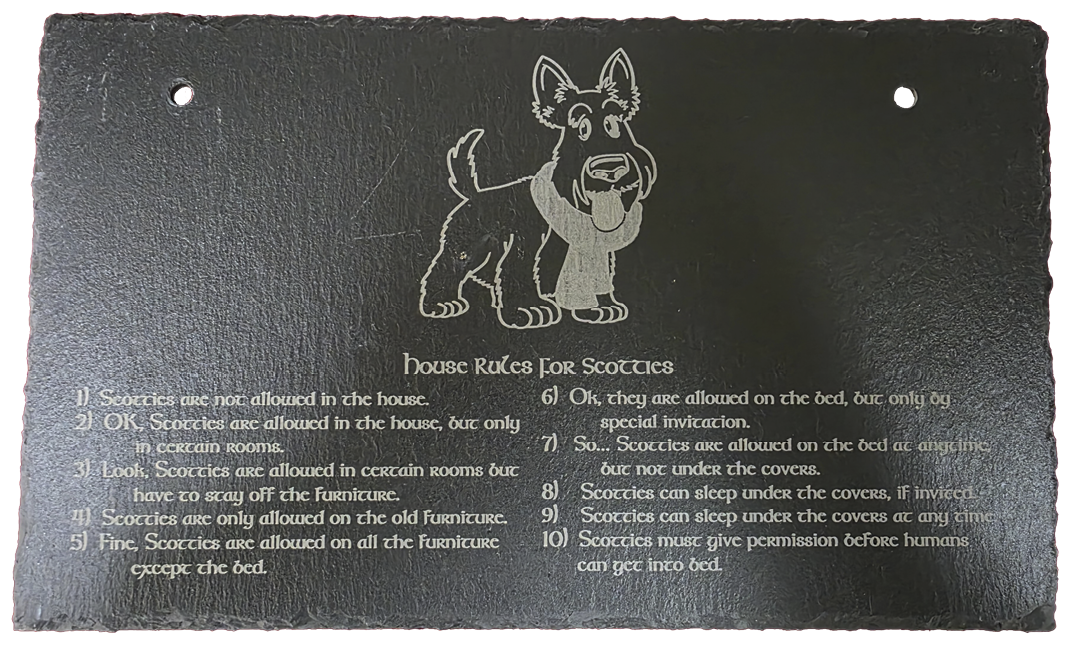
Slate is almost exclusively a binary material — that is, the engraving is dark gray to black or white. It doesn’t matter how many passes you run or how many different power settings you use. Therefore, your graphic is created in black and white with little or no shading in grayscale. (As you gain experience with your graphics software and your machine, you can adjust your graphics to make some adjustments and achieve some shading.)
The mind-bending part of the design is that you have to create the image as a negative. Black areas will be engraved white, and white areas will not be engraved. It sounds simple, but if there is any detail included in the graphic, remembering which parts are black or white on the finished piece can get confusing. For that reason, the first time you run slate you probably will want to have an extra piece to confirm the graphic is correct, and you can test the power and speed settings. You can then make any adjustments necessary before running the piece.
Engraving slate
Getting started: Make sure the optics are clean. You do need to give yourself the very best chance to obtain a clean, sharp image. Next, position the slate in the machine. With a piece that has had edges milled, lining up the material is simple. The smooth edges will sit against the horizontal and vertical guides. (As always, I’m using my machines for reference; different machines are constructed differently.) With pieces cut to resemble hand-cut, positioning the piece can be a little more awkward.
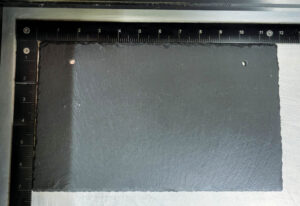
Producing the hand-cut piece often results in blanks that aren’t nice and square. In this case, you’ll need to position the piece as best you can to get the best position for your graphic. Pieces intended for hanging should come with predrilled holes for attaching a cord. I use the holes as a guideline for positioning. Assuming the holes were drilled uniformly, using the holes to guide your positioning should give a piece that will hang properly.
Now to the engraving: Once you have the blank slate aligned properly, focus the laser head. It’s essential to make sure you have the focus precise, and as stated earlier, make sure the optics are clean. Select your settings — if your machine has an extensive materials database, choose the setting for hard marble. If you don’t have the database, set the power to 100% and the speed between 80-90%. Experience will tell you what is best.
Run the graphic, and when finished, clean the piece to remove any debris from the surface. You should now have a new material to add to your inventory!