One of the most fun aspects of working with your laser is glass and crystal embellishment. I use the term embellishment because you are not restricted to engraving only.
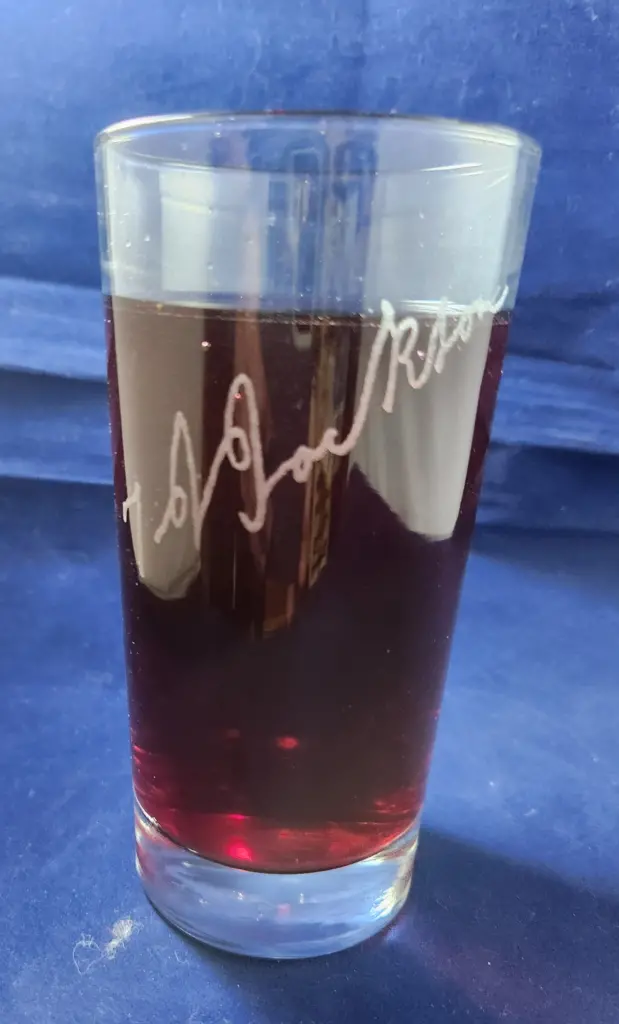
There are a host of items available in glass that your customers might choose from. Of course, the majority of items will involve barware. Glasses of all shapes and sizes, tumblers, mugs, decanters… if people can drink or pour from it, people want it personalized somehow.
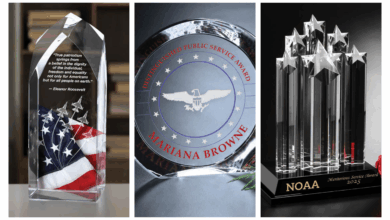
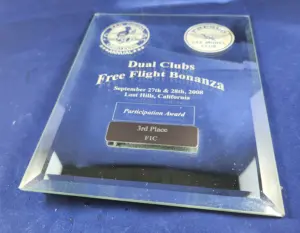
And personalized gifts aren’t the only thing you can do. Corporate and college awards, as well as recognition pieces, are all options for your customers. There are plenty of choices open to you in blankware. Have you ever thought of engraving a full wine bottle or a mirror? Both are possible. (The recipient of an embellished wine bottle also has the benefit of drinking the contents, then converting the empty bottle into a lamp or other kind of home décor item.)
Engraving embellishments
Of course, certain hardware is required if you intend to engrave a typical round piece of glassware. Top manufacturers have rotary adapters designed for their machines, and these are essential for any cylindrical piece. Naturally, a straight-sided glass is the simplest to work with, so I’ll start with that.
I can’t speak for every machine, so I’m going to cite my own procedure, developed over 20 years using a laser engraver. I would imagine that other manufacturers employ similar procedures. First, set your page size. This is calculated by finding the circumference of the glass. Just as a gentle reminder, that’s pi (3.142) x diameter. For a 3” diameter glass, then, the page size will be 9.426”. Please remember that the machine can only accept pieces up to a certain diameter.
Adjust your page size accordingly. Go to the menu showing the vertical height and reset that to zero, then check that the page size has been adjusted. Now we’ll get into what I have developed specifically for my machines. I’m not saying this is the only way to do it; just that it works for me. You may very well develop your own routine suiting your machine.
I stick to basically the same routine for glasses with and without handles, and regardless of the shape, even if all the steps may be unnecessary. I simply believe that a consistent routine minimizes the chances for a mistake.
With the lid of the machine open, I bring the head of the machine to the appropriate point on the Y axis, which will be the midpoint of the cones on the rotary adapter. Place the glass into the cones, making sure that it is centered, and secure it.
The arrangement of the cones will mean that the mouth of the glass will be at the far end of the machine. Now, bring the head to a point on the side of the glass and focus the head. Rehome the X and Y axes. Now you need to set your graphic.
My routine has me position the graphic at a height equal to 3/4 of the page height. Position a guideline at this point and center the graphic at the guideline. Next, move the head so that the red dot aligns with the very edge of the mouth of the glass where it meets the cone. Set a vertical guideline at this point (let’s say 21.5”). Position the top edge of the graphic at the guideline.
Tell the machine to print. You’ll need to select the rotary option on the control panel and enter the diameter of the glass.
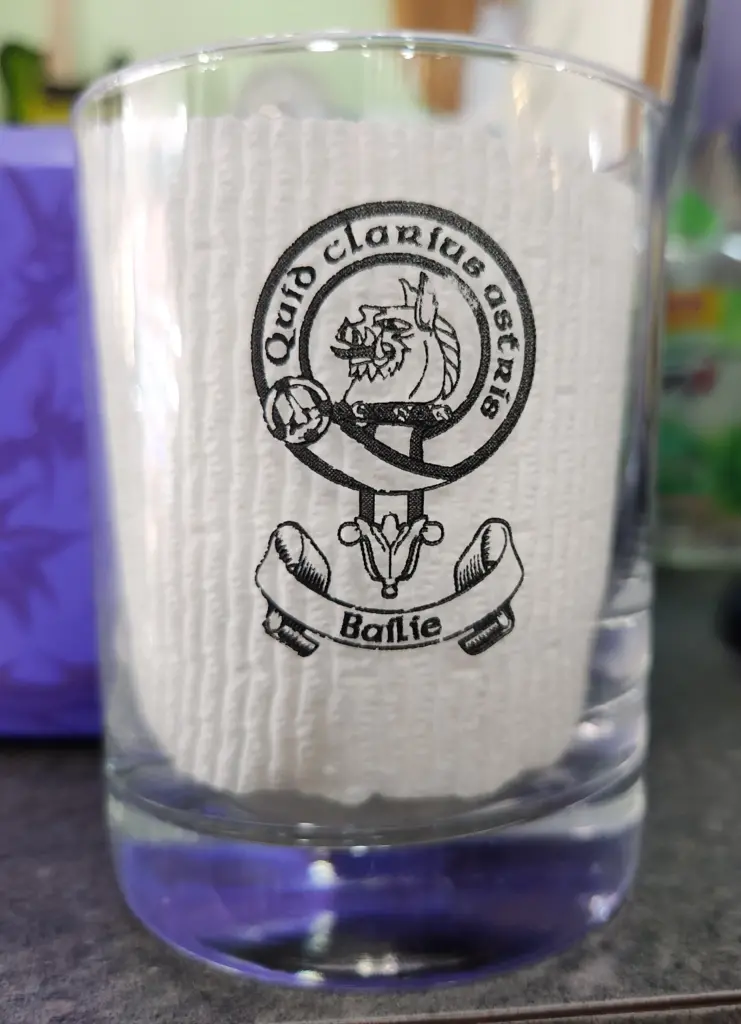
At this point, you are ready to start the machine. As a matter of course, though, I would recommend placing a thin, water-saturated piece of paper over the area where the graphic will be engraved (newspaper is ideal, though not necessary if you are using a glass-marking compound). This is essential on thin glass or crystal in order to help dissipate the heat from the beam and prevent the workpiece from cracking. It also helps reduce chipping.
At the same time, start the fan. Ensure the paper is saturated in order to prevent it from lifting off the glass and interfering with the beam.
Start the machine and engrave the piece. When finished, remove the piece and rub it down to smooth the graphic. I use very fine abrasive pads available at your local hardware store. Be careful not to use anything too harsh so that you don’t scratch the rest of the piece.
If you are engraving both the front and back faces of the piece, the handle should be positioned vertically. If only engraving one face, set the handle parallel to the bed of the machine, either toward the front or back of the machine, depending on which side of the handle you are engraving. This is where setting your horizontal guideline at 3/4 of the page height becomes necessary. (Depending on which side of the piece your customer wants the graphic on relative to the handle, and the direction the rotary adaptor will turn, you may need to set the horizontal line at 25% of the page height instead.)
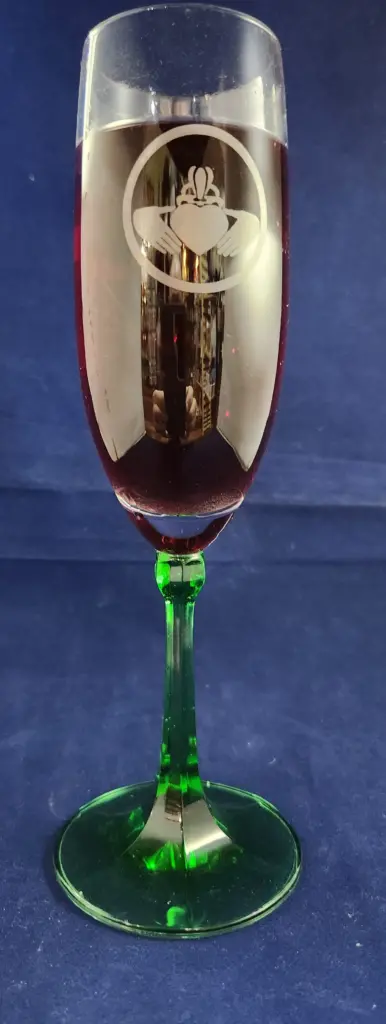
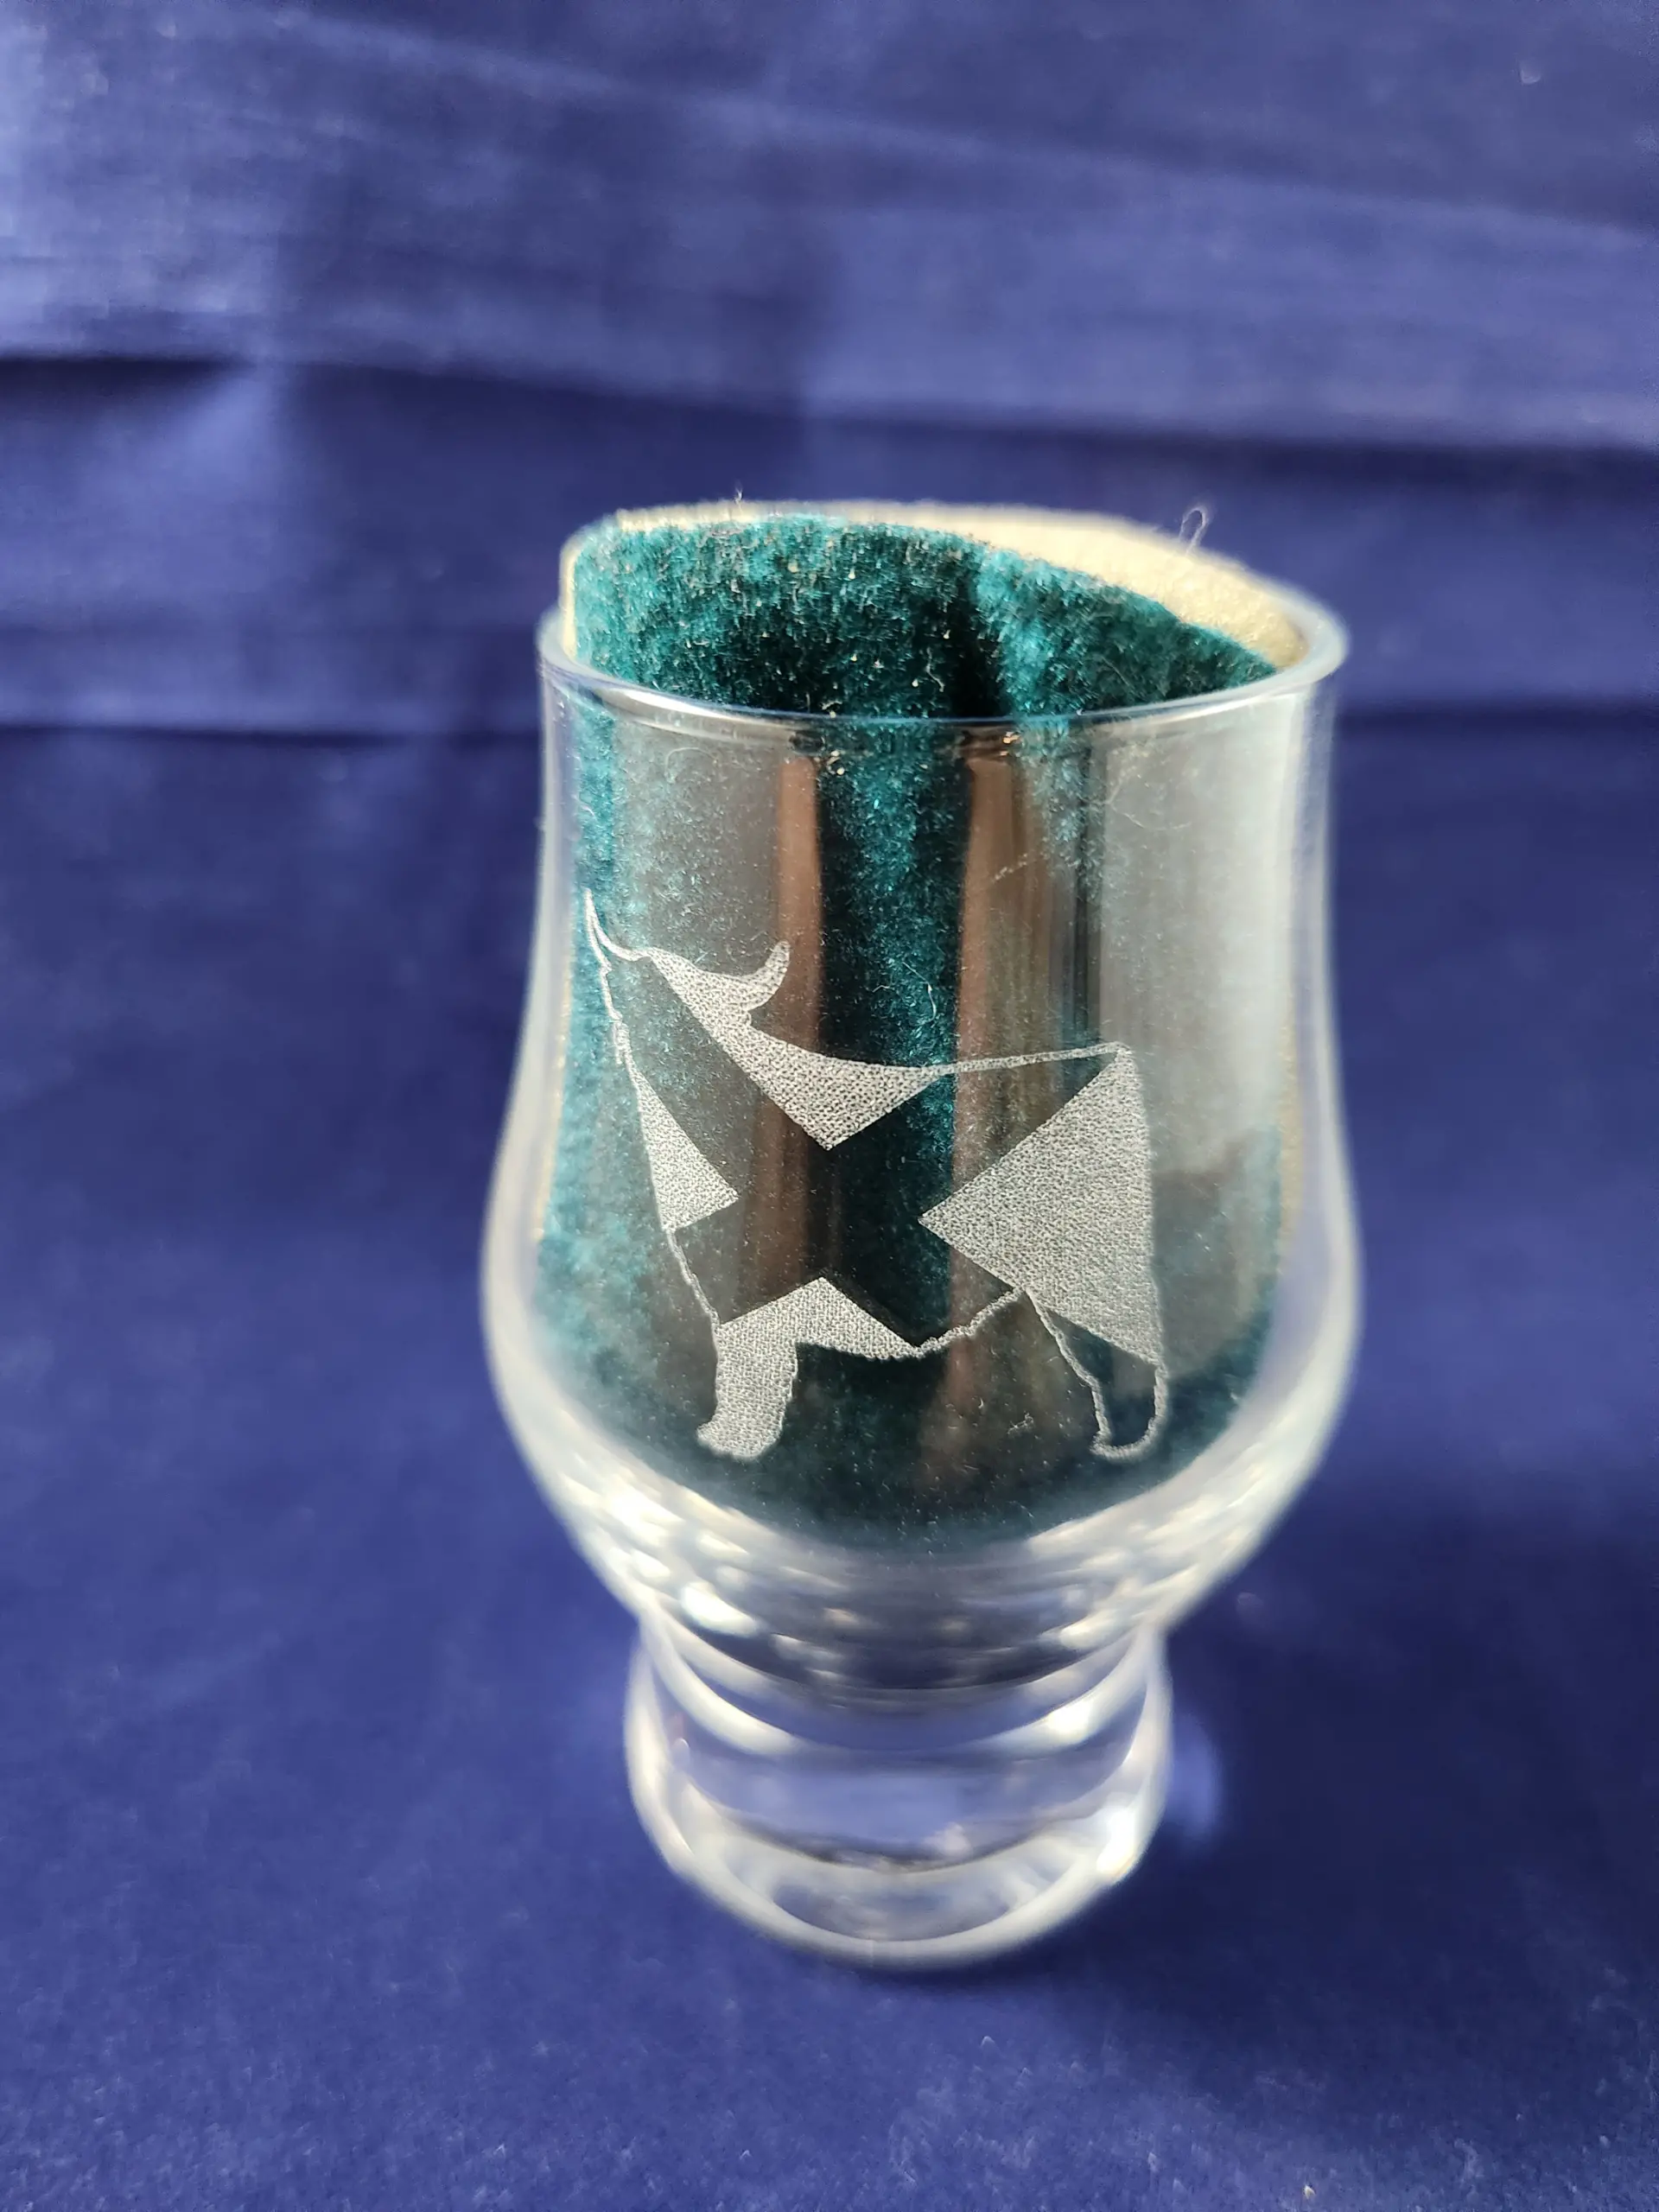
Tapered pieces don’t need to be a challenge. The rotary adaptor can be adjusted so that the face of the glass is parallel to the bed of the machine. I don’t do this, but I focus the beam to a point somewhere around the center of the graphic. Experience will tell you the best point to focus on — too far one way or the other can drastically affect the final result.
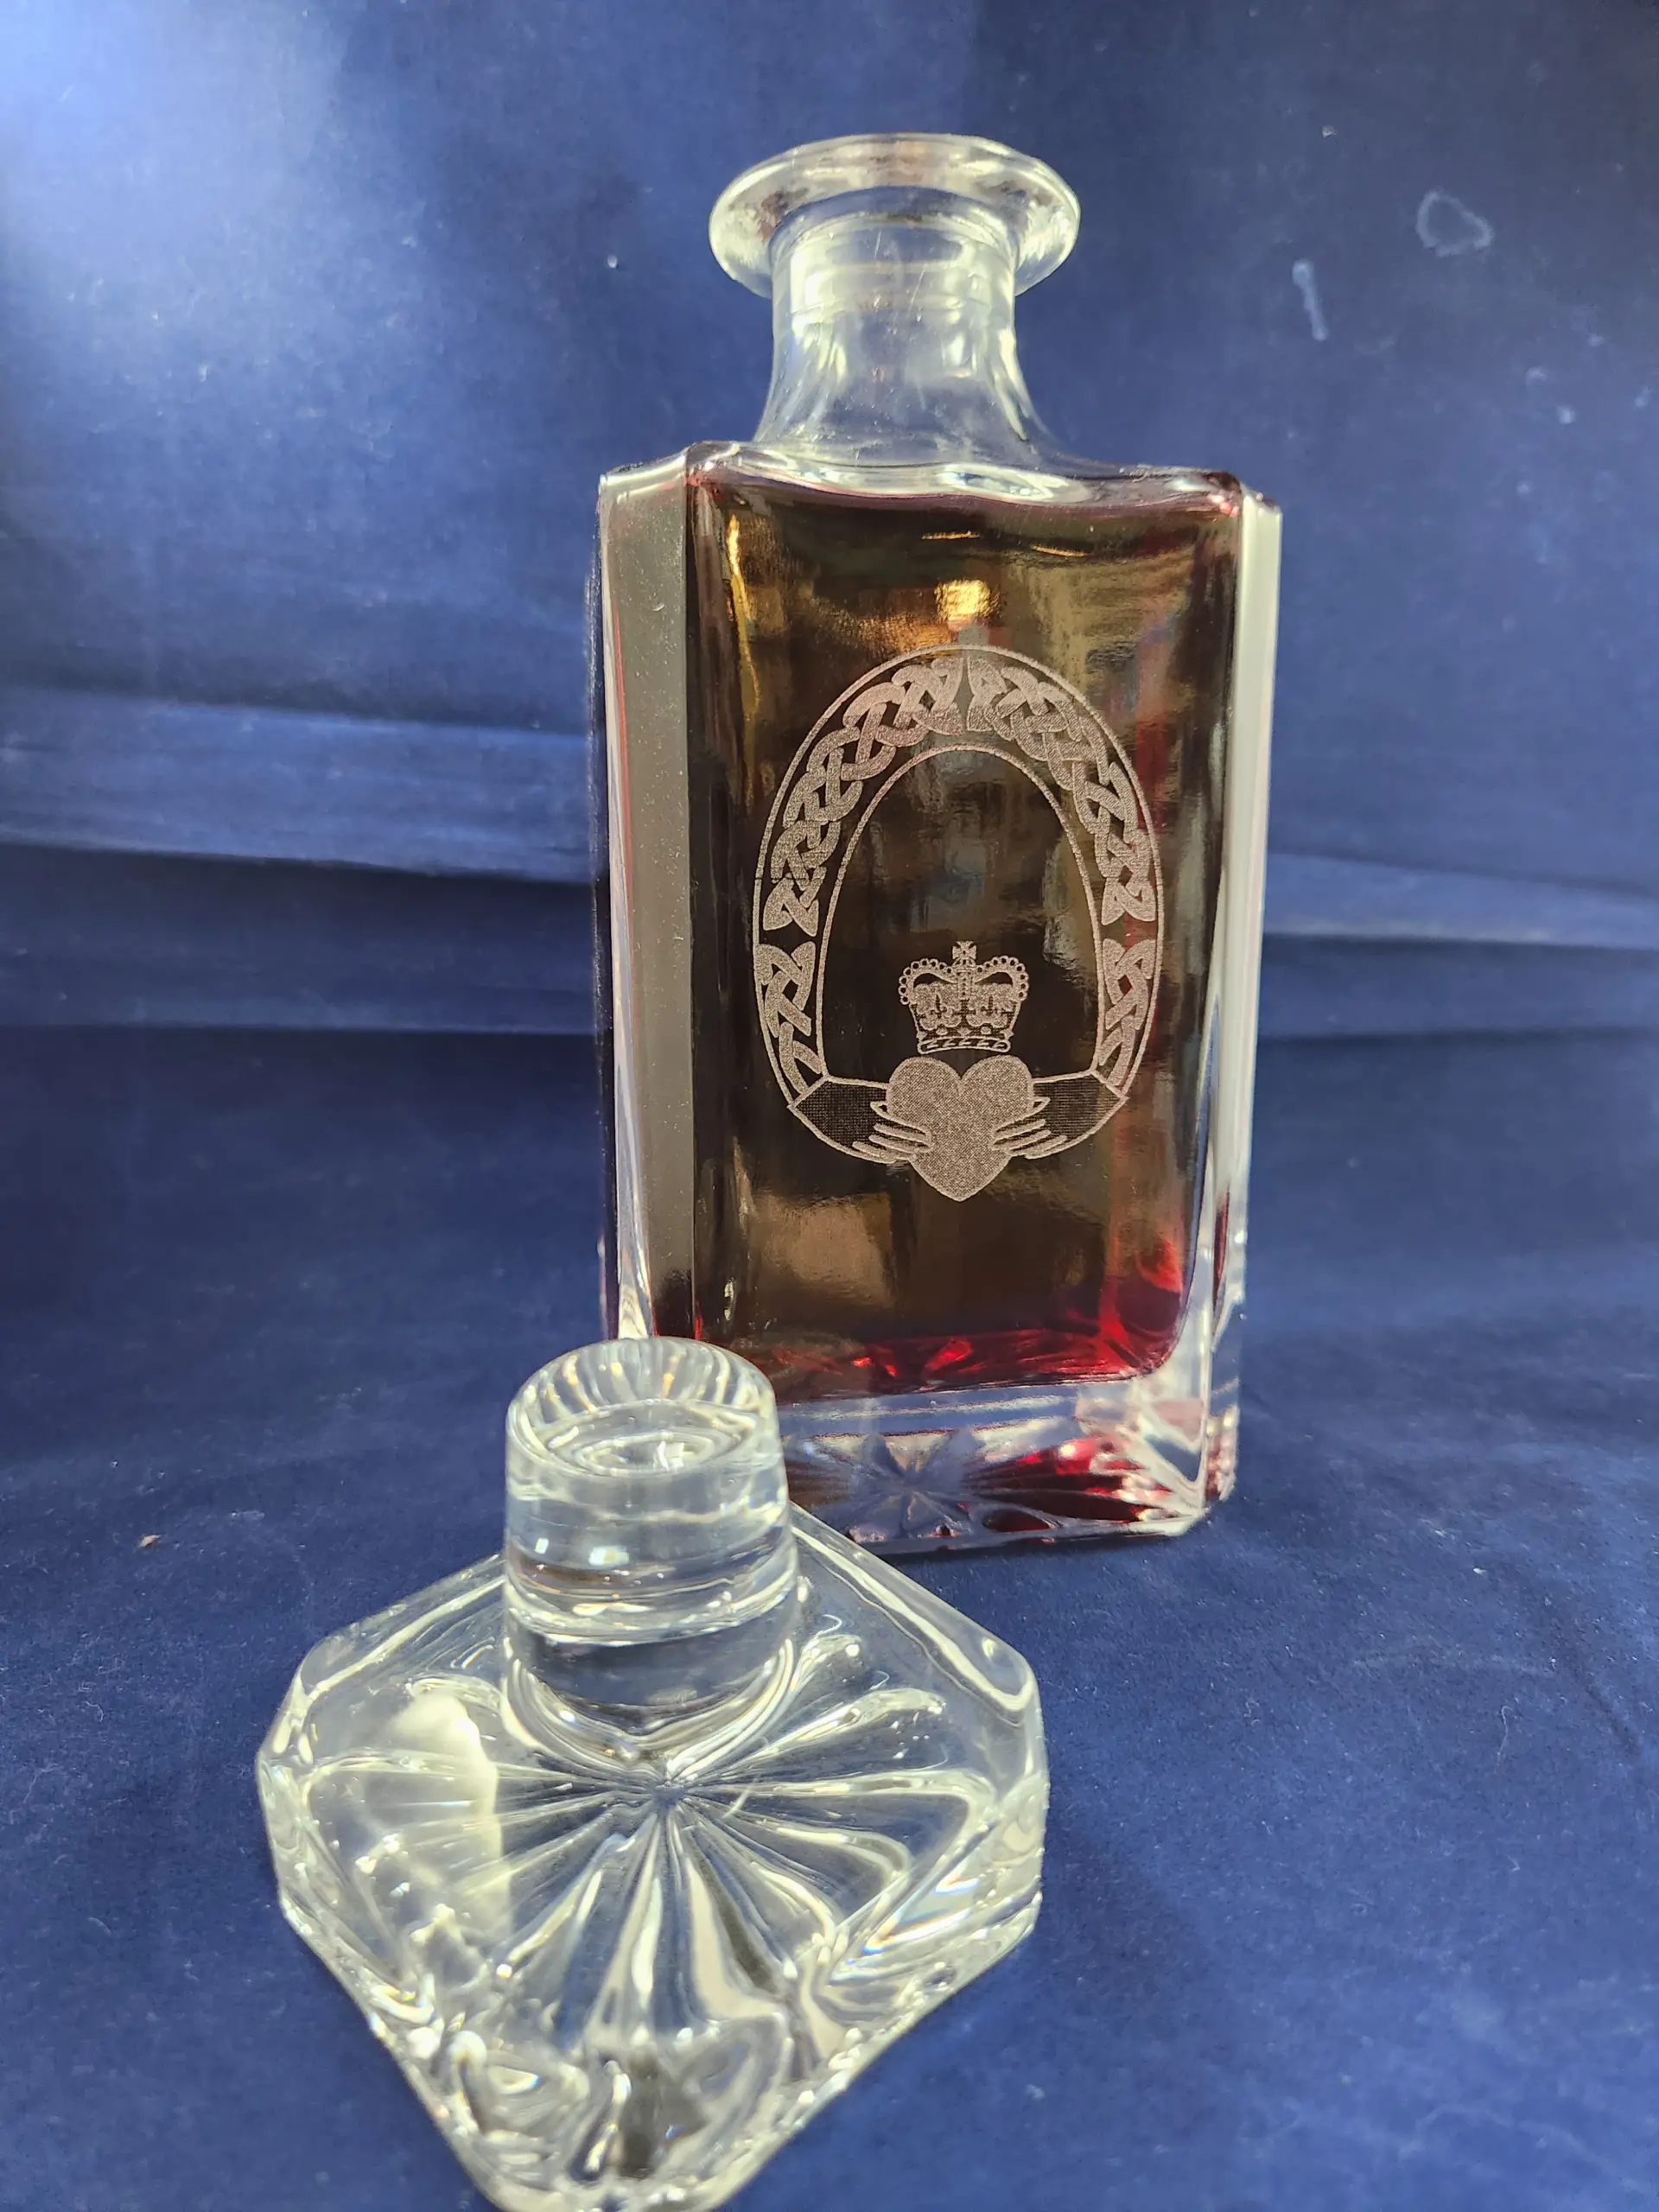
The most challenging pieces are what I term waisted pieces — items with a varying geometry (parallel or tapered). Experience is the best teacher for these pieces because the effective diameter affects page heights and focus points. Some examples might be certain decanter shapes that have a long, narrow neck that develops into a deep bowl shape.
With a wine bottle, the same basic directions still apply, although the shape of the bottle and its overall size can alter the necessary settings. As mentioned earlier, the bottle can be engraved while still full, making a truly unique gift. Even if the bottle is full, I still recommend using wet paper as a mask. Of course, it’ll be necessary to remove the label or labels.
Now to other types of glass blanks… A flat piece of glassware can be engraved in the same manner as any other flat piece of material, with the necessary adjustments appropriate for glass. In most cases, I will engrave on the back side of the piece, which entails creating a mirror image of the graphic. A curved piece of glass only requires the appropriate adjustments to the focus point relative to the curve of the piece.
Mirrors
In the early stages of my engraving business, and after years of watching bad science-fiction movies, I was convinced that hitting a mirror with a focused laser beam would somehow reflect back into the machine and cause catastrophic damage. Irrational, I know.
After some thought, I realized that by engraving a reversed image into the silvered side of the mirror, I could produce a crisp image. Again, I highly recommend using the wet paper mask. The mirror can be set into a frame if the customer wishes; an adhesive backing piece can be attached to the back of the mirror, or a hanger can be attached.
Finally, as I mentioned earlier, glass can be embellished using other procedures. There are spray-on compounds similar to those used to embellish metal but formulated for glass or ceramics. The application is the same, but the engraver settings will be slightly different. Currently, these compounds are available in black, blue, and bronze.
Again, these procedures are just what I have developed for use on my machines. I don’t mean to say that these are absolutes. Your own experience will be your best guide.