Digital Decisions: Working with Digital Transfers
Get ready to explore the options available in digital transfers in more depth, in this Printwear March article.

Digitally printed transfers are a great way to add variety if you are looking to expand your business. Digital transfers allow you to work with small detail and larger color ranges. They often come in a full CMYK process on solvent/eco-solvent printers, but the use of latex ink is becoming more popular in the industry. Latex ink is beneficial because there is little to no dry time needed when printing, therefore increasing the volume of printing. What’s more, printers are available in multiple widths ranging from 20″ to 60″ to fulfill practically any transfer created.
Let’s explore some of the options available in digital transfers in more depth.
PUTTING IT ALL TOGETHER
There are many brands and types of heat transfer vinyl (HTV) out there that can be used to make digital print transfers. Many factors come into play when deciding the type of heat transfer vinyl used in digitally printed transfers. One of the first factors to consider is what type of material is the transfer being put on? The industry has listened and paid attention to what customers want and is tailoring vinyl to better suit the garments producers are decorating.

If a high percentage of polyester is in the garment of choice, you would want to look at a heat transfer material that applies at a low temperature. The reasoning behind that is polyesters can burn very quickly, creating unwanted marks on your garments if you are not careful. Another good reason for wanting a low-temperature heat transfer vinyl for polyester is you will not have to worry about dye-migration as the temperature is low enough to where it is not reactivating the dyes within the garment. If you are using a nylon garment, awning, or even an umbrella, you will want to look for a digital material that pairs well with that. An all-white T may benefit from using a clear digital print heat transfer. A clear digital transfer will be higher quality than regular heat transfer paper, feel nicer on the shirt, and have a longer lifespan. There are thick, thin, matte, and glossy digital print HTVs out there, so experiment with what works best for you, your machine, and your customer.
Once you have printed your design, right-reading, onto the material of your choosing, the next step in the process is cutting. Digital transfers need to be printed in right-reading because you are printing on top of the material. You will now need a cutter that is compatible with the software you are using to print your design. In your design software, you will have to prepare it with registration marks. These marks are how the computer communicates with your cutter on where to cut. Again, make sure it is in right-reading.
After cutting, you will need to weed the design, which is the process of taking out all the unnecessary pieces, leaving only your desired artwork on the liner. Some material will have a sticky liner, and some will have static. Anything with a static liner is not ideal for detailed designs, only because if a small detail moves or comes off, you cannot put it back in its place.
 After completing a digitally printed transfer, you will need to choose a mask, or what is sometimes called an application tape. It is important to note that the mask needs to be heat transfer specific as materials like sign vinyl also require a mask, but the two are far from the same. When purchasing your digital heat transfer vinyl, it’ll likely say which masks pair best. Different masks also come in different tack levels. The thinner the heat transfer vinyl, the lower the tack mask needs to be. Once you have applied the mask, you will need a squeegee to make sure the mask is firmly attached to your transfer. Then the liner of the material will need to be taken off before pressing. Place the liner of the mask on the back with the transfer for storage. Finally, it’s time for pressing.
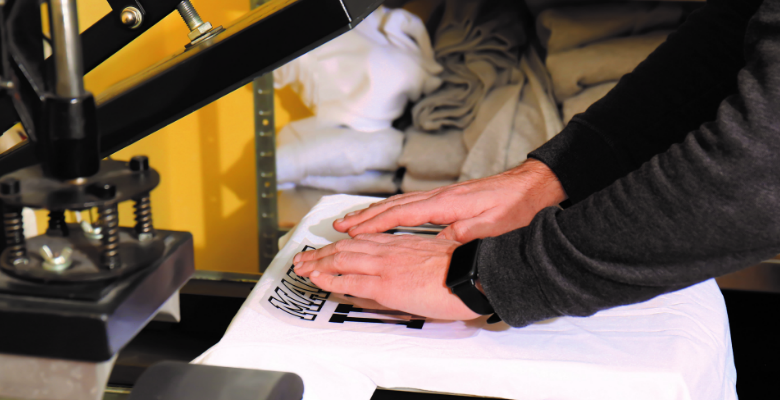
All digital heat transfer material will have specific pressing instructions. For example, temperature, time, pressure, and peel requirements will vary. Peel can be more impactful than you might realize as peeling a ‘cold’ transfer while it’s hot can completely ruin it. It is crucial to follow the proper application instructions on any material to ensure the product will work to its best abilities and have the lifespan that it should.
Fun fact: Some digitally printed materials shouldn’t be washed until 24 hours after transfer application. This is to ensure that the design is fully dried and will not alter in the wash.
Digitally printed heat transfers can bring a variety of jobs to your business, and there are many ways to achieve looks to suit practically any customer. It is all about experimenting and following the application instructions.