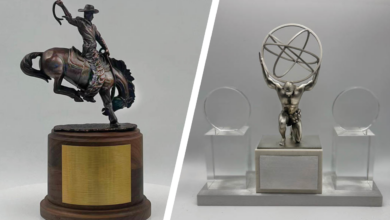
The award-making community has been booming with innovation, with new machines, full-color processes, and new substrates being introduced faster than anyone can keep up with. The true roots of this community are the trophy and plaque builders. There’s something special about the original award of all awards: the trophy. Right beside it are the tried-and-true commemorative plaques lining school hall of fame hallways, police office walls, VFW memorials, or even the employee of the month plaques hanging at your local grocery store.
A plaque offers more surface area than a small trophy plate attached to a base and can easily be displayed with a simple nail in the wall, hung for all to admire, or even help decorate a room. Innovation is necessary for progress, and I’m all for a full-color display of honor and achievement, but there’s also something my black-and-white laser mind finds special and fun to create solely with a laser. The standard of a metal plate with double-sided tape stuck to a plaque board is always going to be around, but let’s explore some slightly elevated, creatively designed plaques made only with one laser and a few extra materials — no ink, printer, or CNC machine required.
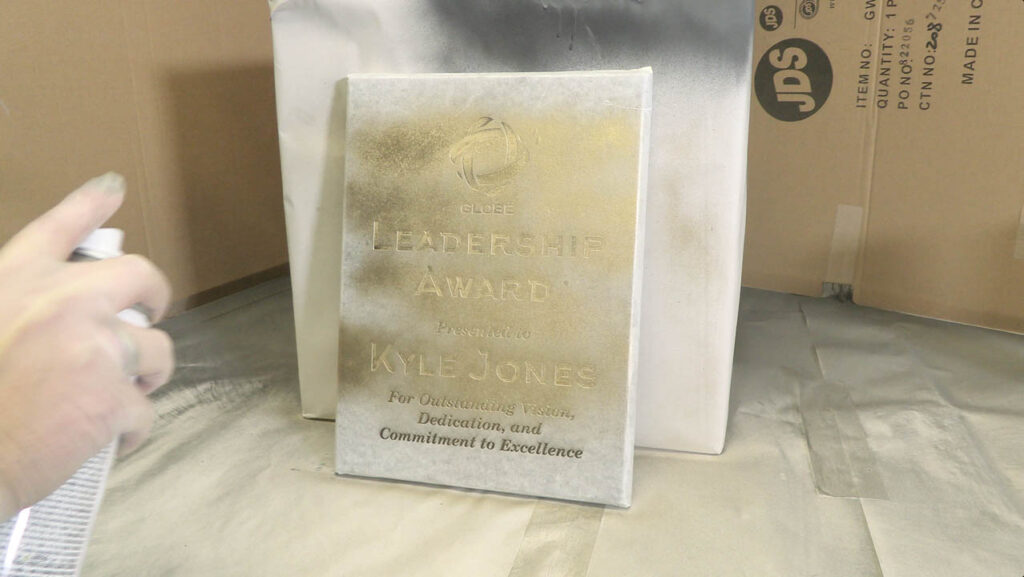
First up is the piano finish plaque with paint fill. While a UV printer may be on your shop wish list but not quite in the budget yet, you can still achieve an eye-catching pop of color with some low-tack masking and spray paint. These colors really pop on shiny piano finishes. Many piano finish boards are compressed MDF, so lasering directly onto them exposes an unattractive brown color underneath, as they are intended to have a plate attached. Wrapping them with some low-tack masking tape before placing them in your laser to engrave will essentially leave you with a stencil.
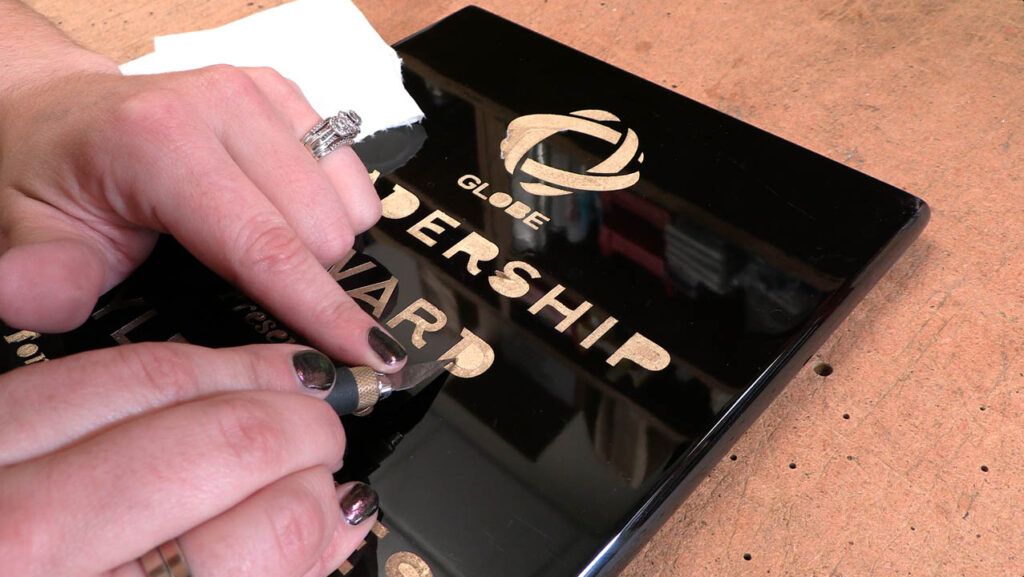
Then, using a spray paint of your choice (I recommend the Rust-Oleum multipurpose brand, but the color and finish are up to you), you can spray one to two coats of paint directly onto it. After letting it completely dry, some manual labor of picking and weeding will be necessary.
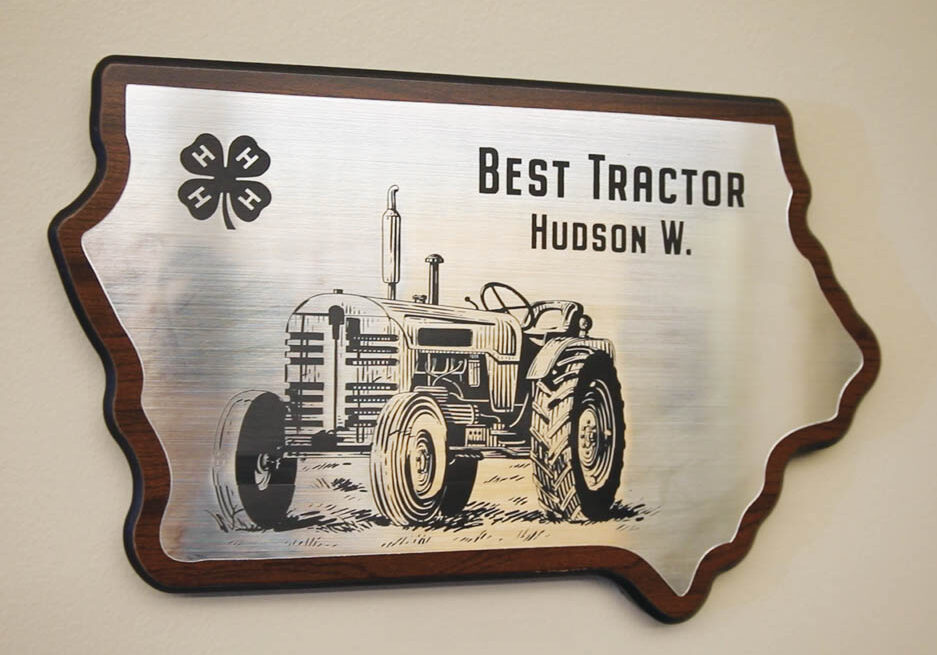
Next is the plaque board of your choice mixed with an adhesive plastic product which requires less post-laser work than the paint-fill method and is the most comparable to the metal plate on plaque look. This material can look like a metal plate with its brushed metal finishes, but it’s 100% laser-safe to cut and raster all in one laser job. No need for a metal shear or pre-cut plate to attach. Simply design your plate to match the face size of the plaque and the border you want to show. Your laser can cut through this material with ease and raster quickly and smoothly.
Another plus is the custom shapes you open your design to — as you’re not limited to simple square cuts as you would be with just a shear and metal. Round or notch corners right in your design file or create simple shapes such as state shapes to go with premade state-shape plaques. With adhesive already applied to the back, you simply take it out of your laser, peel, and stick it to the plaque board of your choice. This material opens up a lot more design choices of color finishes and shapes to be applied to plaque boards.
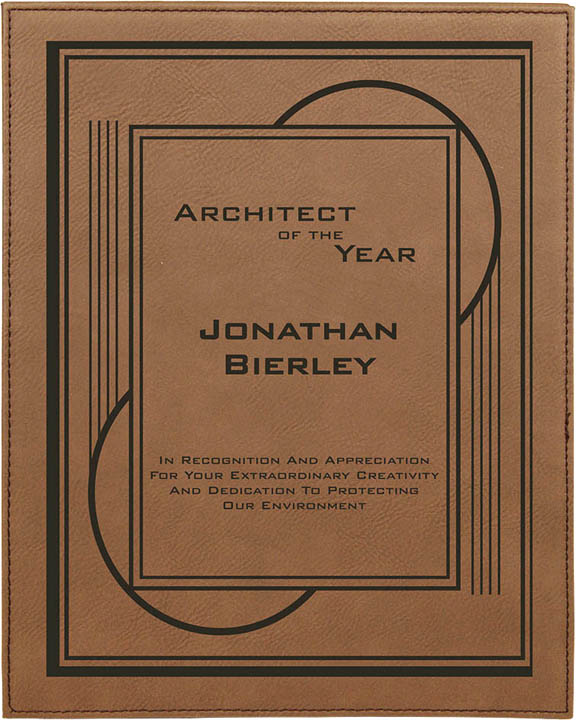
Lastly, lasering directly onto a plaque’s surface is the quickest and most hassle-free method. Design and laser with no spray paint and no plate attaching. With the right design and artwork layout, a red alder custom-shaped plaque may be a good choice for you. Another direct-to-substrate option is the leatherette plaques. With multiple sizes and color options, these plaques offer the look and feel of genuine leather, are nearly 1″ thick, and are completed with a felt back with keyholes.
There is and always will be a time and place for the standard plate on plaque to be displayed or added to the wall that has had the same plaque for decades. It’s a timeless look that commemorates achievements, people, and events, but the next time your customer is looking for something just slightly out of the box, fire up that laser and present a plaque worth a double take.