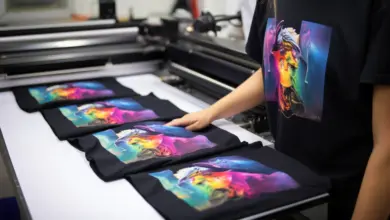

One of the most unique and artistic forms of personalizing awards and gifts is sandcarving. The ability to create an end product that features intricate artwork and depth is a favorite among producers all around the industry. Whether you are an experienced sandcarver or just starting out, knowing the process and the basics of how it works is important.
Following, a few industry sources answer your top sandcarving questions:
What are the necessary pieces of equipment and tools needed to sandcarve?
“The main piece of equipment needed is an efficient sandcarving machine. There are numerous options available on the market with various features, including dust collection systems, ergonomic seating, in-cabinet LED lighting, and more. Sandcarving abrasive used is either silicon carbide (recommended) or aluminum oxide. Match the machine with artwork for an inkjet printer, an exposure unit, and a high-quality photoresist film, and one is ready for sandcarving.”
-Michael Sullivan, IKONICS Imaging
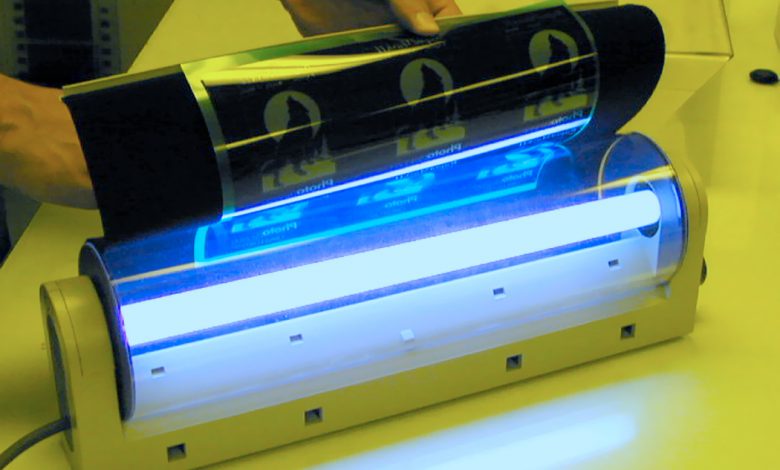
Why is photoresist so important to the sandcarving process?
“Photoresist helps speed up the process of mask-making and allows for much greater detail and consistent quality. The other option is to hand-cut a design with an Exacto knife and sandblast mask. While this can be done for some designs, I wouldn’t want to attempt text on a crystal award this way.”
-Braden Todd, Glassmith2
“Photoresist film allows instant reproduction of your artwork. It is also important because you can make multiple stencils quickly for production runs and is surprisingly sand resistant. You can achieve detailed imagery using photoresist film.”
-Liz Haas, Rayzist
How can users determine if their film is exposed correctly?
“There are a few key factors that determine if you exposed your photoresist film correctly. Proper print and density, proper compression from your exposure device, and correct exposure time provided by the film manufacturer. You must have correct print opacity for success of developing photoresist film.”
-Liz Haas, Rayzist
“With all photoresist films, establish the correct exposure time for your particular exposure unit and follow the film instructions. The key to proper exposure for dry-processing film is getting enough UV energy into the film so it changes color from green to dark blue where light hits the film and makes it brittle. Dry-processing film is tolerant to over-exposure, so always error on the side of more exposure rather than less. With washout films, if the artwork is of correct density, slightly longer exposure times shouldn’t have a negative effect on the final mask.”
-Michael Sullivan, IKONICS Imaging
“I always teach people to hold their design up to a light – if you can see through the clear areas, the resist has been removed properly. If there appears to be a haze or gray areas, you may need to washout the design a little bit more. Be careful not to over-washout the design; fine details will be lost, and the resist will start to separate and break down.”
-Braden Todd, Glassmith2
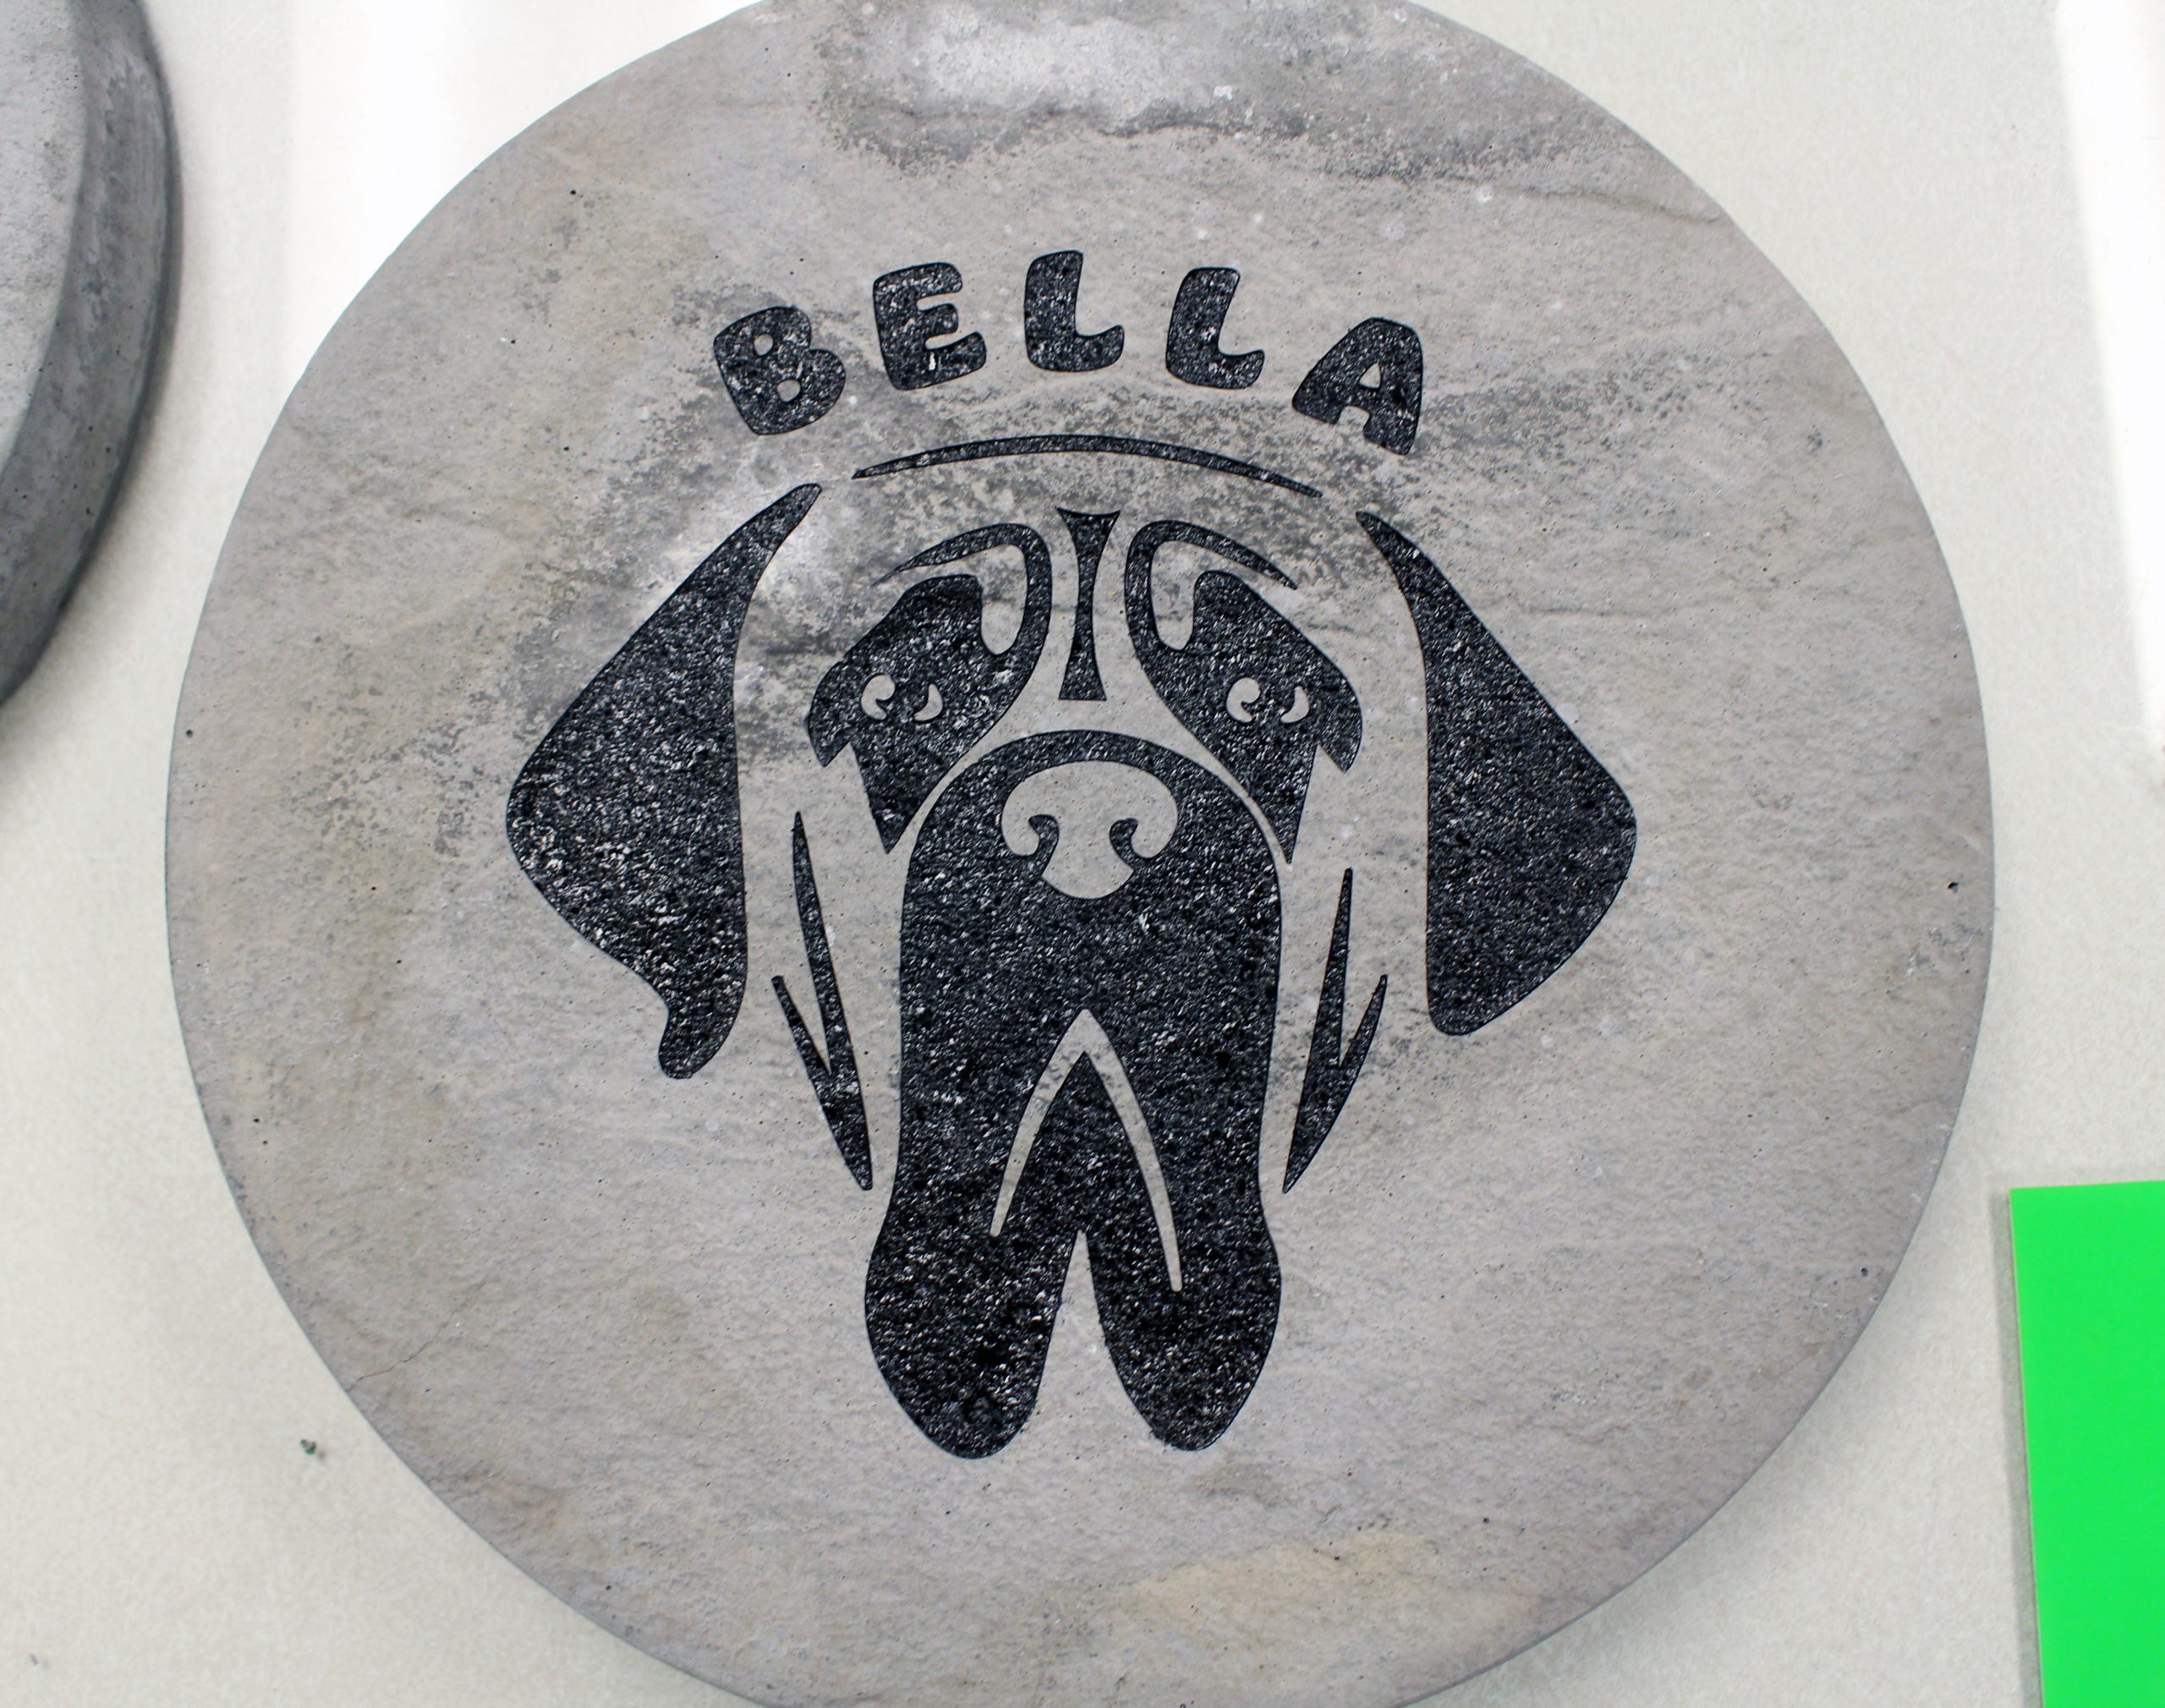
What are some general artwork considerations to keep in mind for sandcarving projects?
“Bold, open, sans serif fonts work best for deep etching, and if at all possible, avoid small script fonts. We recommend text being 8 points or larger, but it all depends on the font your customers are choosing. The larger the font, the clearer the text will be. We’ve also found that positive artwork should be a minimum of .75 points thick in order to etch well, while negative artwork should be a minimum of 1.5 points thick. Sharp points should also be blunted, rounded, or thickened.”
-Jen Jezierski, Crystal D
“Vector images are required to process photoresist stencil. Black-and-white artwork, no color images are required. For vector files, keep to the following formats: AI, CDR, PDF, EPS, and lastly TIFF.”
-Liz Haas, Rayzist
Can you list some popular substrates for sandcarving?
“Sandcarving offers entrance into numerous markets including awards and gifts, collectibles, memorial items, promotional products, and signage. One can carve on flat and curved substrates. Brittle materials such as glass, crystal, stone, ceramic, marble, granite, and wood are perfect substrates for deep sandcarved designs. Metal, plastic, acrylic, and any other less brittle materials are ideal for surface etching rather than a deep carve.”
-Michael Sullivan, IKONICS Imaging
“(Optical crystal) has a higher perceived value for awards because it looks so much more expensive than it actually is. When you etch a message of appreciation on a beautiful optical crystal award, you’re helping your customers create a lasting memory.”
-Jen Jezierski, Crystal D
What are the proper settings and procedures to follow when sandcarving glass?
“Start with your design. If you have a lot of small details or thin lines, you will not want to blast too deeply. Some designs do not look good with a deep blast. If you’re blasting a rectangle with text in the middle on the back of glass, the depth of the rectangle can make the text harder to read and not as clean as a shallower blast.
Proper settings do vary by substrate and design. If you’re unsure, start with a lower psi and work your way up. Always watch your blasting angle, how you hold your item, and the speed you blast at. To have consistent sandcarving, your technique needs to be consistent as well.”
-Braden Todd, Glassmith2
“Glass and optic crystal scratches easily, so use caution when handling glass. Use a low-tack transfer tape or cling plastic wrap to protect the back of the glass from scratching during handling.”
-Liz Haas, Rayzist
“Grit size and type are important when sandcarving glass. For best all-around results, silicon carbide grit in a 180 mesh size is recommended. To do fine detail, and for shading purposes, 220 mesh or finer works well. Other abrasives (such as aluminum oxide) can also be used. Other considerations when sandcarving glass include blasting pressure, typically 25-35 psi, and blasting distance within a 4-6 inch range.”
-Michael Sullivan, IKONICS Imaging
What do I need to consider when sandcarving stone?
“Consider using a thicker photoresist film for blasting stone. A thicker film provides greater sand resistance for blasting depth into stone materials. We recommend a 5mil for a moderate depth (paint-fill etch), and 6 mil for greater depth on stone surfaces. For larger quantities, consider using a coarser grit such as 120 grit for 5 mil or 100 grit for 6 mil for faster etching.
For porous surfaces or odd-shaped rocks, heat the stone surface with a heat gun or mini torch until hot to the touch. The heat causes the photoresist stencil to adhere to the surface. We recommend brushing on a layer of adhesive on the photoresist film for deep blasting on porous surfaces.”
-Liz Haas, Rayzist
“I like to use a heavier mask for stone. This allows for higher blasting pressures and faster engraving times. When blasting stones, make sure your dust collection system is working properly to help ensure you’re not breathing in anything harmful. Settings for stone are a little higher blasting pressure, and make sure your stone is warm so your masking adheres properly.”
-Braden Todd, Glassmith2
What are the common issues faced when sandcarving?
“Using too much pressure and blasting at the wrong angle. Both could easily cost you a product and all of the time spent prepping it. Use a moderate pace, the right distance, and move your arm in steady back-and-forth motions. This helps keep everything, including the angle of blasting, similar and gives you an even etch.”
-Jen Jezierski, Crystal D
“Poor artwork can cause problems throughout the process. Density of the artwork is important. For an example of high density, hold a piece of black construction paper up to a light source – no light bleeds through. This is the density your artwork should provide.”
-Michael Sullivan, IKONICS Imaging
“Common issues are not blasting deep enough, blasting too deep, blasting unevenly, digging ‘ruts’ when deep carving, loosing masking, carving at an angle, masking issues, washout issues… To avoid most of these, it takes a lot of practice and analyzing the etchings you’ve done. Focus on blasting evenly and at a straight angle, and you’ll do well.”
-Braden Todd, Glassmith2
“It is important to have a basic understanding on how your sandcarving system operates and parts that will require replacement. The most common issue is recognizing worn abrasive and when your nozzle requires replacement. These two items are the most common wear parts to any sandcarving system. The effects are inefficiency, worn abrasive causes lengthy blasting, and a worn nozzle causes inconsistent sand flow with lack of penetration of the abrasive in the surface.”
-Liz Haas, Rayzist
What is your favorite thing about sandcarving?
“The final outcome. To me, there is nothing more beautiful than a properly carved piece of glass!”
-Braden Todd, Glassmith2
“I asked our master sandblaster, Mike ‘Zito’ Vitali this question. He’s been doing this with Crystal D for almost 20 years. He said, ‘It’s such a wonderful feeling to be recognized… I want (the recipient) to feel the love when they get the award I etched. I feel connected to each recipient through the awards I etch every day.'”
-Jen Jezierski, Crystal D
“Simply said, sandcarving is enjoyable, simple, and offers numerous opportunities for success.”
-Michael Sullivan, IKONICS Imaging
“The satisfaction of reproducing an exact image of a design into a variety of surfaces. I am not artistic, but sandcarving allows someone to create and be expressive through a design and a little imagination. The blaster becomes a creator of fine products.”
-Liz Haas, Rayzist