Combine Imprints to Create the Perfect Customized Awards
Along with complete and comprehensive listings, A&E's 2019 Guide also features how-to and technical articles. Check out this feature from Jen Jezierski on how to turn a crystal award into a piece of art.
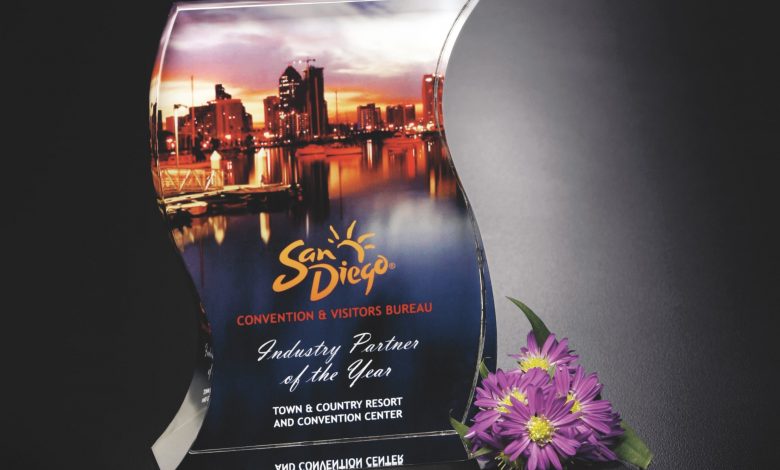
Everyone wants something unique and customized, something special. But when it comes to awards, that can sometimes be difficult to create. Luckily for you, you can create that unique and special award for your clients, and it’s a lot easier than it sounds.
One of the things we’ve learned about through the years is the ins and outs of combining imprint processes. Through trial and error, we’ve found what works best. You’ve probably gone through some trial and error as well. Following, I share some tips and tricks that we’ve learned over the past 26 years.
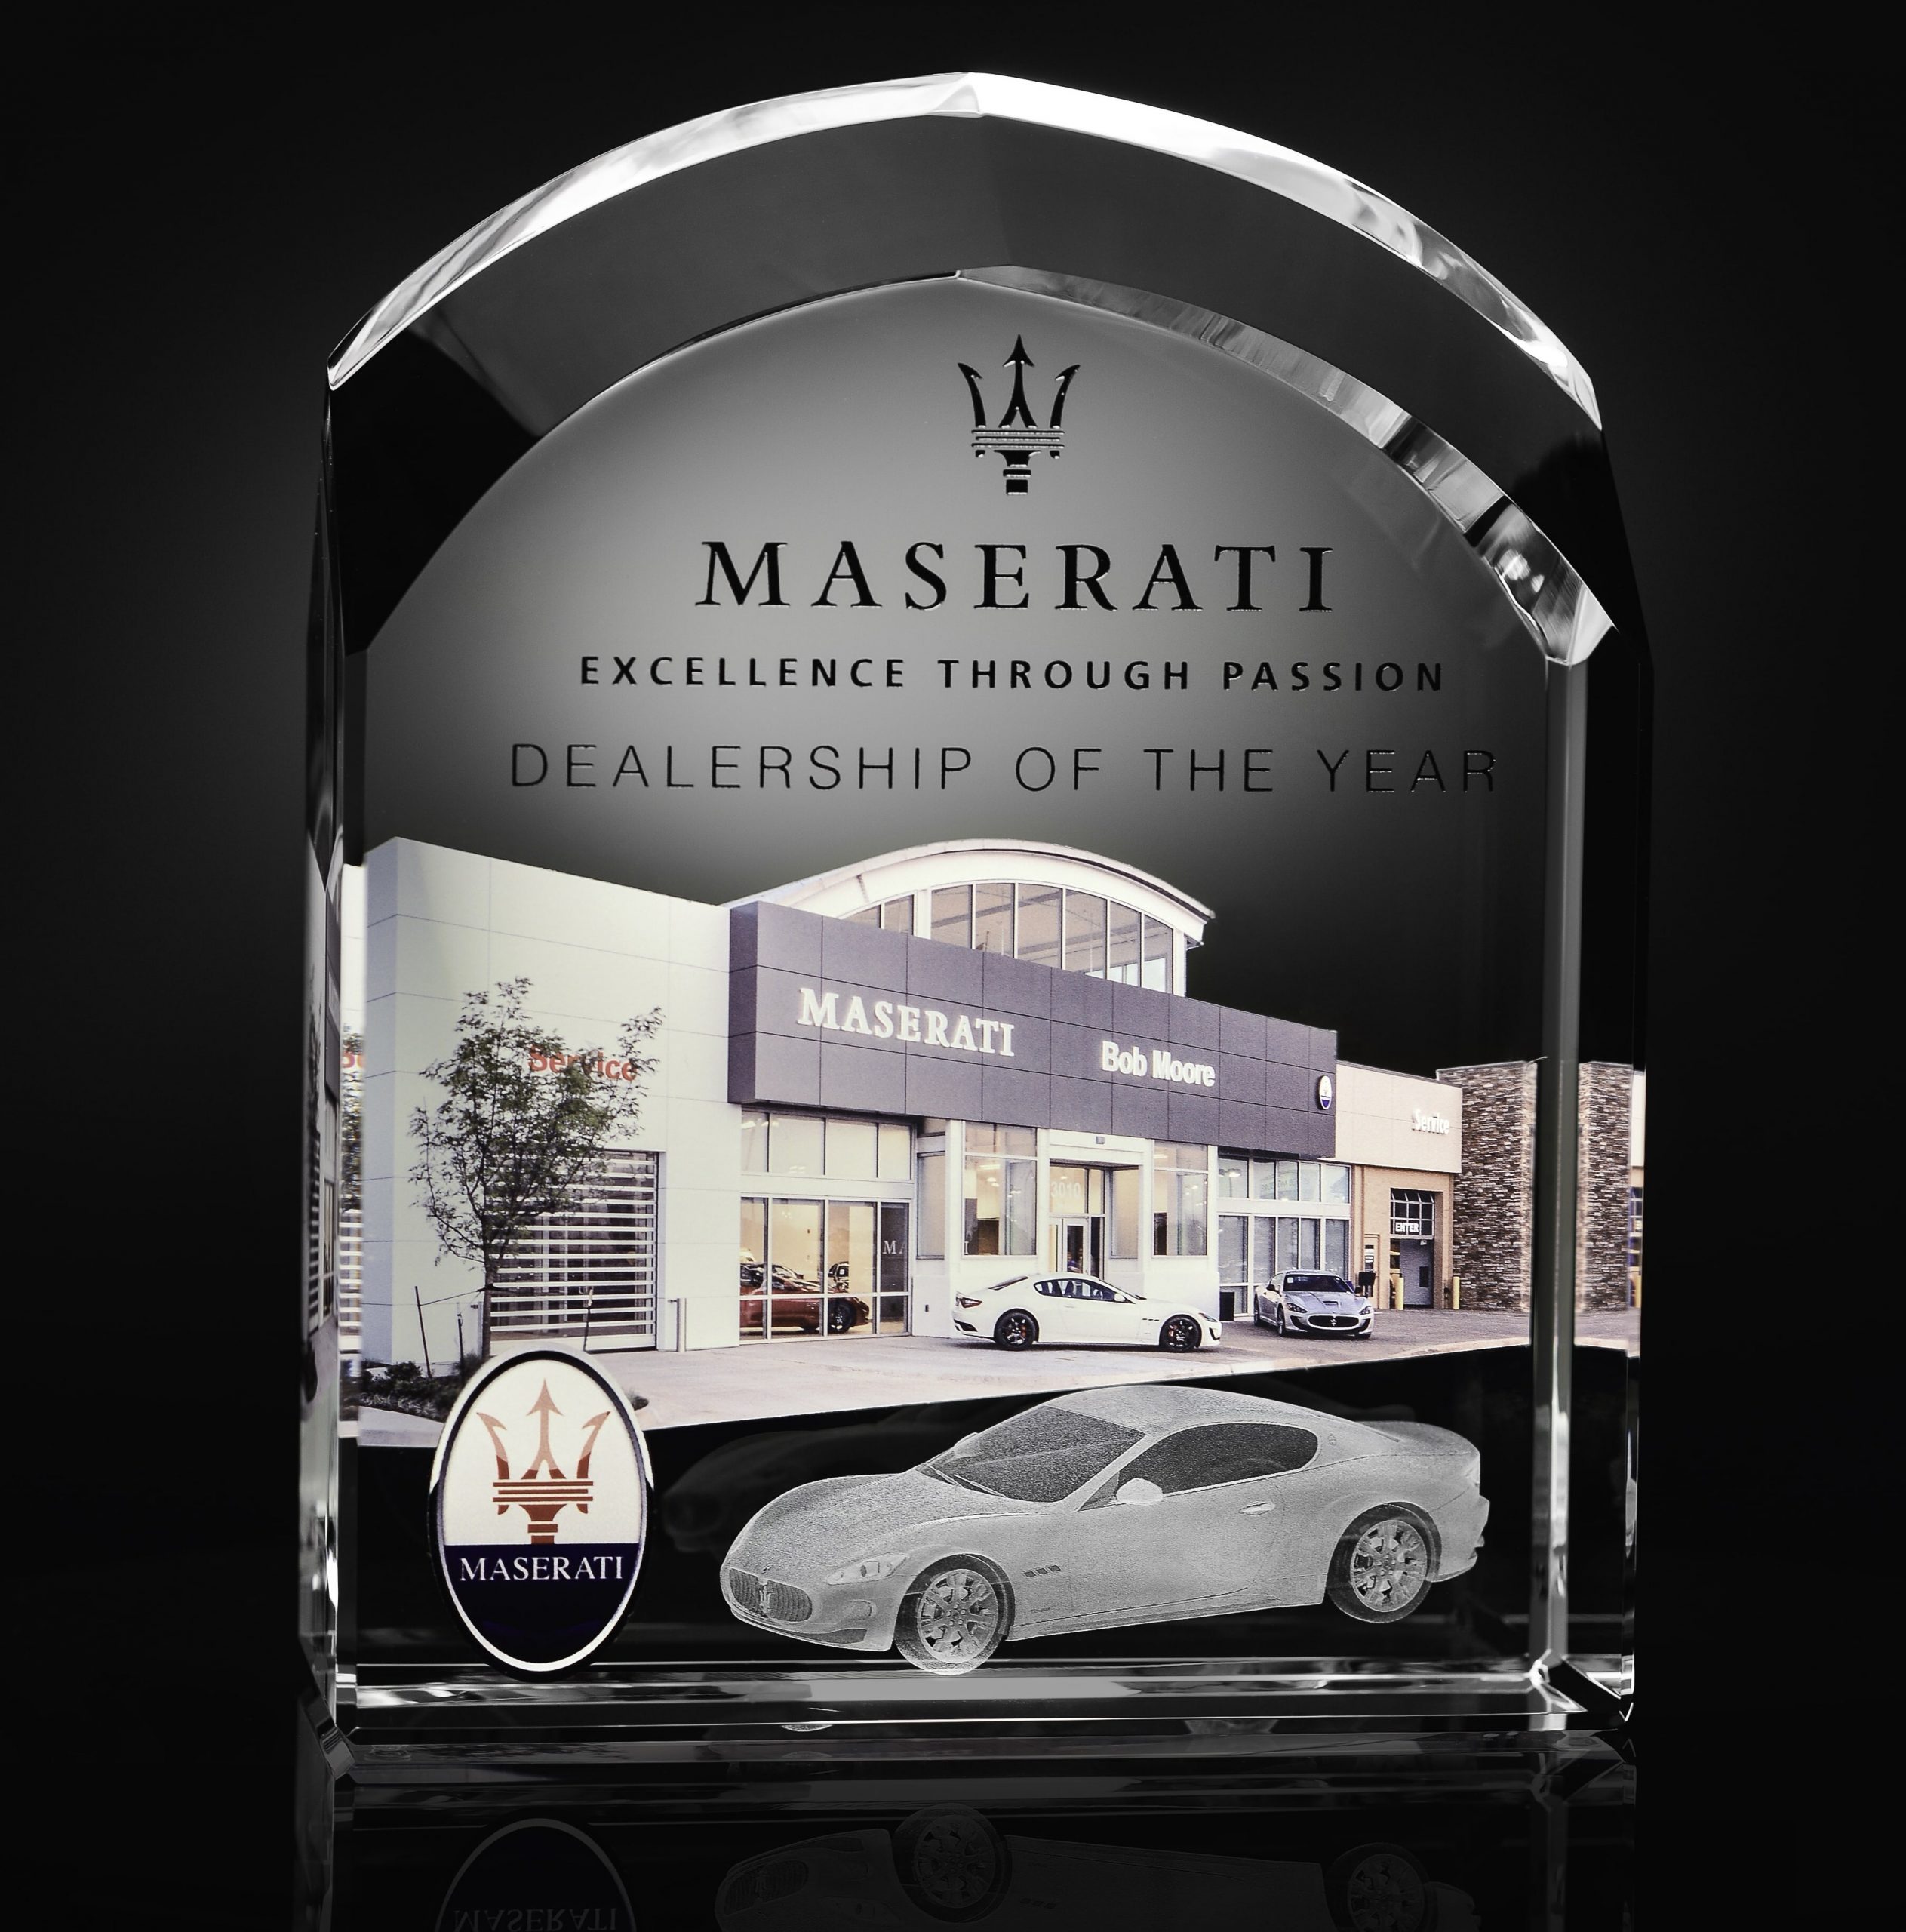
Combining decorating methods on an award can really wow your customers. (All images courtesy Jen Jezierski)
Artwork Tips and Tricks
You need good artwork to create a customized award. A bad art file leads to bad artwork, which leads to a bad imprint. Make sure your artwork is prepped correctly. We recommend keeping your artwork away from the edge or bevel on an award so you don’t run into any artwork issues during the production process.
The easiest way to make sure your artwork is placed and sized correctly is using a template. Our production artists use them every day. Ask your supplier for an art template for your award if you can’t download them from their website.
- Tip 1: Make sure your artwork is vector, especially if you want to avoid an art charge when outsourcing production to a supplier. Vector artwork can be resized without distorting the image, so it’s easy to work with. You can recreate a photo as vector art, but it’s time-consuming. If you can, ask your clients to send black-and-white vector art with no gradients or grayscale.
- Tip 2: Communicate your etch-ability standards when it comes to sandcarving projects. We require different thicknesses for different font sizes so there’s no art issues once sandblasting starts. Your standards will depend on your machinery and film. Etch-ability standards also include making sure the artwork actually fits on the award. Once your artwork is ready to go, you can print it onto your film for etching.
If you’re adding a full-color imprint to the award, you’ll follow a similar process. This time, however, your vector artwork can have color, gradients, and grayscale. If possible, you still want the artwork to be vector so you can resize it without distorting it. If vector art isn’t possible, you can use a JPEG image. We recommend the image be 300 DPI at the size the art will be printed. Technically, you can use any DPI, but the image might not look good once printed.
- Tip 3: When your four-color image floods the entire award, consider bleeding the image over the edge of it to make sure the whole surface is covered.
Once you’re done laying out that artwork, save the file on the computer your printer can access. Now that your artwork is done, you can start imprinting.
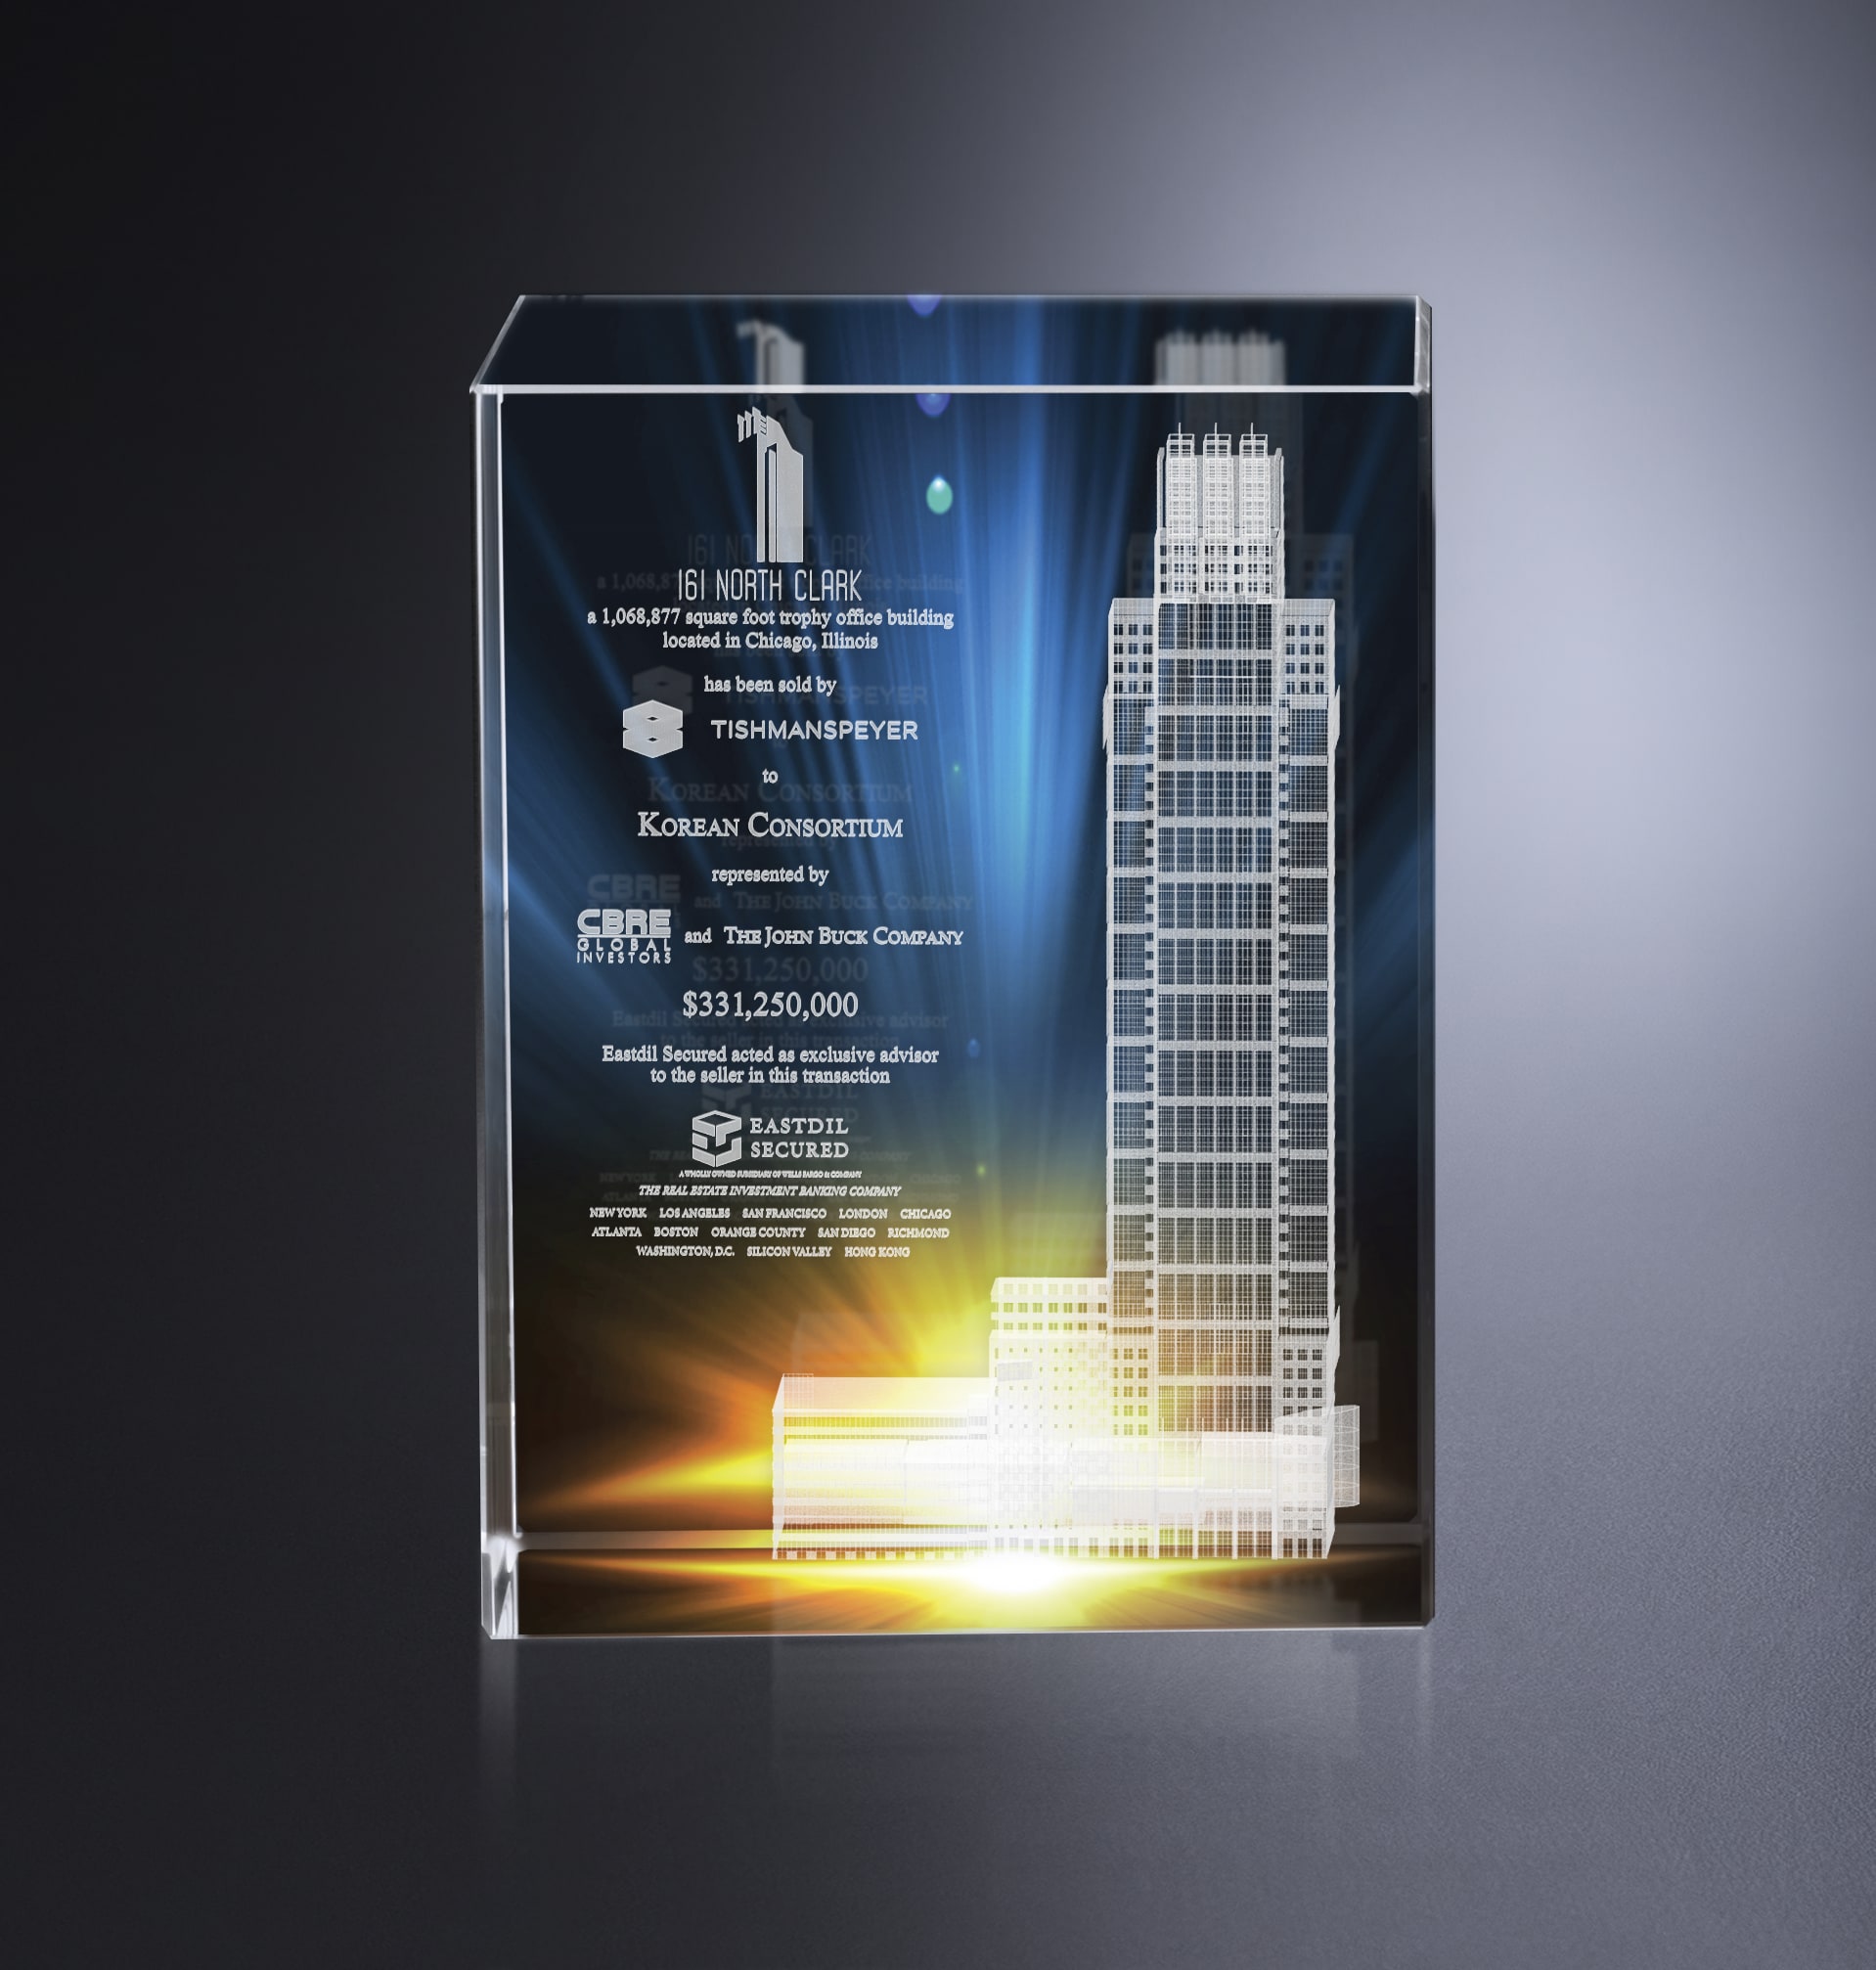
Turn a crystal award into a work of art by deep etching, color-filling, and adding a full-color imprint.
Etching Tips and Tricks
Once you have created the film with your artwork on it when sandcarving, you’ll need to expose the film onto the masking material. The most common film used is 3-4mm thick.
Once your mask is created, double check the art for errors. If you don’t catch the errors before adhering your mask to the award, you’ll have to start the process all over. After you’ve done this, you can apply the film to the award.
After you apply the film, make sure you cover all the exposed crystal. Try using masking tape – we’ve found it helpful. It keeps the crystal protected during sandblasting and is also easier to get off the award when washing it. Once your mask is adhered to the award, you’re ready to blast.
- Tip 1: If you’re using a 3-4mm-thick film, you should etch at 25-30 psi. This way you’re less likely to ruin the film and have to start the whole process over.
- Tip 2: Always aim for a deep and even etch. If the etch isn’t even, your artwork will have darker and lighter spots, which can be noticeable.
Once you’re finished etching, wash and dry your awards in a clean, dust-free area for the perfect presentation.
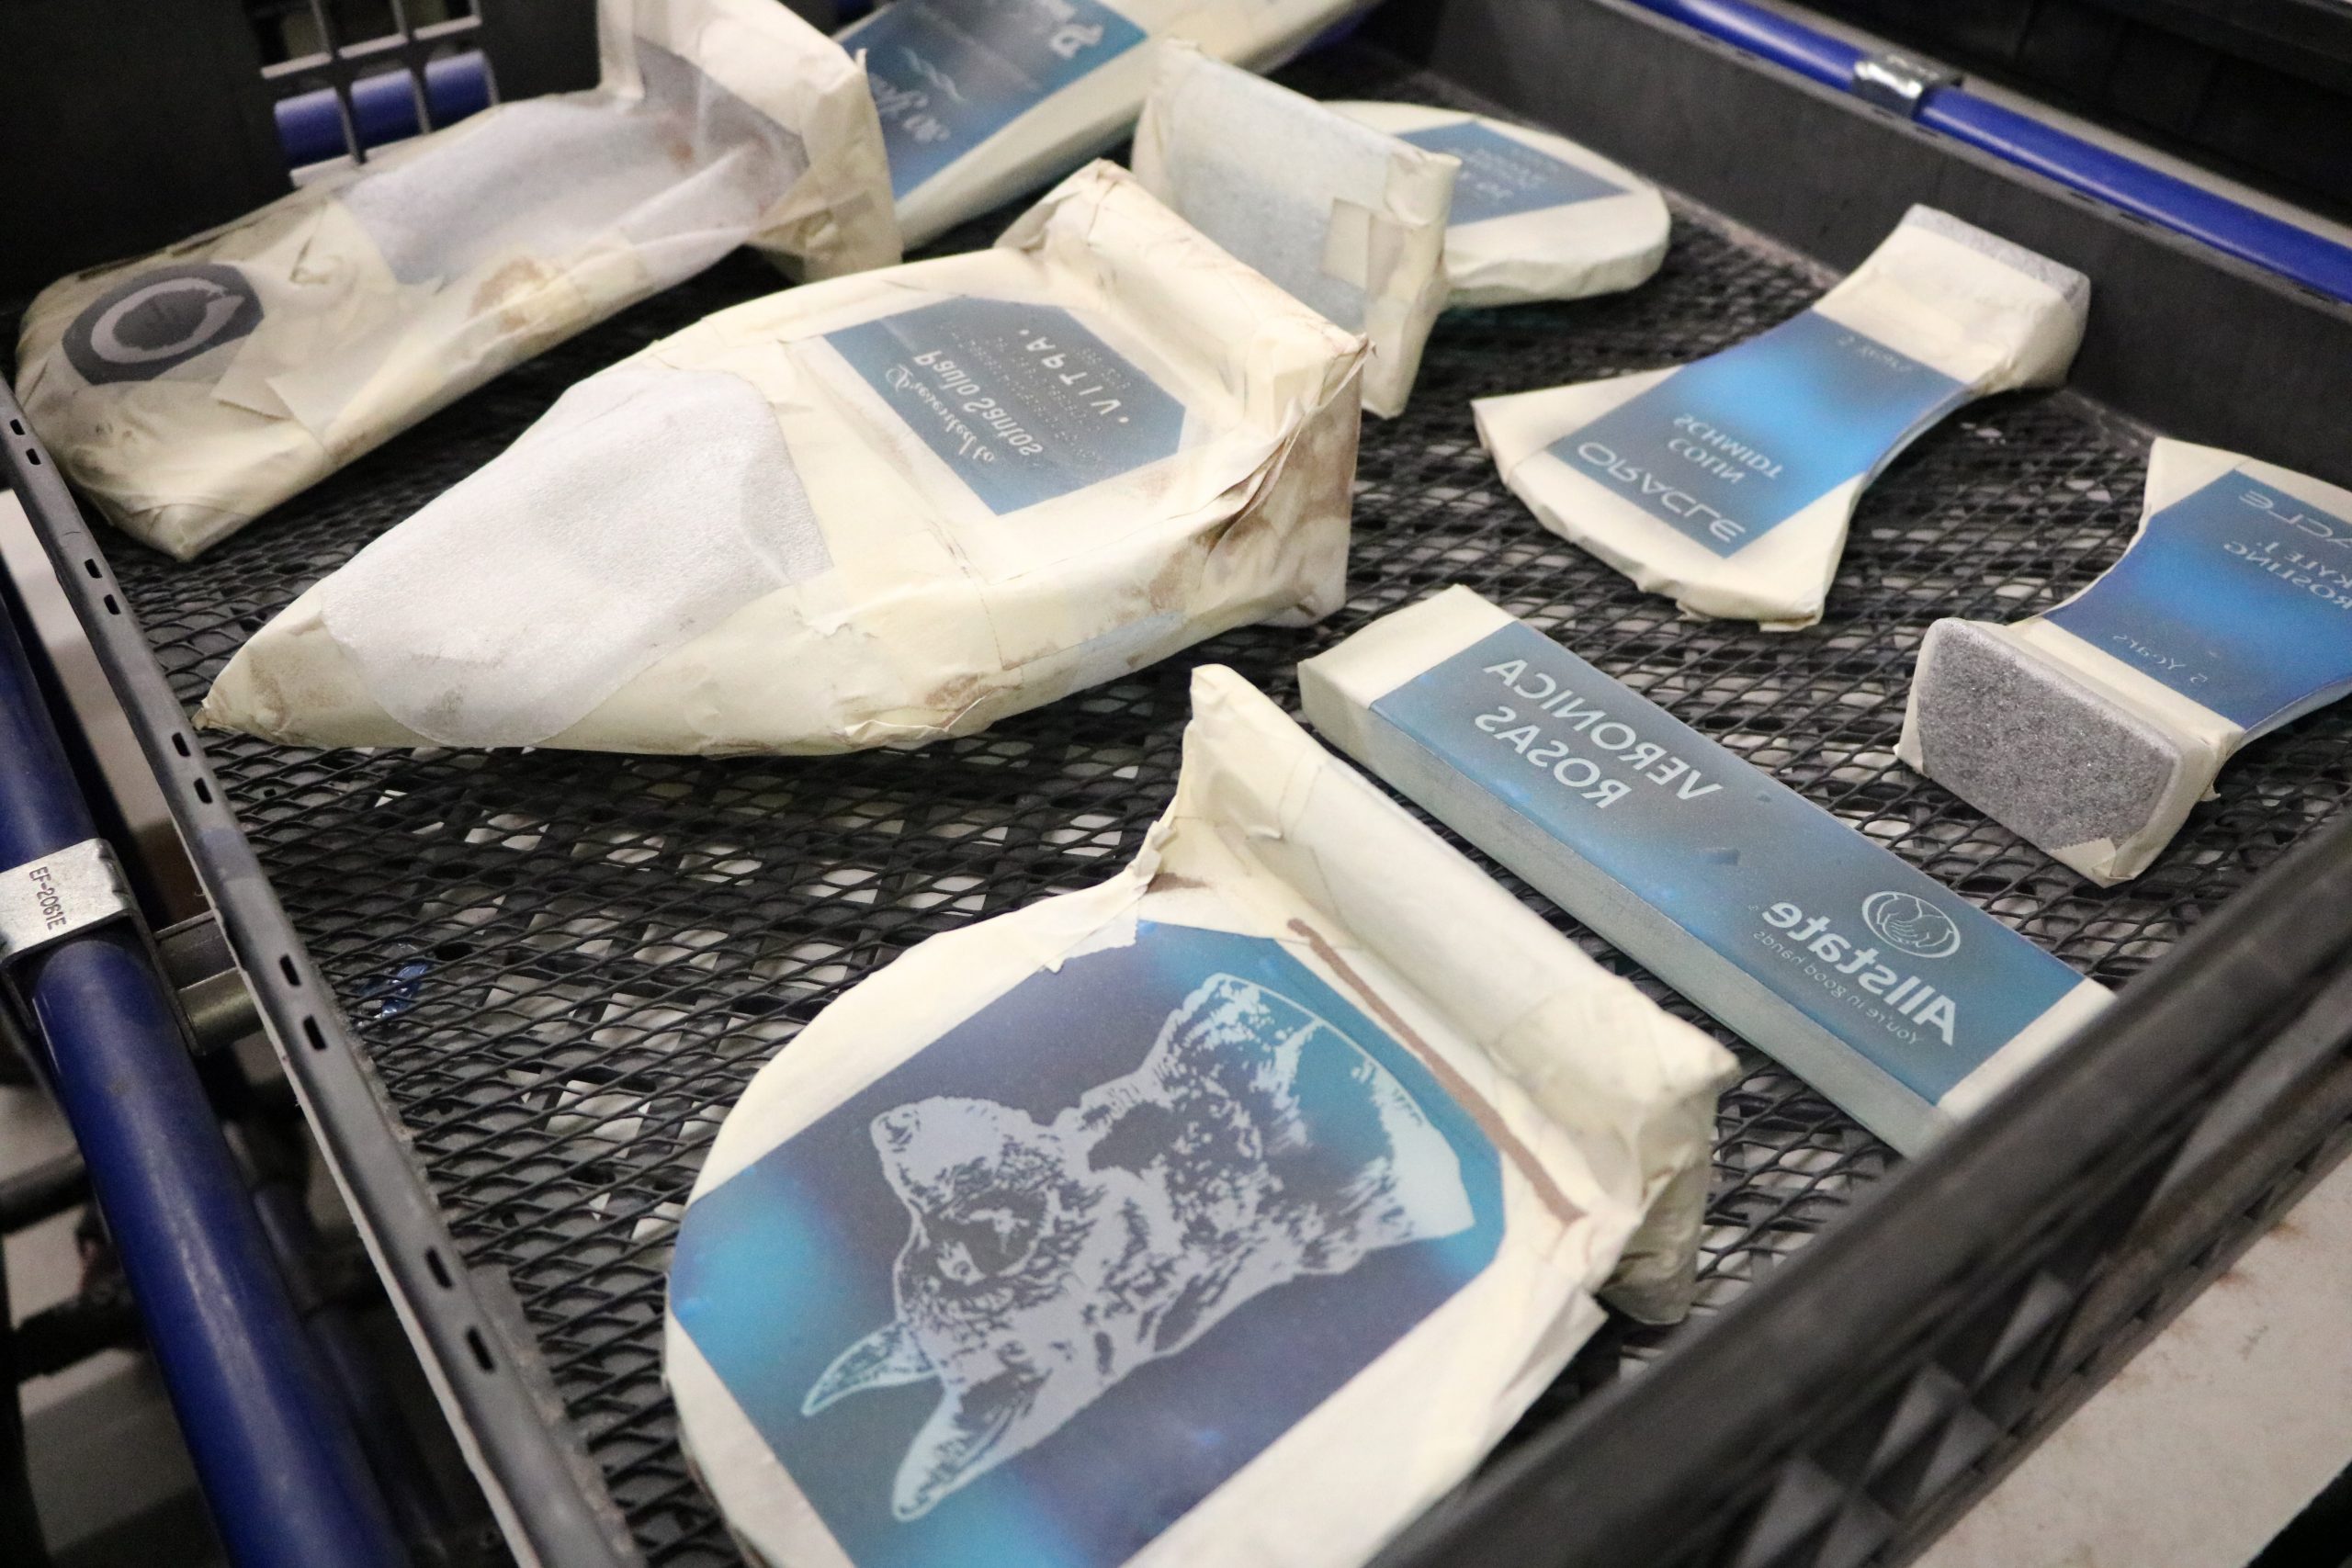
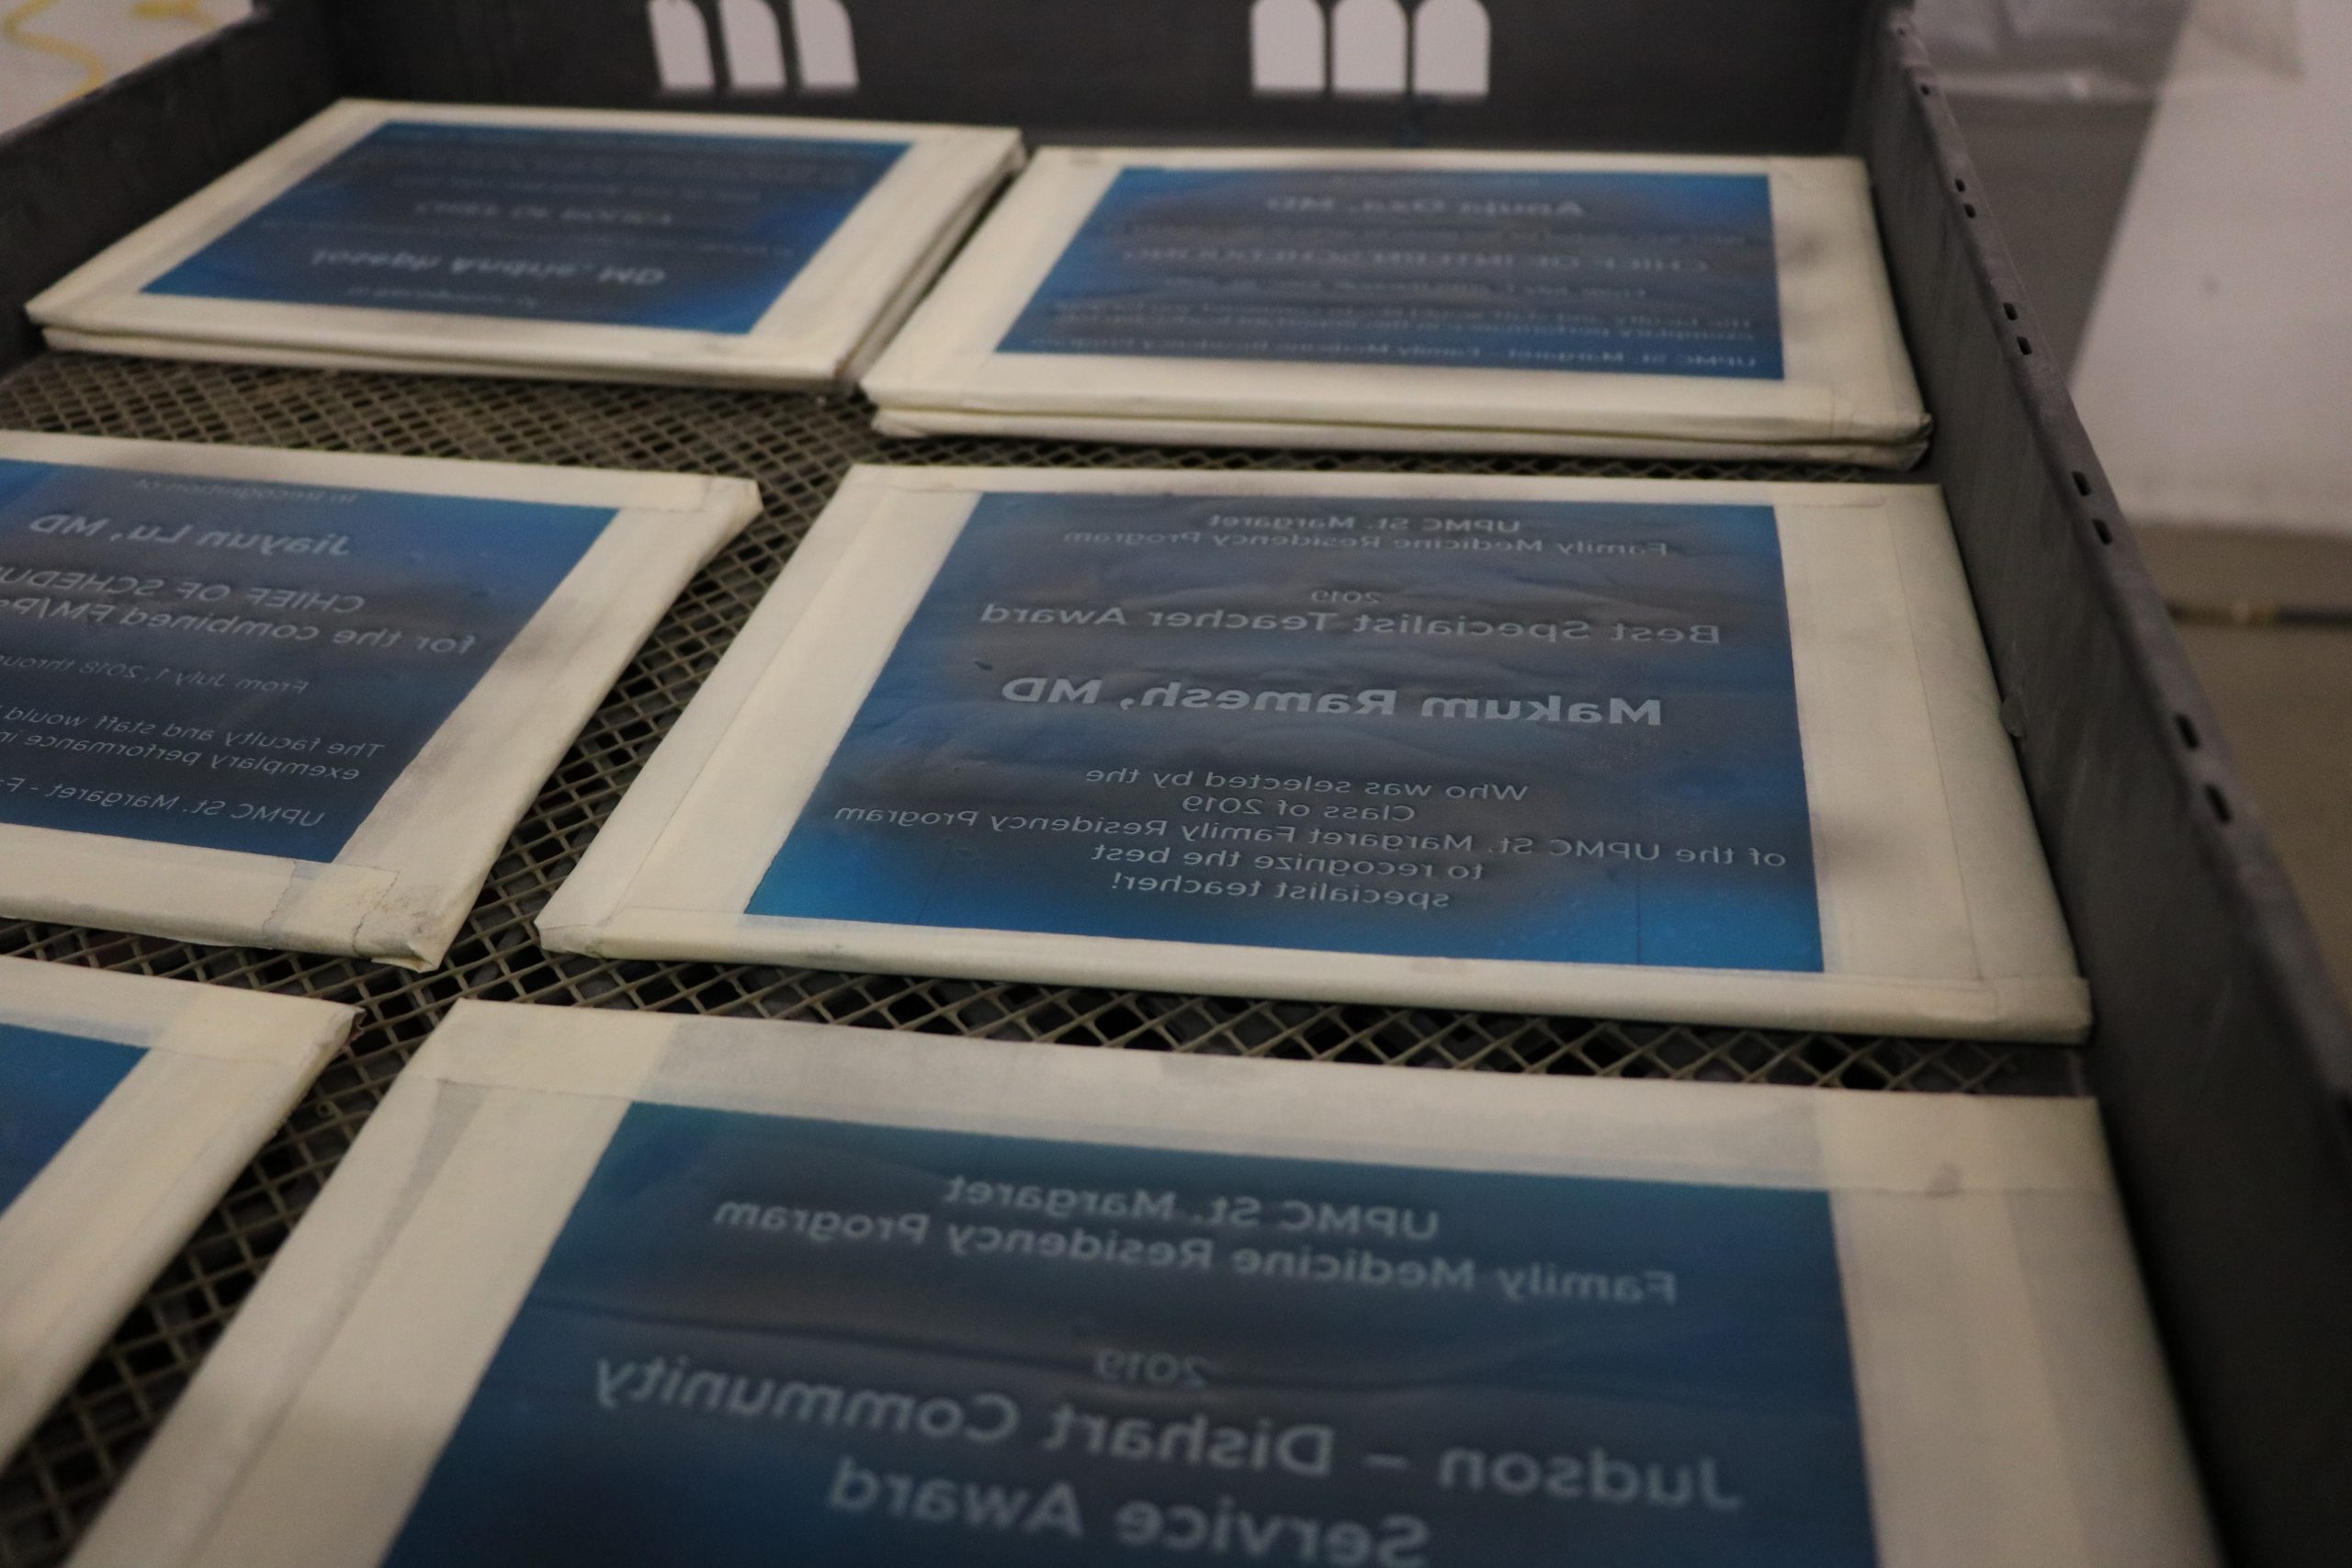
When sandcarving, after you apply the film, make sure you cover all the exposed crystal. Try using masking tape.
Full-color Imprinting Tips and Tricks
Washing the awards and packaging them in their gift boxes could be the end of the process for many projects, but if you have the option to add color, it brings more life and dimension to the award.
Once you’ve created the art and saved it to the computer attached to your printer, it’s ready to be printed. Prep your awards according to your printer manufacturer’s specifications, and you’re ready to print. Each award may have to be printed individually, so this might take some time depending on your machine.
There are a couple tips to keep in mind when full-color printing on an award.
- Tip 1: Make sure the award is level. If it’s not level, the artwork won’t print correctly.
- Tip 2: Make sure your ink is Prop 65 compliant. Otherwise you may need to disclose that information.
We’ve also learned through trial and error that curved crystal awards reflect too much light back onto the printer heads. They burn out quickly with curved awards.
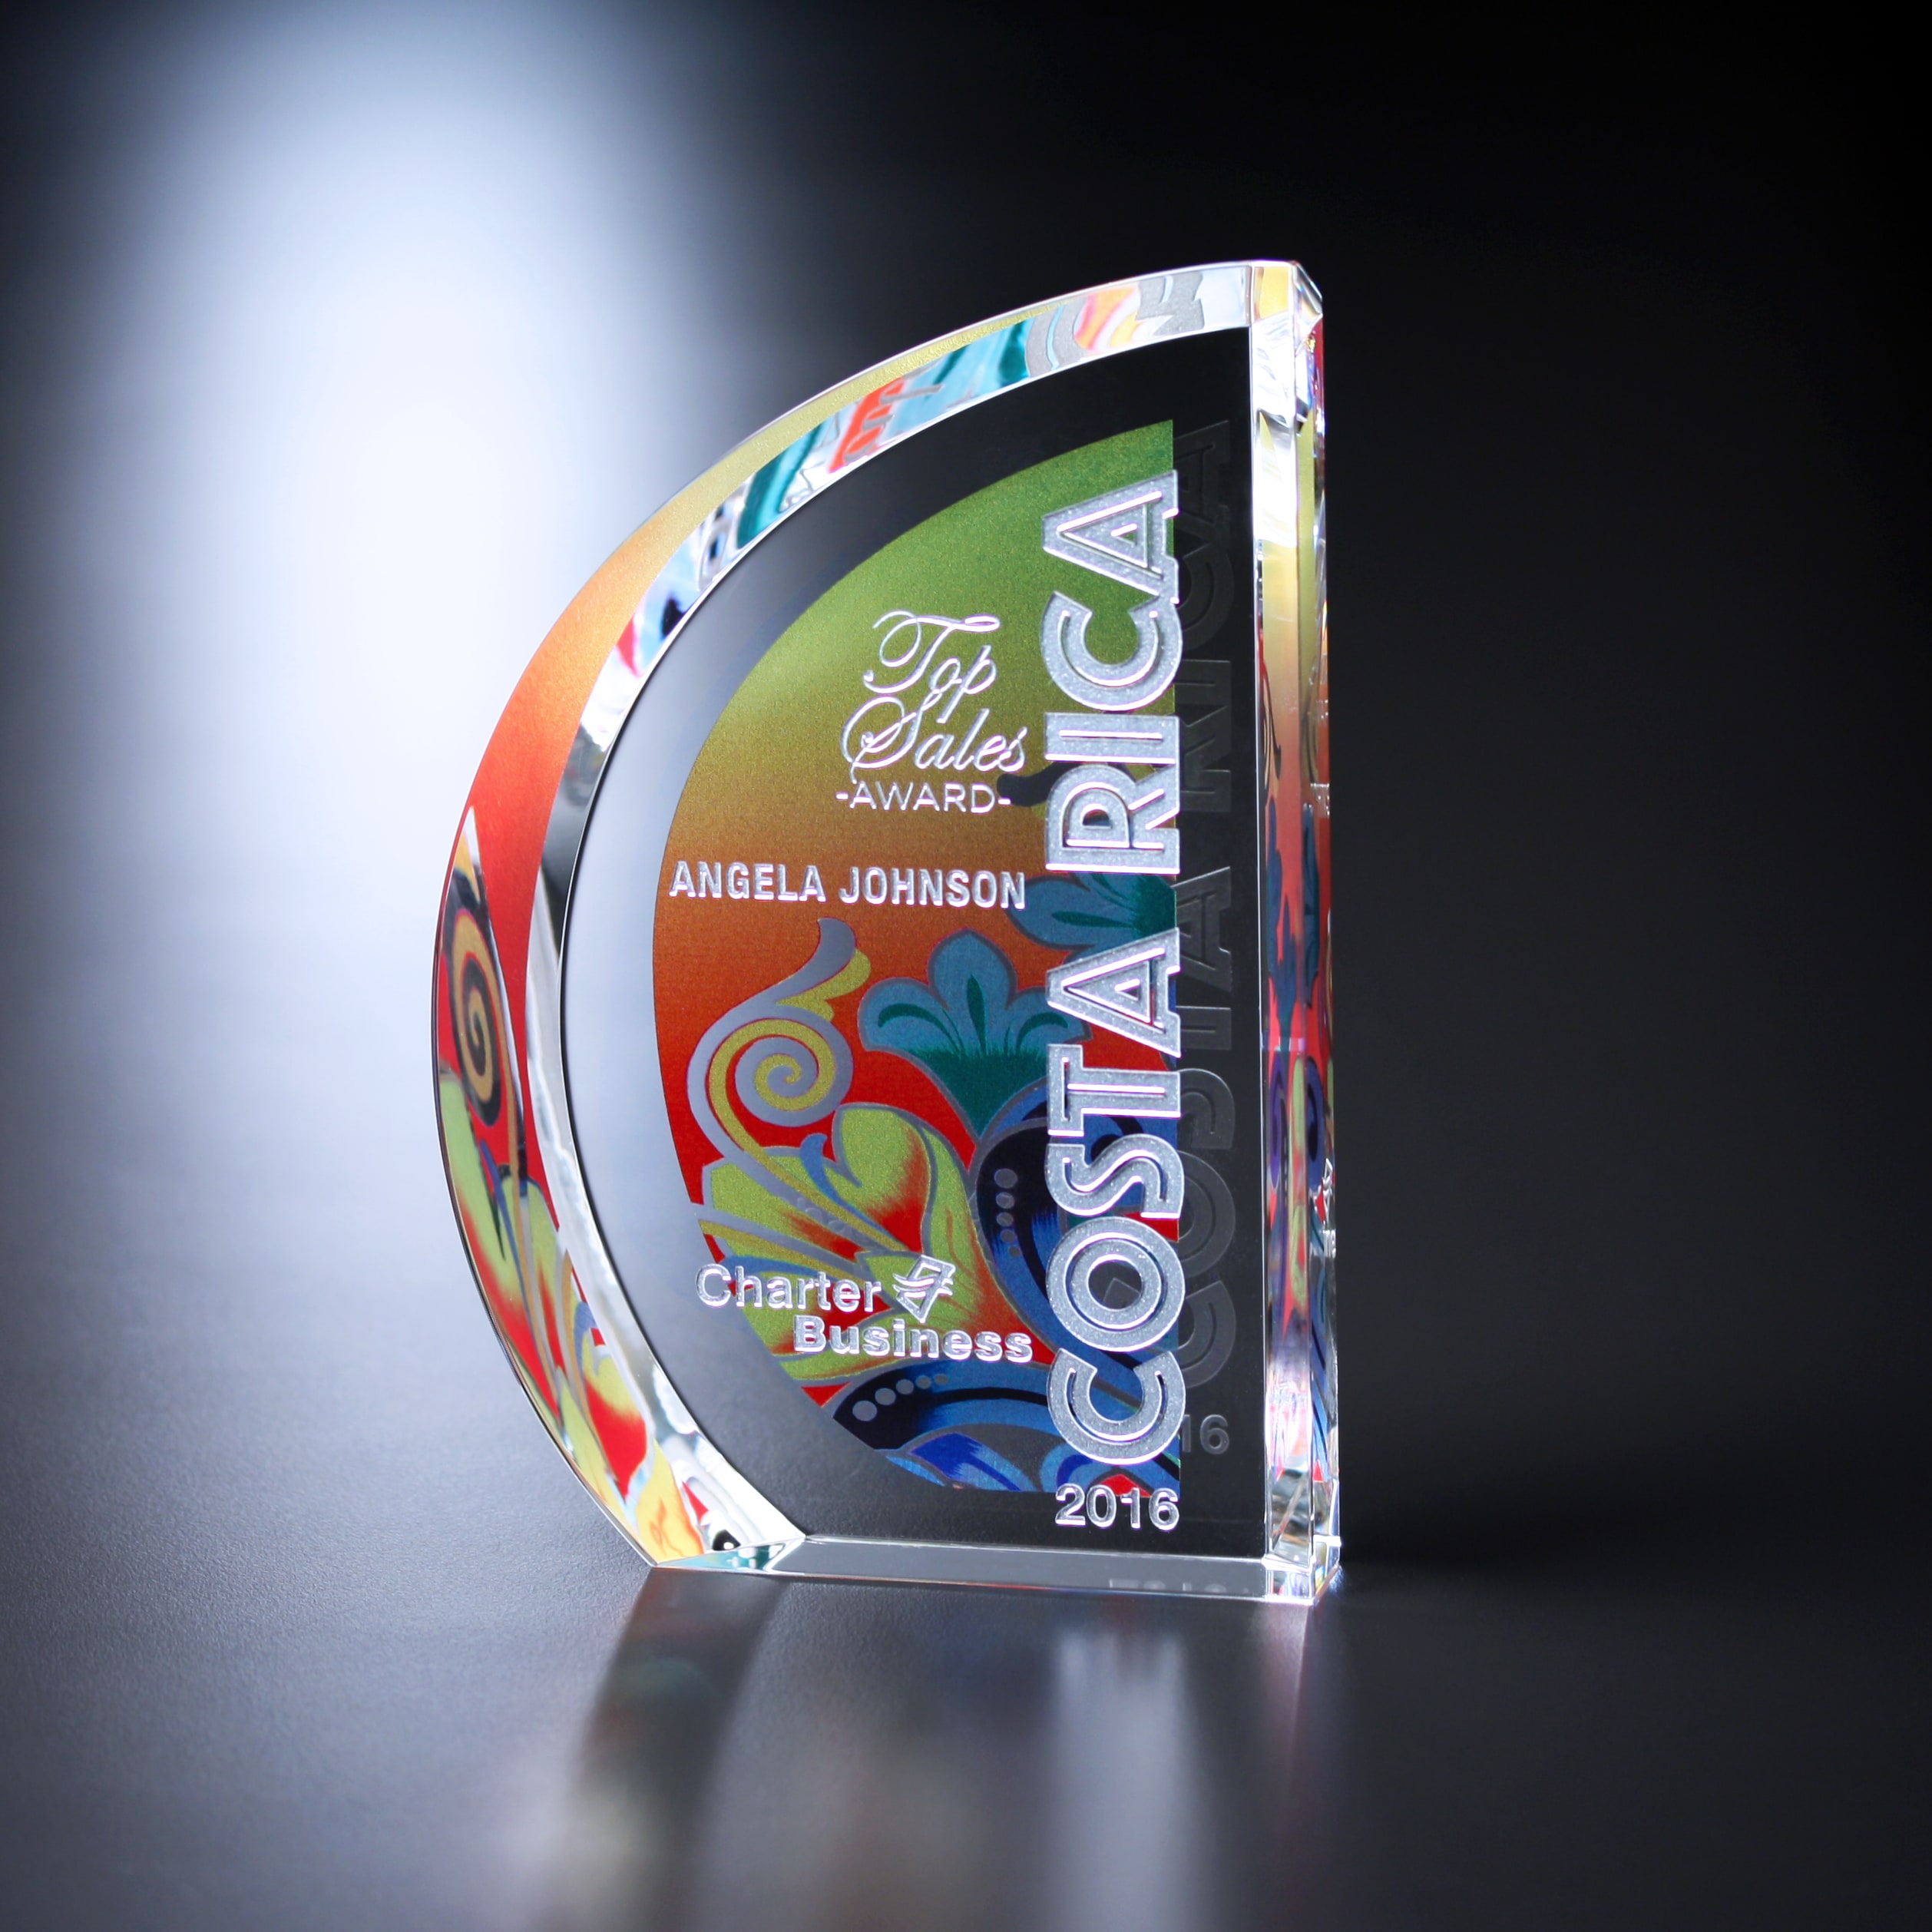
If you have the option to add color, it brings more life and dimension to the award.
Color-fill Tips and Tricks
Color-fill is where you can add color to a deep etch on an award.
- Tip 1: When working with translucent colors, the color may vary depending on how large the surface area is. Smaller etch areas may appear darker than larger areas, even if you’re using the same paint. This is why we don’t PMS color match at Crystal D.
- Tip 2: Color-filling on curved surfaces is a challenge. We don’t recommend it, as the paint tends to pool in the corners. That leads to varying shades of color on the same surface. If you do want to color-fill on curved surfaces, make sure you have scrap pieces you can practice on.
Now that you know some of our tips and tricks, you can try this yourself. Turn a beautiful crystal award into an incredible work of art by deep etching, color-filling, and adding a full-color imprint. If imprinting these customized awards seems too daunting, our last tip is this: find a supplier you can count on to help. Whether you or your supplier does the imprinting, your clients will love their customized awards.
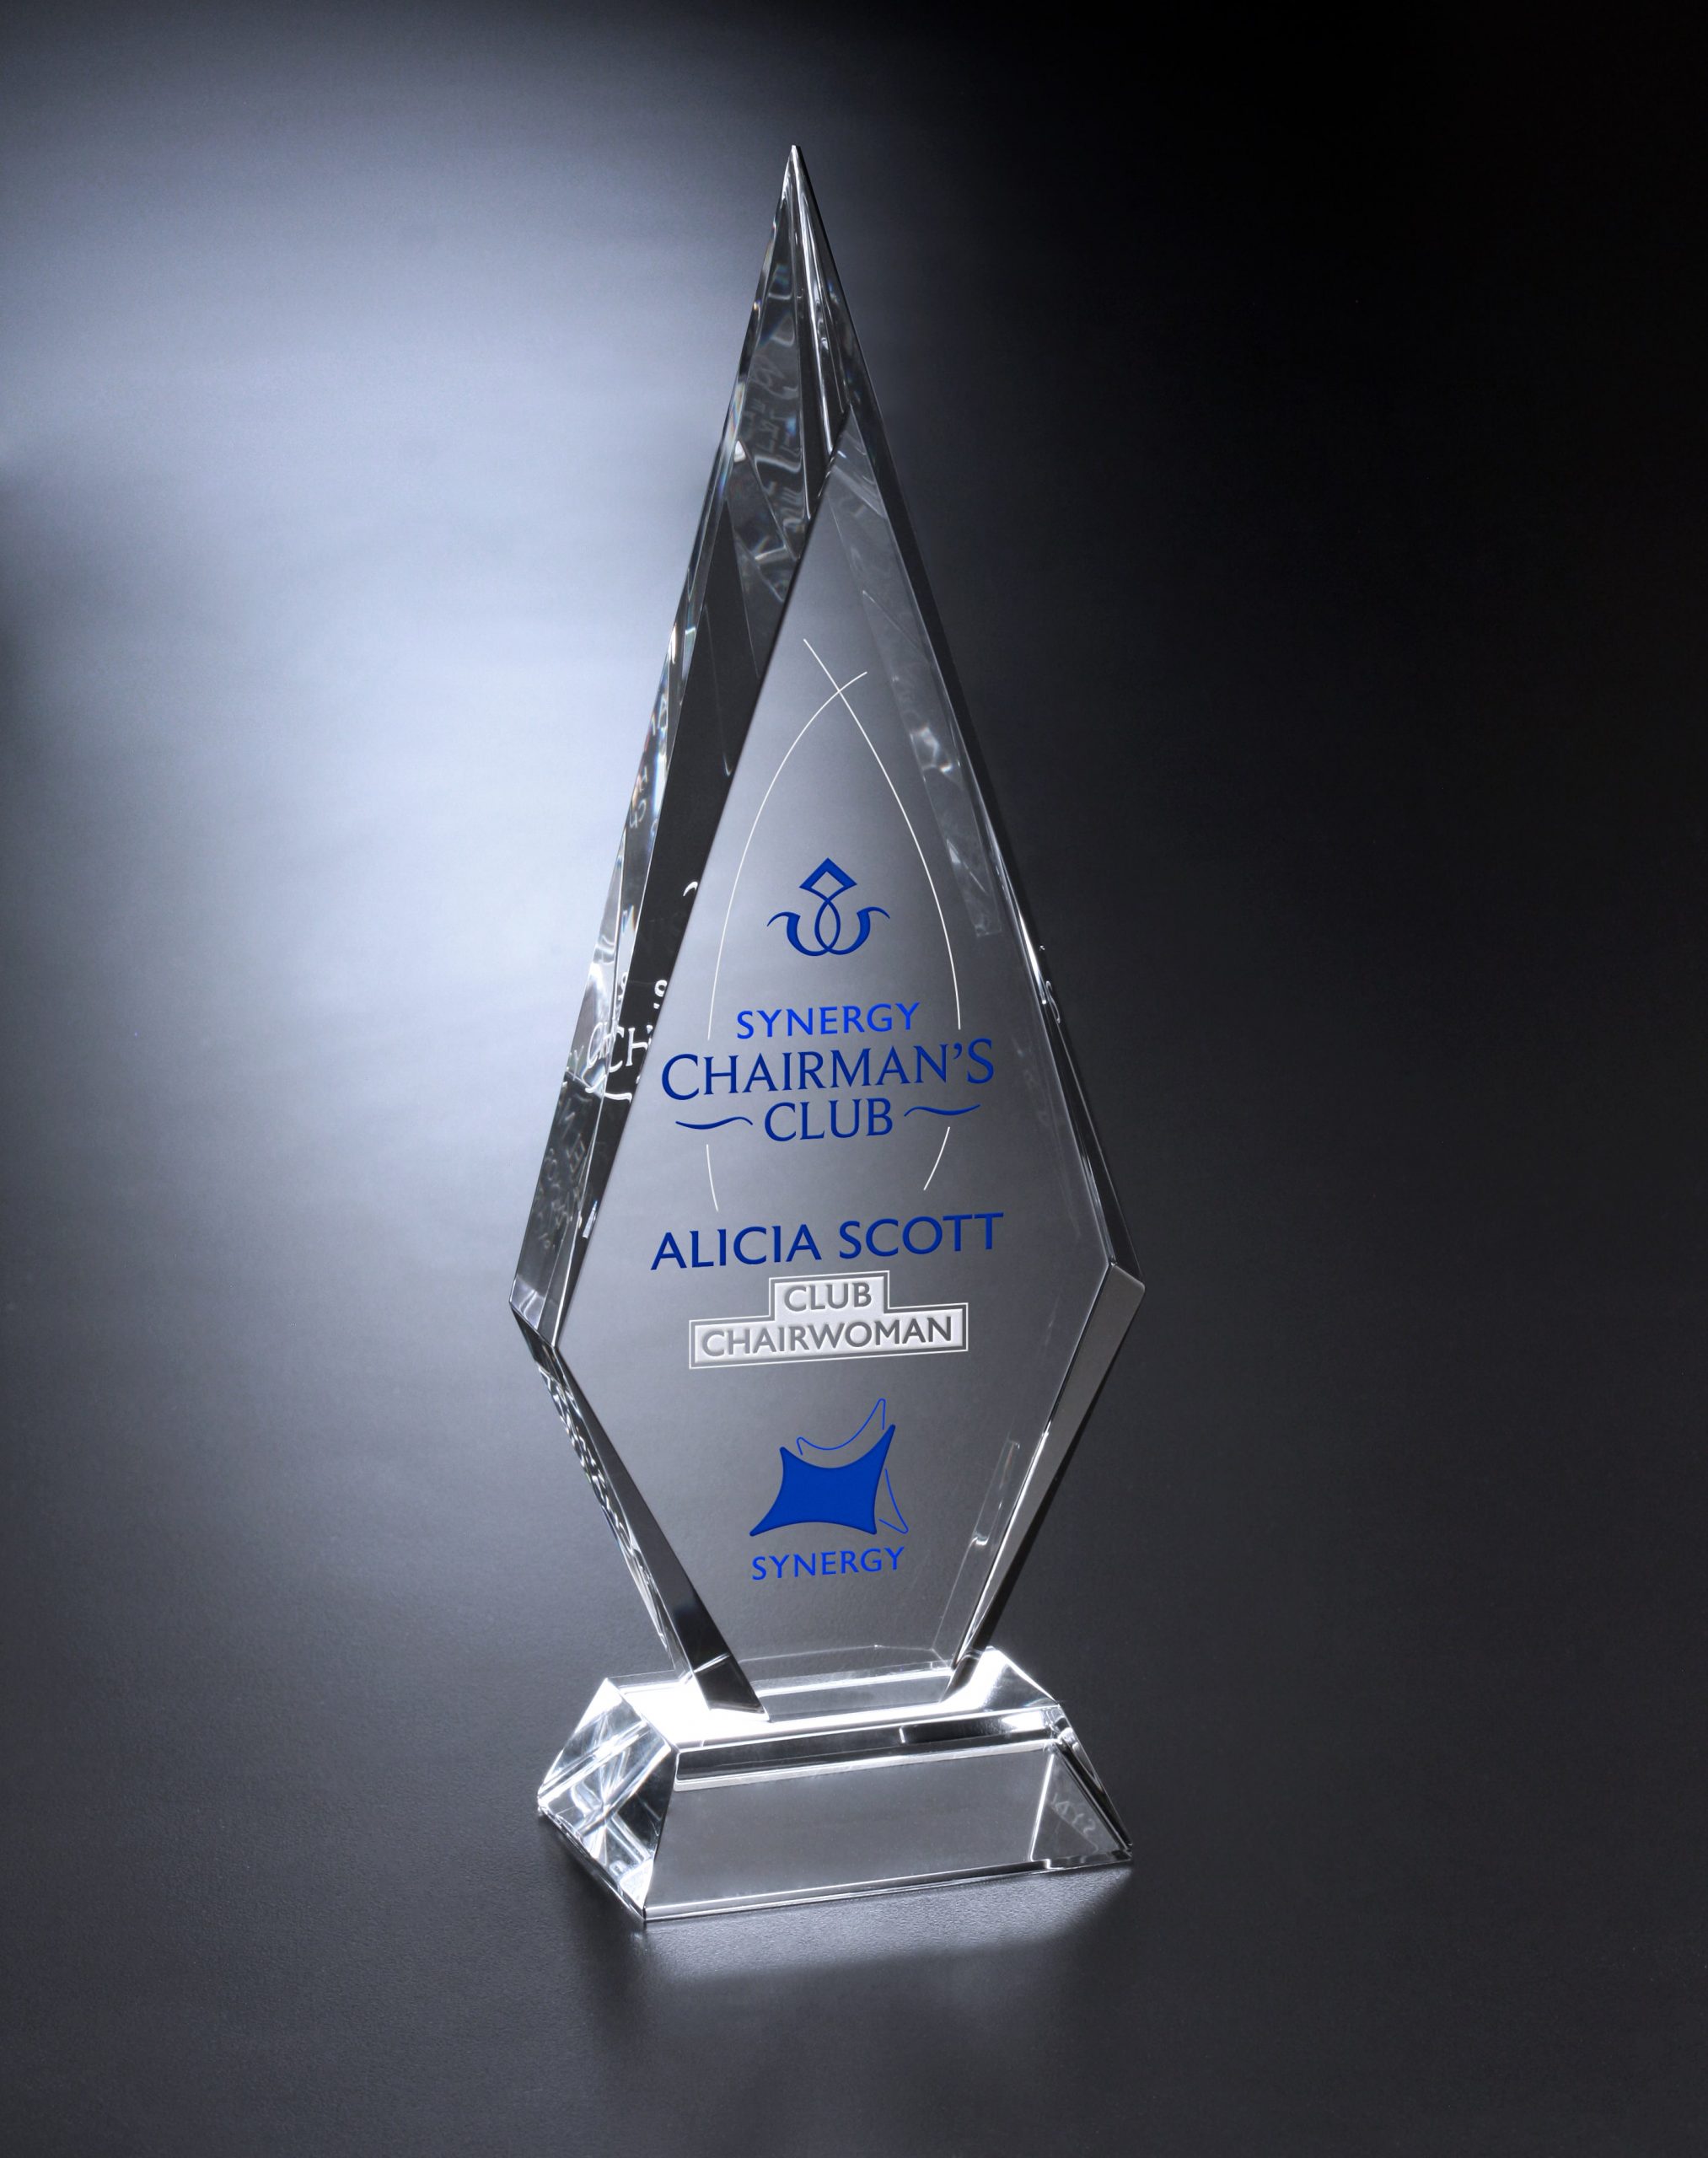
Color-fill is where you can add color to a deep etch on an award.