Shops that excel with a laser often reach a ceiling when customers ask for richer depth, smoother finishes, or flawless marks on difficult surfaces (such as crystal). That is where blazering comes in. Blazering is a hybrid workflow that combines the convenience of laser engraving with the depth and surface quality of sandcarving (aka sandblasting). The laser handles precision artwork and rapid mask creation, while the sandcarver smooths the edges and creates depth, producing premium results that stand out in the awards and personalization market.
Blazering gives you the speed and control of a laser along with the tactile depth and smooth finish that customers associate with high-end glassware and crystal. It also unlocks materials that can be frustrating for lasers alone, including thick glass, powder coated metals, stone, brick, and hard ceramic glazes. For shops looking to raise average order value and expand capabilities without reinventing their process, blazering is a practical next step.
What is blazering & how does it work?
 Laser engraving marks or fractures the surface of glass, which can look frosty but often reveals micro chipping and inconsistent shine. Sandcarving uses pressurized abrasive media to erode the surface to a controlled depth. First, you create the design with the laser by cutting through a blastable mask, then you move to a sandcarving cabinet and blast through the open areas. This transforms the surface mark into a smooth, uniform carve. Edges remain crisp, halftones look intentional, and large fill areas appear even. The final product has a professional weight that is easy to see and easy to feel.
Blazering also creates a logical upsell path. You can price a basic laser engraved piece at one level and offer a sandcarved version with deeper etch and optional color fill at a premium. The production steps are straightforward, which means you can scale from single gifts to short runs for corporate recognition programs, tasting room glassware, and event commemoratives.
Where blazering shines
- Glass & crystal awards: Deep carved logos and typography catch light and read clearly across a room. Background textures, bevels, and multidepth effects add dimension.
- Drinkware: Stemware, decanters, pint glasses, and insulated tumblers all benefit from a smooth carve. Blazering turns an average frosted mark into a refined finish that feels intentional.
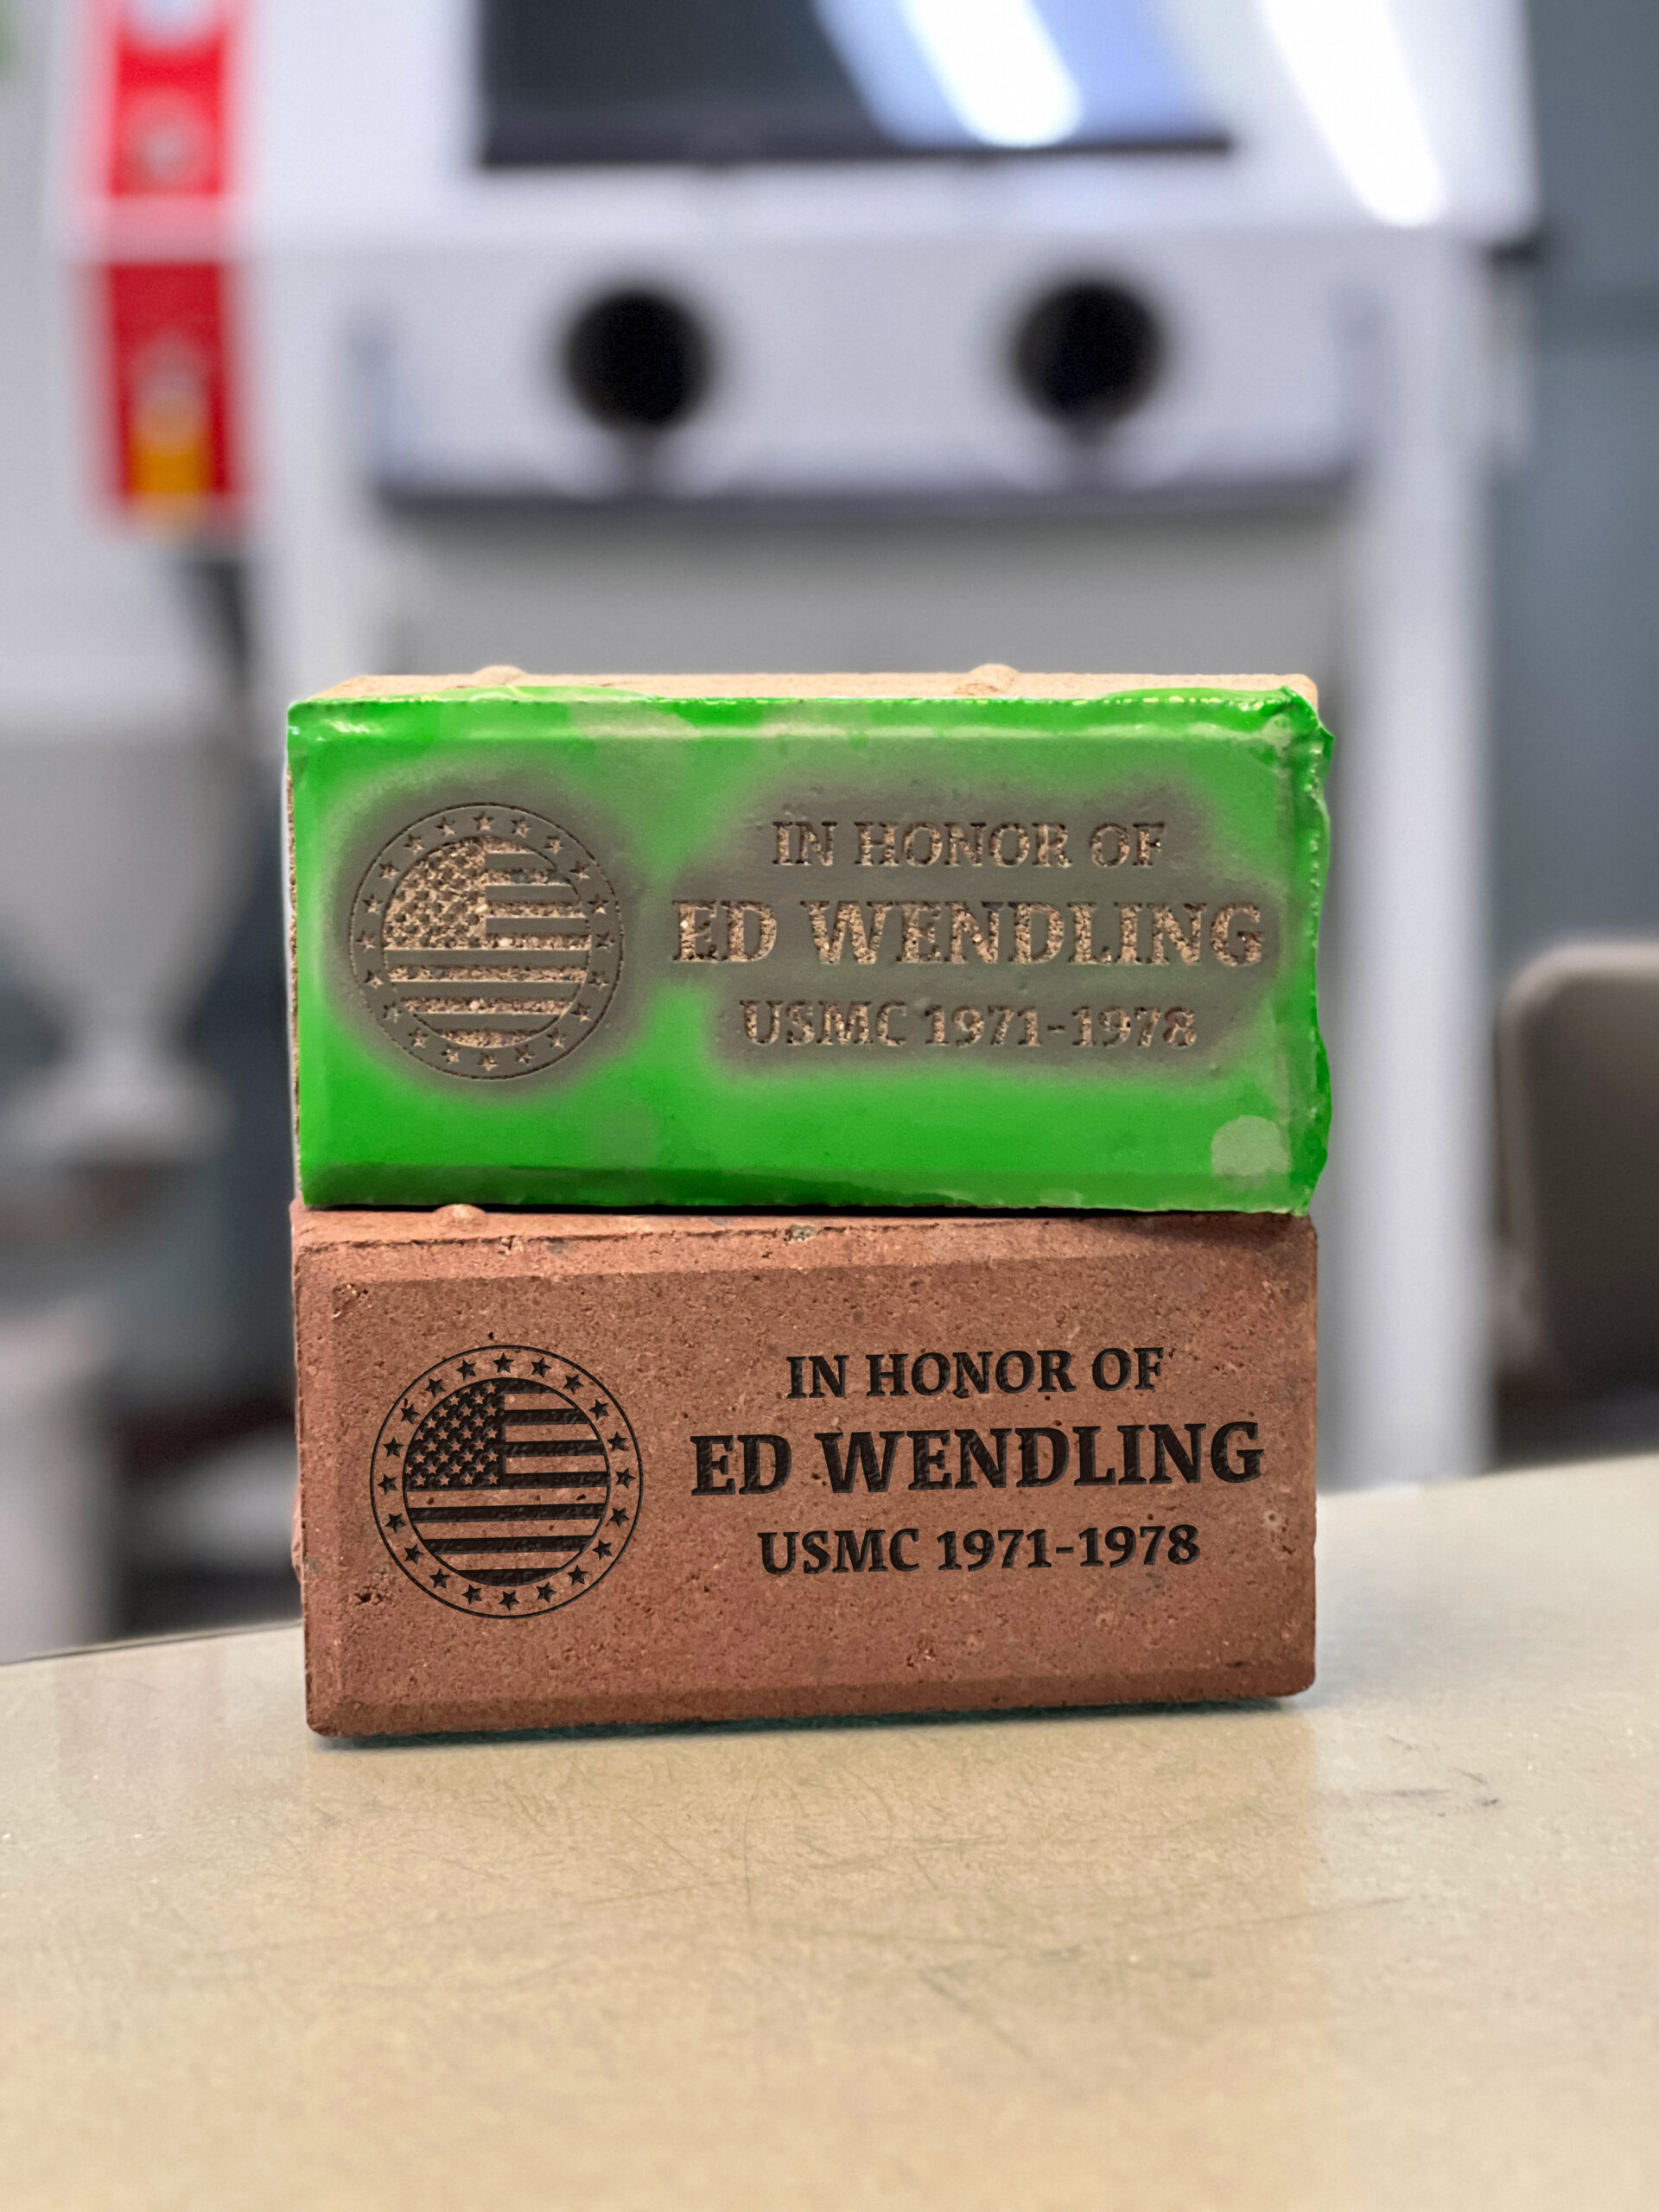
- Difficult coatings & surfaces: Powder coated stainless, hard ceramic glazes, textured glass, river rock, brick, and unglazed stone respond well when the right laser mask is paired with the right media and air pressure.
- Curved & compound shapes: Flexible masks and proper burnishing let you carry fine detail around curves that are challenging in a laser-only workflow.
- Adding color: After you laser engrave and sandcarve your piece, you can easily add color to your design before you remove the mask.
The blazering workflow: start to finish
 Prepare the artwork. Vector artwork with clean paths reduces time at the laser and speeds blasting. Convert small text to outlines and thicken hairlines if needed. Mirror the design if you plan to blast the reverse side of glass.
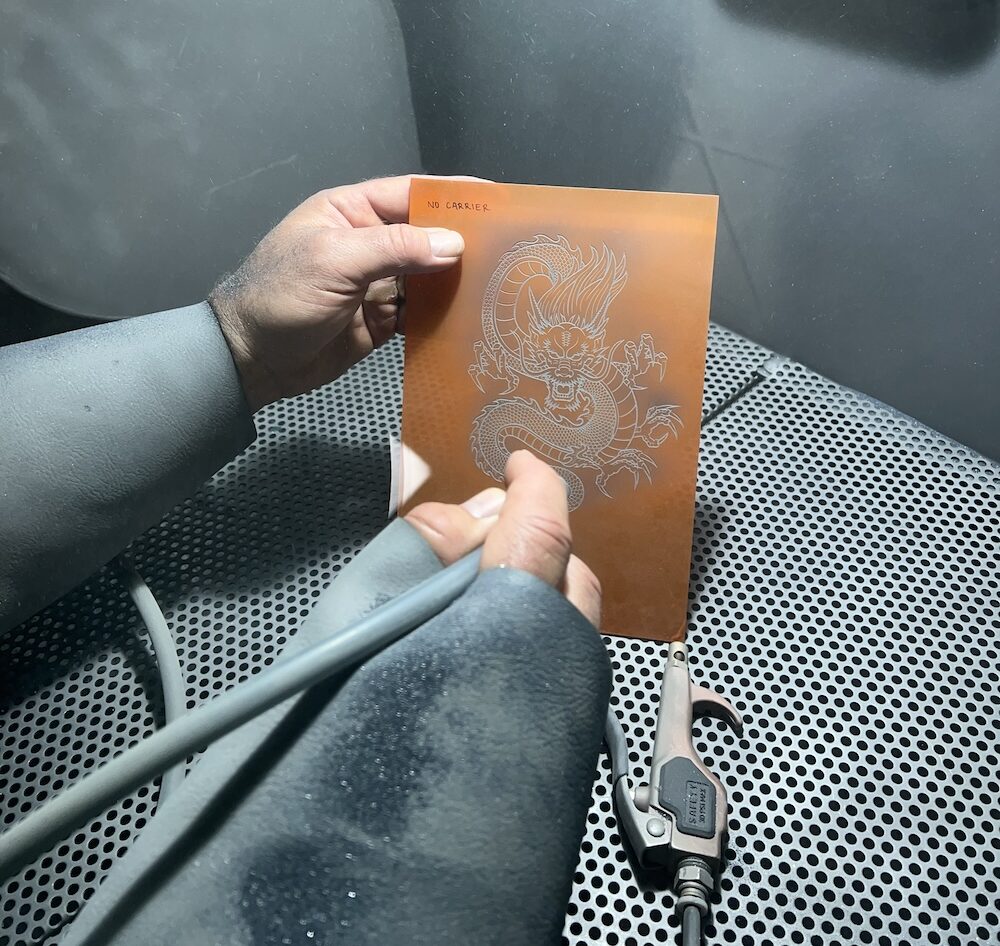
- Mask the substrate. Apply a blastable laser mask to a clean, dry surface. A flexible mask, like Blazer Orange, suits glass and curved drinkware. A higher tack or thicker mask, like Laser THICK, resists lift on powder coat, ceramic, stone, and textured glass. Burnish firmly, with emphasis on corners and fine details.
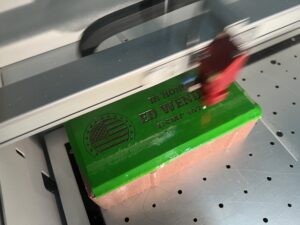
- Laser the stencil. Kiss-cut to the mask adhesive without cutting into the substrate. Start with conservative speed and power, then adjust until your entire design is lasered away. Leave the rest of the mask intact.
- Set up the cabinet and media. Silicon carbide in the 180 to 220 mesh range is a good starting point for glass and fine detail. Silicon carbide tends to cut faster and last longer than aluminum oxide. Verify nozzle condition. A worn nozzle will slow your carve and degrade edge quality.
- Blast technique. Begin with a perpendicular angle for speed and even depth. Move the nozzle in overlapping passes and avoid dwelling in one spot. For edge finesse, introduce a slight angle as you approach corners and thin lines. Depth should build consistently, not in gouges.
- Clean and inspect. Rinse or dust off your piece to check depth and consistency. If color fill is planned, make sure edges are sealed and surfaces are free of residual media.
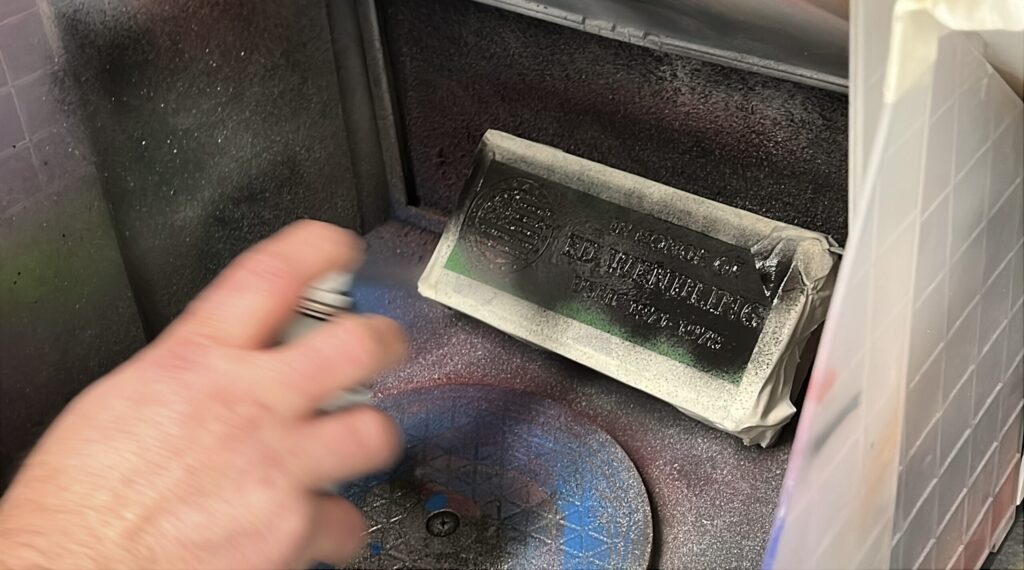
- Finishing touches. Apply paint fill if desired, then peel the mask. Perform a final clean and dry. Package to protect the freshly carved surfaces.
 Prepare the artwork. Vector artwork with clean paths reduces time at the laser and speeds blasting. Convert small text to outlines and thicken hairlines if needed. Mirror the design if you plan to blast the reverse side of glass.
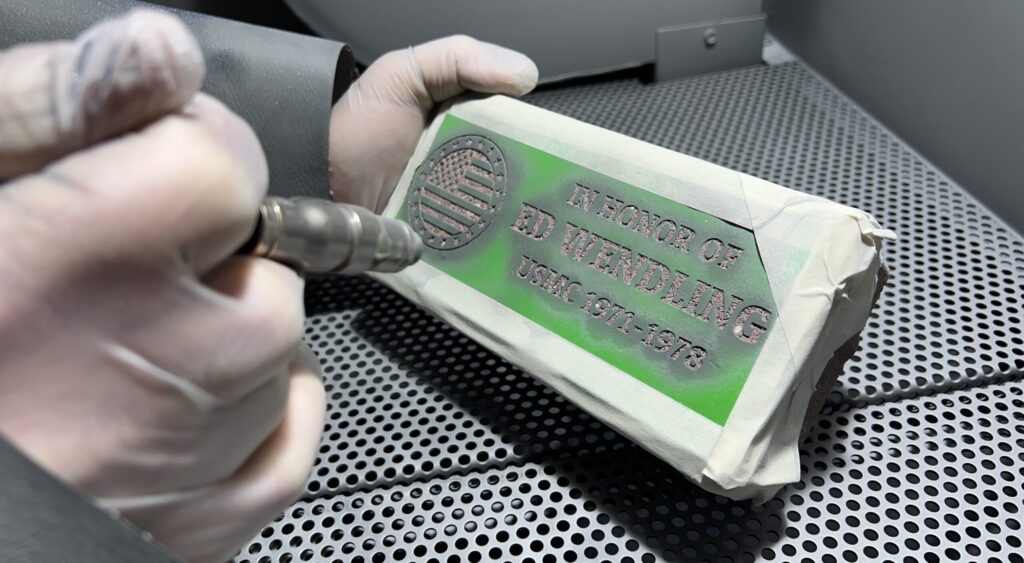
Settings that keep you moving
 Although every cabinet, compressor, and abrasive mix varies, here are a few guidelines to help new users get predictable results.
- Media selection: Use 220 mesh for micro detail and 180 mesh for faster depth on larger fills. Keep a labeled container for each mesh to avoid cross contamination.
- Air pressure: Work within your cabinet manufacturer’s recommended range. Too little pressure leads to long cycle times and rounded edges. Too much can undercut the mask or cause chipping on sharp corners.
- Nozzle distance: Maintain a consistent standoff. Too close can cause hotspots. Too far wastes energy and reduces control.
- Mask choice: Flexible, clean release masks excel on glass and curves. Higher tack or thicker masks reduce undercut on tough coatings or textured surfaces.
- Surface prep: Clean, dry substrates help mask adhesion and prevent edge lift. A few seconds spent on prep can save minutes in rework.
Halftones, multidepth & color
Blazering makes advanced techniques look approachable. Halftone patterns are possible with proper mask imaging and light, even passes that reduce depth in dot areas. Multidepth designs can be staged by peeling off different sections of your design and blasting in stages. Color fill is easier after blasting than after straight laser marking because the sandcarved surface accepts paint cleanly and hides minor brush strokes. Water soak removal masks are popular for color workflows, while clean peel masks speed production when no fill is needed.
Common pitfalls & how to avoid them
- Undercutting at edges: Usually a mask adhesion or media angle issue. Increase burnishing pressure, choose a stronger mask, or adjust to a more perpendicular blasting angle.
- Inconsistent texture: Often caused by a worn nozzle or uneven motion. Replace nozzles proactively and train operators to keep a steady, overlapping pattern.
- Slow cycle times: Check media condition, air pressure, and nozzle wear. Verify you are not trying to achieve unnecessary depth for the design.
- Residue or haze: Clean more thoroughly after blasting, and make sure no abrasive remains trapped under the mask before removal. For glass, a final polish with a clean microfiber towel can make a visible difference.
Safety & shop readiness
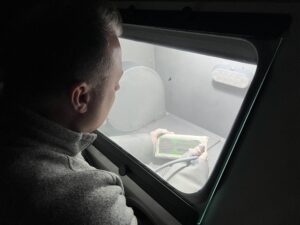 Blasting media and dust require proper containment, ventilation, and personal protective equipment. Follow your cabinet manufacturer’s recommendations for dust collection and wear eye and respiratory protection during maintenance. Keep the blasting area tidy, store media in sealed containers, and replace worn components on schedule. A small checklist posted near the cabinet keeps the team consistent and reduces training time for new operators.
Business impact & pricing
Blazering opens a clear premium tier. The difference in look and feel is obvious to customers and simple to explain. Position a basic laser mark as an entry option. Present blazered pieces as the signature upgrade with a deeper carve, smoother finish, and optional color fill. Offer sample sets that allow clients to compare finishes side by side. For production planning, estimate blast time honestly, then optimize artwork and media choice to hit target margins.
Getting started with blazering
If you already own a laser, you have the front half of the workflow. Add a sandcarver, choose a blastable laser mask compatible with your substrate, and start with a few simple glass projects to learn standoff and patterning. Dial in a go-to media and a baseline pressure, then expand into multidepth effects, color fill, and tougher substrates like powder coat and stone. Within a short time, most shops see faster approvals, higher perceived value, and fewer customer touchbacks because the finish quality speaks for itself.
Blazering is not a gimmick. It is a practical hybrid process that uses the laser for what it does best and the sandcarver for what only a sandcarver can deliver. The result is high-end glassware and awards that command attention and justify a premium. If you are ready to push beyond surface marks and into premium finishes with depth, this is the next step.