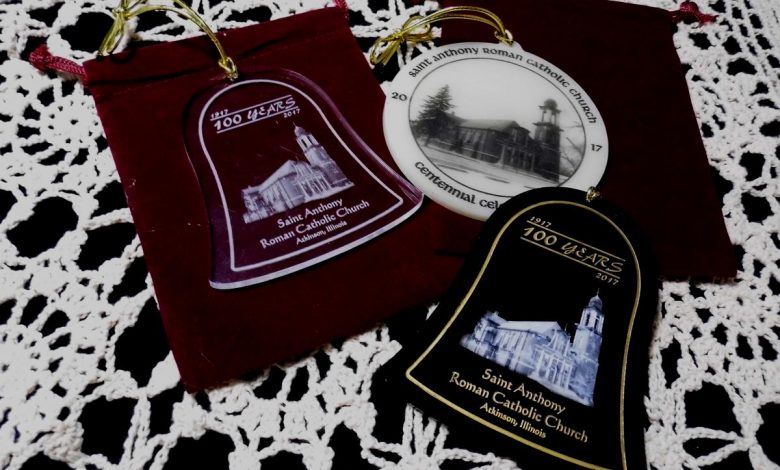
Accomplishing Inverted Graphics to Laser Engrave
Are you familiar with this important step to achieve your desired mark?

Inverting graphics is simply another term for changing a drawing or a graphic component from a positive image to a negative one. It’s accomplished in graphics programs by selecting an object and using a tool or function that converts that object to a negative version of the original. In some programs, it’s known as inverting colors; in others it’s simply called negative. Regardless, the graphic’s color values are reversed. It’s usually best, for the purpose of engraving with the laser, to have the graphics in black and white or grayscale before inverting.
Many clipart graphics are in black and white and can be inverted without much of a problem. Some, however, are just black, with the white parts of the drawing being empty spaces. Invert them and the graphics “disappear.” The black areas are now white, and the empty spaces are still empty. The same happens with black text. To get a negative image, you need to fill the empty spaces. This is done for most graphics by adding a white background to the original graphic. A white border can also be added, particularly around text, to differentiate it from the background of the piece being engraved.
How to determine if you need to invert graphics for engraving.