Are you looking to create a custom vehicle template from scratch using photos, measurements, and Adobe Photoshop? With these six quick steps, you’ll be designing vehicle wraps in no time.
Step 1: Take proper photos of the vehicle
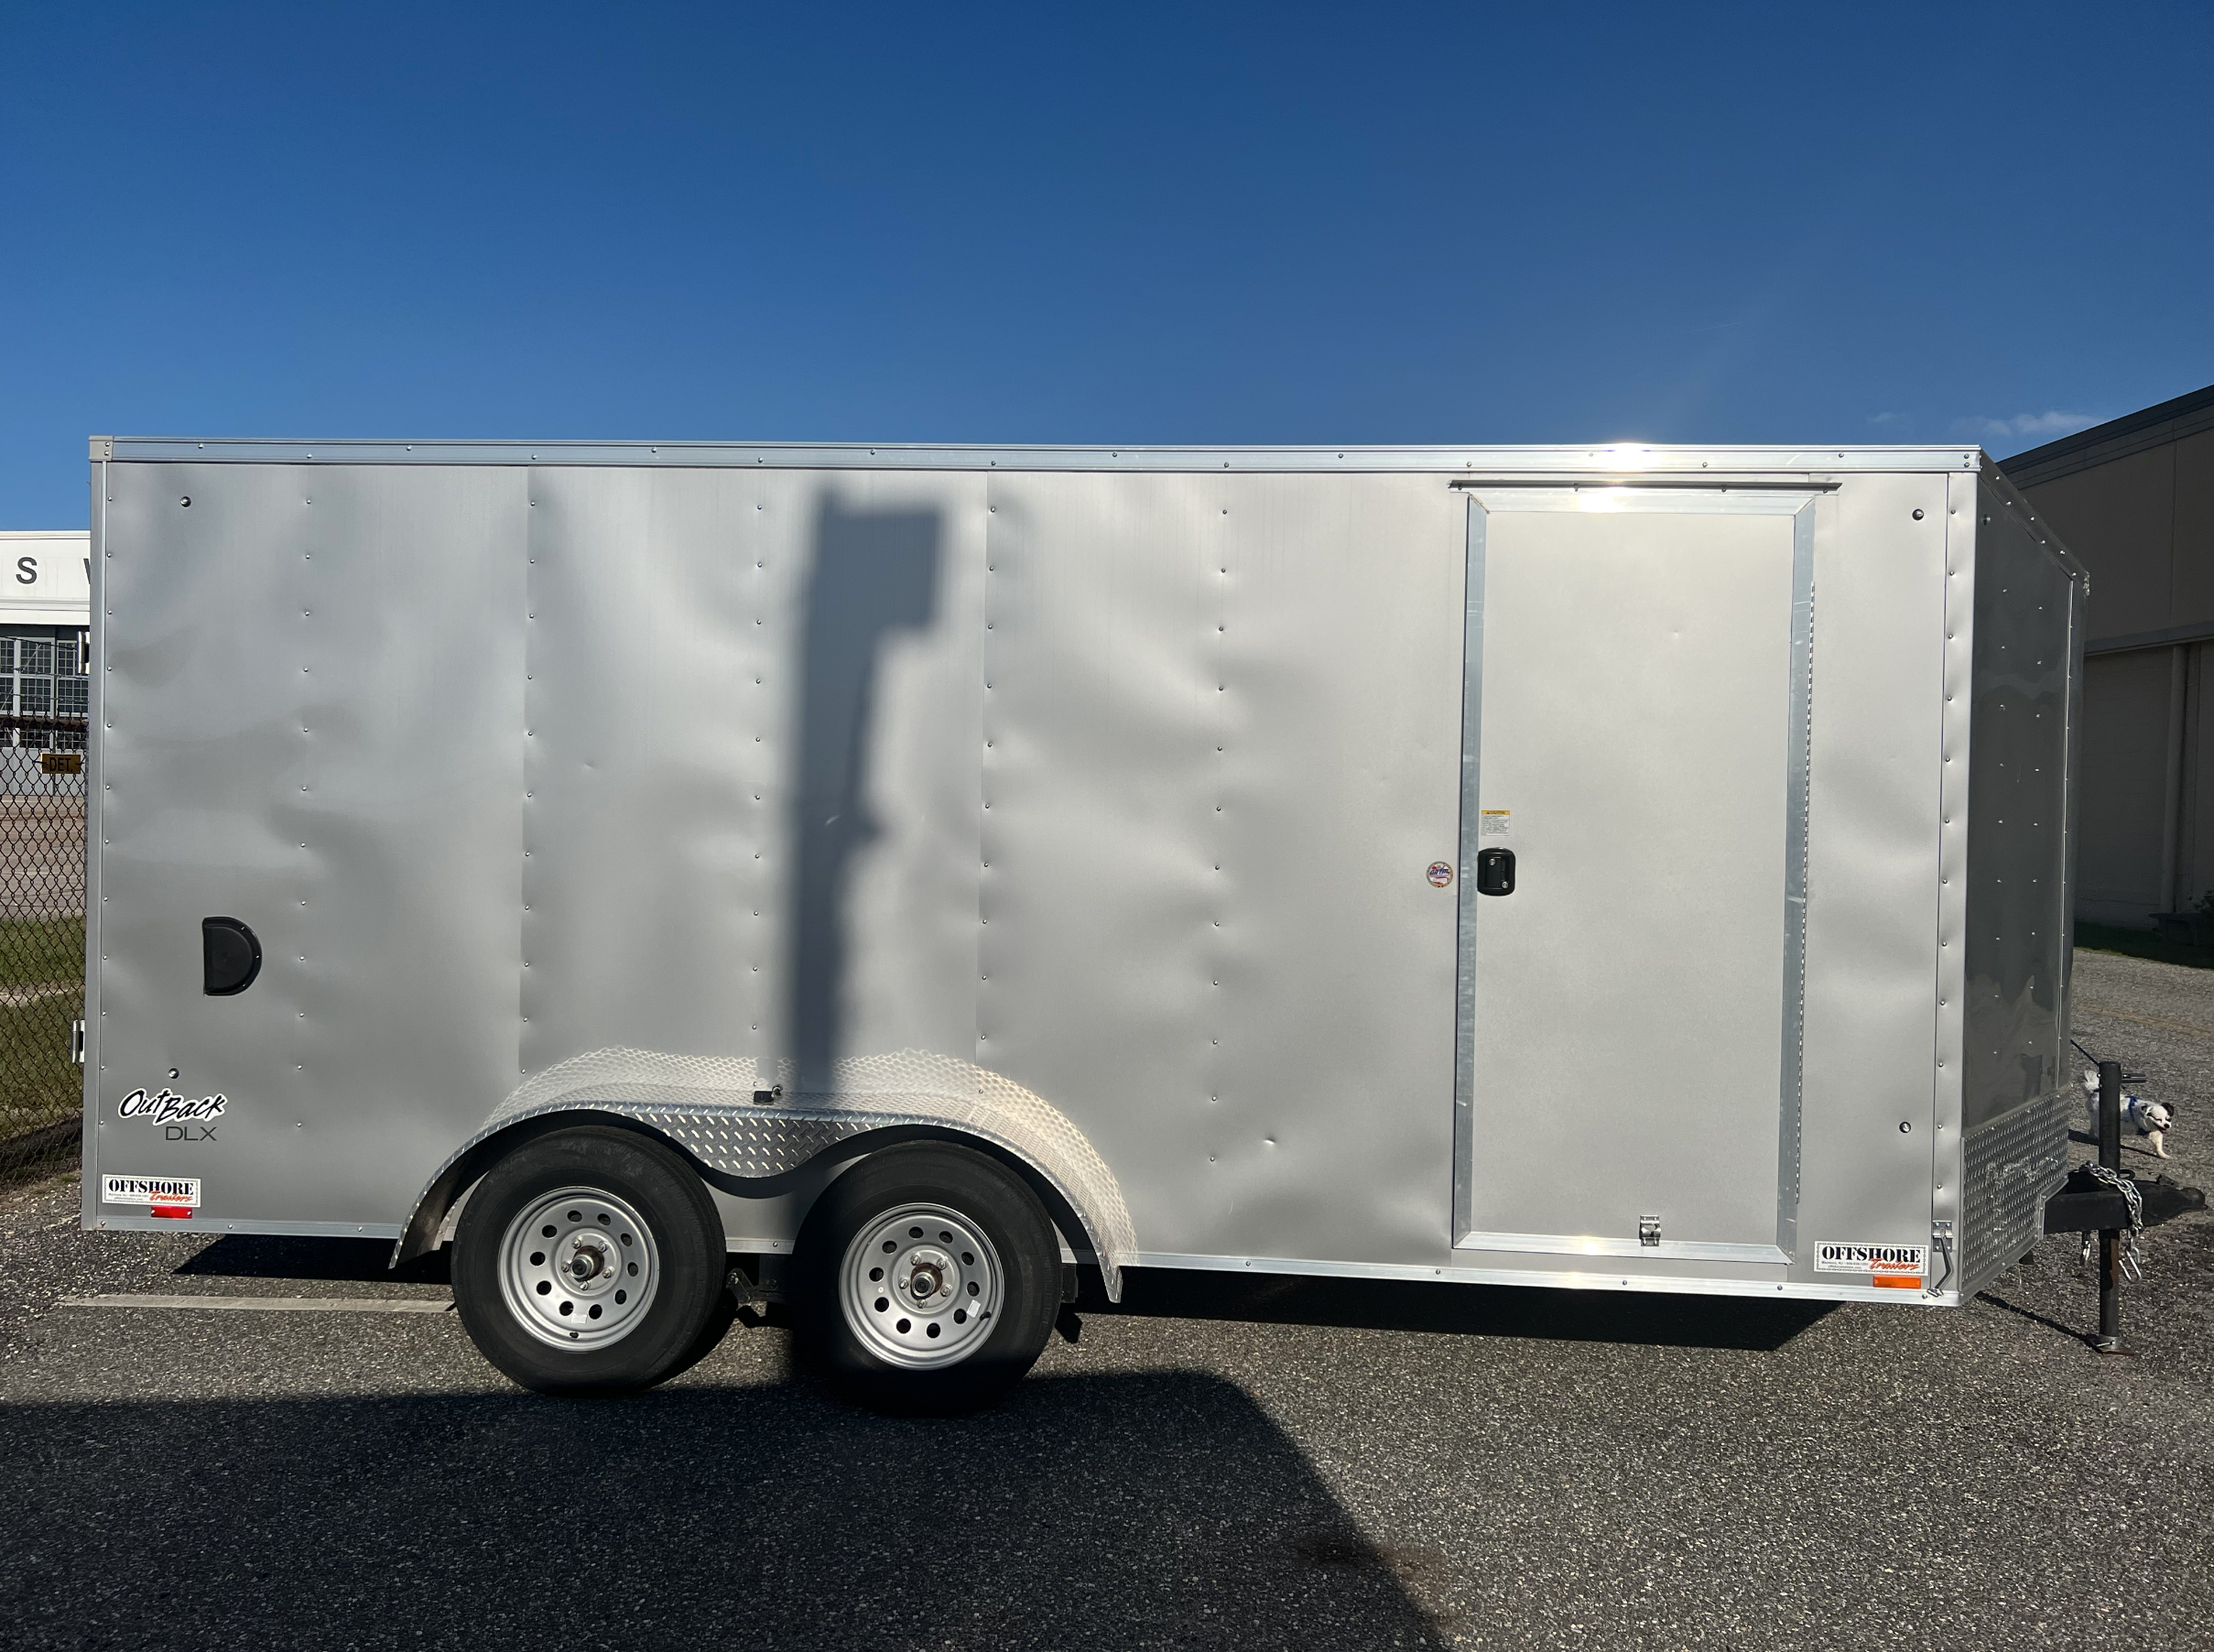
Be sure you take (or are given) direct, straight-on photos of each side, front, and back of the vehicle. Then, take detailed measurements of both sides, front and rear of the vehicle. Even a few reference measurements will help ensure your scaling is correct when you begin the design steps.
Step 2: Upload photos & crop them in Photoshop
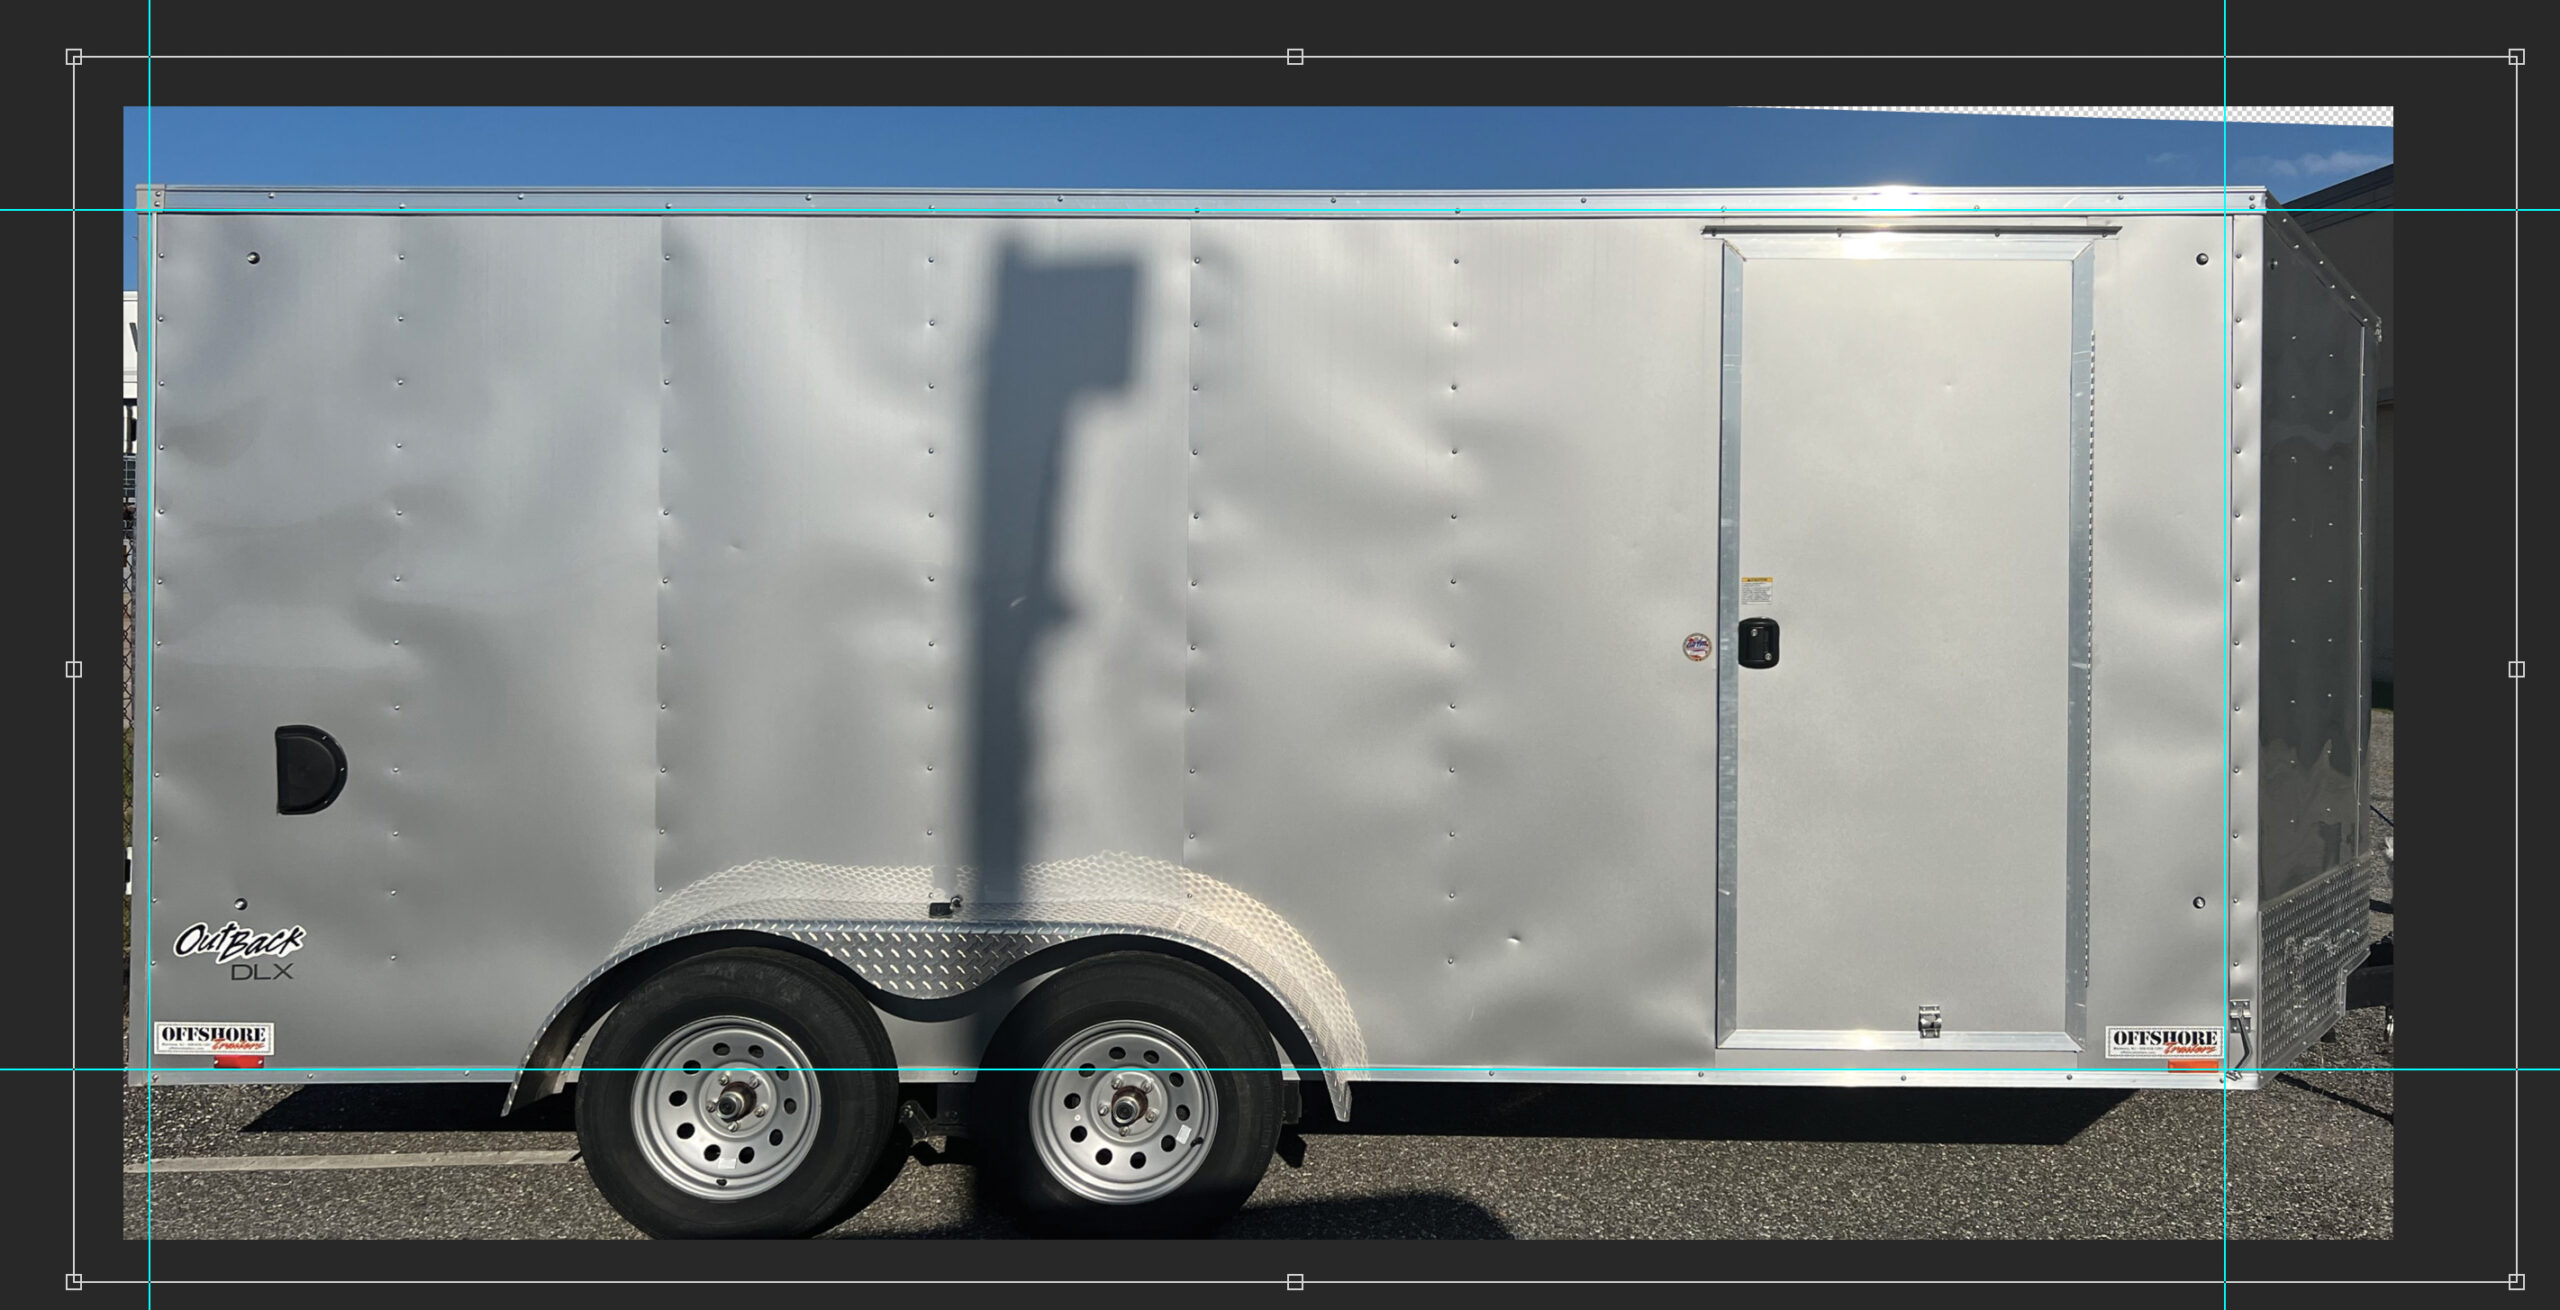
Download the photos onto your computer (customer file) then open them in Photoshop and convert them to CMYK (unless using RGB, that’s another topic). You should have four photos to work with — this example does not include a “top” view, which you can get by standing on a tall ladder or man lift, using a drone, or a GoPro on an extended pole. Open each photo, one at a time, then crop them, ensuring that they are straight and not skewed in any way.
Step 3: Scale photos to full size
Now it’s time to scale your photos up to full size. Before scaling anything, check the photos’ DPI (you should do this next step all at once). Reference the measurements you took onsite and scale up to full size, but before saving, change (or verify that) the DPI is at 72 DPI. This is really all that’s necessary for large-format printing on vehicle wraps for commercial/advertising purposes. Save those changes.
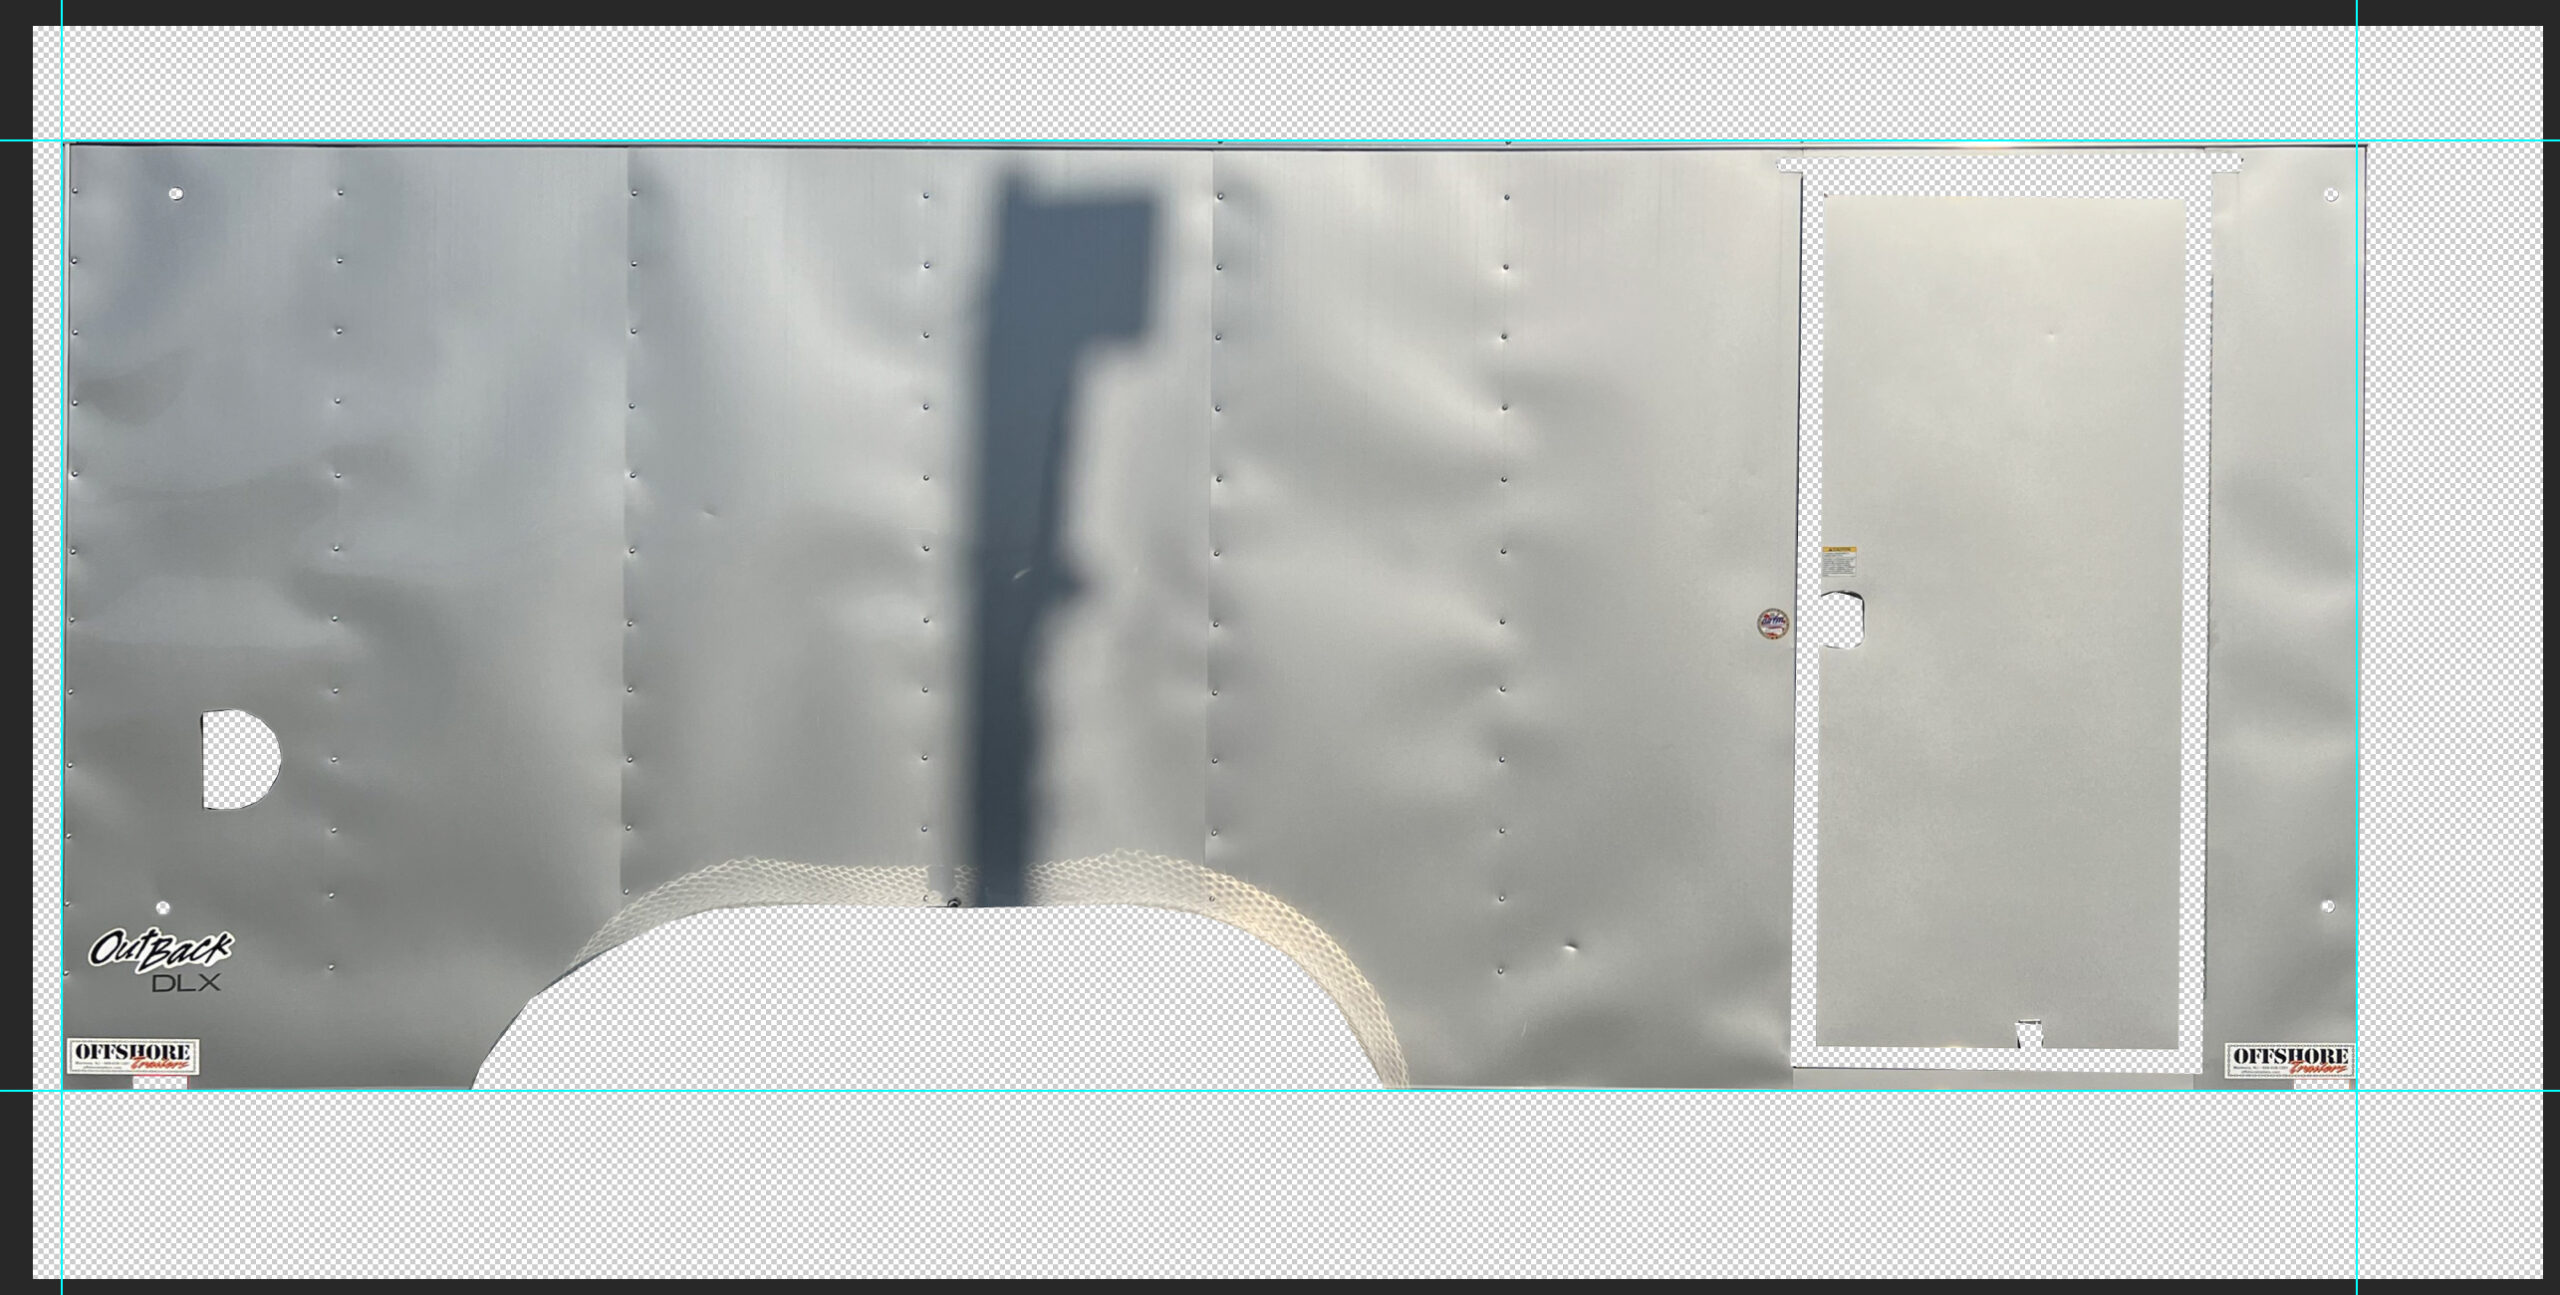
Step 4: Create the mask for your “wrappable” areas
OK, let’s get ready to create the mask! There are several different ways you can mask objects in Photoshop, I’m going to show you the “old-fashioned” way using the lasso tool. It’s easy, you simply pick a starting point and trace the outline of the vehicle all the way around until you hit your starting point and the lines are connected. Once they are connected, you’ll see the “marching ants” or selection around your object. What you do next is select the negative selection tool so you can start to remove door handles, glass, tires, moldings, trims, etc., from your “wrappable” areas.
Step 5: Create the layer mask
Now it’s time to actually create the layer mask. Be sure your photo layer is unlocked, if not, double-click it and hit OK. With the selection (ants still marching), click the Add Layer Mask (the square button on the bottom of the Layers panel). You should now only see the positive or “wrappable” area.
You can get creative here and duplicate the original layer, keeping it underneath so the background stays visible, which could be helpful (or not) for proofing to the customer. Or you may opt to fill in the background layer with white or another color — it’s up to your creative mind.
Pro tip: Remember to label all of your layers, especially if you have more than one. It can become a bit of a nightmare for a fresh set of eyes trying to find out what is what in an unorganized, layered Photoshop file.
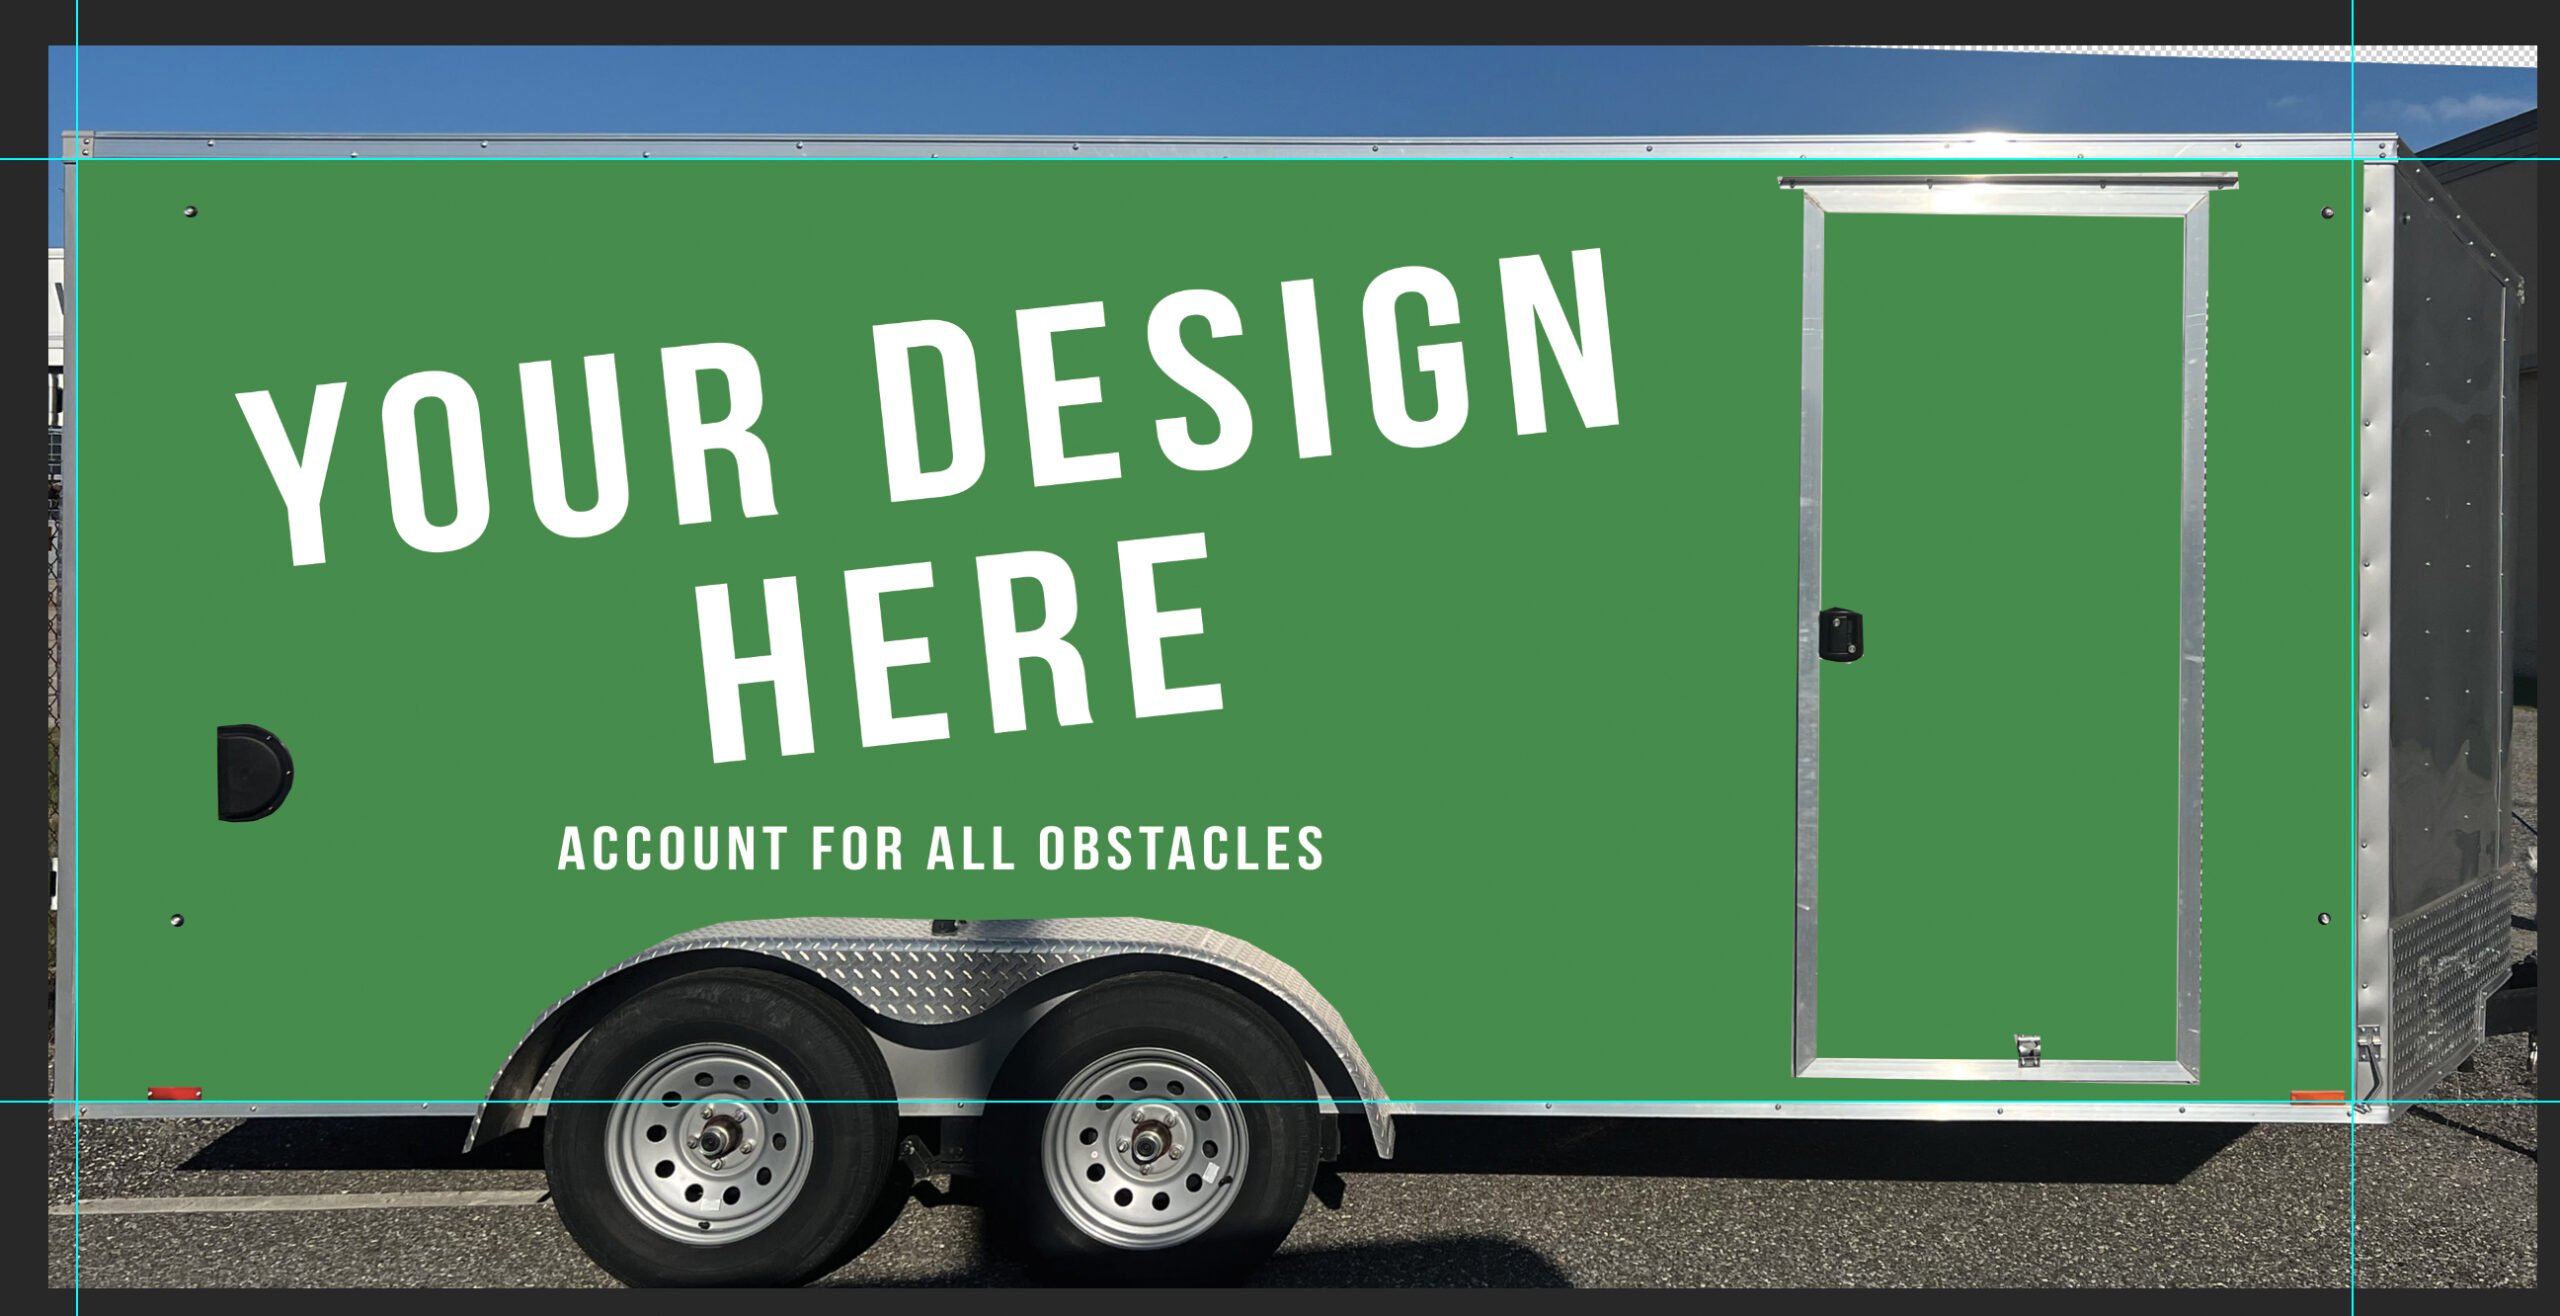
Step 6: Design a vehicle wrap
The usable space is now visible and ready for you to start designing your wrap. I’ll leave this up to you as this quick tip is only about creating the custom template. Be sure to remember to save your work often. You simply repeat these steps for each side of the vehicle, saving them as you go (e.g. driver side, passenger side, front, and rear).