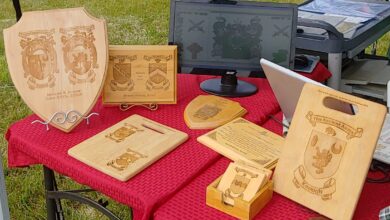
Whether you are an accomplished engineer or a novice maker, learning the proper uses of design equipment to avoid pitfalls and mistakes takes time and experience.
From time to time, issues come up that leave designers wondering what they did wrong or how they could do something better. This is true in any field, and laser engraving is no different.
Knowing how to avoid these mistakes so that they don’t come up again is half the battle. With that in mind, let’s talk about five of the most common mistakes when it comes to laser engraving and ways to avoid them in future projects.
Mistake 1: Engraving fabric but the laser burns through the material
The first step in avoiding burning fabric with a laser engraving/cutting machine is to understand which fabrics can withstand the process and at what temperatures. Heartier fabrics such as denim, canvas, and leather can withstand higher power settings during engraving. But when it comes to delicate fabrics, it is important to start your settings at high speed (near or at 100%) and low power (around 5-10%). Test these initial settings on some spare material, and if the fabric can withstand it, increase the power until you get the results you want.
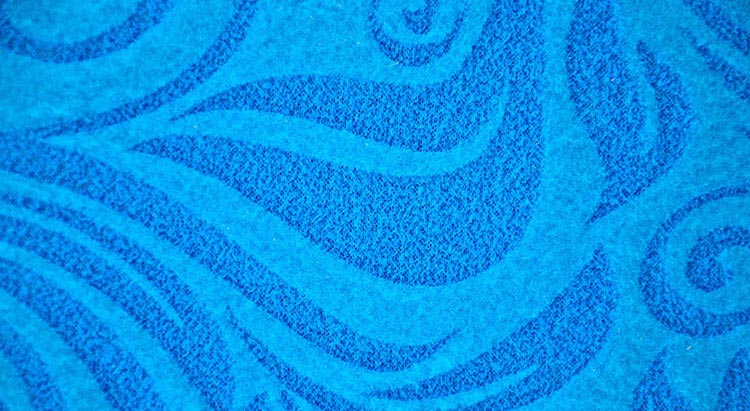
When it comes to direct-to-garment engraving, it is helpful to lower the dots per inch (DPI) at which you engrave. The higher the DPI, the more material will be removed. Engraving at a lower DPI helps ensure the laser just slightly vaporizes the top layer and doesn’t burn entirely through the fabric. Most fabric engravings do fine at 150-300 DPI.
Mistake 2: Acrylic doesn’t produce a frosty white engraving
More than likely, this is caused by using the wrong acrylic in the application. Two types of acrylics are typically used in laser engraving, and both are suitable for different applications.
Cast acrylic sheets and objects are made from a liquid acrylic that is poured into molds that can then be set into various shapes and sizes. This type of acrylic is ideal for engraving because it turns a frosty white color when engraved, making it suitable for awards and plaques. It can be cut with a laser, but it won’t give projects flame-polished edges.
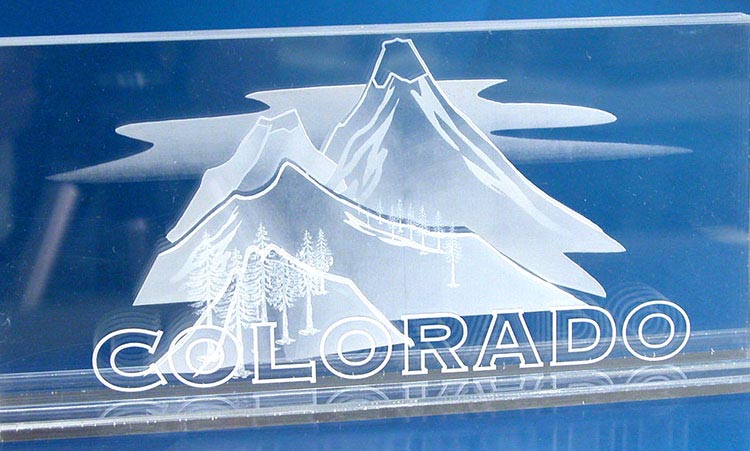
The other type of acrylic used in laser engraving is called extruded acrylic, which is formed into sheets by a machine. Extruded acrylic is generally less expensive than cast acrylic because it is formed through a higher-volume manufacturing technique. However, it does react very differently with the laser engraving machine. This type of acrylic cuts cleanly and smoothly and produces a flame-polished edge; however, when engraved, it doesn’t produce that frosted look, but rather a clear engraving. So make sure you are using cast acrylic if you want a frosted white finish.
Mistake 3: Inconsistent glass engraving
Often, when a laser strikes glass, it will fracture the surface but not engrave deeply or remove the material needed to engrave fully. The fractured glass surface will produce a frosted appearance but can be rough and chipped depending on the type of glass that is being engraved. While the frosted look is desired, no one wants a rough surface or chipping.
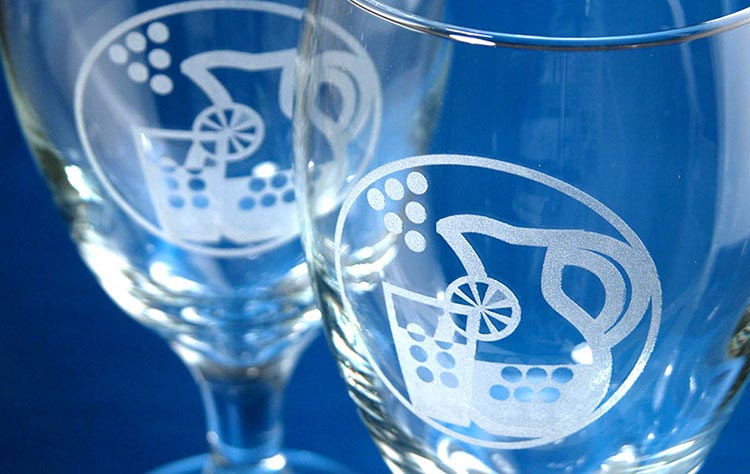
To produce a smooth frosted finish, try incorporating one or several of the tips below:
- Use a lower resolution (about 300 DPI), which will produce a better result on the glass as you separate the dots you are engraving.
- Change the black in your graphic to 80% black.
- Run your laser engraver with Jarvis Dithering (Find this dithering pattern in Epilog’s print driver) to provide a smooth finish.
- Sometimes applying a thin, wet sheet of newspaper or a paper towel to the engraving area helps with heat dissipation and improves the engraving process. (Make sure there are no wrinkles in the paper after it is applied)
- Dissipate heat by applying a thin coat of liquid dish soap to the area you’re engraving with your finger or a paper towel.
- If there are shards of glass after engraving, polish the area with a non-scratch scour pad.
Mistake 4: Wood engraving produces different results on the same setting
Wood is one of the most laser-friendly materials available not only because it can be cut very easily, but also because it engraves very well.
However, different woods have different reactions when they are laser engraved and produce different results. Lighter woods, like cherry or maple, create a nice contrast where the laser burns away the wood, while denser woods require more laser power to cut or engrave.
Grain density can change dramatically depending on the type of wood. Cherry, alder, walnut, and maple have relatively small veins of grain in them, while oak has medium to large veins. For example, if a large square were engraved into a piece of cherry, it would have a very uniform appearance. The area engraved would be smooth, with little variation in height. However, if the same square were engraved into a piece of oak, its appearance would vary significantly in height and would have a very non-uniform appearance.
Here are some tips when engraving with wood:
- Maple and alder are some of the most popular woods for engraving, providing a rich contrast.
- Bare wood engraving produces smoke and debris during the process that can become embedded into the grain of the wood. To reduce this effect, always engrave from the bottom up – this helps draw any smoke away from the engraving.
- When engraving stained wood, excess smoke and debris can be wiped off the surface of the wood with a damp cloth after engraving.
Mistake 5: Laser engraver doesn’t perform as fast anymore
Clean your machine! Much like other types of design equipment, a clean machine produces better results than one that is not maintained correctly. Check your use manual for any maintenance requirements. If a drop in performance happens quickly, checking and cleaning the optics may be the first step in correcting the problem.
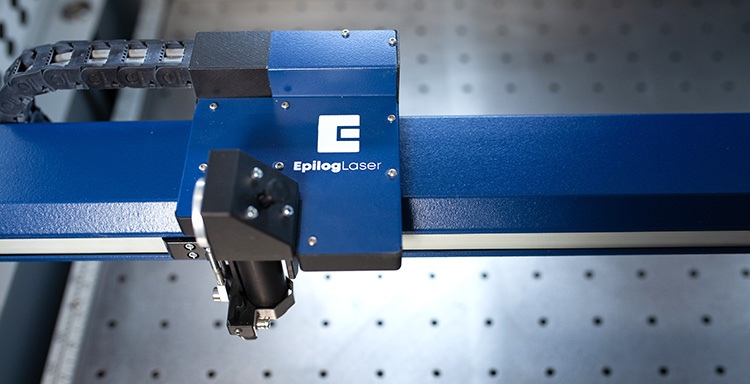
We recommend inspecting the optics in the laser (the lenses and mirrors) weekly and cleaning as needed. If you’re cutting materials that produce more residue, like wood or acrylic, you may find your optics need cleaning more frequently. Typically, optics are clear gold in color and are bright and shiny. If they are cloudy or have smudges or debris, it’s time to clean them.
The mistakes listed above are shared among makers and designers that use laser engraving machines, especially those just beginning to use the equipment. But as you can see, they are easily avoidable if you know how to correct the mistakes.
If you’re interested in more information about our laser engraving machines, contact us to set up a demonstration with the distributor in your area to see which option is right for you.


